This article applies to all MetaDefender Kiosk V4 releases deployed on Windows or Linux systems.
A mapped drive/ network drive is a shortcut to a shared resource (folder, file, etc.) that is physically stored in a different location (on a remote FTP server, website, laptop, etc.) but appears in your directory system, just like one of your local drives (like the C or D drive, for example).
In order to save files to a mapped drive from MetaDefender Kiosk, the mapped drive must first be created under the SYSTEM account.
To do this, please follow the instructions below:
Download the psexec.exe.zip file from Microsoft’s Sysinternals Security Utilities suite by visiting this Webpage, then extract it and delete the original zip file.
Now, place the psexec.exe tool on the machine where you want the mapped drive to be created (e.g. C:\PSTools\psexec.exe).
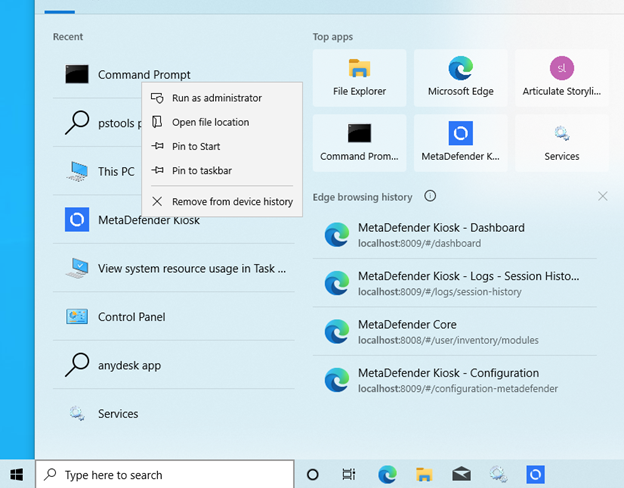
Open the command prompt, right click and select: Run as Administrator.
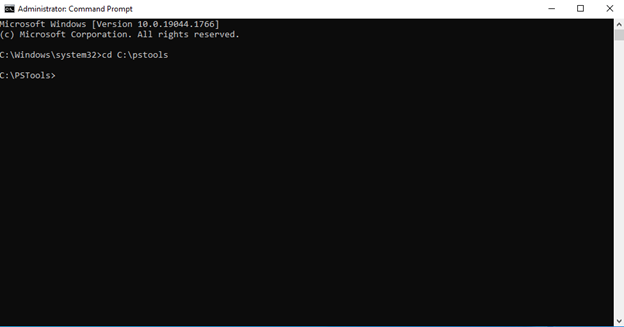
In the command prompt, navigate to the directory where psexec.exe was copied (e.g. cd C:\pstools, as illustrated in the screenshot below).
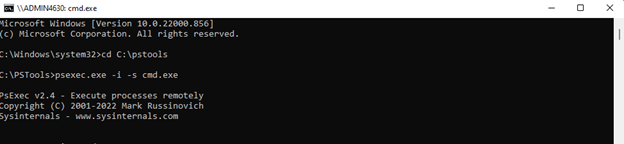
Enter the following command psexec.exe -i -s cmd.exe, as illustrated in the screenshot below:
psexec.exe –i –s cmd.exe
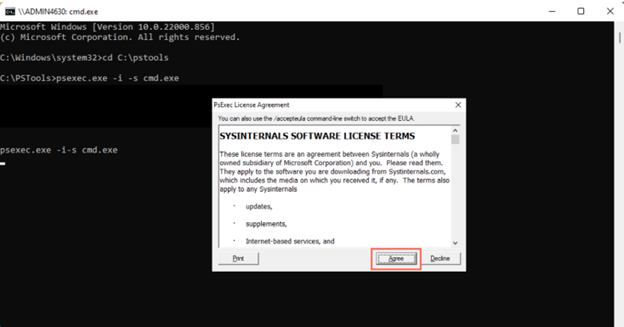
If the Sysinternals pop-up appears, click Agree, as illustrated in the screenshot below.
An elevated command prompt window will open.
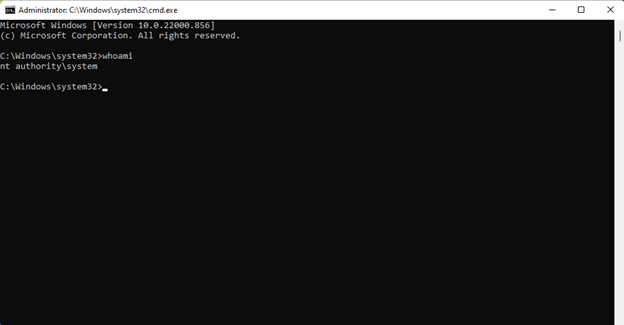
Enter the command: whoami to confirm that the new command prompt is running as: nt
Enter the following command to mount the mapped drive: use <desired drive letter> <UNC path to map the drive to> (e.g. net use Z: \file-server-1\share).
Your mapped drive has been created and mounted. Next, you must configure MetaDefender Kiosk to copy and save both blocked and allowed files to the newly created mapped drive, as follows:
Once the mapped drive is in place, go to your Console>Workflows Tab and click on the relevant workflow.
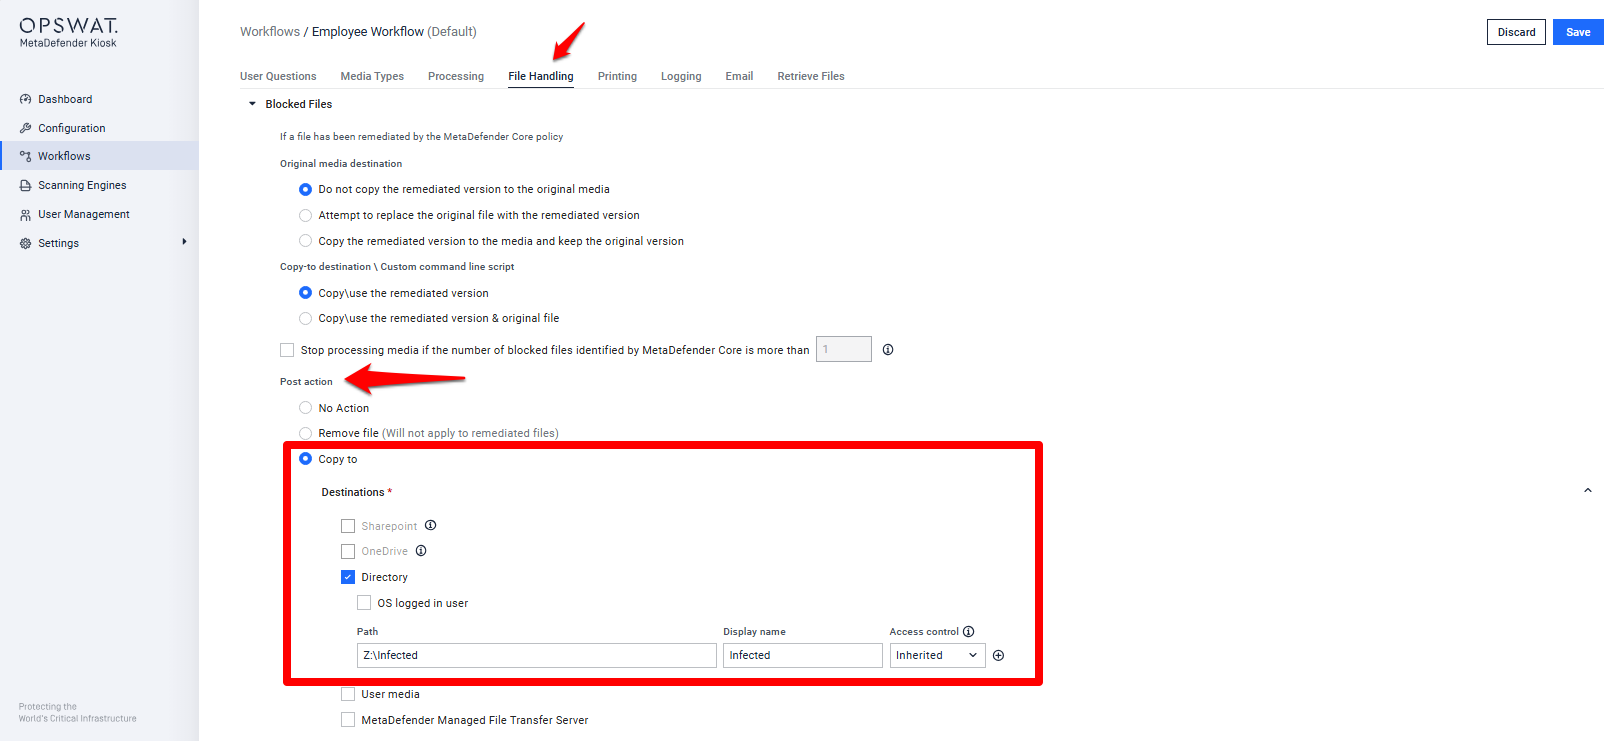
Inside your chosen workflow, go to File Handling>For and select the Copy to radio button.
Enter the map drive location, as illustrated in the screenshot below.
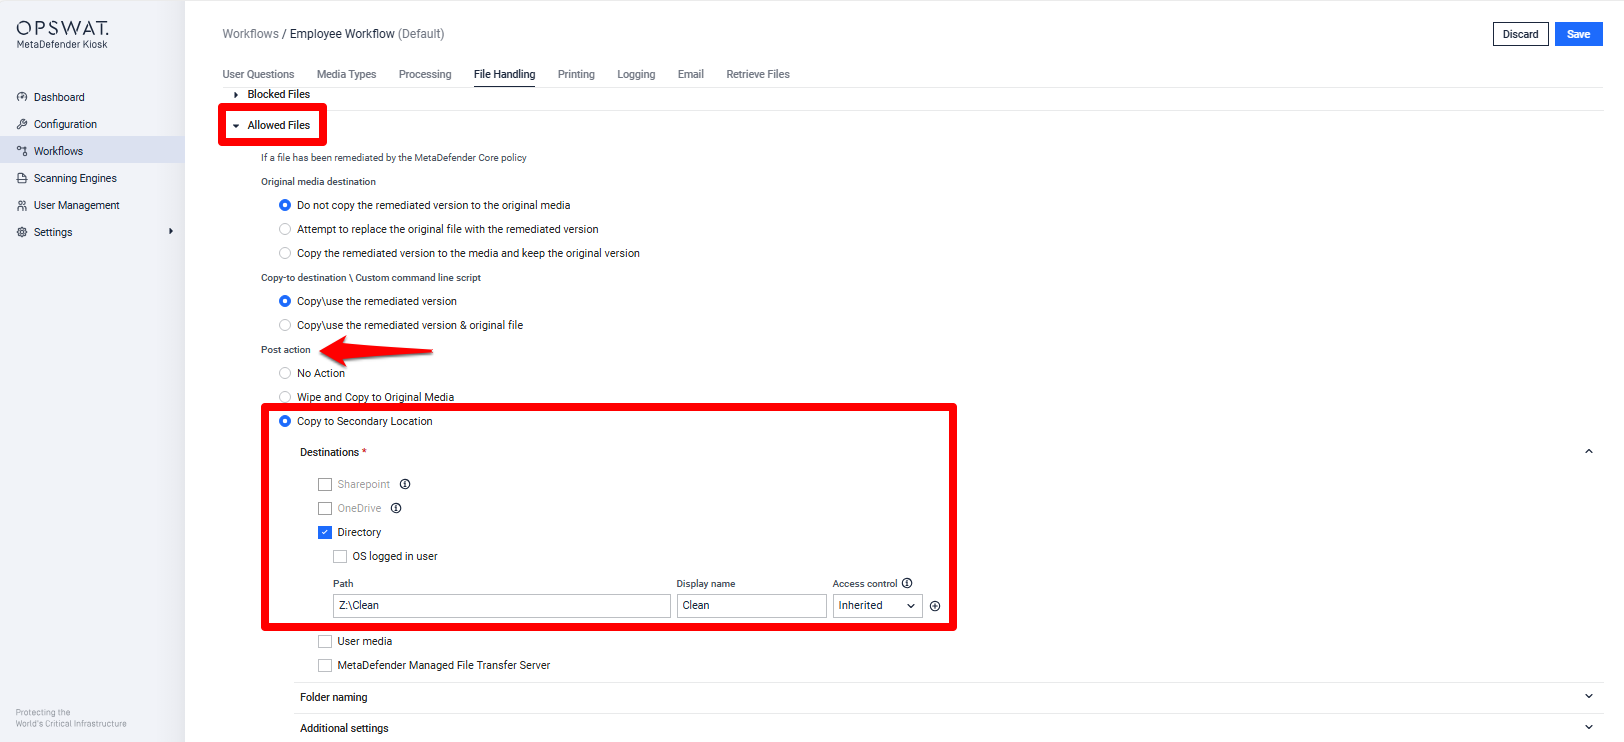
Now, go to File Handling> Allowed Files > Post action and select the Copy to Secondary Location radio button.
Enter the map drive location, as illustrated in the screenshot below.
Finally, click Save to apply save your changes.
MetaDefender Kiosk can now copy and save both blocked and allowed files to the mapped drive.
If you have any difficulty Saving Files To a Mapped Drive With MetaDefender Kiosk, please follow these instructions on How To Create a Support Package, before creating a support case or chatting with our support engineer.