MIME Exceptions
When external integrations are enabled, they are provided all files captured by the MetaDefender NDR engine from both HTTP and SMTP sessions. If you see any indication in Host Status on the Dashboard that the integrations are unable to process a large number of files being sent to them, it is recommended to filter MIME types from being analyzed to ensure the system does not become oversubscribed. For example, if your collectors collect 60,000 files per day and the hardware supporting the external integration can only process 30,000 files per day, you can reduce the number of files MetaDefender NDR queues for that integration by preventing certain MIME types or files derived either from HTTP or SMTP protocols, from being sent to it.
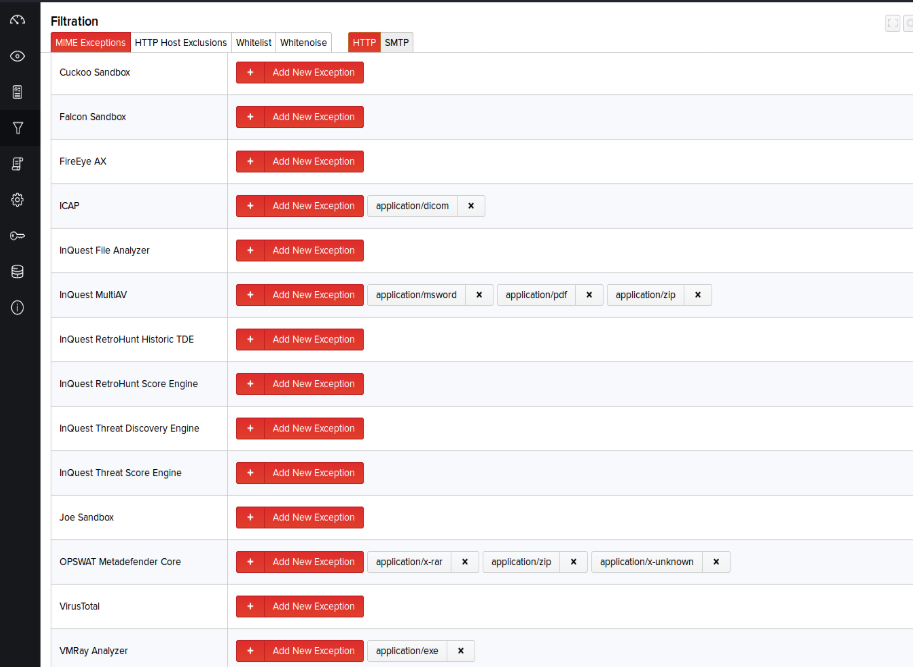
- Navigate to the Filtration page from the menu on the left of the screen.
- Select the desired protocol from the HTTP or SMTP tabs.
- Click Add New Exception and select the MIME type(s) corresponding to each integration from the drop-down menu. By default, the MIME Type exceptions are displayed in alphabetical order from the drop-down menu. You can also search for any MIME type using the search box on the drop-down menu to quickly find MIME types not listed in the drop-down menu by default. Files with specified MIME types received over the selected protocol will no longer be scanned by the specified integration.
To remove a MIME exception, click the corresponding button, then click Delete to confirm its removal.
Note: These global MIME exceptions will always take precedence over the sandbox inclusion MIME inclusion lists. If a MIME type is in both the inclusion list for a sandbox as well as the global exclusion list, that MIME type will not be submitted to the sandbox.
Filtering MIME types and protocols should only be done when processing queues seen on the Dashboard constantly show a backlog of files waiting to be scanned by one of the suppliers. As the number of files waiting to be scanned increases for a particular active integration feature, the time between receiving of files and the generation of alerts might increase as well. In such cases, it is appropriate to add MIME exceptions to reduce the timeframe and ensure alerts are generated within a reasonable timeframe.
HTTP Host Exclusions
As traffic is captured and the file content is extracted and analyzed, it may become apparent based on the Host Status measures that heavily trafficked sites, such as those providing streaming media services, may be causing a significant amount of system resource consumption. In such cases, it is recommended to exclude these hosts from the analysis via host exclusion.
- Click Filtration > HTTP Host Exclusions.
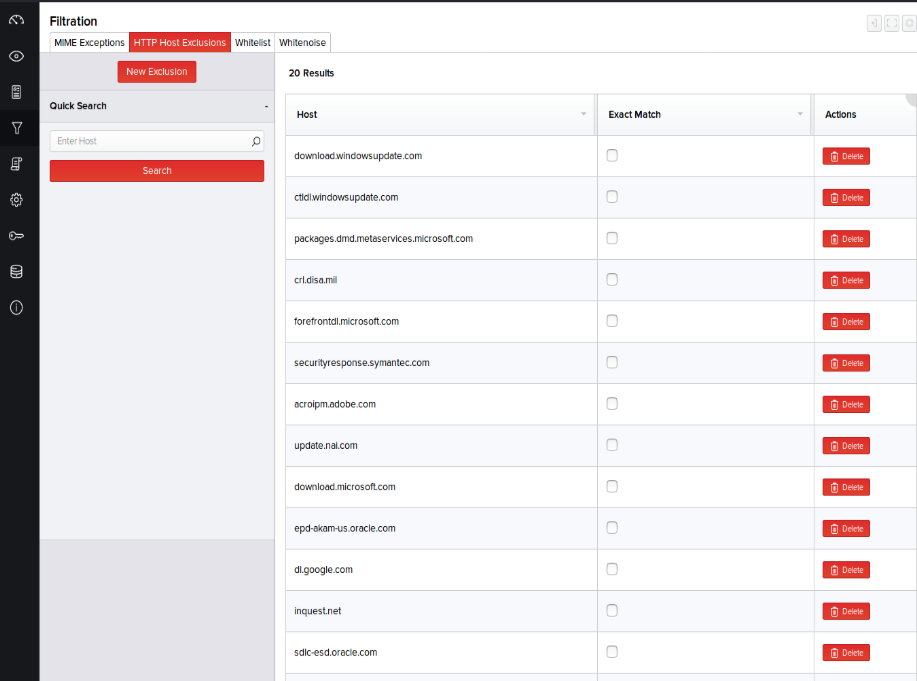
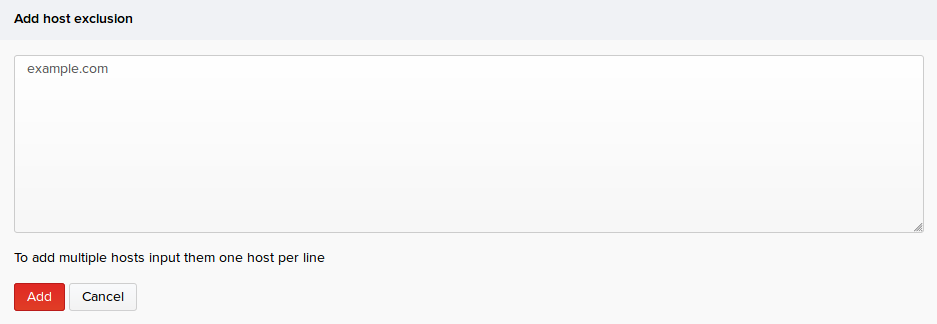
- Click New Exclusion. In the right pane, type the desired site or TLD, and click Add.
The new host is added to the exclusion list. The collection services will re-launch and ignore content from sites containing the TLD entered.
By default, the Exact Match checkbox is deselected. In this case, the specified domain and all its subdomains are excluded. Selecting the checkbox will exclude only the specified domain from examination. For example: Deselecting the checkbox for google.com excludes it and wildcards all its subdomains too, (*.google.com) as exclusions. Selecting the checkbox excludes only the site "google.com".
Note: You can type the partial or full hostname in the Quick Search text box on the left pane and click Search to locate the existing HTTP Host Exclusions. To remove a host from the exclusion list, click the Delete button of the corresponding host and then click Delete again to confirm its removal.
Whitelist
The other filtering options available in the Filtration menu are Whitelist and Whitenoise. These features are used to bypass the inspection of specific files at the traffic collection-level by ignoring files with specific MD5 checksums. This feature was implemented to prevent commonly seen files from being examined or queued for scanning by active integration features.
Whitelisting refers to a basic access control mechanism you configure to allow trusted content from the network. In many cases, alerts are generated by files that have already been examined and deemed safe by analysts. You may not want to see the alerts generated for these files in the future and hence can whitelist them
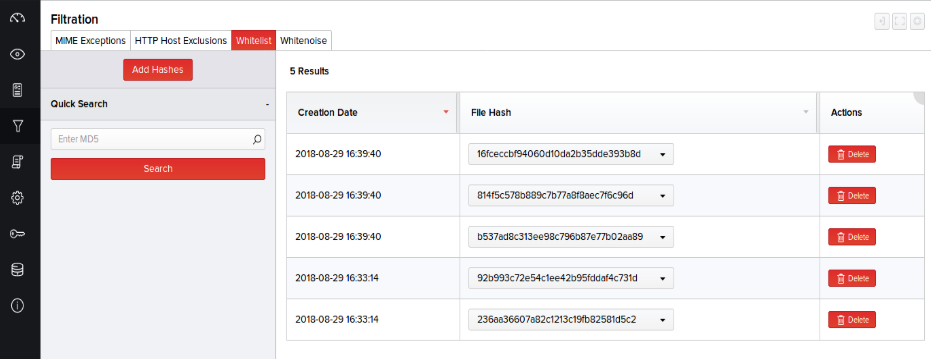
To add and activate one or more MD5s to the whitelist:
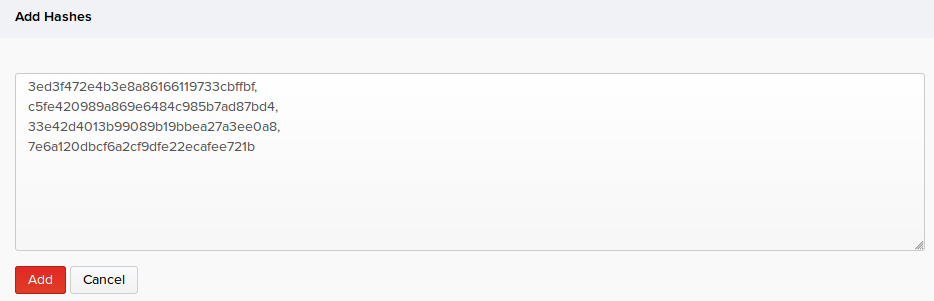
- Click Filtration > Whitelist > Add Hashes.
- Type the MD5 hashes on the right pane (each separated by a comma) and click Add
Files with the specified MD5 are added to the whitelist and appear in the top row of the list and are bypassed from the scan.
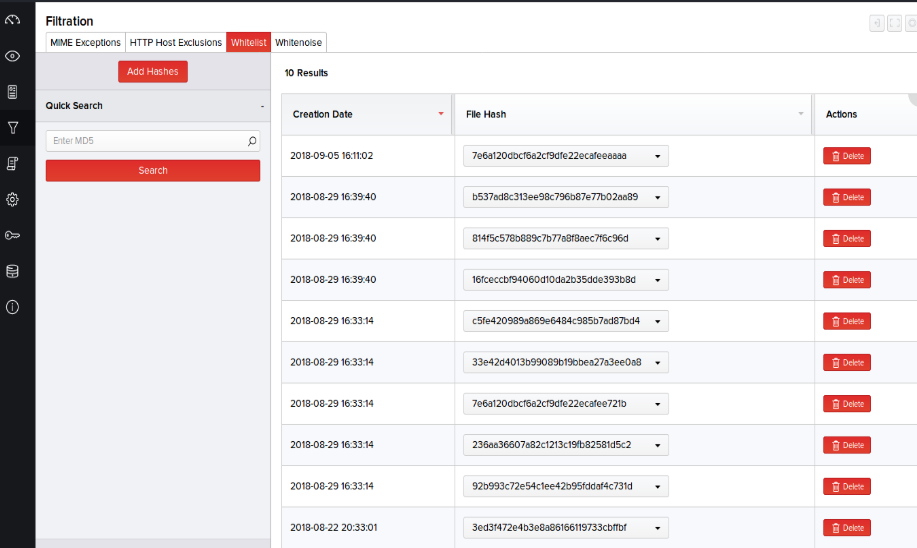
Note: You can search for an MD5 by typing it in the Quick Search box in the left pane. To remove an MD5, click the delete button of the corresponding MD5 and then click Delete again to confirm its removal.
Whitenoise
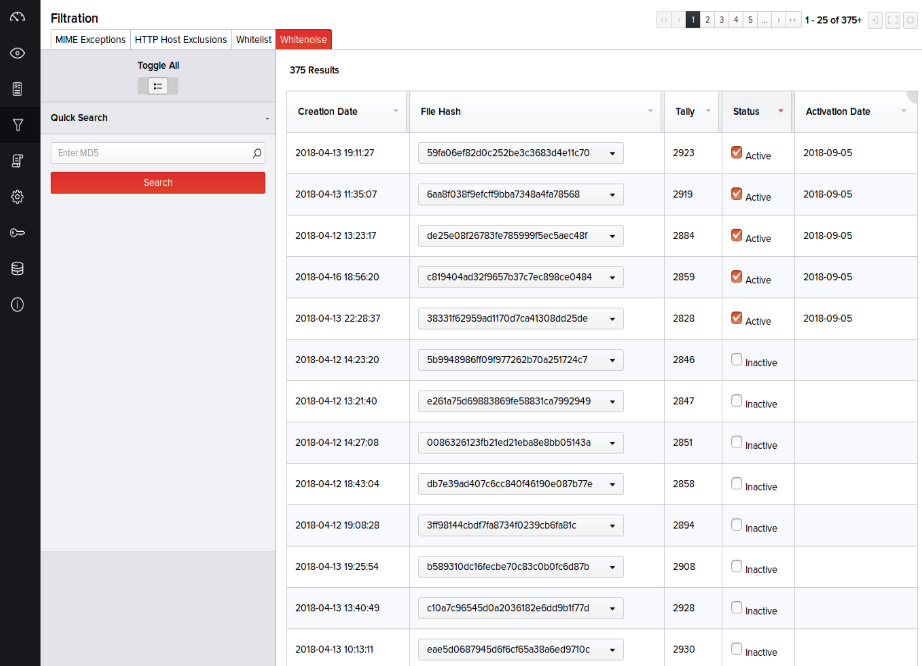
For tuning purposes, MetaDefender NDR automatically maintains a tallied list of reoccurring hashes captured and creates entries for them with an Inactive status. To view these commonly received files that have been automatically designated as candidates for whitelist, click Filtration > Whitenoise. Whitenoise file entries can be observed and activated for general performance tuning which will reduce system load. The entries are automatically created based on the number of times, files are seen in network traffic. They must be manually reviewed before activation.
There may also be instances where a file generates a significant number of alerts but has not been seen enough times to become a whitelist candidate through system automation; that would be an ideal scenario to manually add an MD5 to the whitelist after reviewing it carefully.
You can activate the default Inactive status of the MD5s by clicking their respective Status checkboxes. The status instantly changes to Active and displays the activation date. Once a file’s MD5 is actively whitelisted, future occurrences of receipt will no longer be recorded by the system.
In the event that an MD5 needs to be removed from the whitelist, simply search for the hash using the Quick Search option on the left pane and disable it by deselecting the Active whitelist status checkbox for the entry.
Tip: You can either activate or deactivate the status of each MD5 individually, or switch the Toggle All button on the left pane to On or Off to activate or deactivate the statuses of all MD5s respectively.