Administrator Guide
You can customize the view of the data columns that must be displayed on the data list pages on the user interface. Data list pages include the following:
| Main Menu | Pages/Tabs/Segments |
|---|---|
| Dashboard | Top Events Last 24 Hours segment (Threat, C2 IP, and C2 DNS tabs) |
| Analysis | Sessions, Threats, Files, C2 (IP and DNS tabs), Malware Events, RetroHunt Events, and Manual Scan (Queued and Scanned tabs) |
| Filtration | HTTP Host Exclusions, Whitelist, and Whitenoise |
| Policy | Policies, the Edit Policy page (InQuest Labs and User-Defined tabs), User-Defined Signatures, C2 (IP and DNS tabs), and Blacklist |
| Administration | Collection |
| Authentication | Users (User Management and Active User Sessions tab), User Groups, Authentication Configuration, and the Edit Mapping page (Authentication Servers section). |
| Knowledge Base | Users (User Management and Active User Sessions tab), User Groups, Authentication Configuration, and the Edit Mapping page (Authentication Servers section). |
| Support | System Logs (Audit Logs and Engine Logs tabs) |
Customizing Data Columns Display
- On a data list page, hover your cursor on the grey node at the top-right corner of the column header as highlighted below.
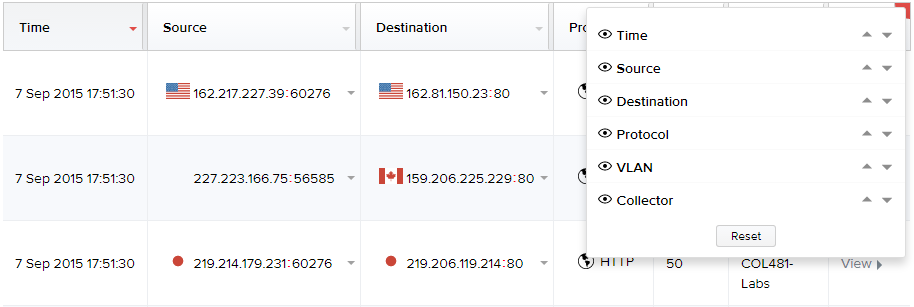
Click on the icon corresponding to a data column header name to remove it from being displayed on the page. The column name is removed from the display and its corresponding icon changes.
Note:
- To redisplay the column in the table in future, click the icon.
- To restore to the default display settings of the tabular columns, click Reset.
- Click the up and down arrows corresponding to the column header names to display them in your desired sequence in the table.
Example
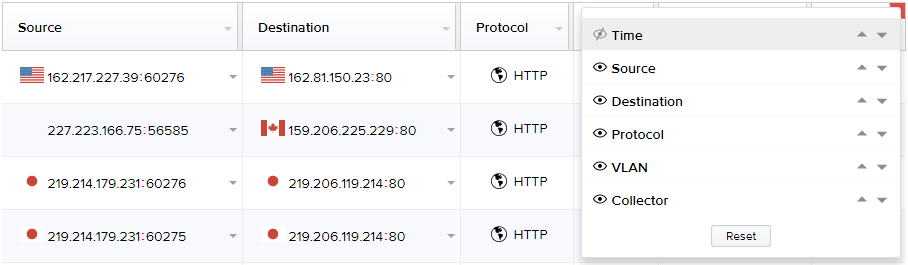
Observe the icon corresponding to the Time column header being clicked to be removed from the display. The icon is now changed to and the Time column is removed from the table.
Was this page helpful?