Setup Steps
Generate an API Key — this acts as the secure bridge between MDSSC and your external services.
Add your chosen connection into an MDSSC workflow.
Generate a Webhook URL for the specific connection.
Configure the Webhook in your service provider with one of the below Examples
Examples
Examples for each provider can be found in the Event based scanning section:
The example pages from Event based scanning section contain examples which are subject of change in case the service providers change their User Interface.
Generate a Webhook URL
Navigate to Inventory and select an active service connection
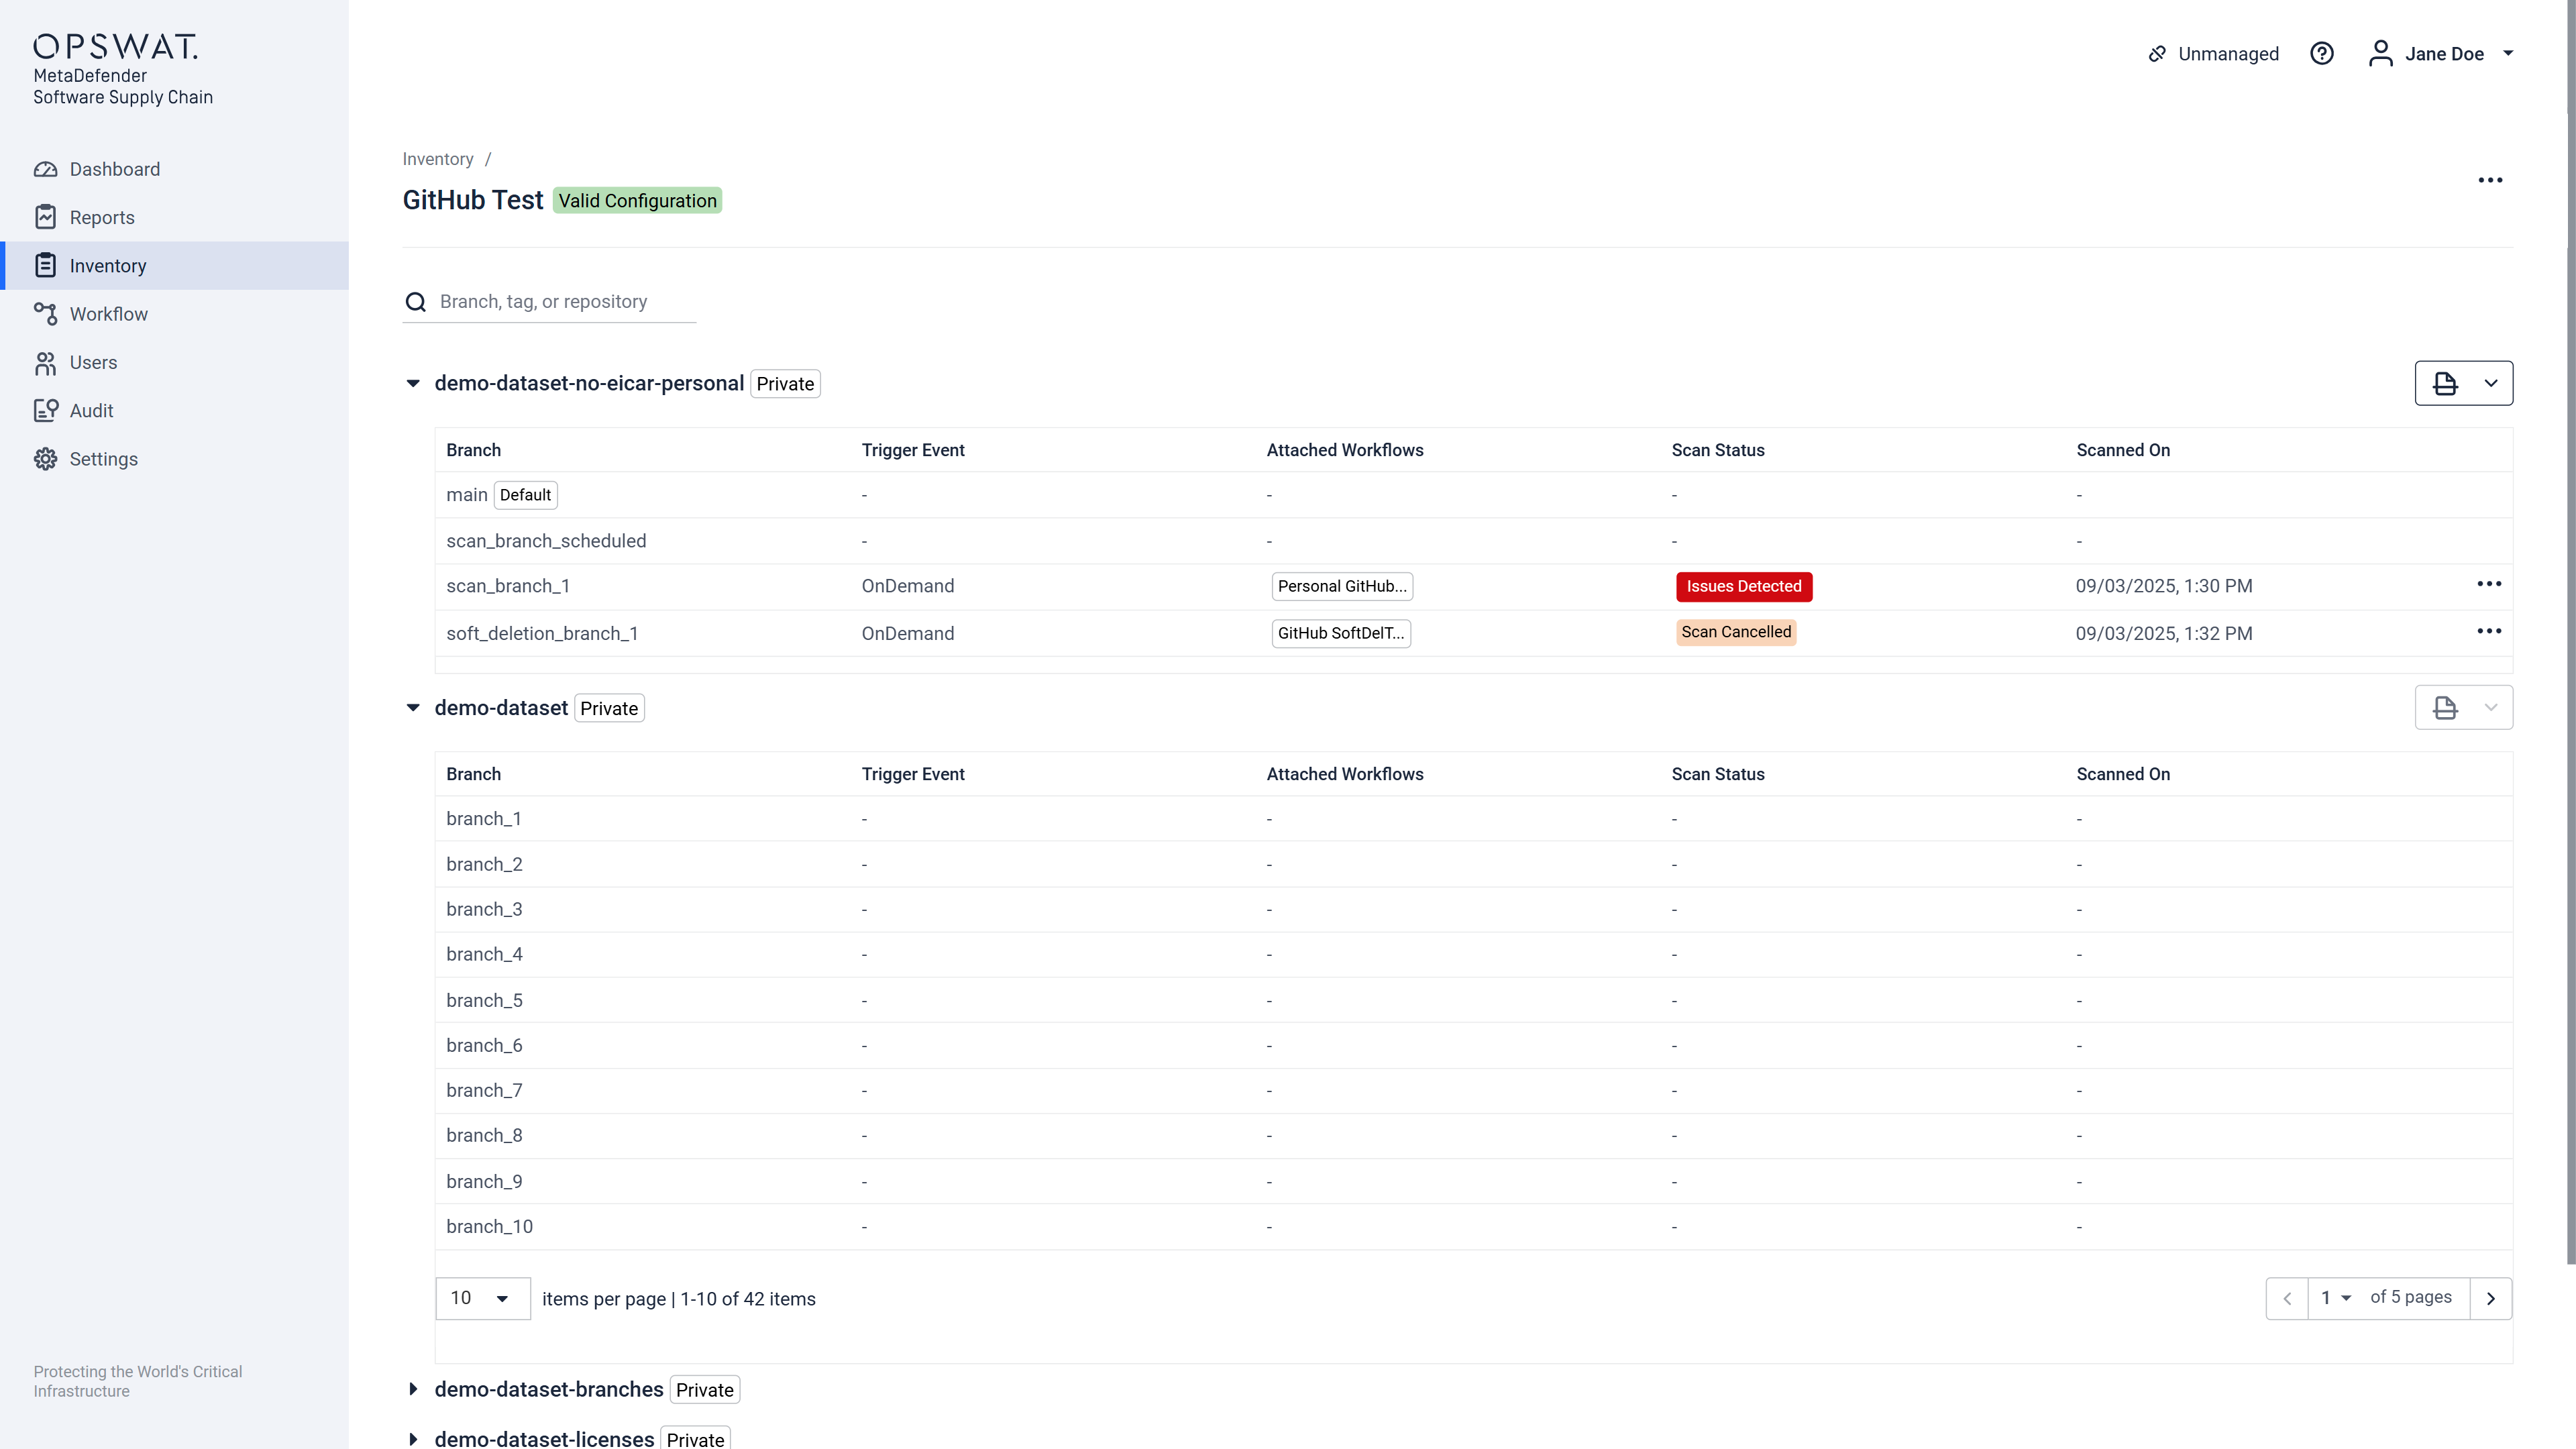
Open the Scan dropdown to see attached workflows and additional options.
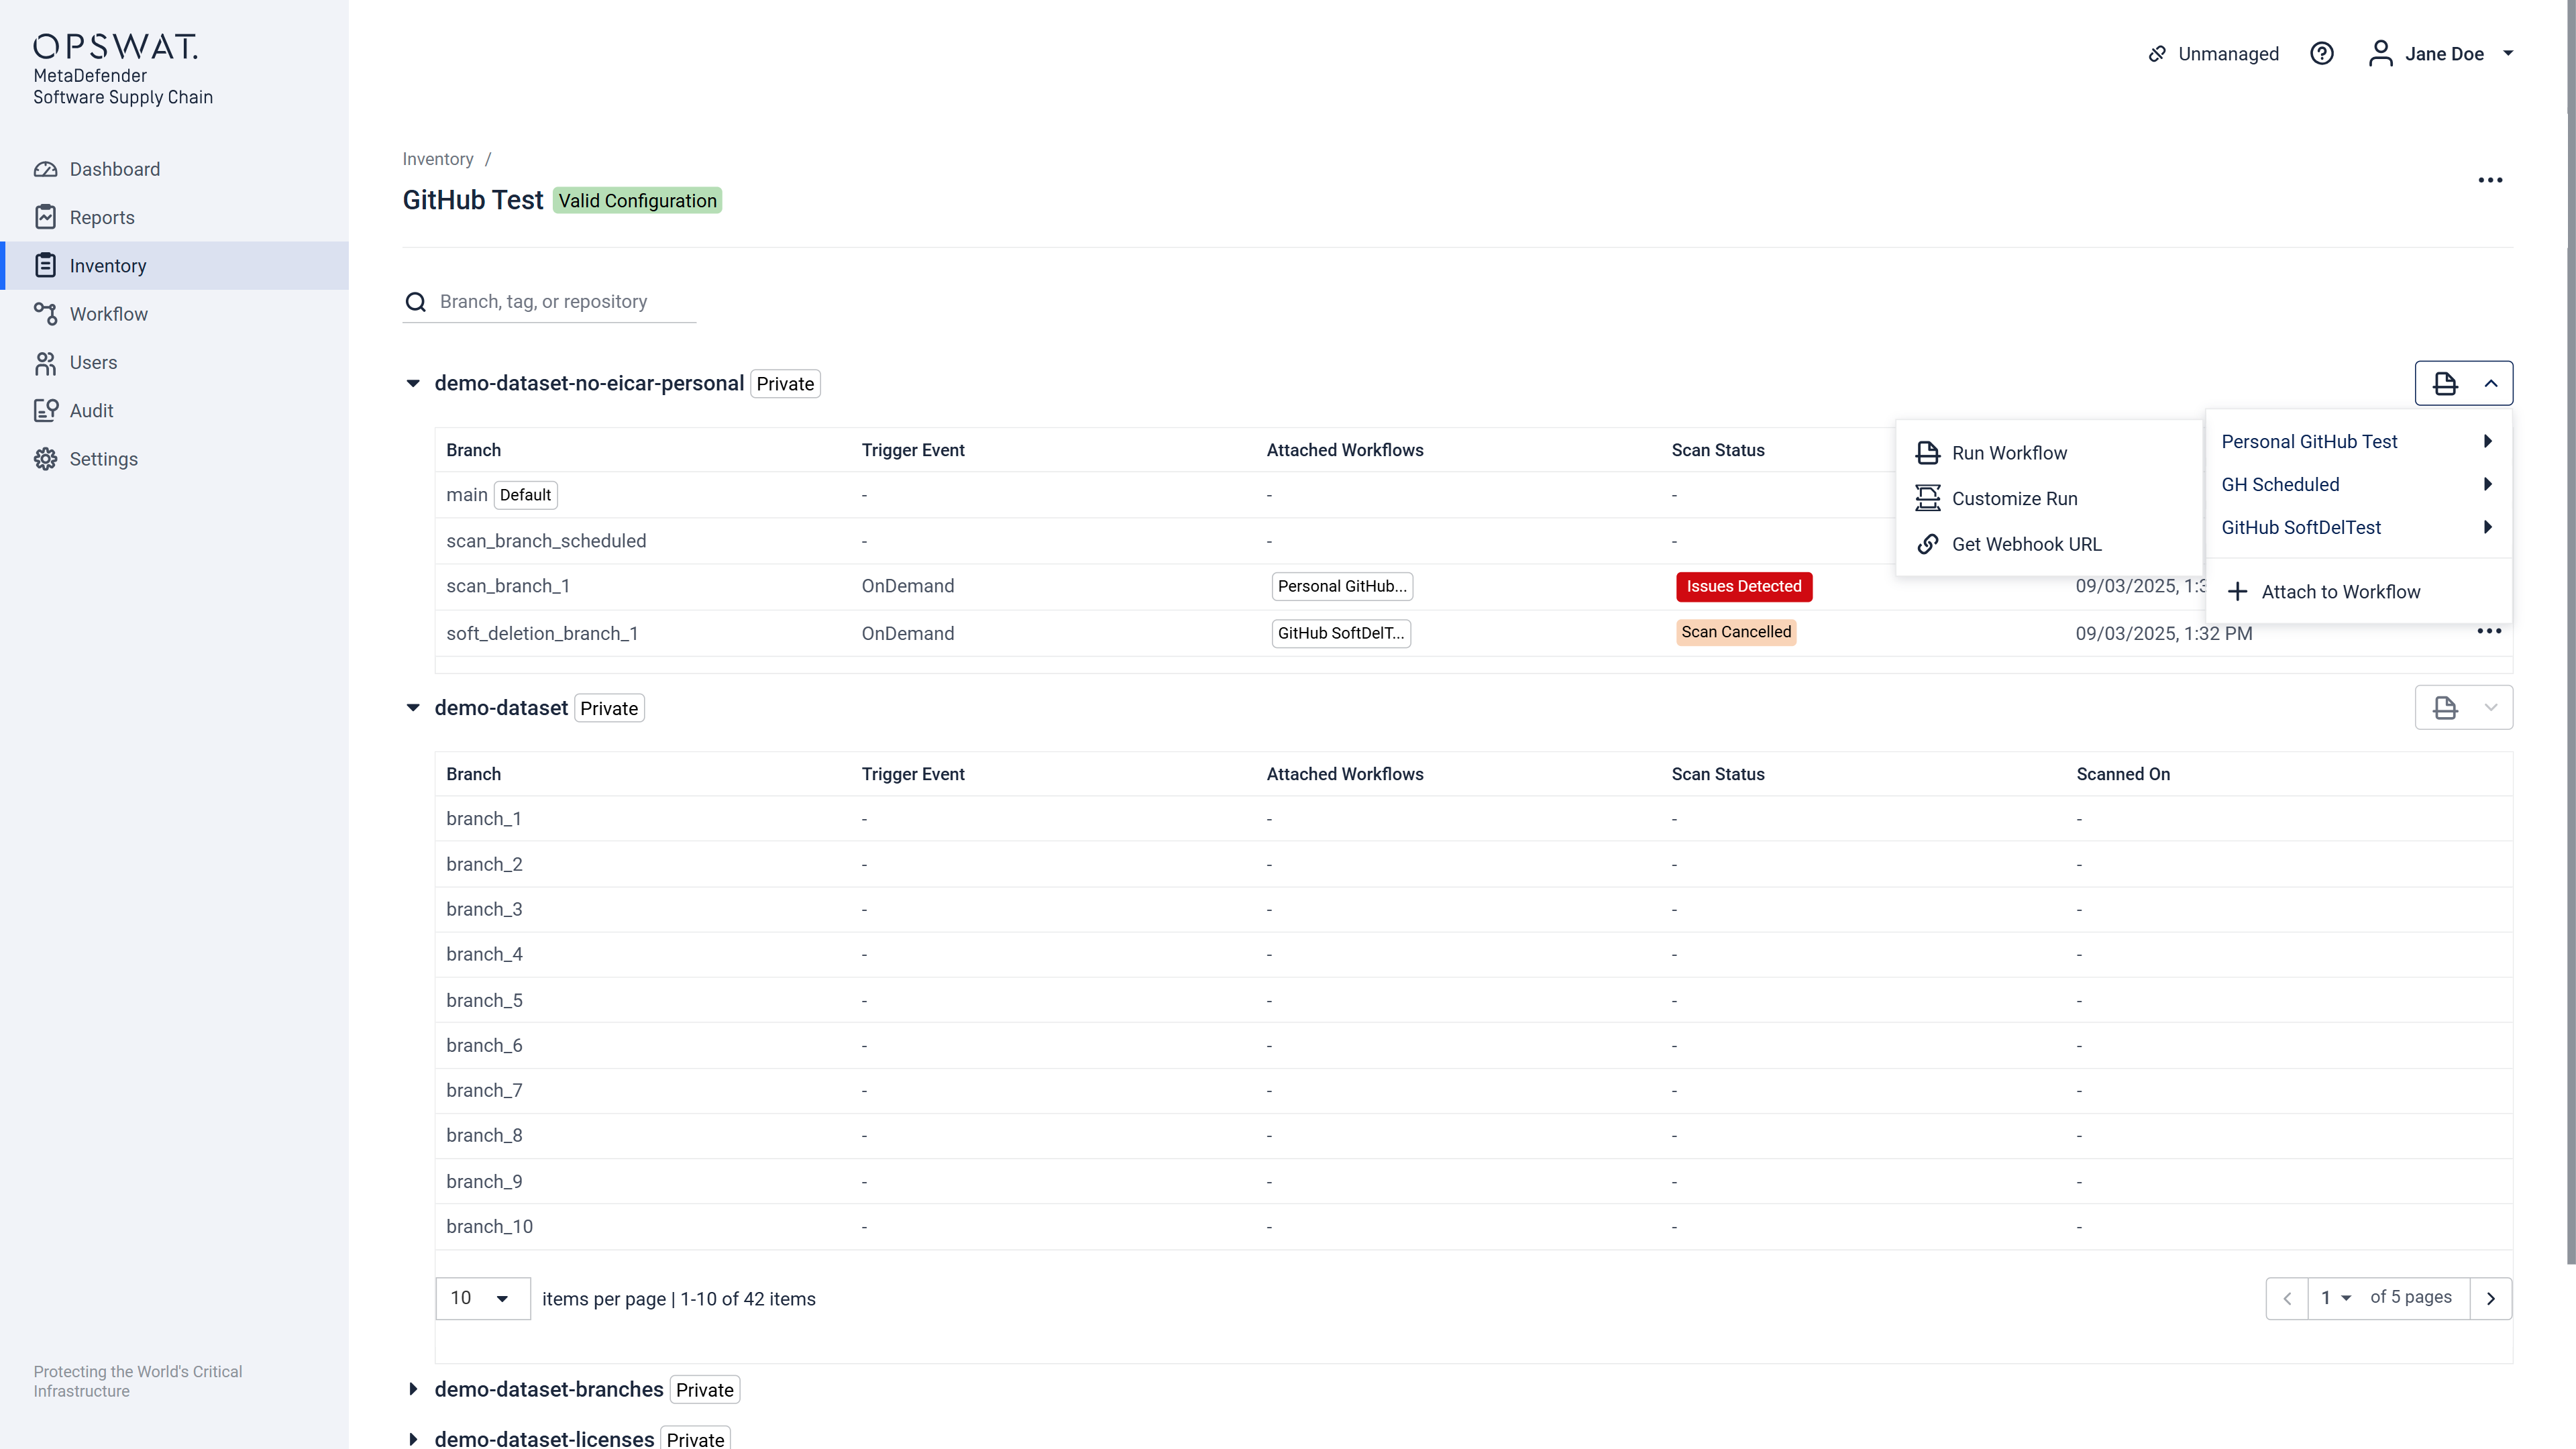
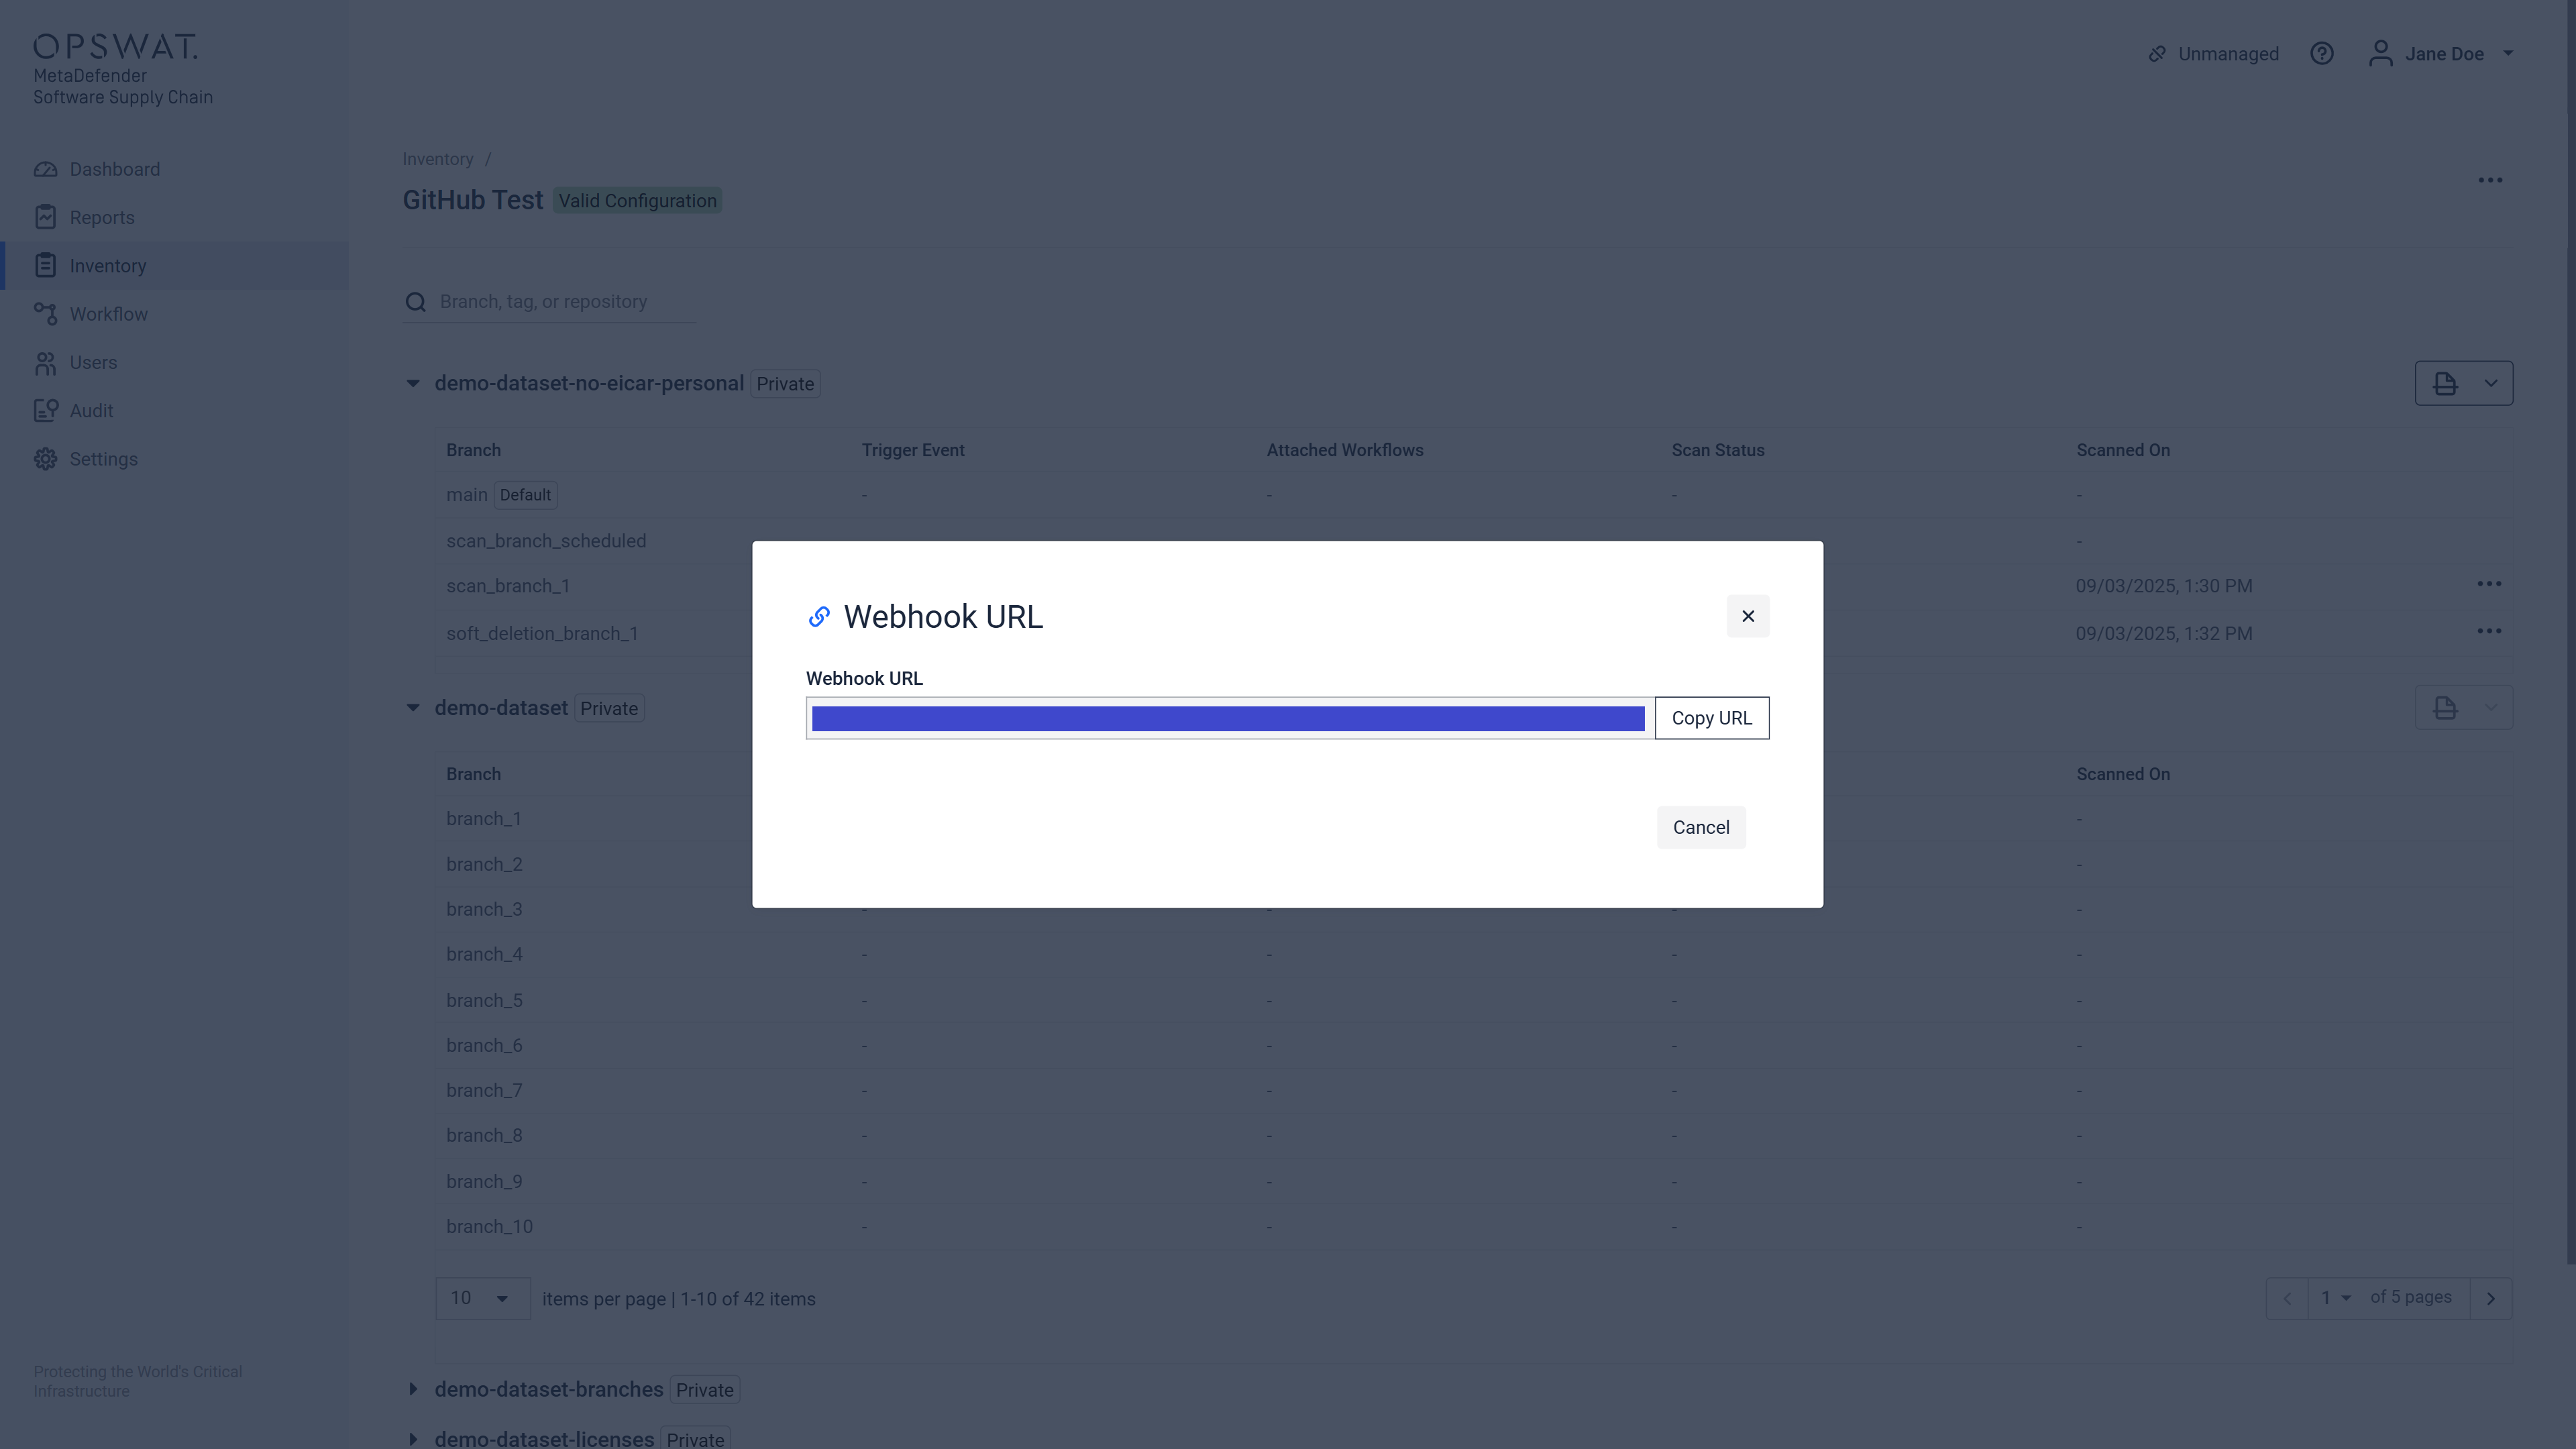
Select Get Webhook URL. A modal will open with instructions for configuring your webhook:
Supported Events
Currently, Webhooks are supported for:
Bitbucket Cloud
Repository: Push
Pull request: Opened, Merged
Bitbucket Data Center
Pull request: Opened, Merged
Repository: Push
GitHub
Repository: Push
Pull request: Opened, Merged
GitLab
Push
Merge Request
JFrog Binary
Artifact was cached
Artifact was copied
Artifact was created
Artifact was moved
What that means?
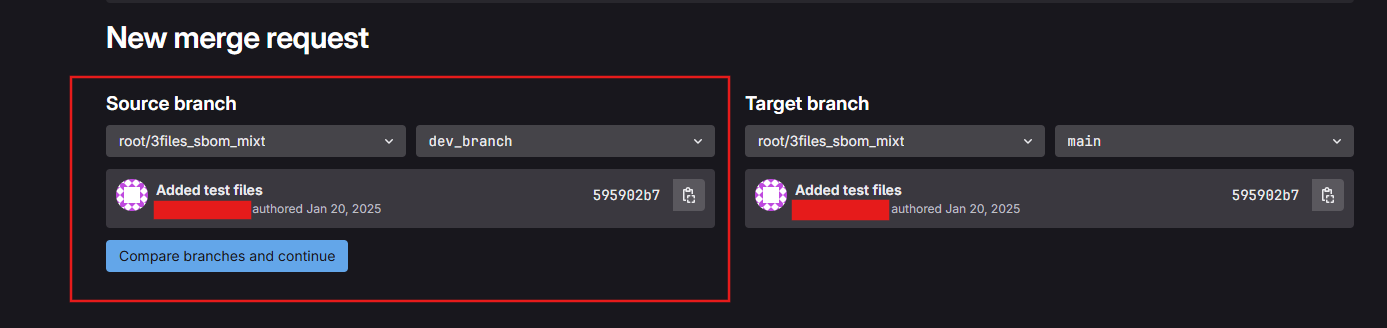
Every time a
merge-requestis made on the chosen repository (the desired one is the one from which you got the Webhook URL) then a scan will be triggered on the source branch not on the target branch.
Every time a
pushis made on the chosen repository a scan on this repository will be started and scan will be done on the default branch of the repository:
JFrog Binary:
It goes the same for the JFrog Binary events**,** every time a specific event happens (an
artifact was cached/copied/created or moved, depending on your configuration, into the selected repository) a scan on the chosen repository will be started.