
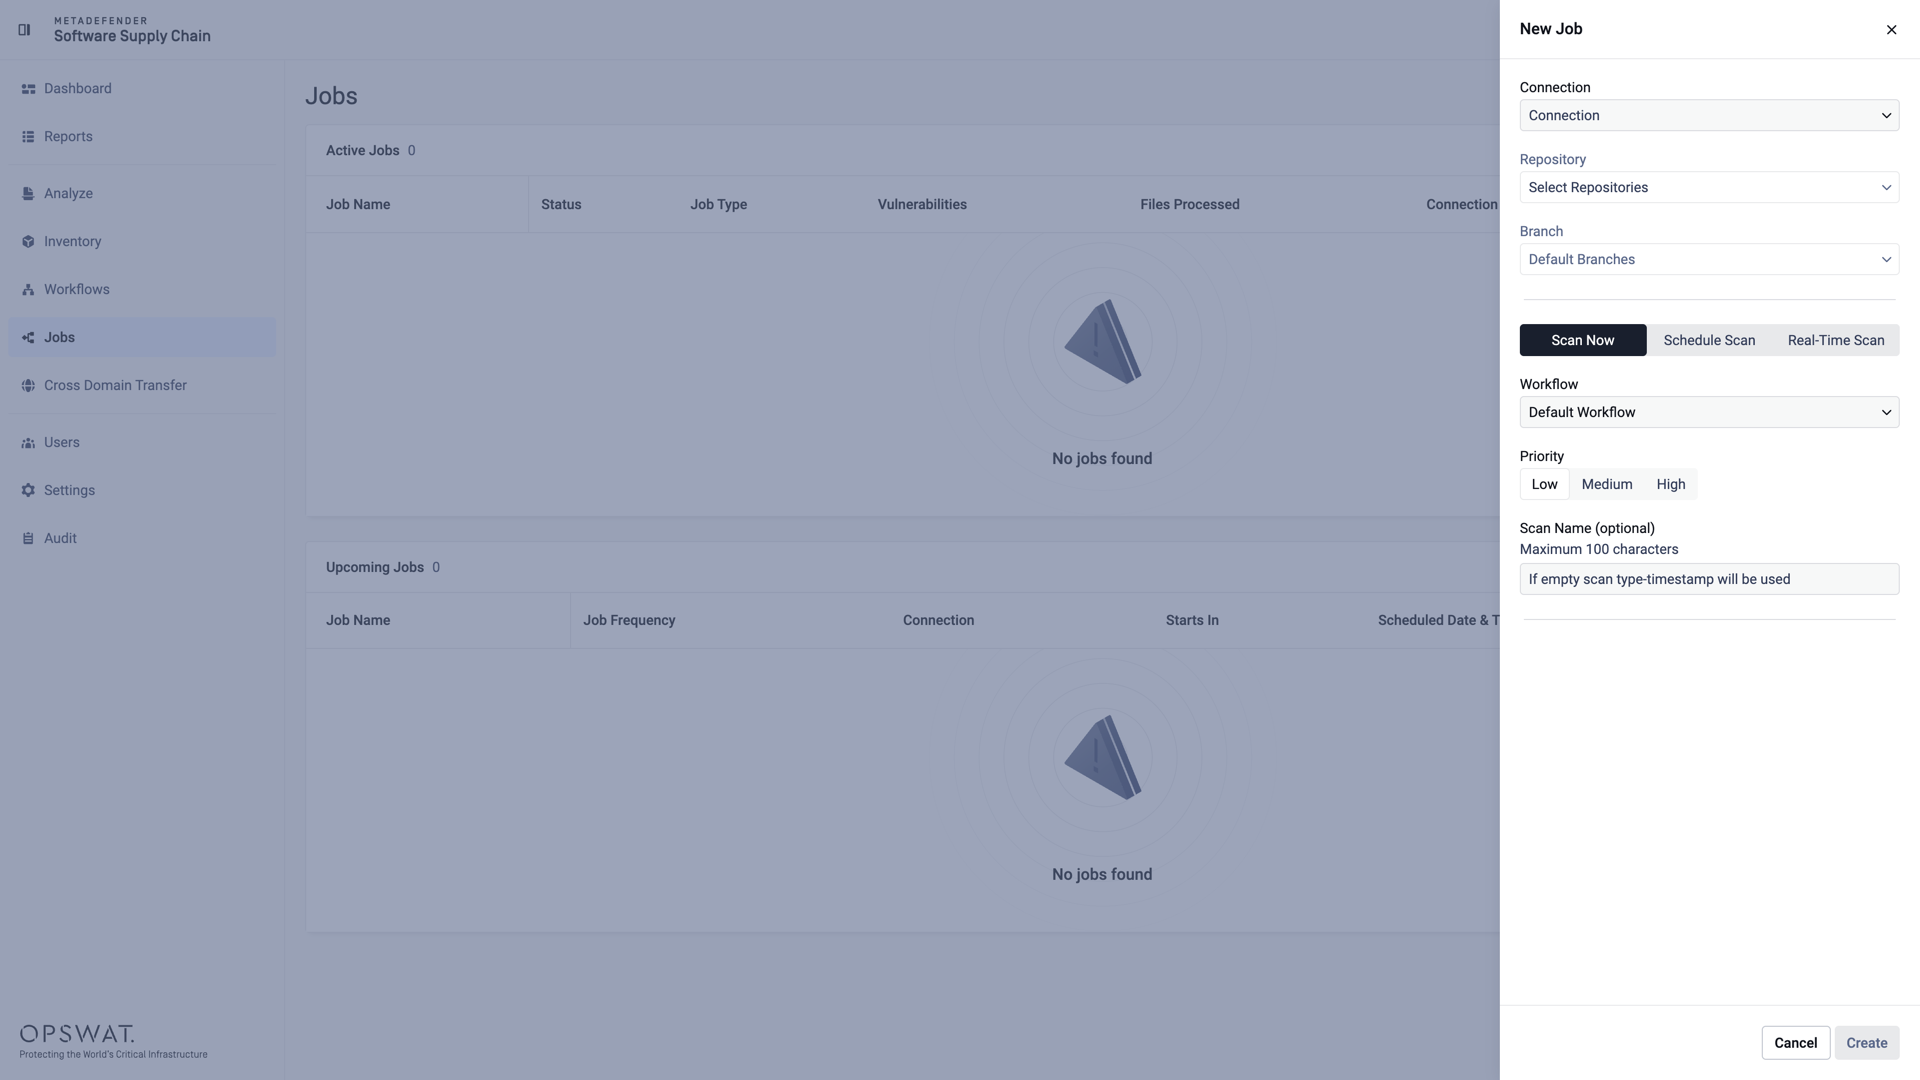
On-demand scans are started from the Jobs page - the central place for creating and monitoring all scanning activity. You can also start one directly from a connection's Inventory page. Both open the same New Job panel.
Go to Jobs and click Create Job in the upper-right corner of the page:
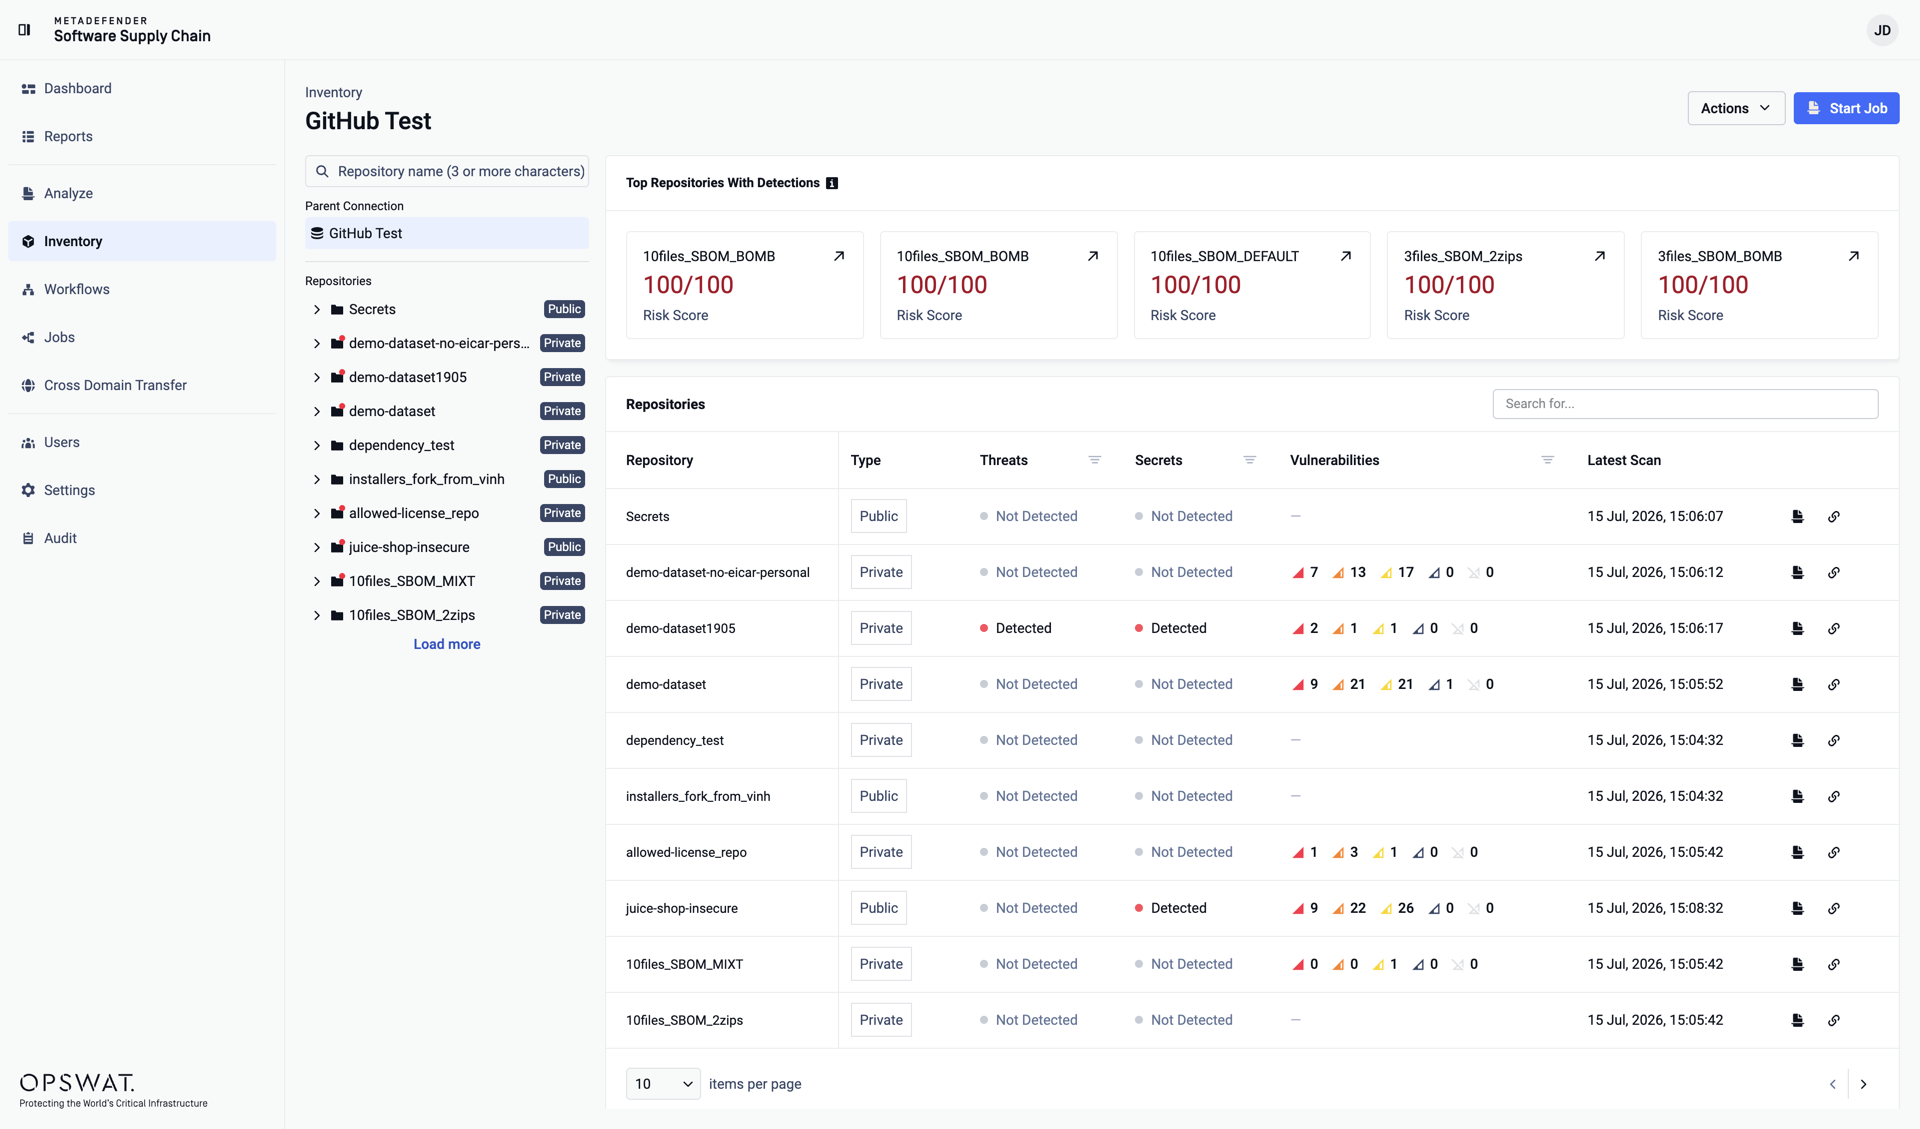
Alternatively, go to Inventory, select an active service connection, and click Start Job - the same panel opens with the connection already selected:
In the New Job panel, keep the default Scan Now tab and configure the scan:
Connection: the service connection to scan. Already filled in when you start from Inventory.
Repository: the repositories to scan. You can select multiple repositories, or all of them at once.
References: the branches, tags, or references to scan. By default, the default reference of each repository is used. For binary repositories this selection is not available.
Workflow: the workflow that will be applied to the scan. The details and remediations of the selected workflow are displayed below the field.
Priority: Low, Medium, or High. Higher priority jobs are processed first.
Scan Name (optional): a custom name for the scan, at most 100 characters. If left empty, the scan type and a timestamp are used.
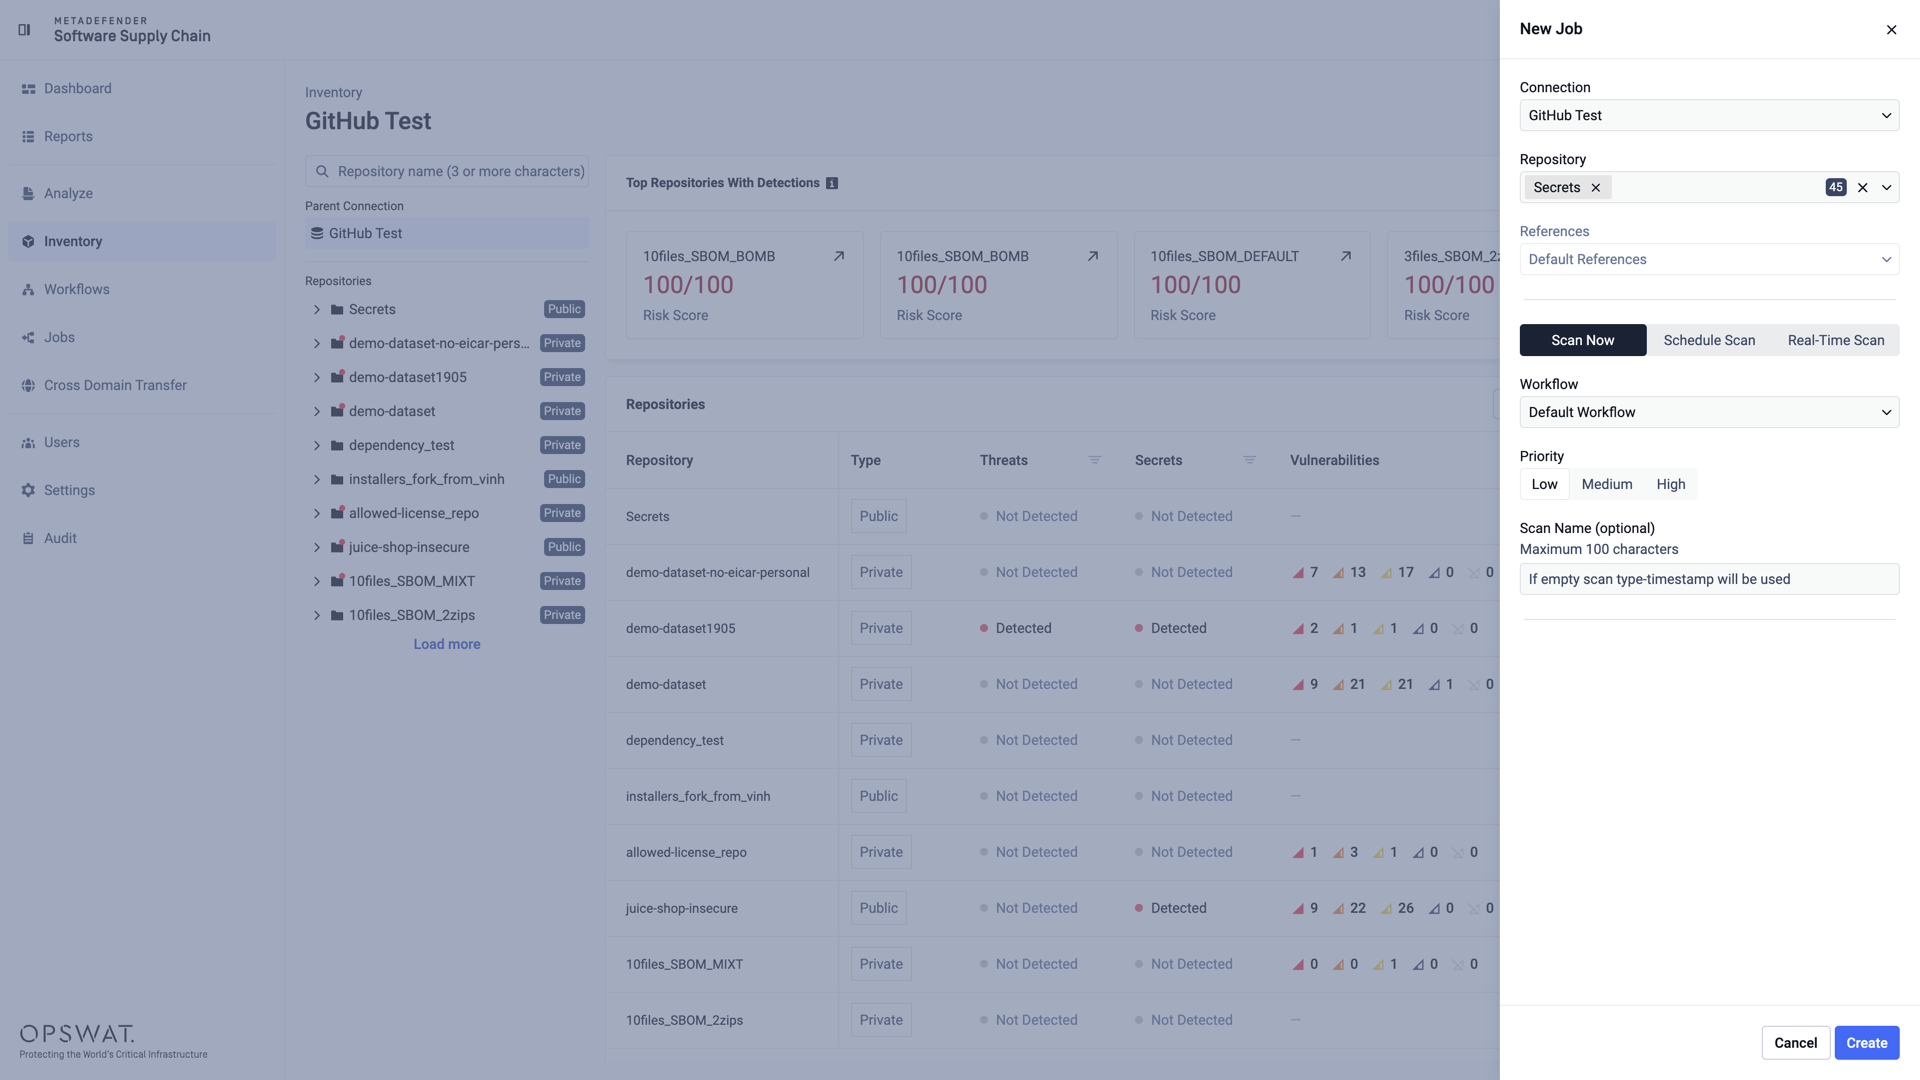
Click Create. The scan starts immediately and appears in the Active Jobs table on the Jobs page, where you can follow its progress or cancel it.
When the scan finishes, a Job Completed notification is displayed with a direct link to view the results on the Reports page.
To scan on a recurring schedule instead, see Scheduling Automatic Scan. To scan automatically whenever the repository changes, see Event based scanning.