
How does it work?
In this setup guide, the authentication process will have 3 steps:
Step 1: User enters the account credential
Step 2: User enters the authentication code from the Authenticator App
Step 3: Run a device posture check on the user's device
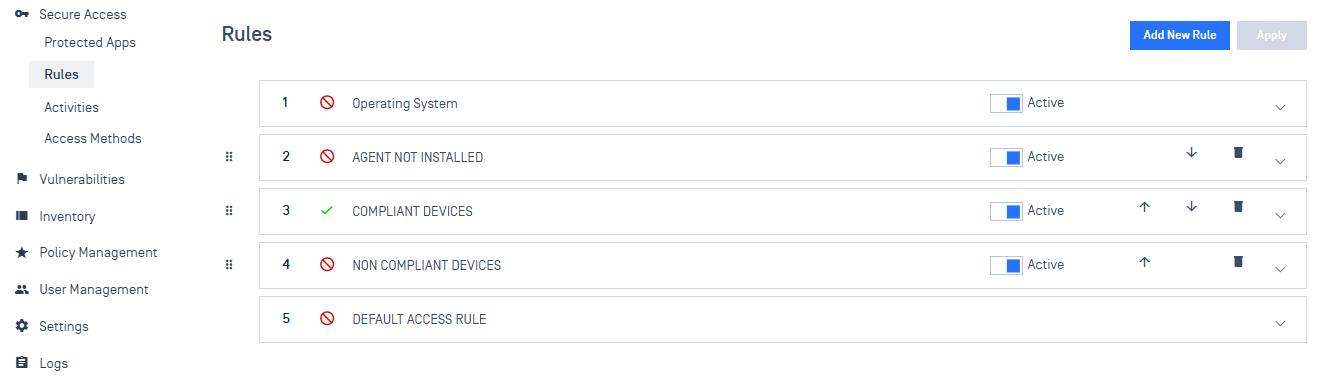
Administrators also can customize the Secure Access rules.
Notes: The IdP MFA method will apply to all applications on IT Access Secure Access Rules. To apply IdP MFA for specific applications, you must assign applications from Ping Console. More detail is in step "15. Assign Policy to Selected Applications"
Setup guide
In My OPSWAT Central Management, navigate to Secure Access > Access Methods > IdP MFA, and Enable IdP MFA
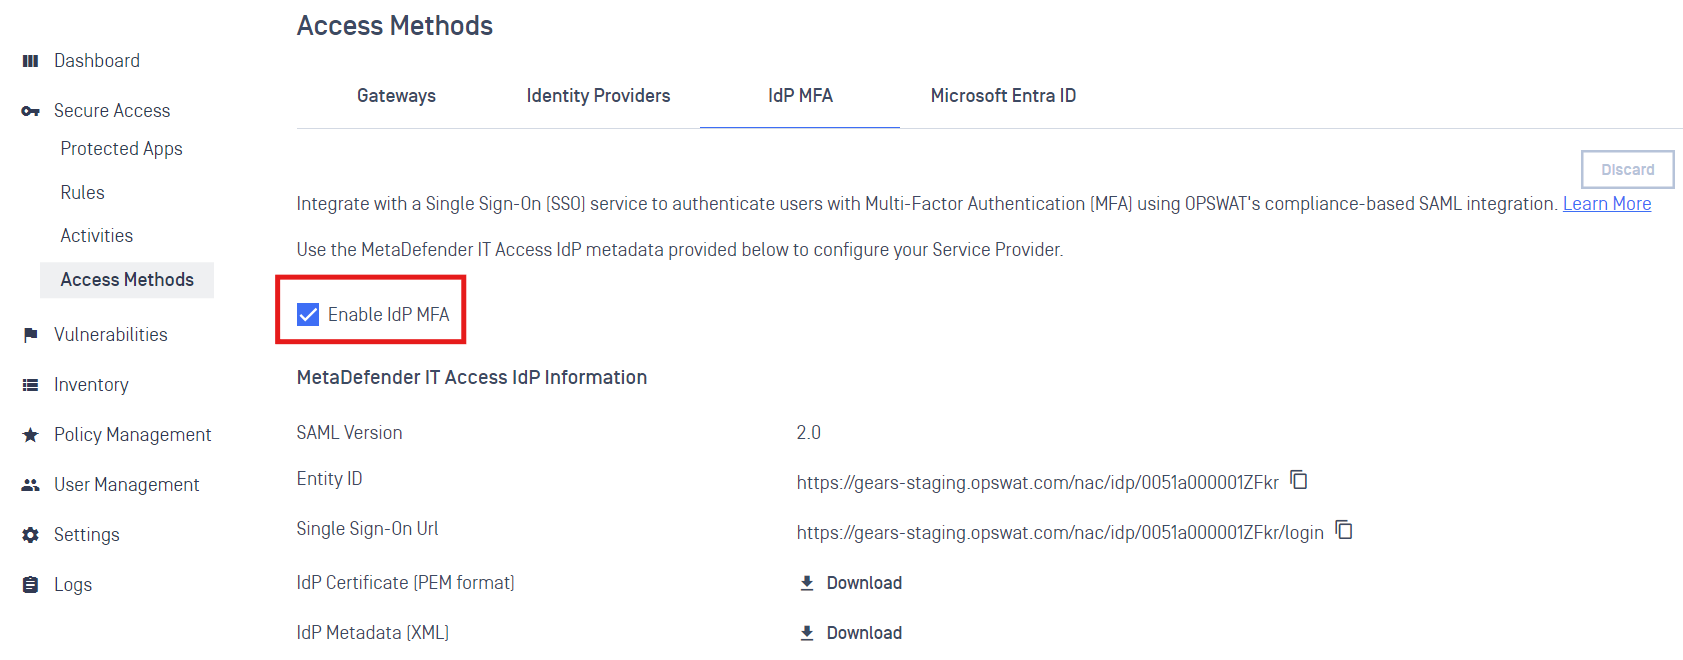
Then download IdP Metadata (XML) file
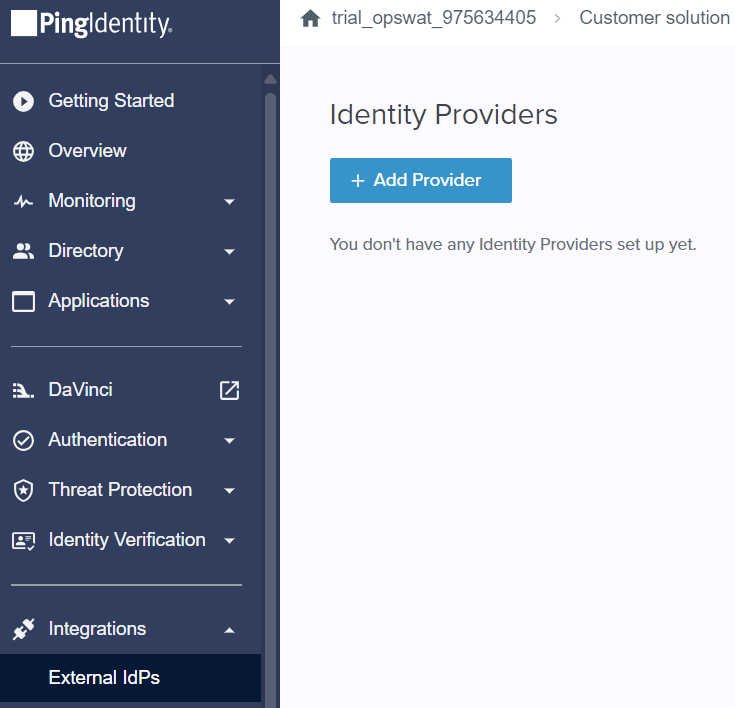
In PingIdentity, go to “Integrations > External Idps“, then click on Add Provider
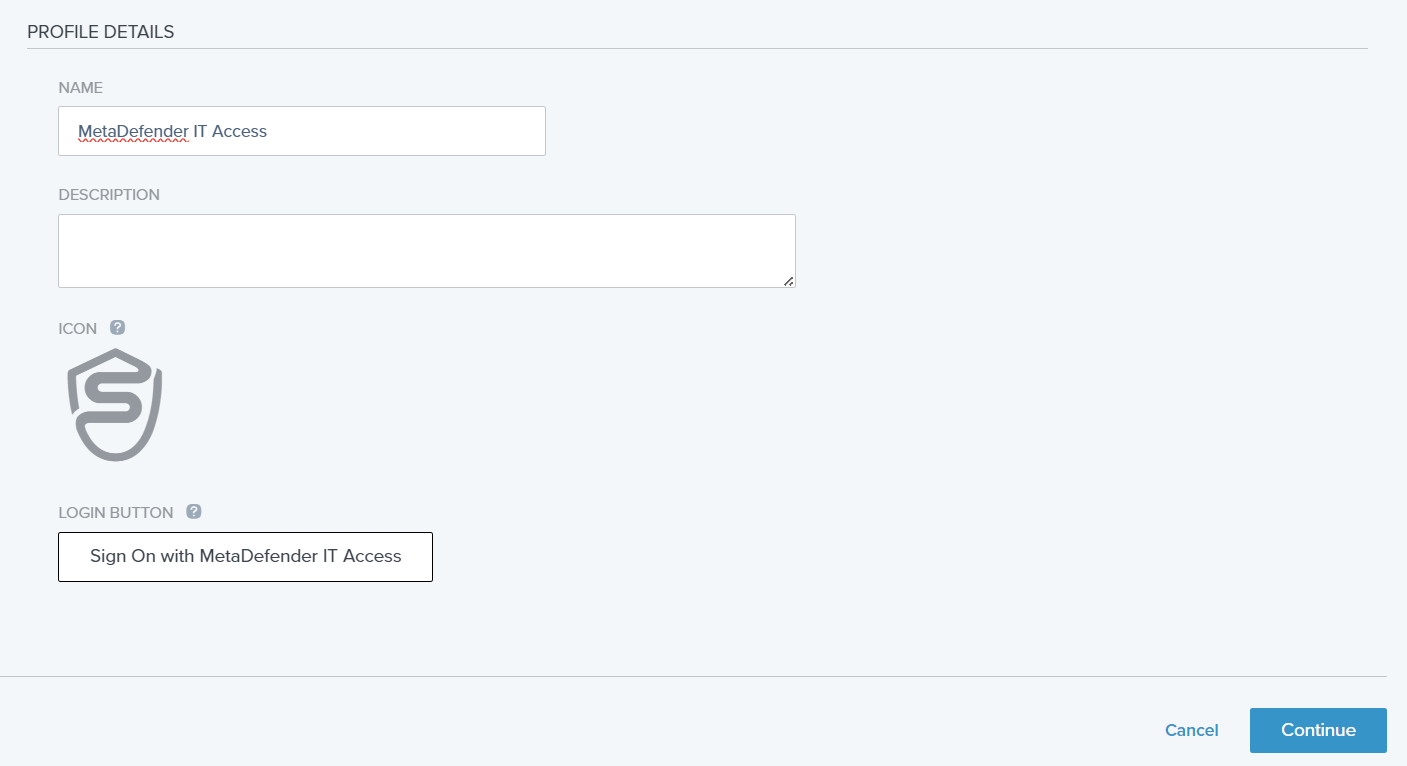
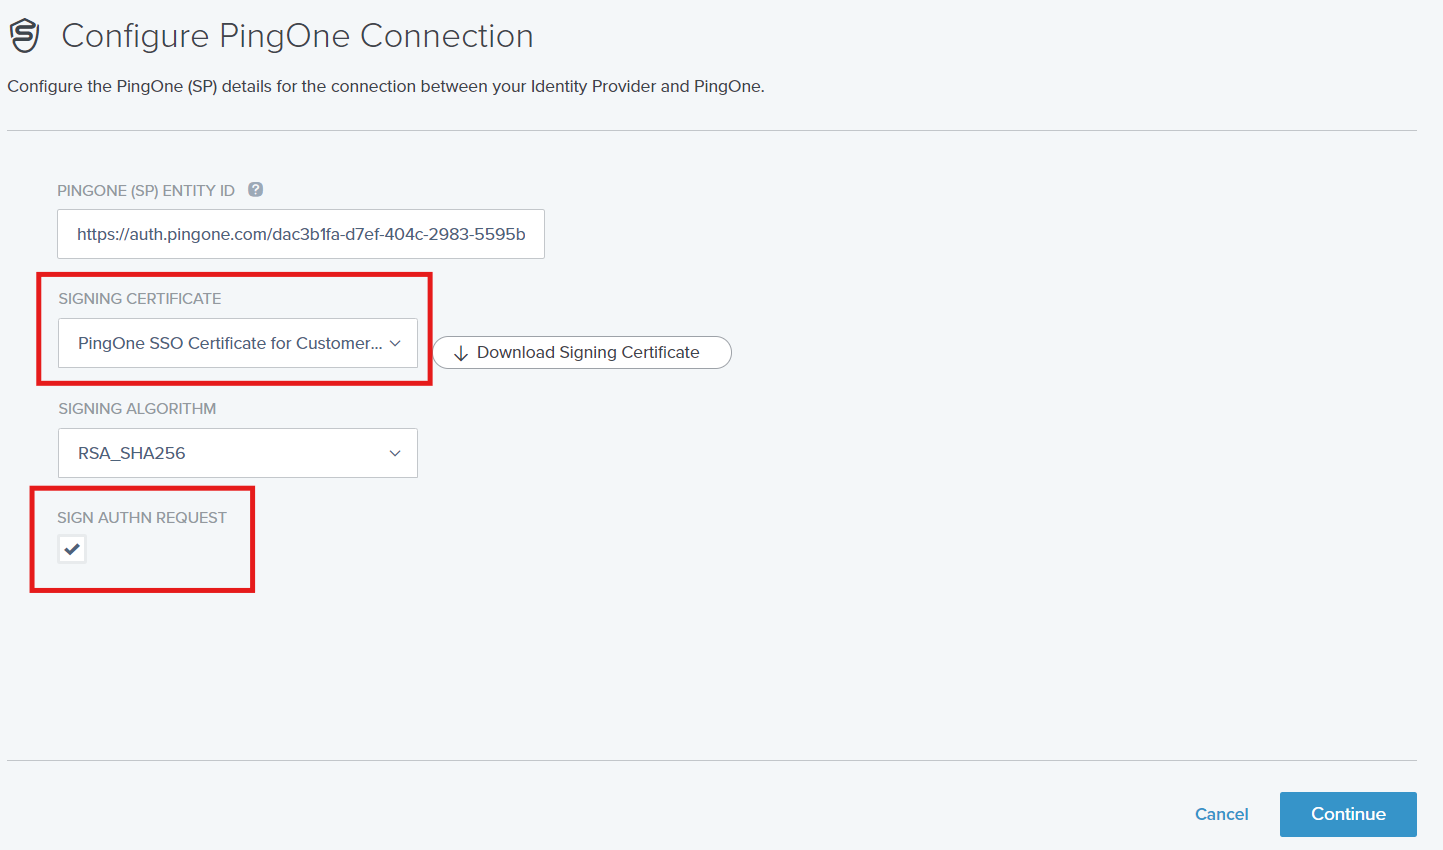
Select SAML, and filling information
Choose Signing Certificate and check on "Sign Authn Request"
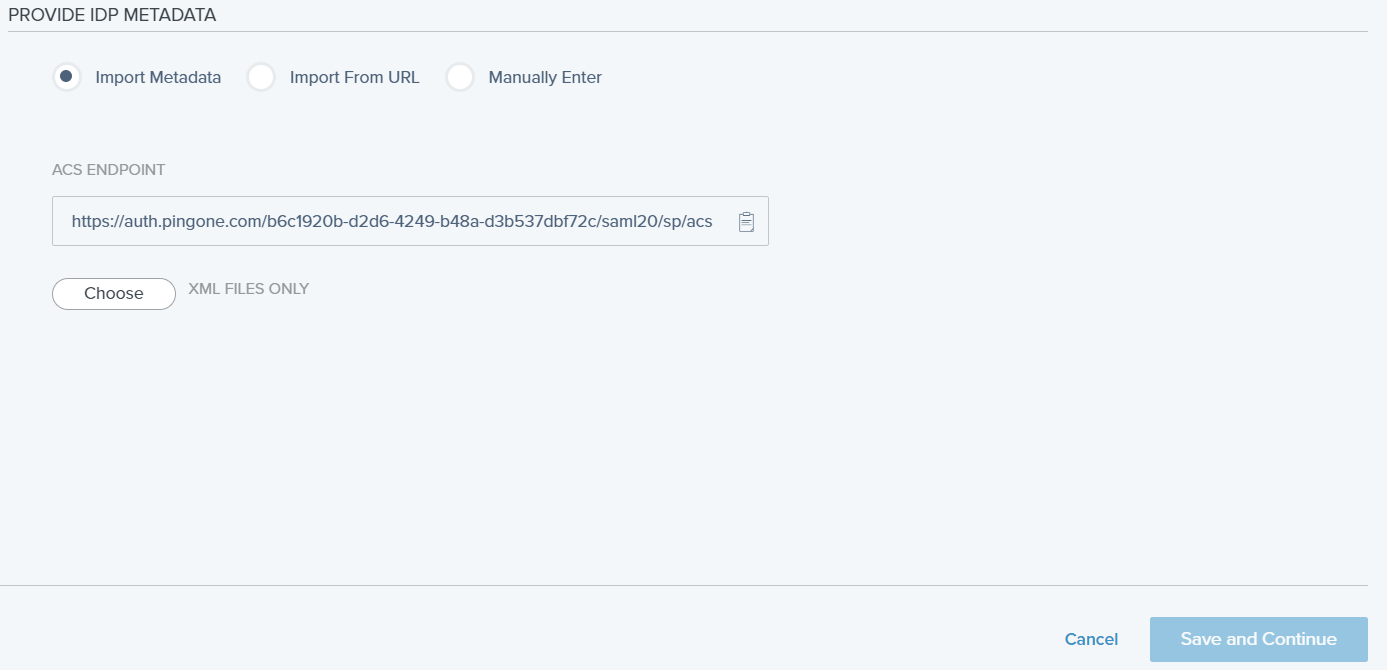
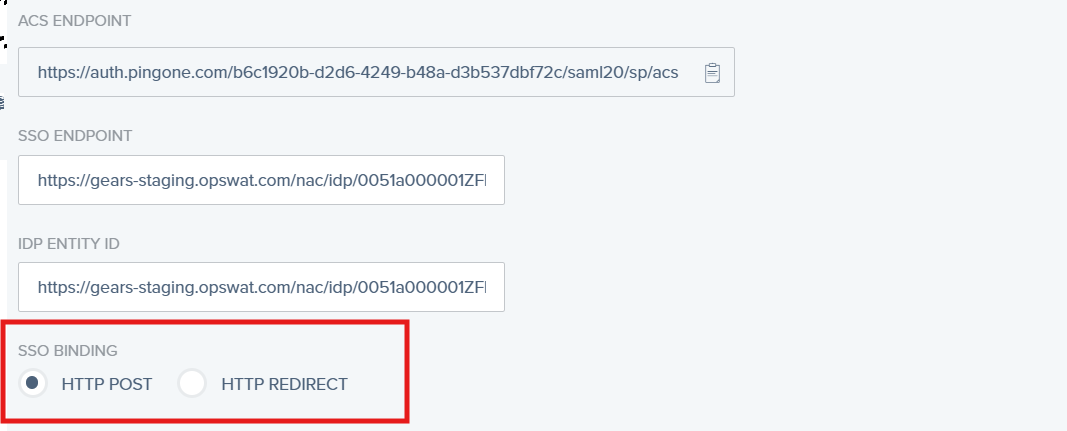
Import Metadata downloaded in Step 2, and select "HTTP POST" as SSO Binding
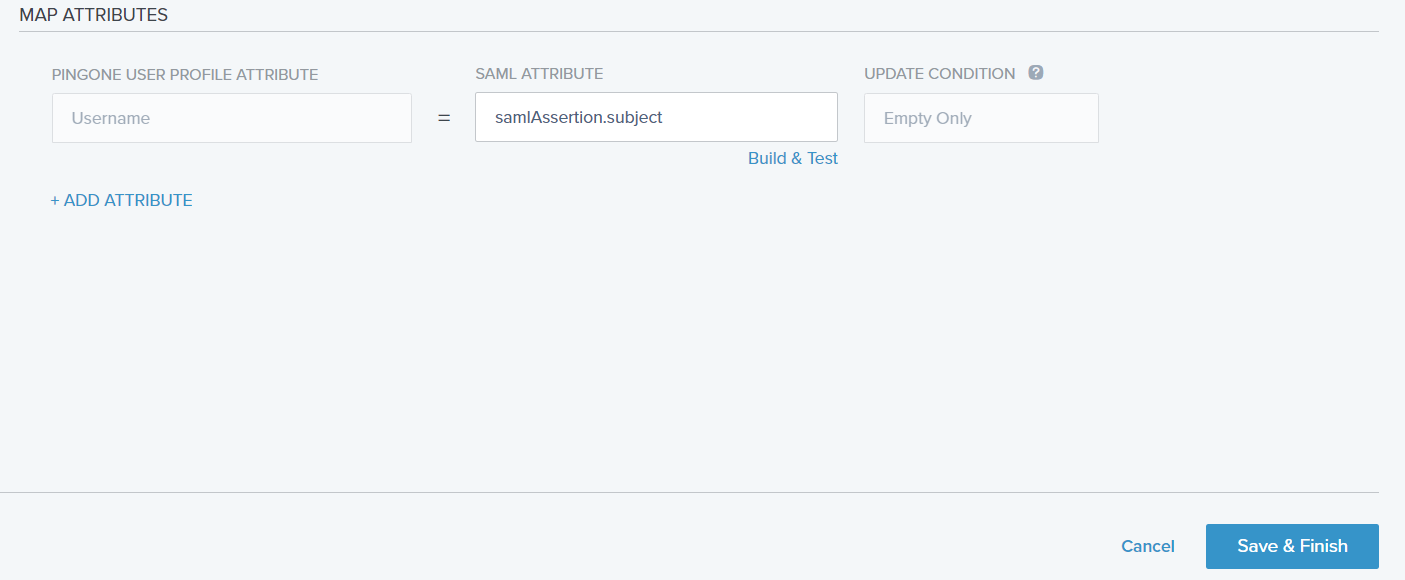
Click on Save & Finish
Enabled the new IDP
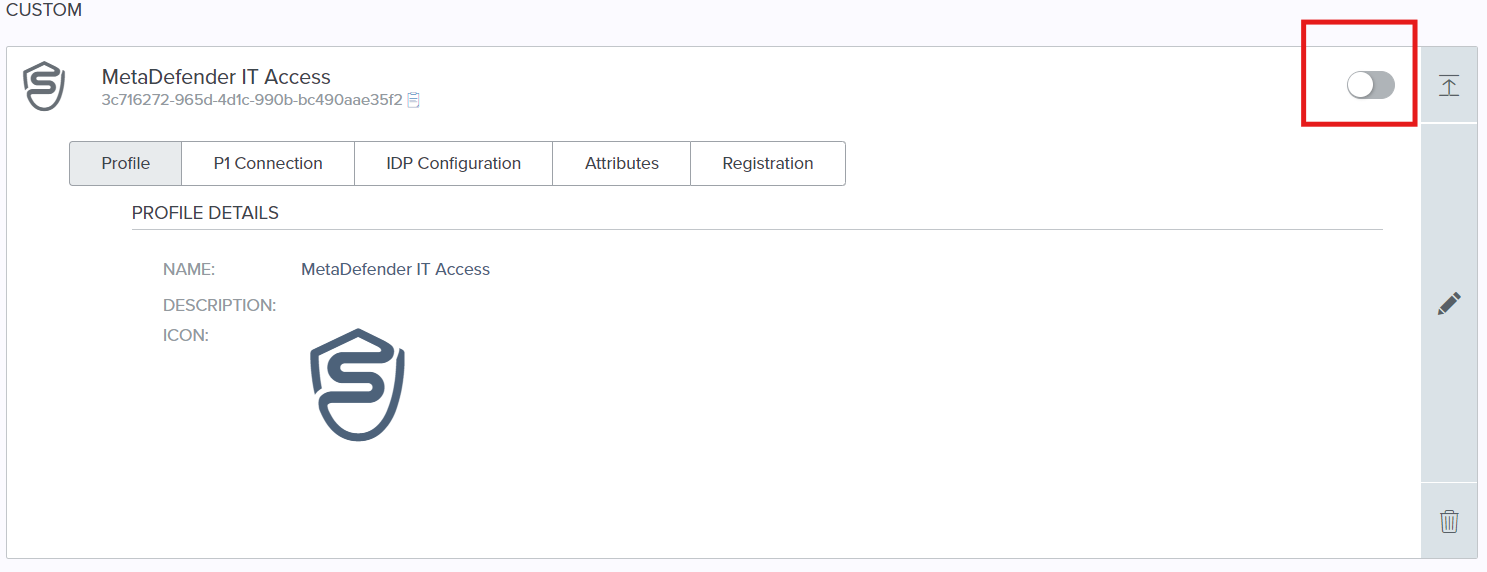
From the new created IDP, click on the pencil icon, then click on IDP Configuration tab and click to download the metadata
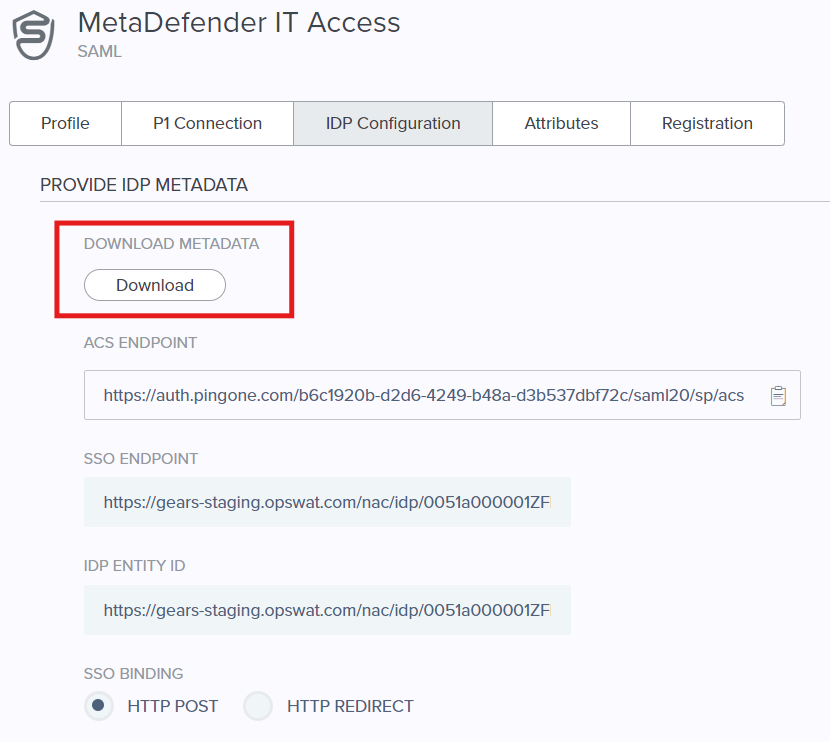
Upload the Ping Metadata in My OPSWAT Central Management and Save
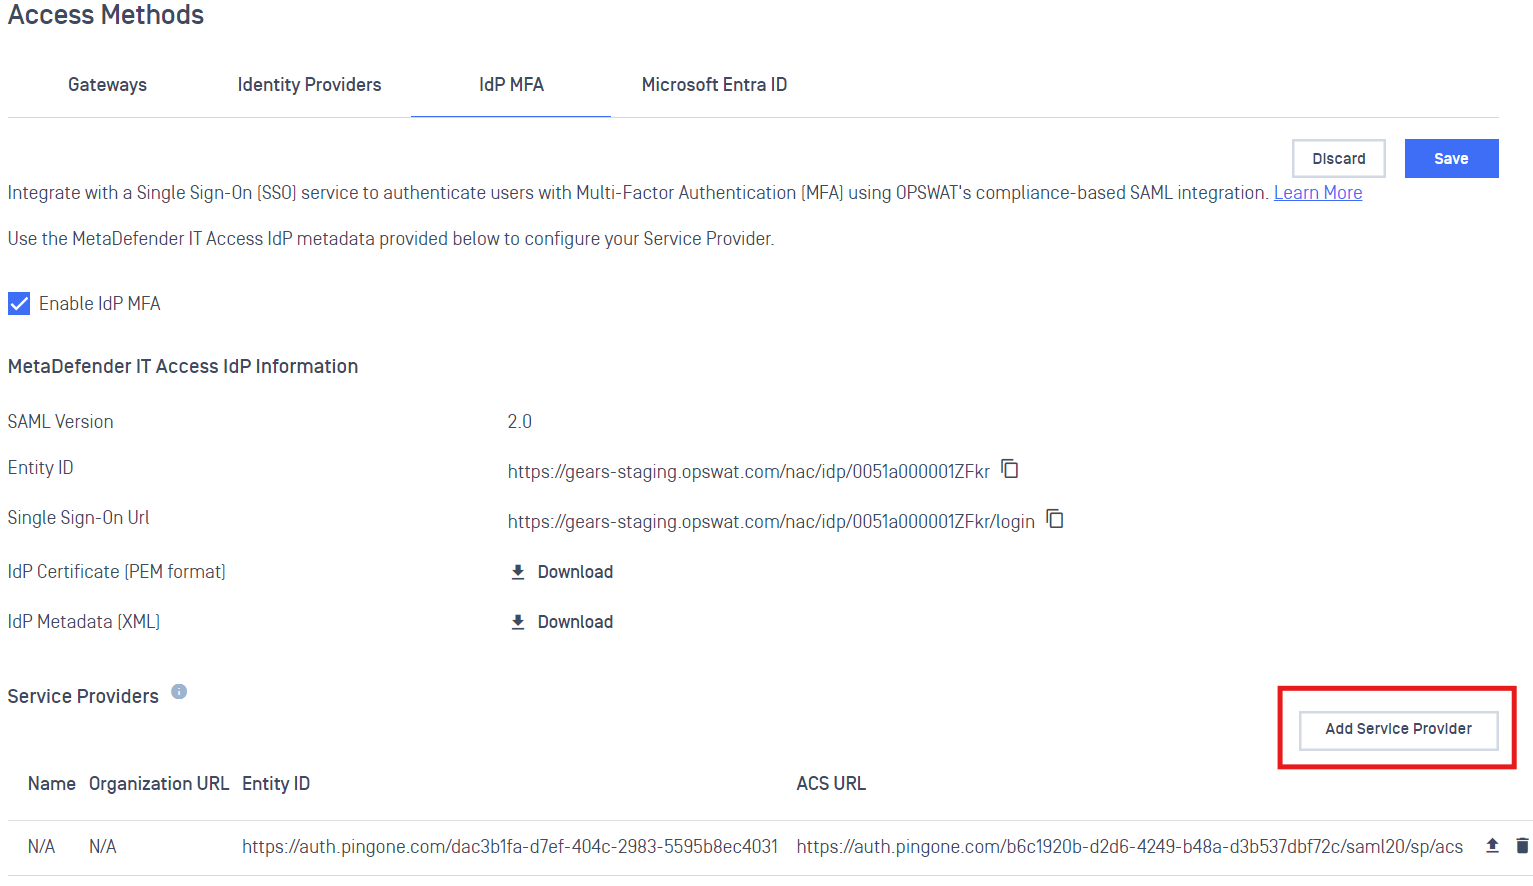
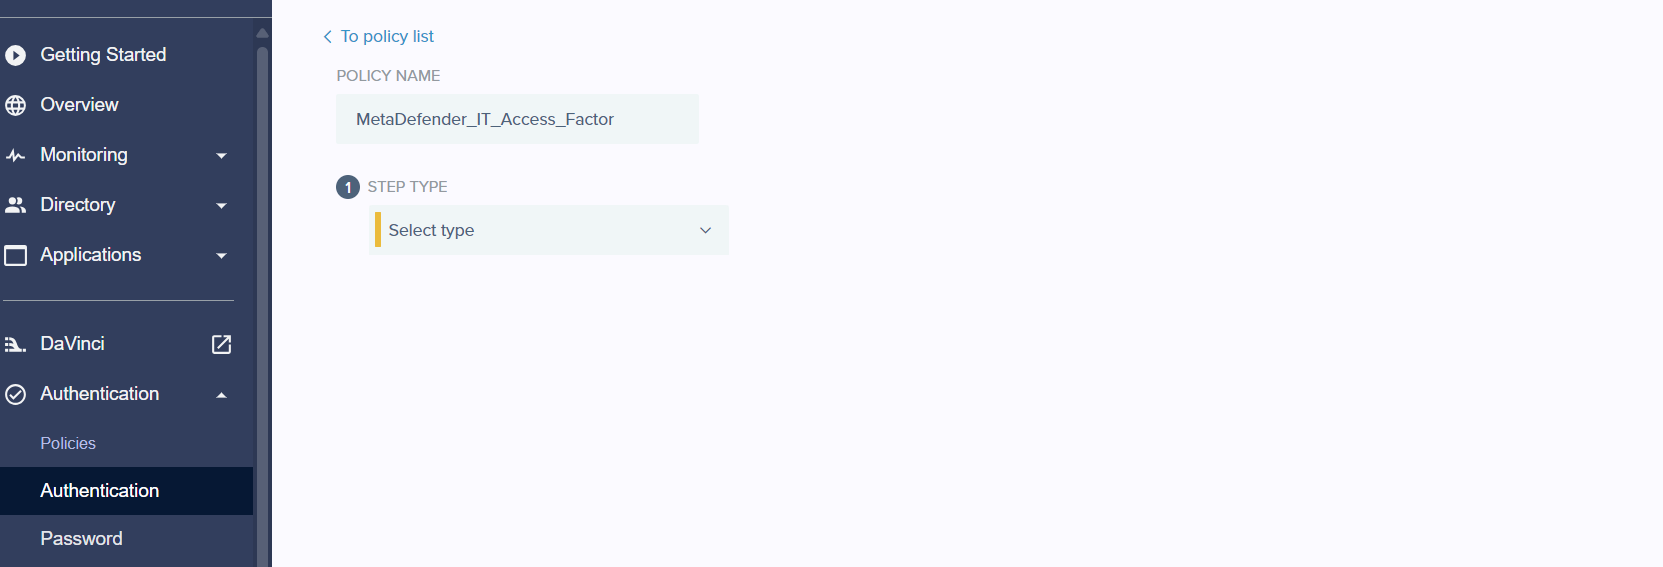
In PingIdentity, go to Authentication > Authentication, click on Add Policy button and fill information
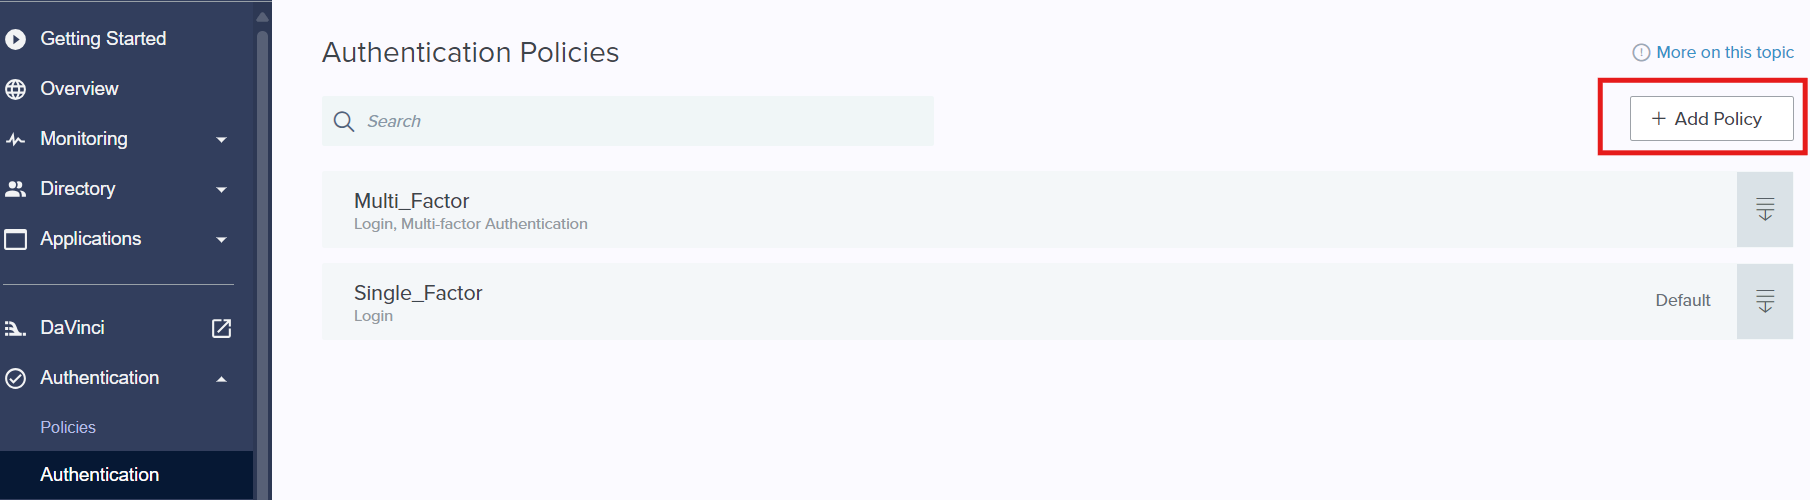
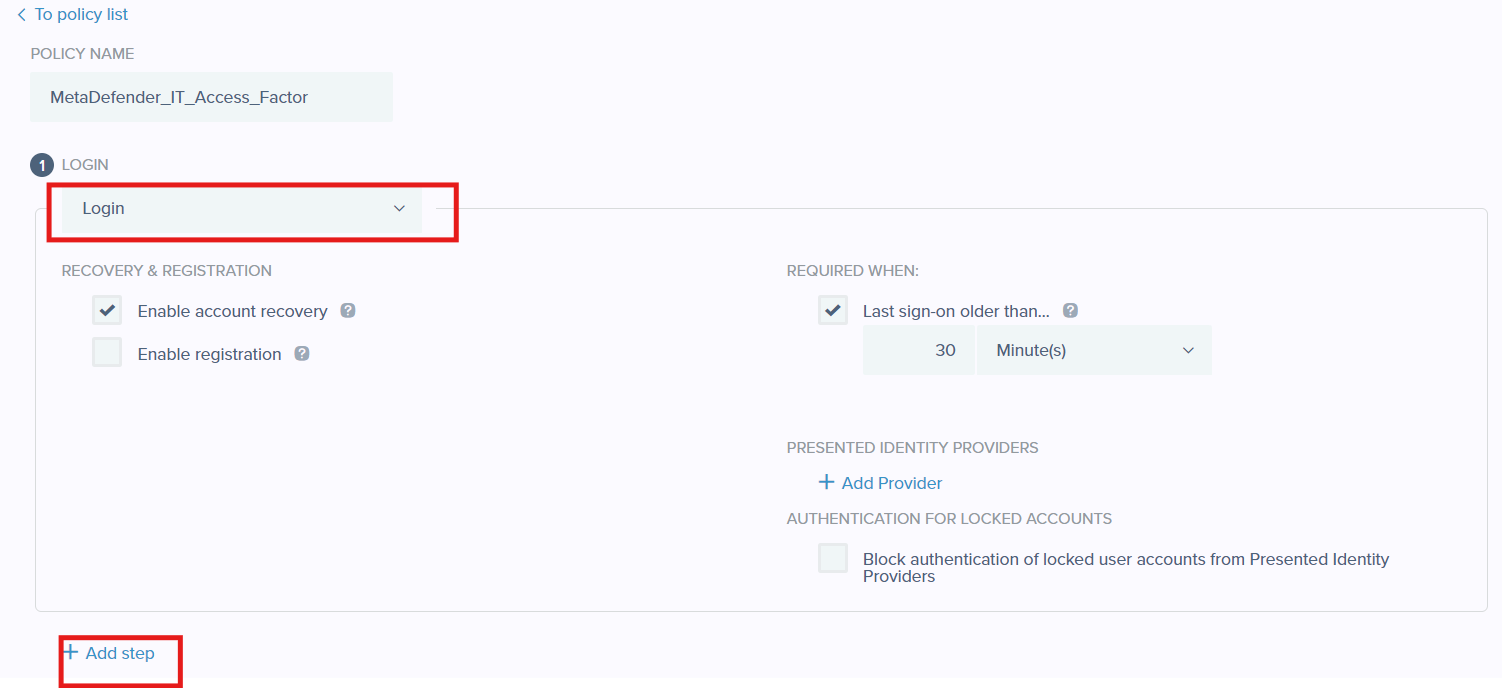
Add Login as first step then click on Add step for next step
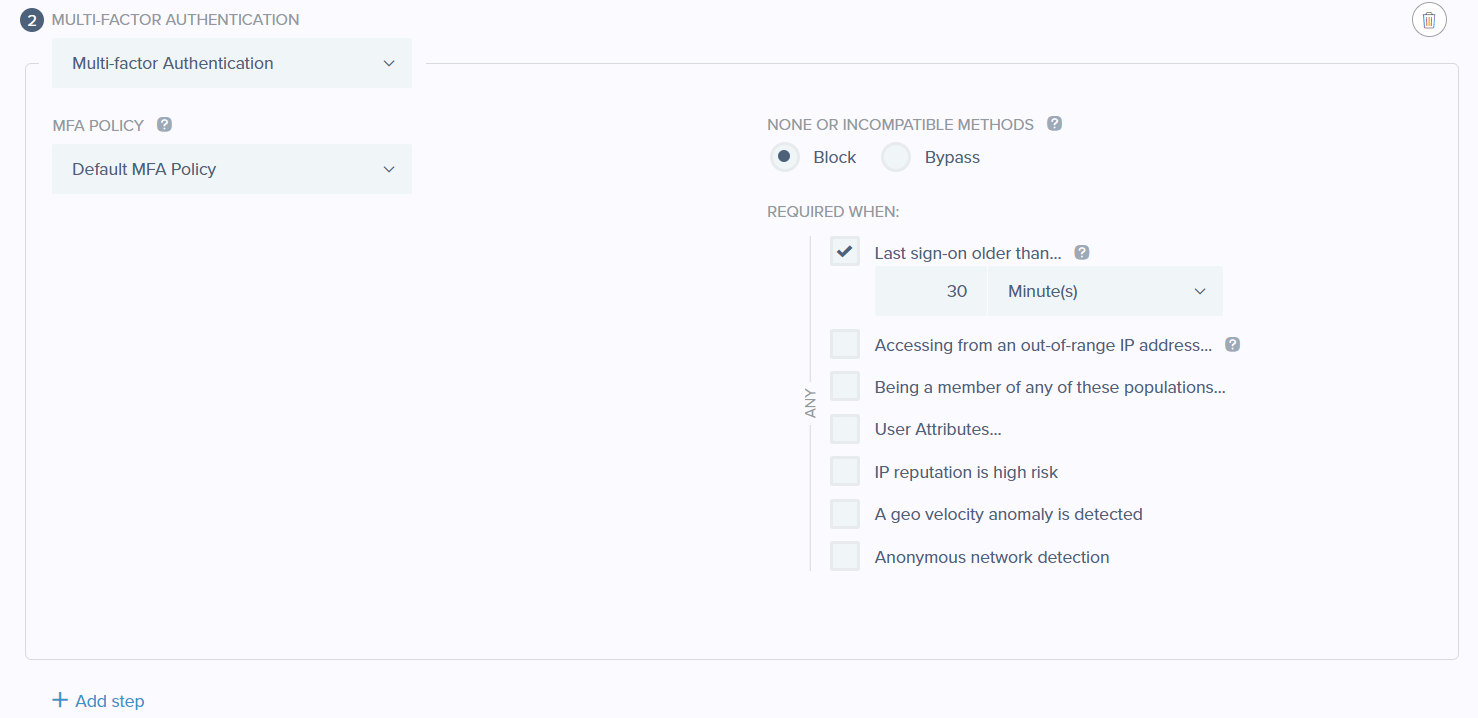
(Optional) Select Multi-factor Authentication as second step and click on Add step
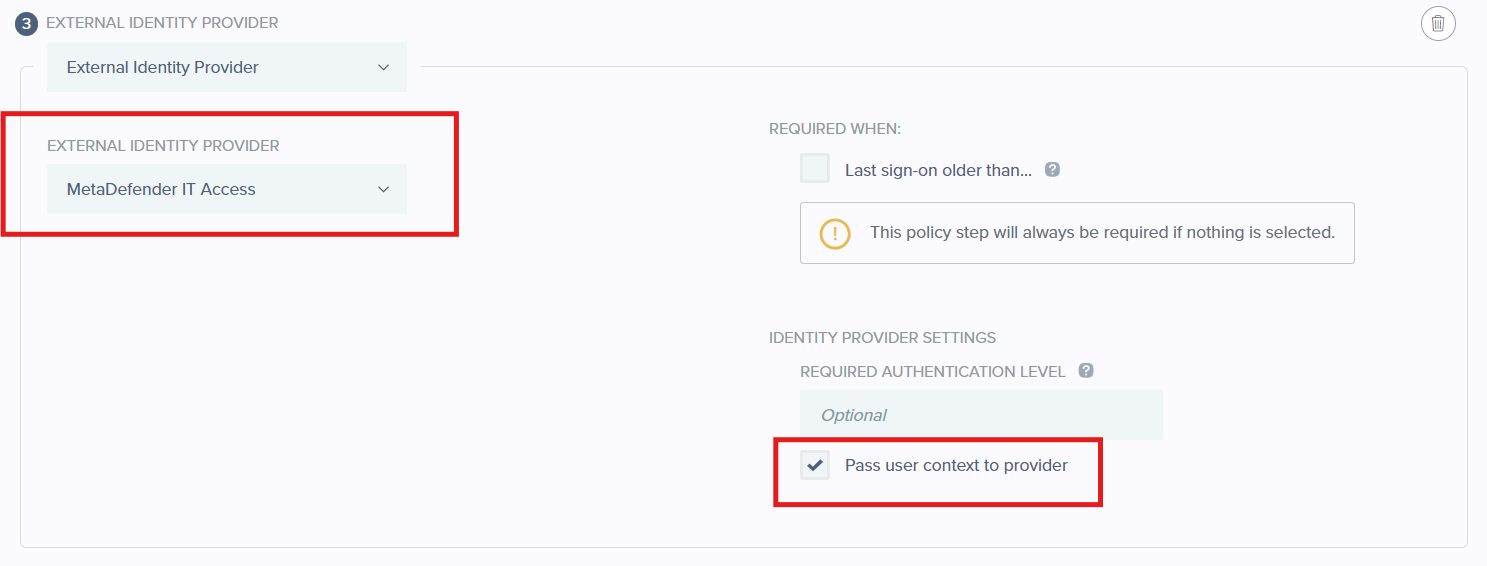
Select External Identity Provider then select the new IDP for External Identity Provider then check on the box Pass user context to provider
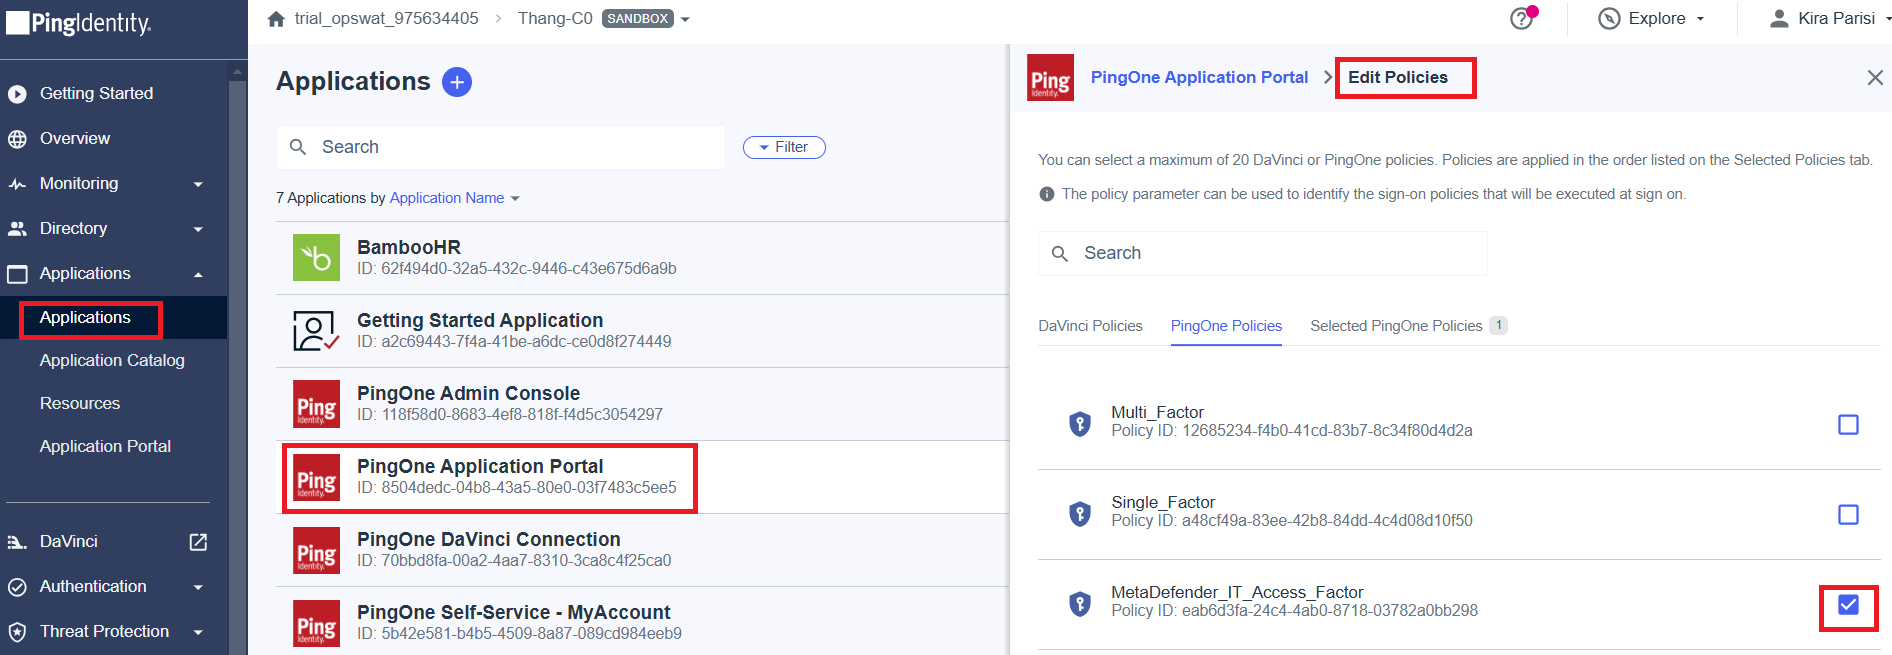
Assign Policy to Selected Applications.
Navigate to Applications. Add the policy to selected applications
Test the integration