
User type: Both Personal and Organization users
If the AI Support Assistant doesn’t fully resolve your issue, you can easily escalate the conversation by submitting a case. This section walks you through how to create a support case in the My OPSWAT Portal.
You can always start by asking the AI assistant. If your issue can’t be solved through documentation or quick guidance, the assistant will guide you to submit a case.
Once you're ready to escalate an issue, click Submit Case. A guided form will open.
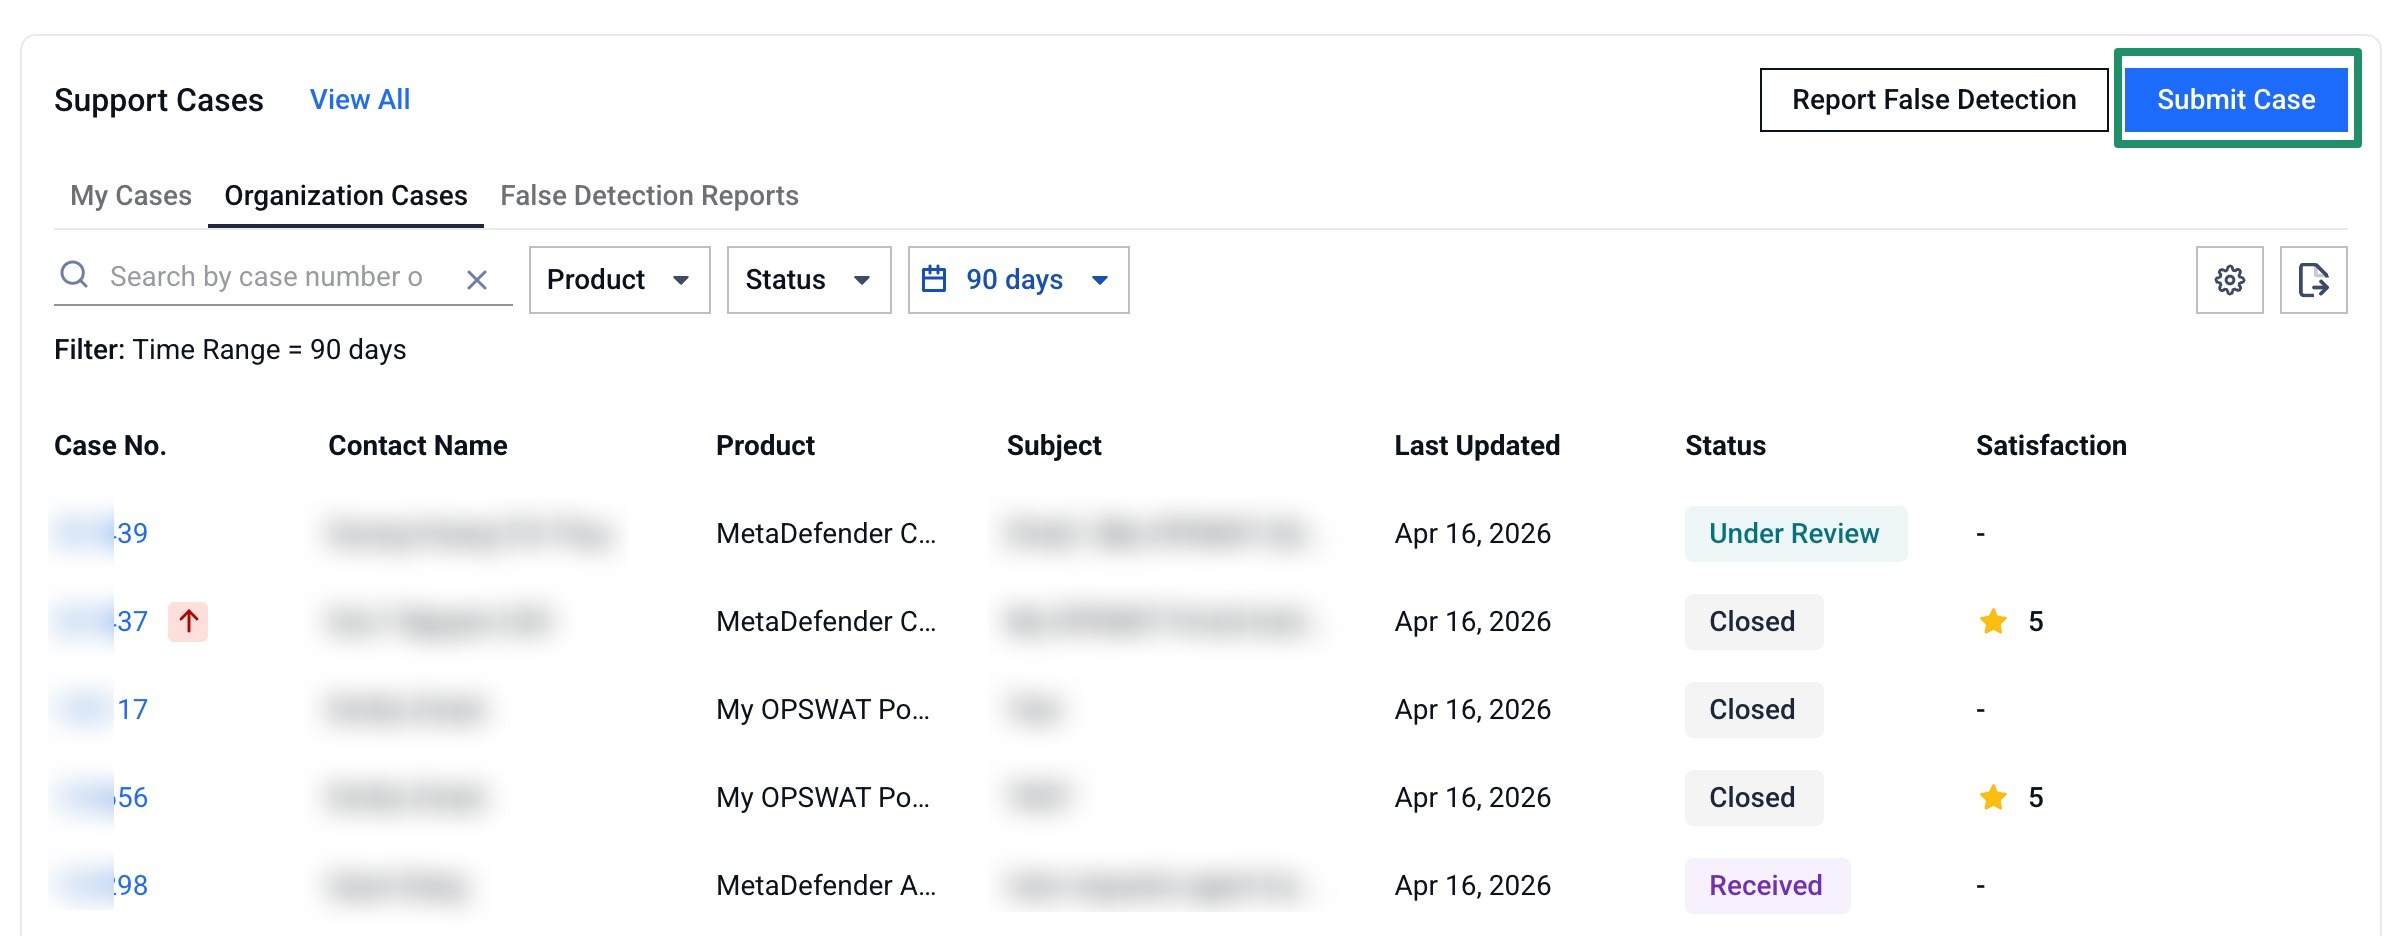
If you're a partner and would like to log a case on behalf of your customer, please refer to this guide: Log a Case on Behalf of a Customer
Step | Field | Description |
|---|---|---|
1 | Product | Choose the affected OPSWAT product. Click More to view the full product list.
|
2 | Platform (if applicable) | If the product supports multiple platforms, you’ll be prompted to select one (e.g., Windows, Linux).
|
3 | Issue Type | Choose the nature of your issue, such as configuration, installation, or unexpected behavior, ensuring clear and consistent reporting.
|
4 | Severity | Indicate how critical the issue is
NoteBased on your org's support level and severity, you'll see an estimated initial response time. |
5 | Add License & Version | Select the license key and product version using dropdowns, or enter manually. |
6 | Subject & description | Provide a:
|
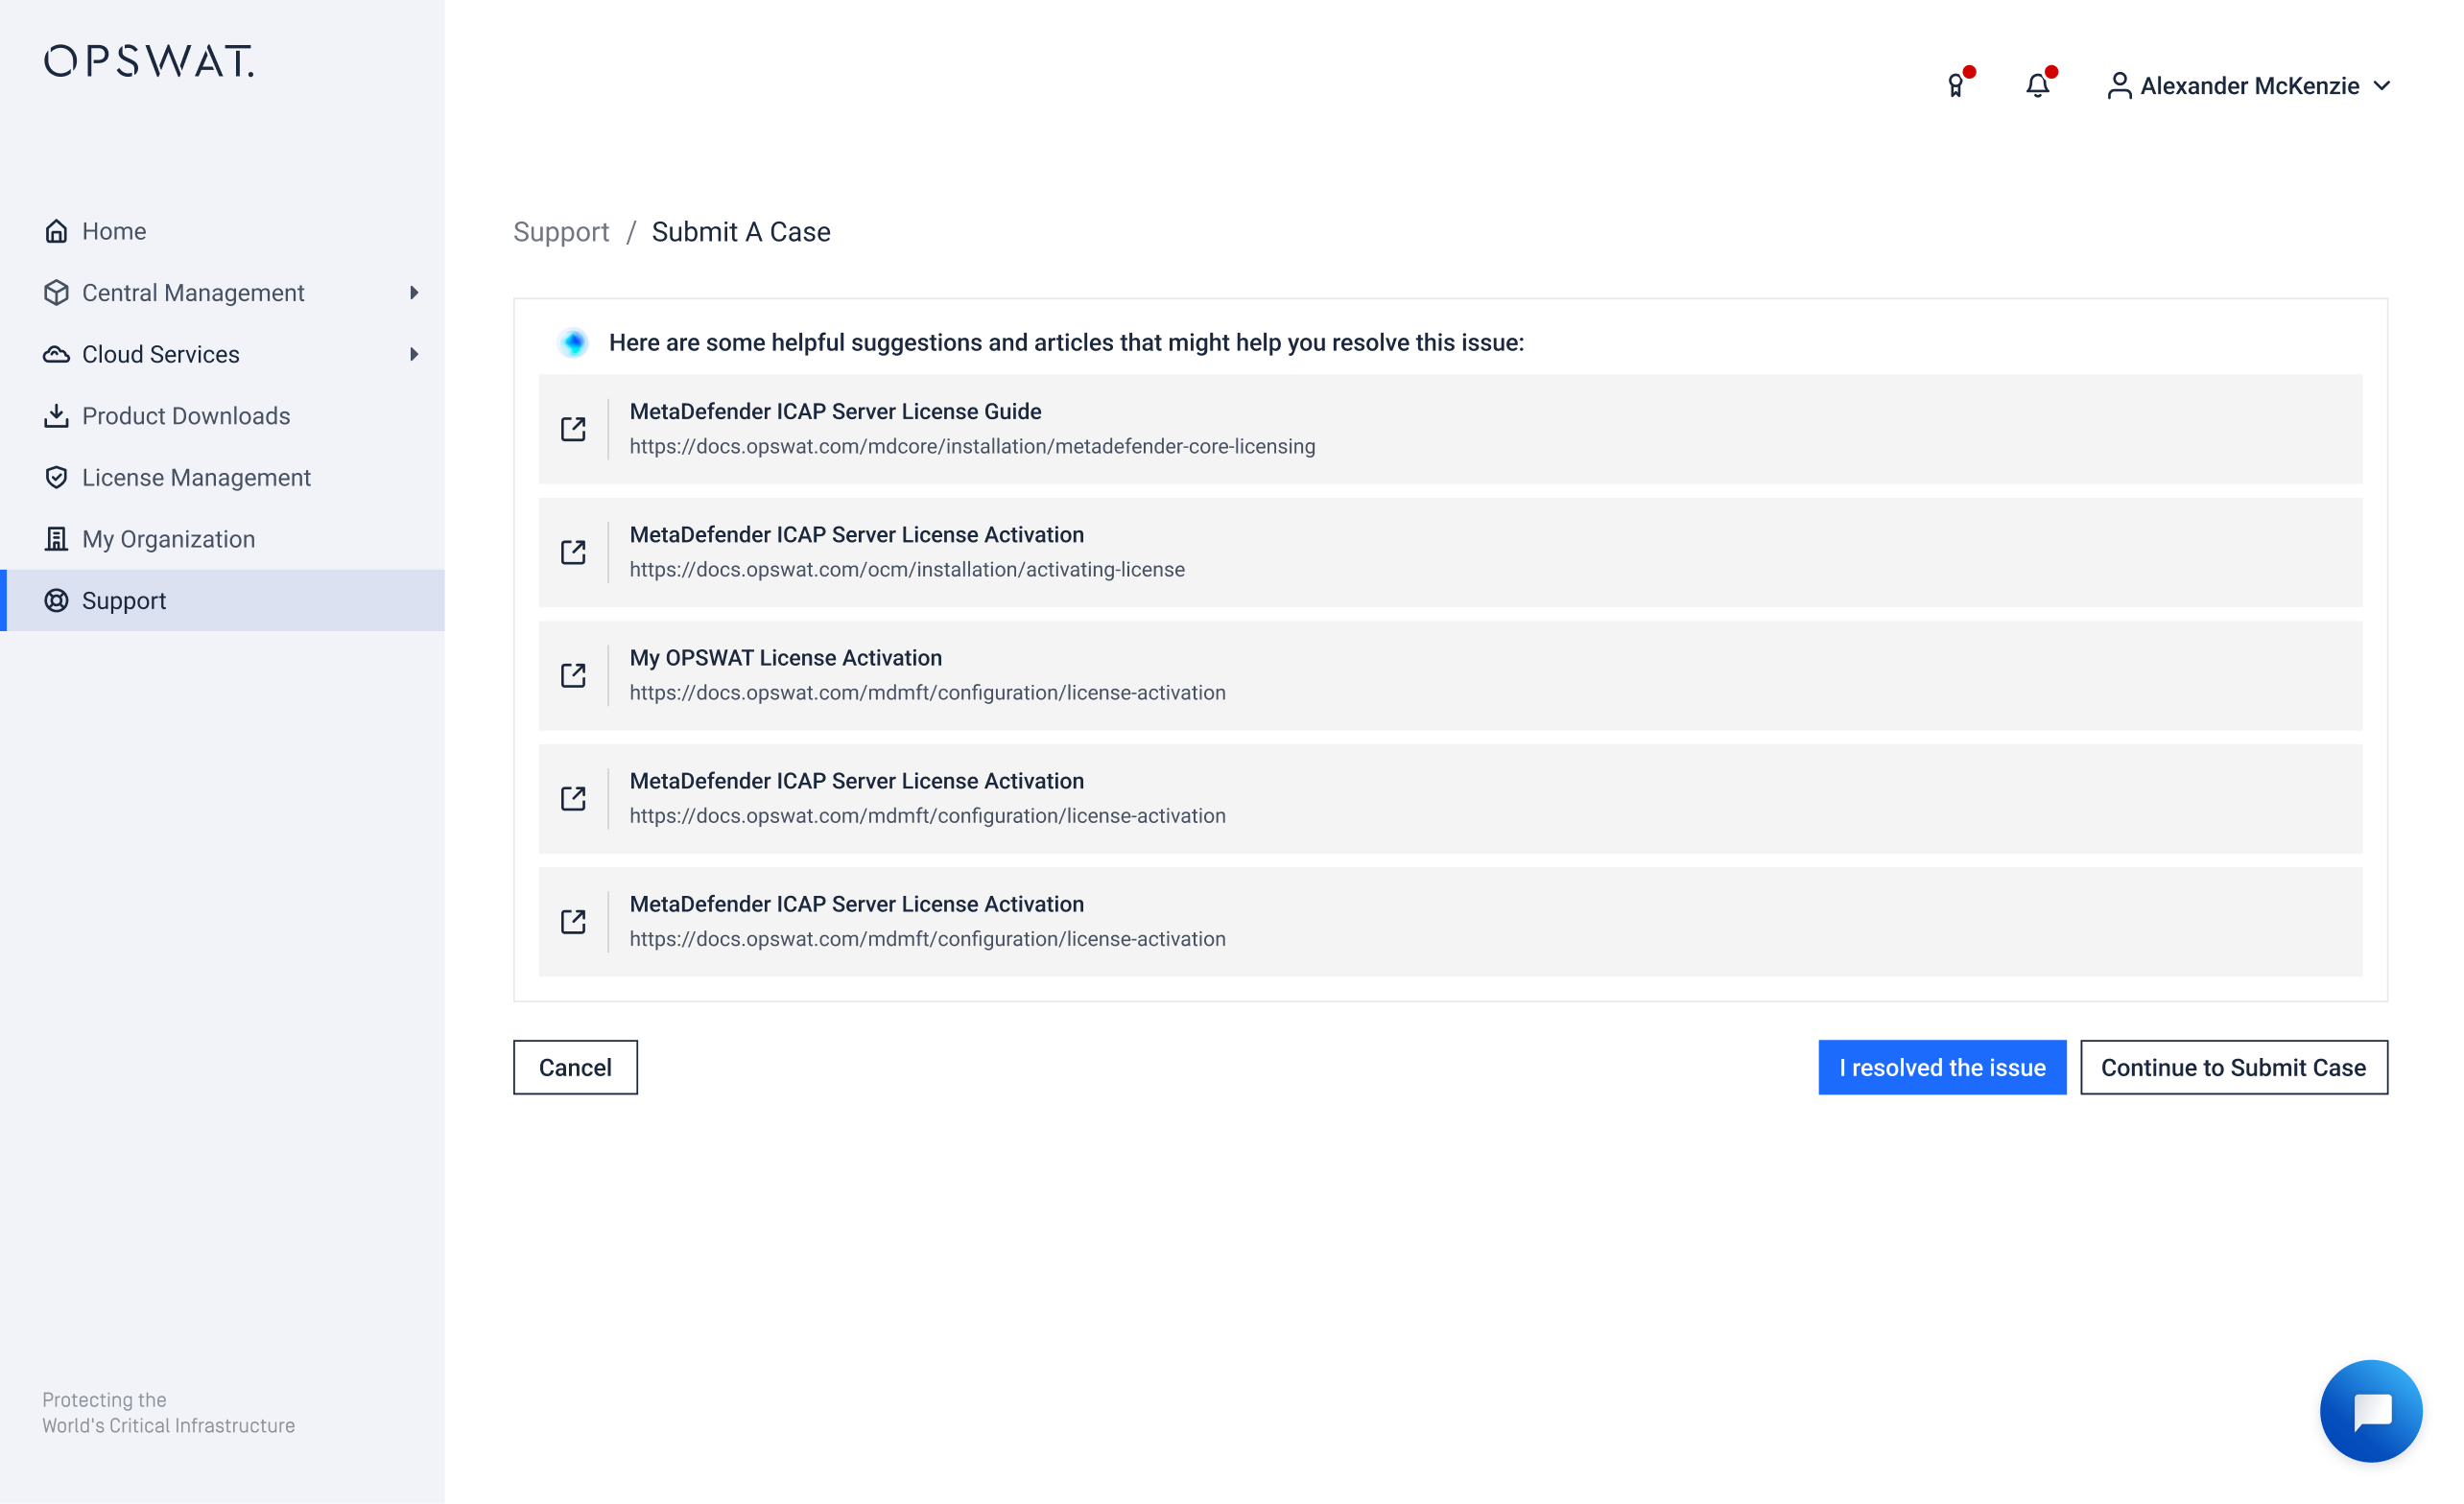
7 | Review AI Suggestions (If Any) | Before submission, the AI assistant may suggest relevant knowledge base articles based on your input. If no relevant articles are found, users are directed to the next step. Note If AI Assistance is disabled, this step is skipped. |
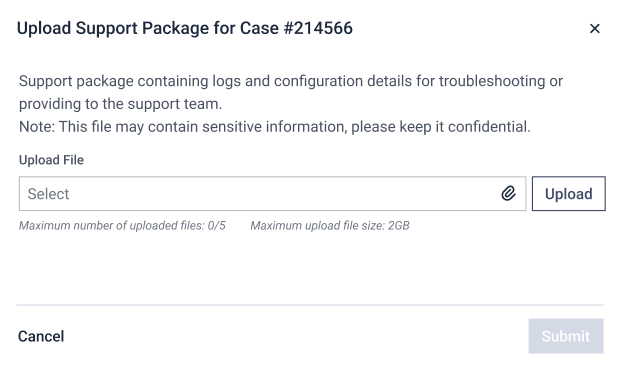
8 | Upload Supporting Files | You can attach up to 5 files with a maximum total upload size of 2 GB. Note To upload files larger than 2 GB, go to the Case Details page and use the Files & CC’s tab after the case is submitted. |
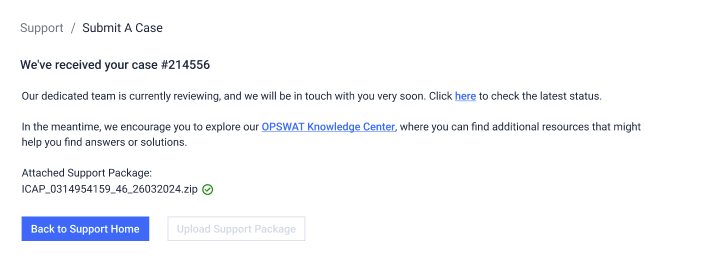
9 | Confirmation | After submitting all supporting files, you will be directed to a final screen displaying a list of successfully uploaded files.
You can now monitor and manage your case under the Case summary list section. |
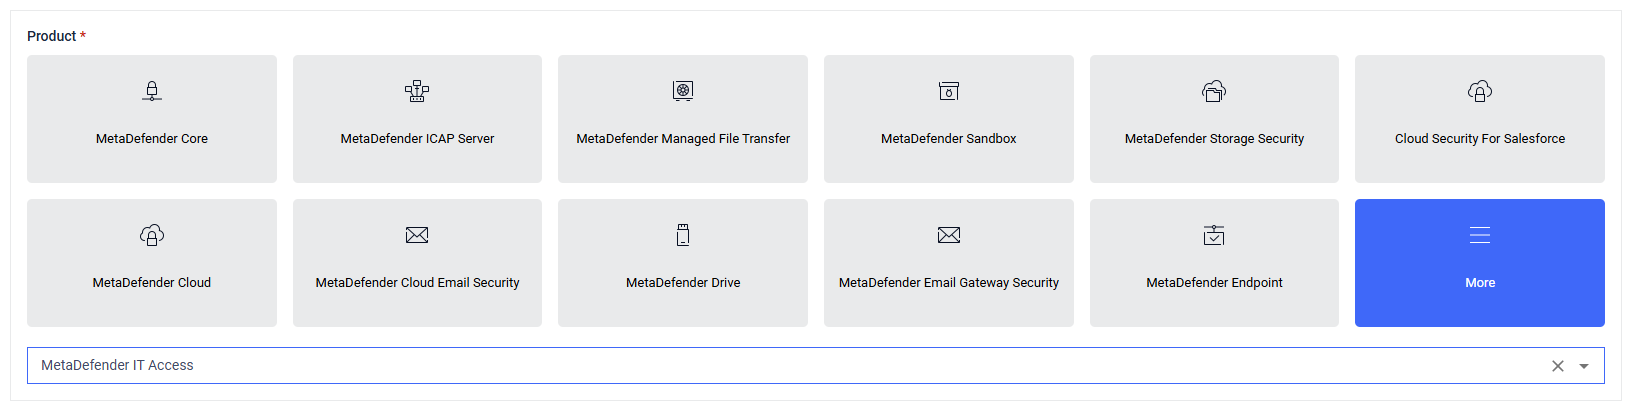
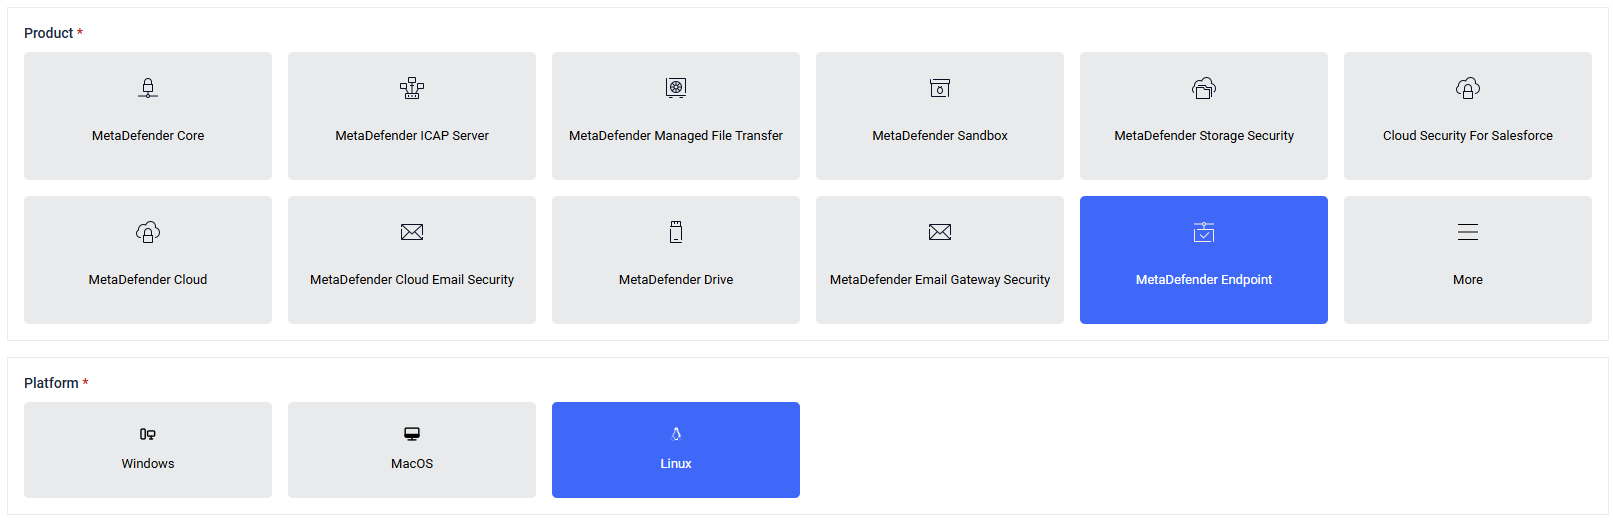


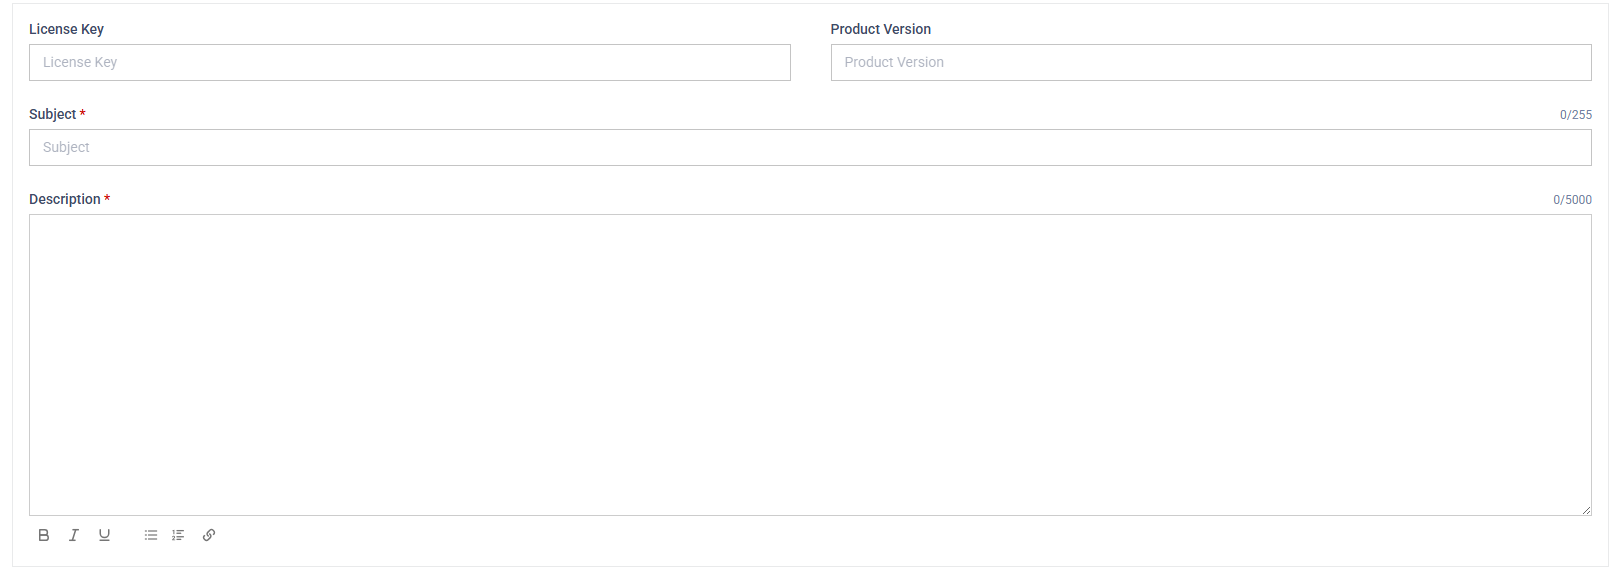
You can then manage the case from Support Case Management
Submitting an OPSWAT Academy support case

OPSWAT Academy learners can submit and track Academy support cases in My OPSWAT Portal
Go to Support and click Submit A Case. You can also start from the Need help? link on the Academy Overview tab, which opens the form with the product already set to OPSWAT Academy.
At the Product Selection step, choose OPSWAT Academy.
Choose an Academy issue type (for example: Account Access, Courses Enrollment, Payment Issues, Badge & Certification Issues, CPE Credits, or Other).
Complete the remaining fields and submit.
Academy cases appear in your case lists and support comments, escalation, and follow-up, just like other support cases.