A workflow is necessary to trigger scanning operations, and it's mandatory to have one created in order to be able to use the services provided by MetaDefender Software Supply Chain.
Multiple workflows can be created, but in order to be able to create any workflow, it is necessary to register a scan pool.
Workflows can be of 3 types:
Source Code, where the currently available services include: Github, GitLab, Bitbucket, SVN Azure DevOps and Gitea
Container, where the currently available services include: DockerHub, AmazonECR, AzureACR, JFrogContainer and Quay
Binary, where the currently available services include: JFrog Binary and Sonatype Nexus Repository
A pre-configured Default Workflow is also available, allowing you to start scanning immediately with zero setup. This workflow is enabled out of the box and works with all supported connection types, providing a fast and convenient way to evaluate the product and begin securing your software supply chain instantly.
A workflow can be created by navigating to the "Workflow" menu where the following screen will be shown:
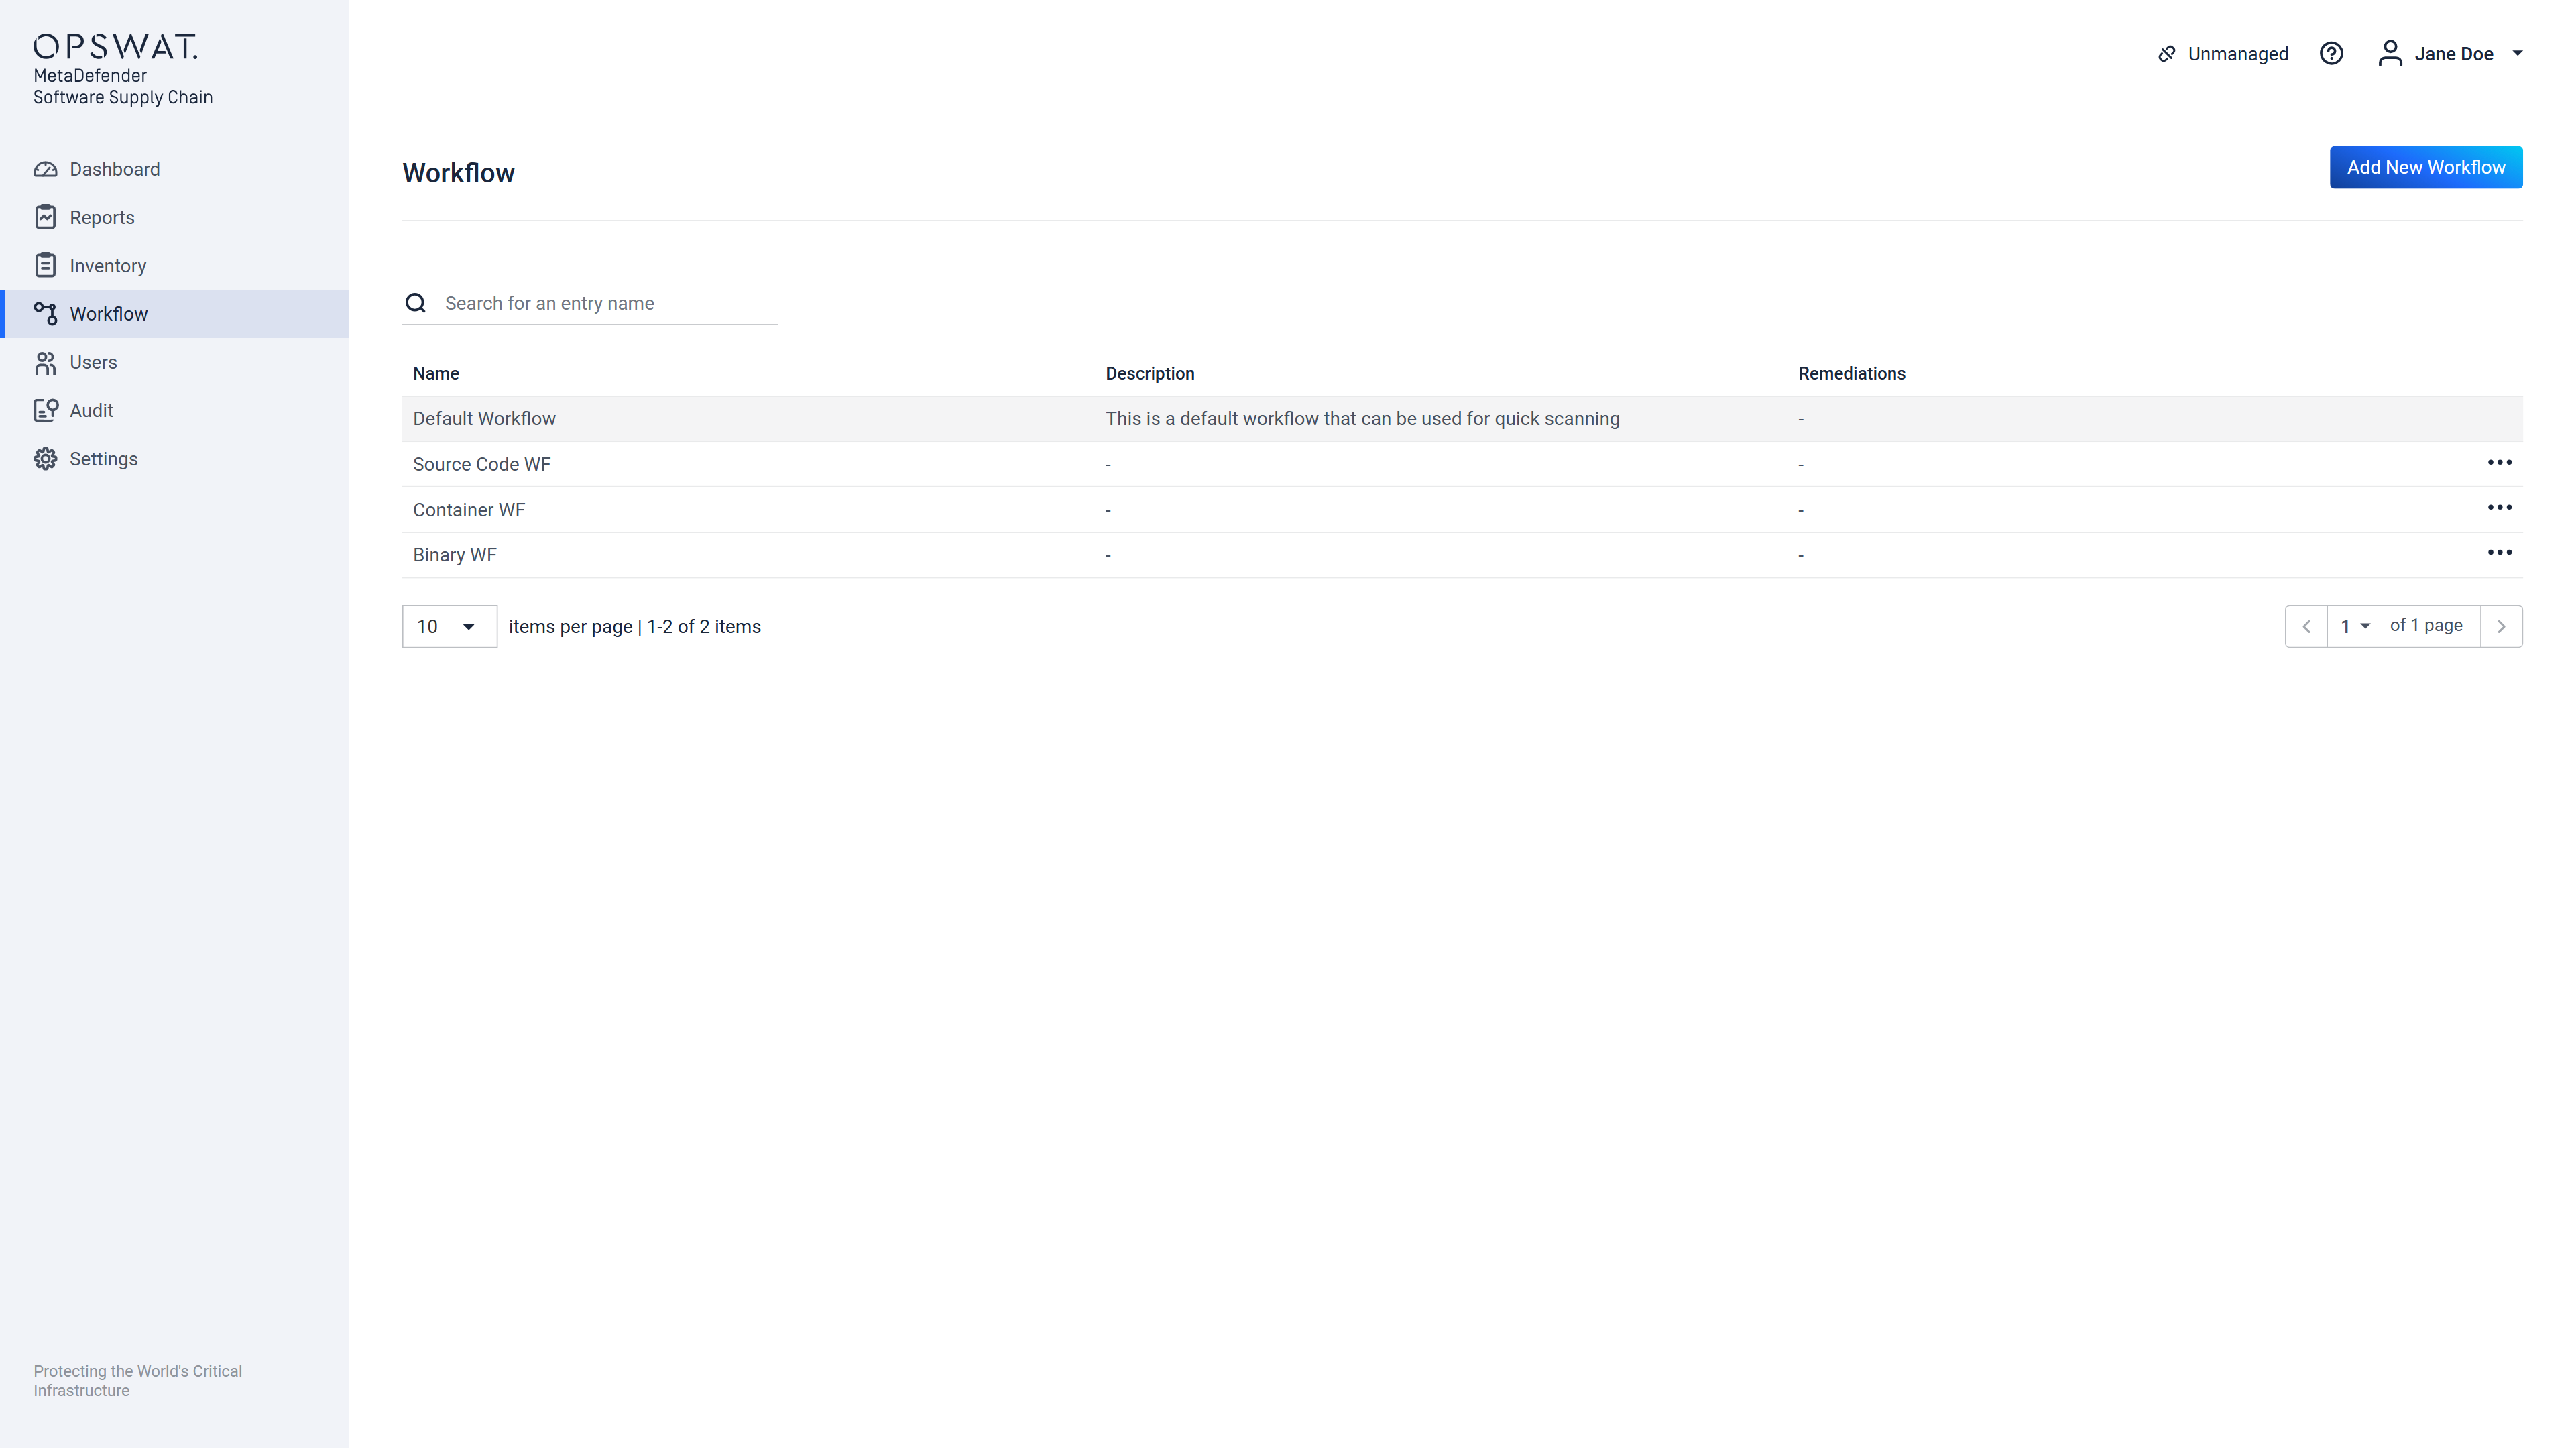
On this screen, the user can inspect a list of the already existing workflows, following properties of each workflow is shown:
Workflow's Name,
Workflow's Type,
Description of the workflow, that was provided at the creation time,
Remediations that have been configured for the workflow, these are specific actions that can be configured to be executed after a scan is completed,
The scan duration specific to that workflow, this will be available only after running a scan with the workflow configuration.
A workflow can be created by clicking on the "Add New Workflow" button. This will display the Step 1 out of 6 of the "Create Workflow" form.
An existing workflow can also be edited, by clicking the "..." at the end of the listed workflow, and choosing "Edit" this will lead to the same steps that are used to create a new workflow, but the existing input fields will be prepopulated with the current workflow configuration. The editing can be discarded at any time to discard undesired changes.
Workflows can also be deleted by clicking the "..." button at the end of the listed workflow, and choosing "Delete".
Deleting workflows that are currently running scans will result in incorrect system behavior !
When choosing to delete a workflow the user is presented with following confirmation dialog:
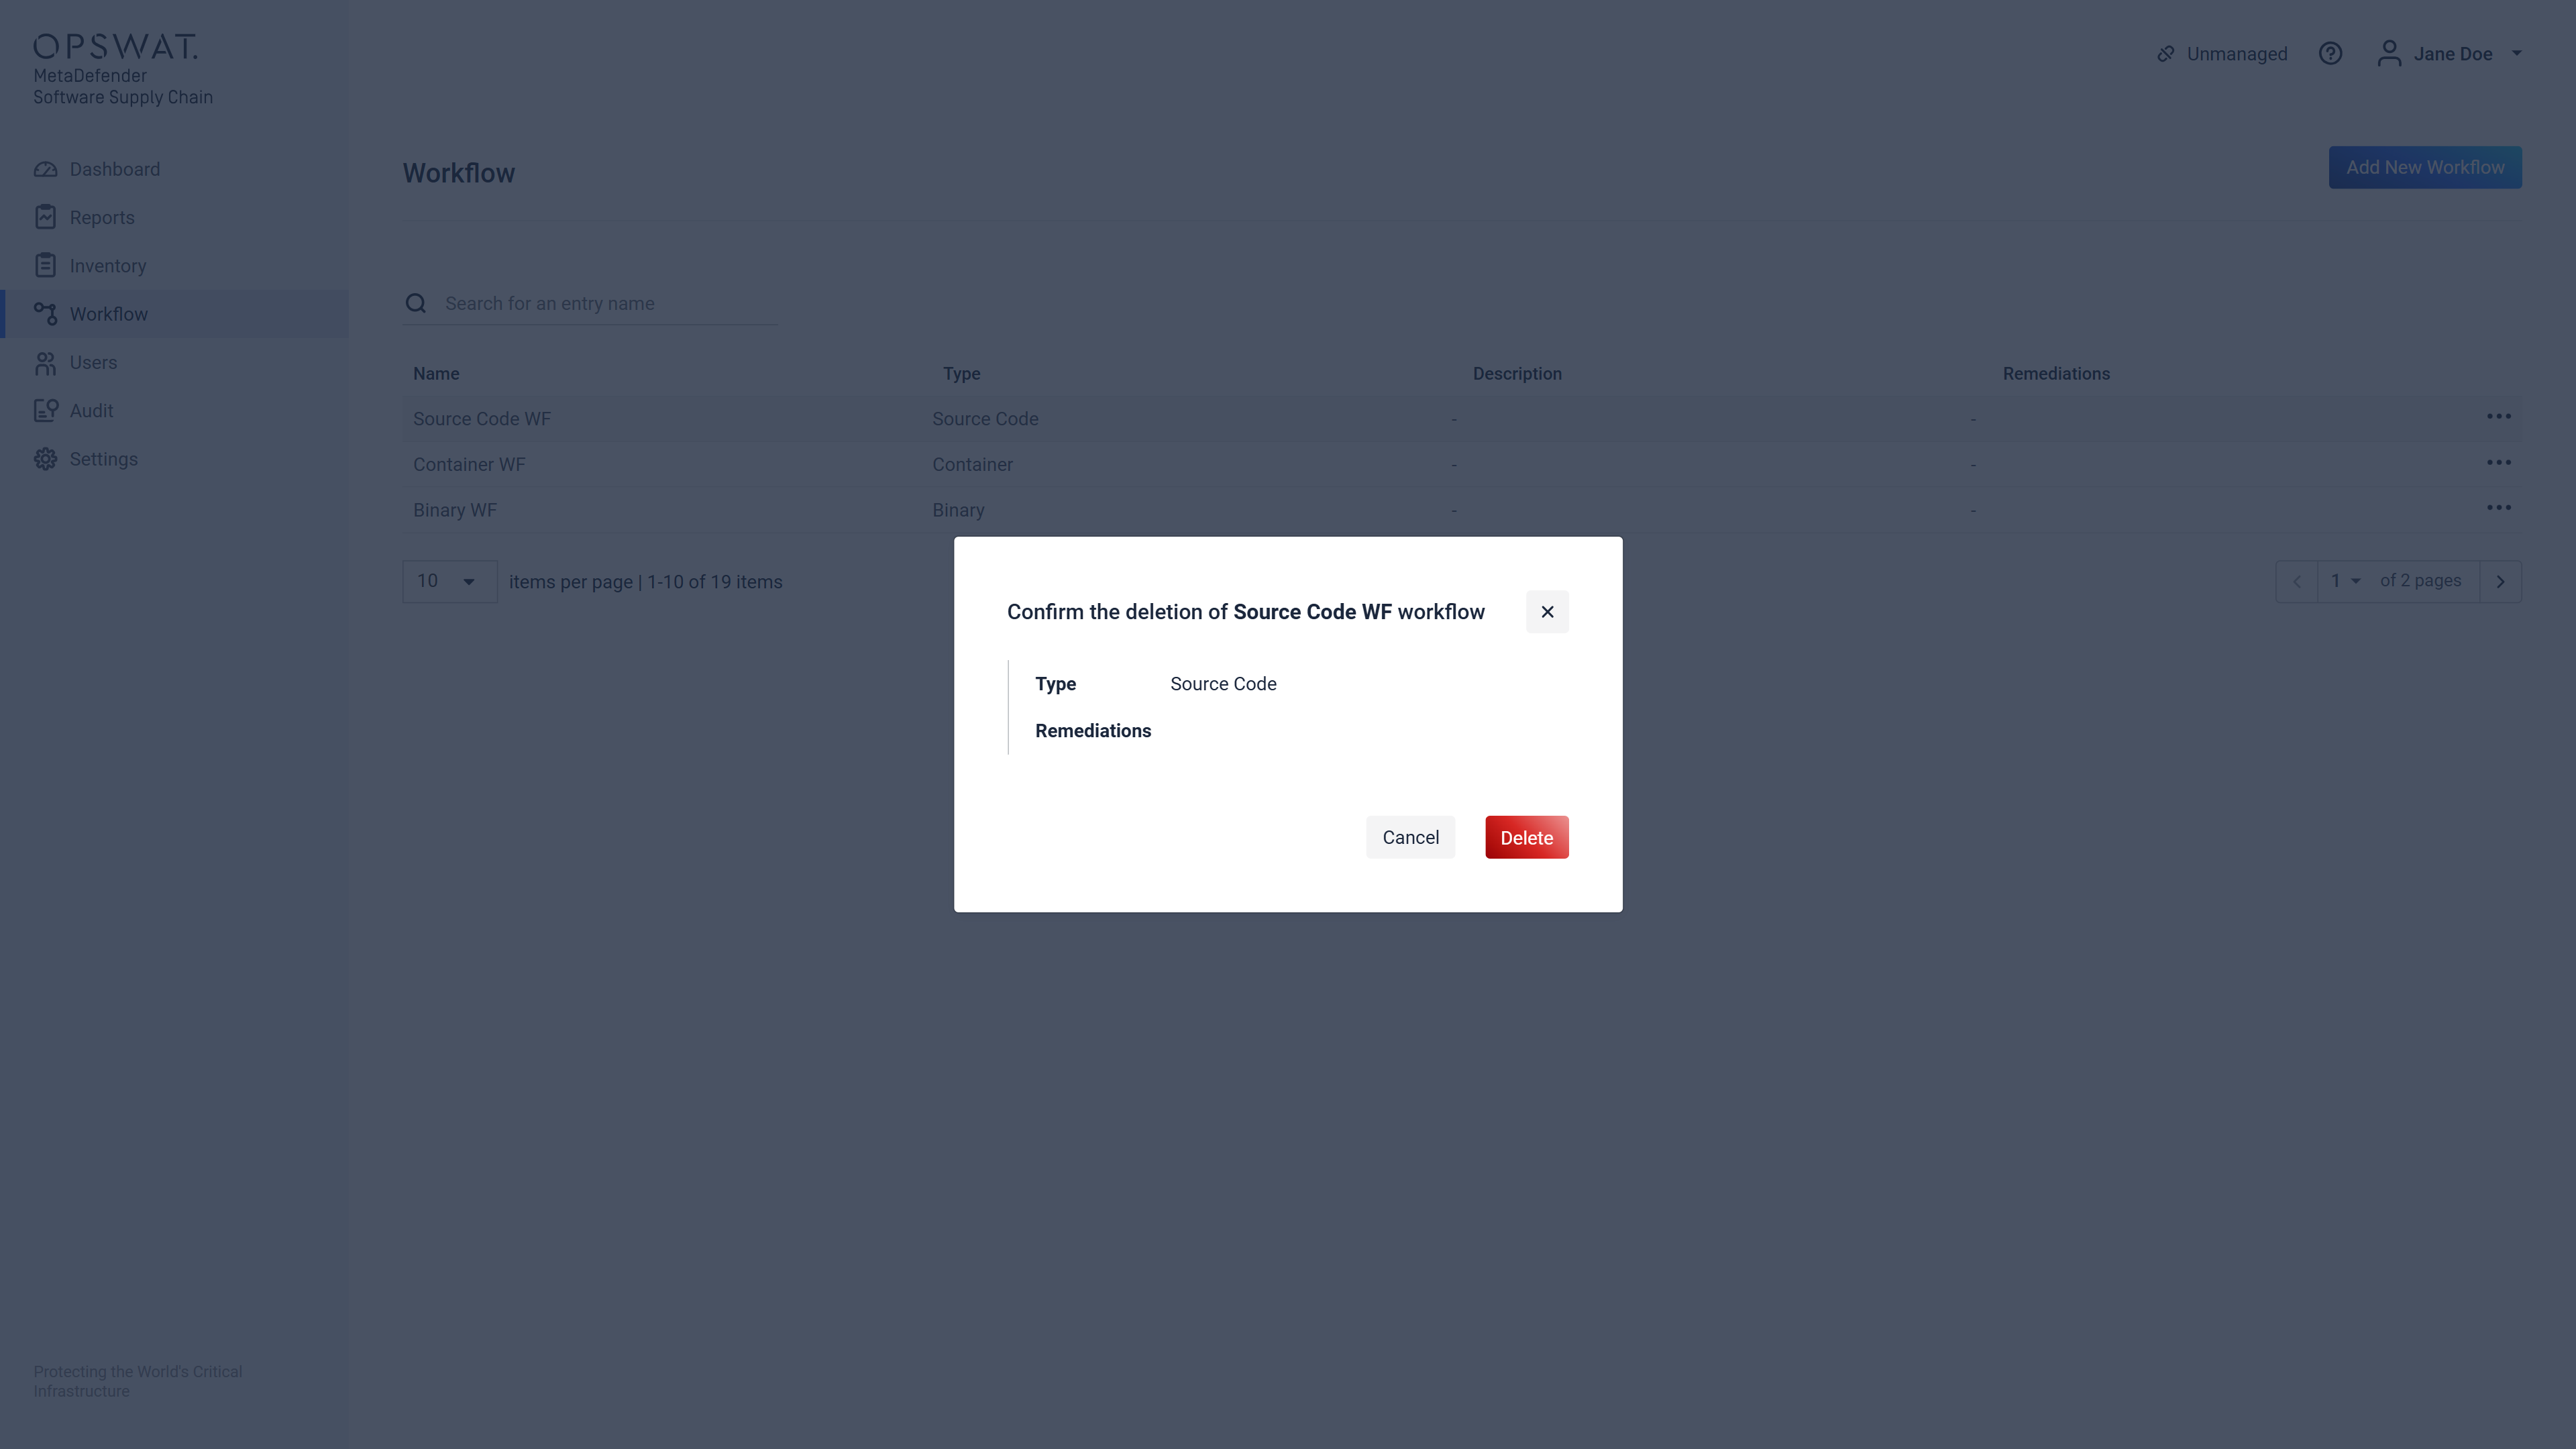
Clicking the "Delete" button here will result in the deletion of the workflow, causing the system to not be able to access its scan configuration details that need to be displayed in certain scan reports, resulting in incomplete information displayed in those reports!
Step 1 out of 6
If a scan pool was already registered the user is presented with a screen where the type of the workflow can be chosen:
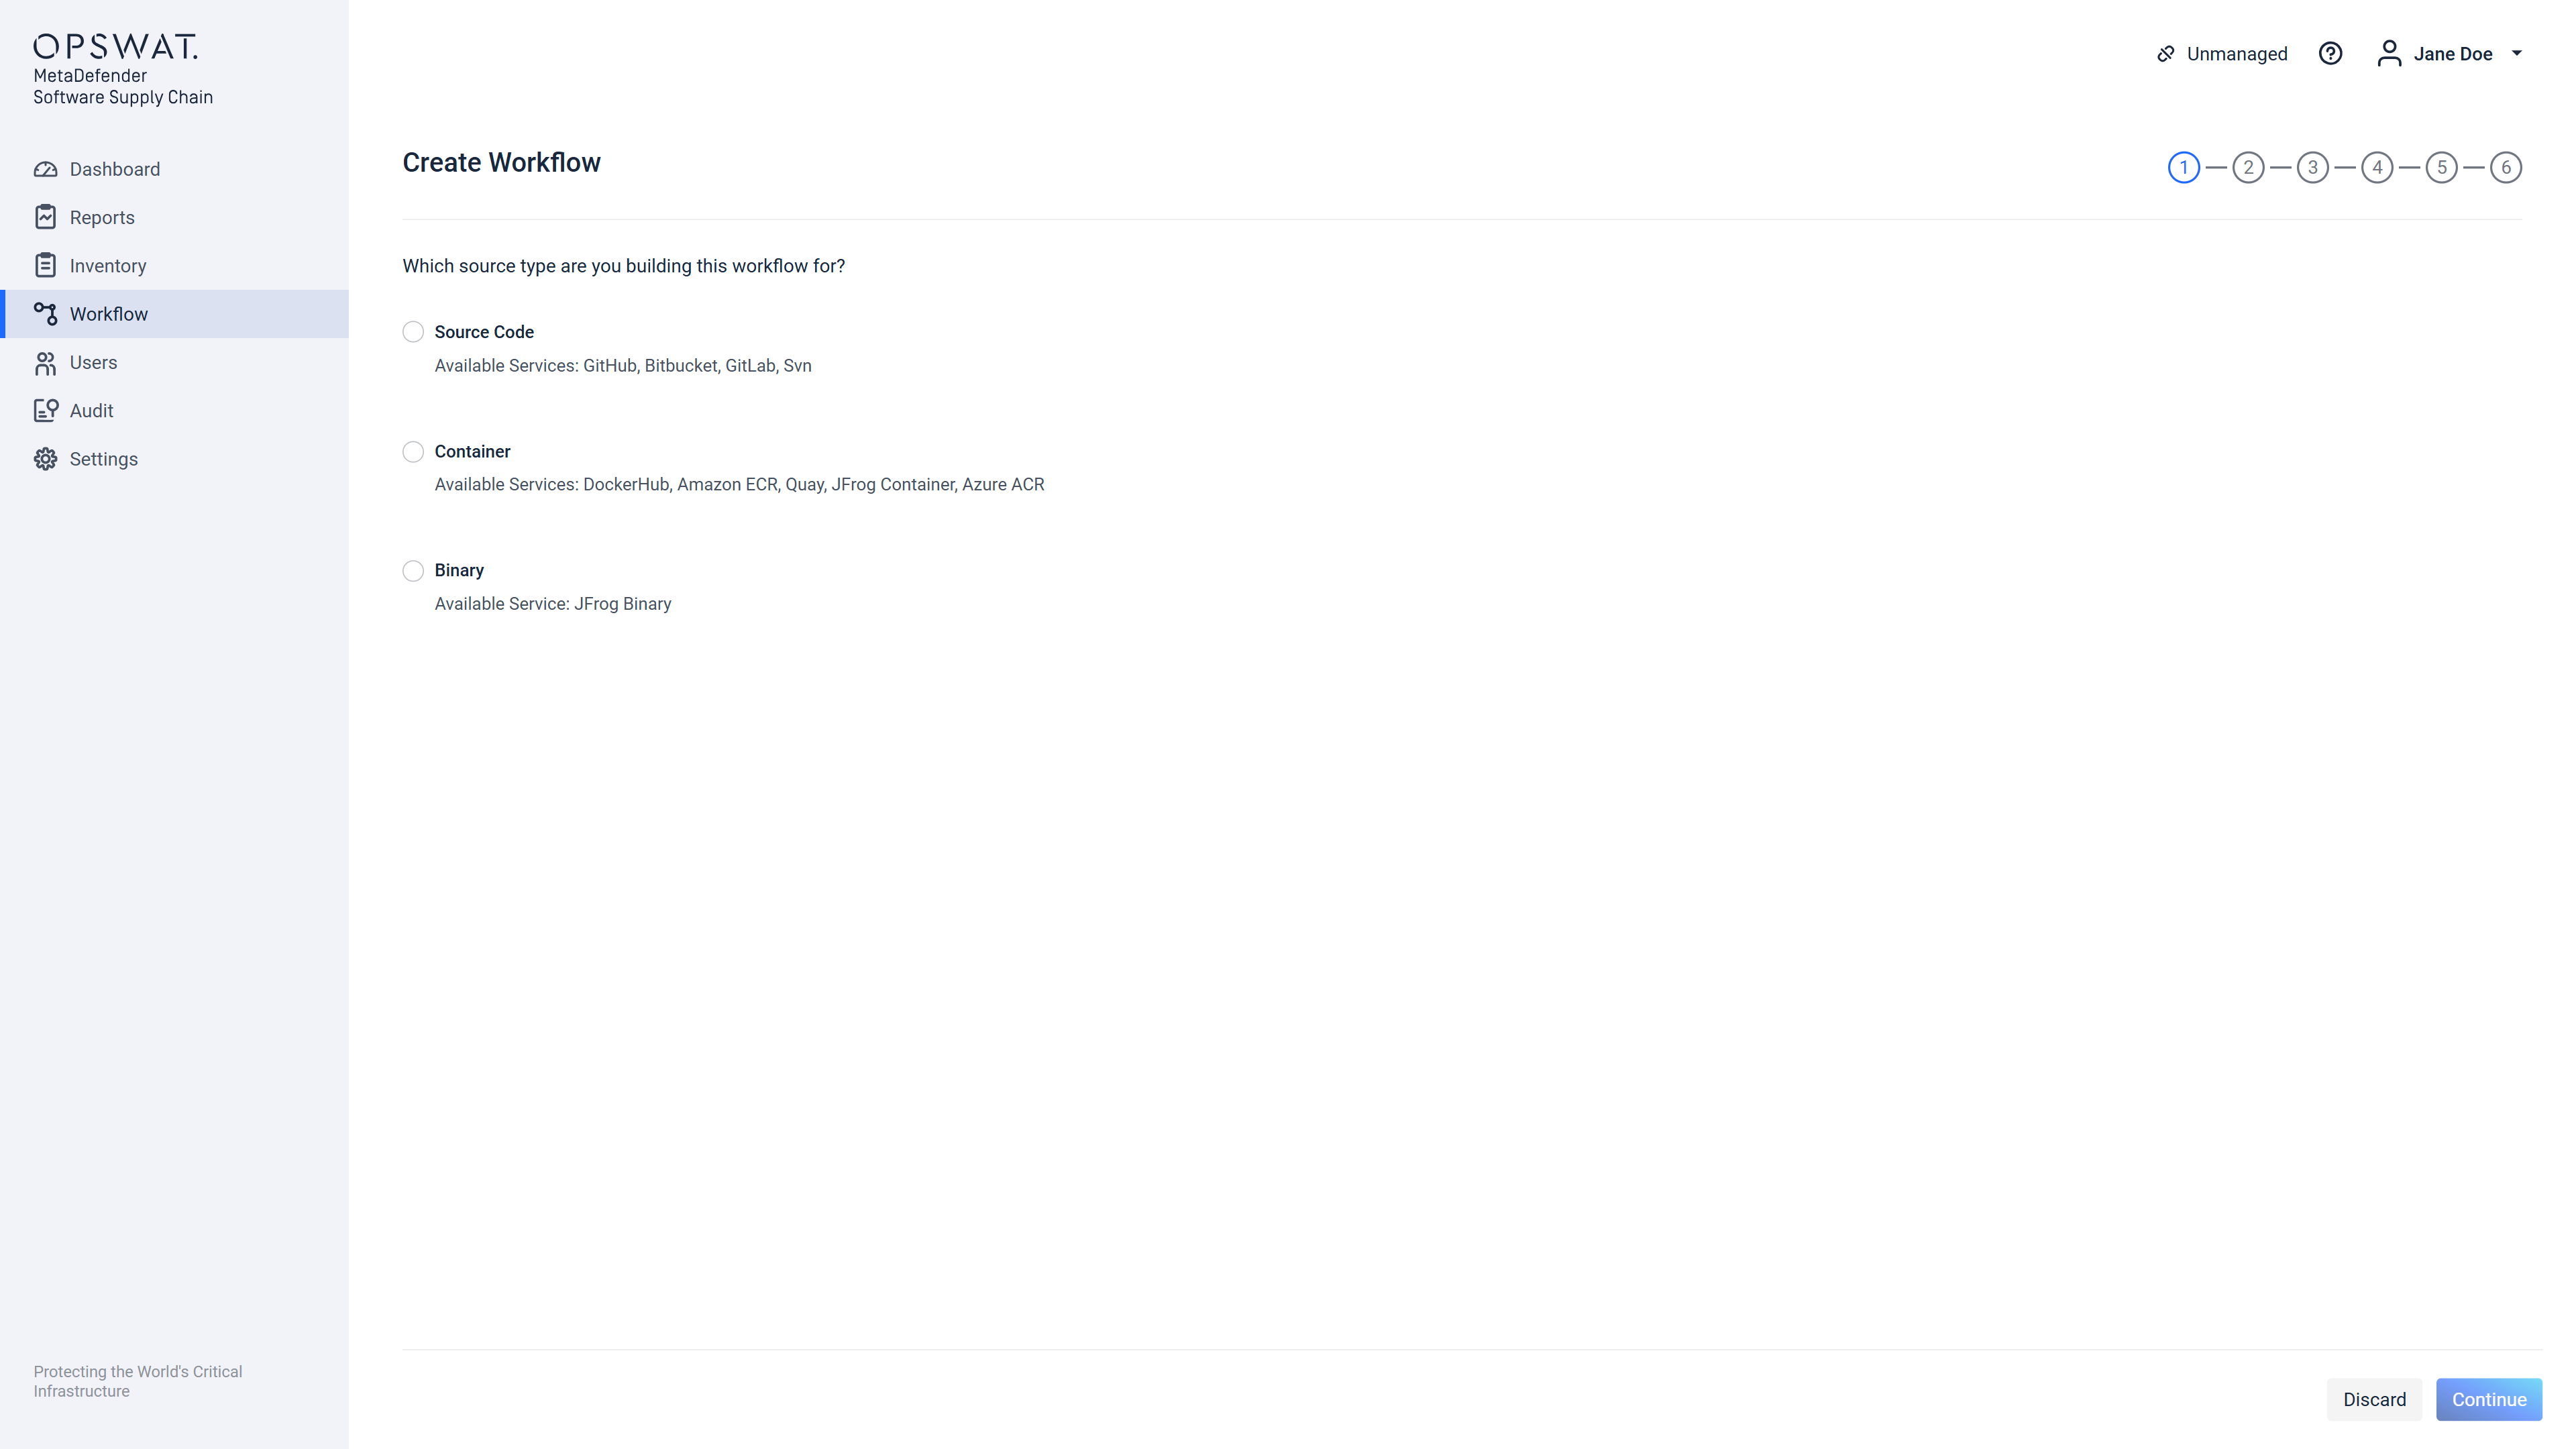
If there are no scan pools registered following warning is displayed and the form entry fields are disabled. The user must Discard this command and proceed to configure a valid and accessible Scan Pool.
After choosing the type of the workflow the "Continue" button will be enabled, clicking it, will display the Step 2 screen.
Step 2 out of 6
Depending on the workflow type the Step 2 will either display:
a list of source code type supply chains, listing all repositories available for each supply chain.
or a list of all containers and images for each container type supply chain
The user is allowed to select (add) via the "+" button before each listed item under the "Repository Services Available" column, which will move the item to the column "Selected Repositories" and will provide a "-" button before it's name. This action will result in the selected item, which in our example represents 2 repositories and an entire supply chain service that will be assigned to the workflow that is created.
This "-" button can then be used to unassign selected item from the workflow and the corresponding item and all it's sub categories back to the "Repository Services Available" column.
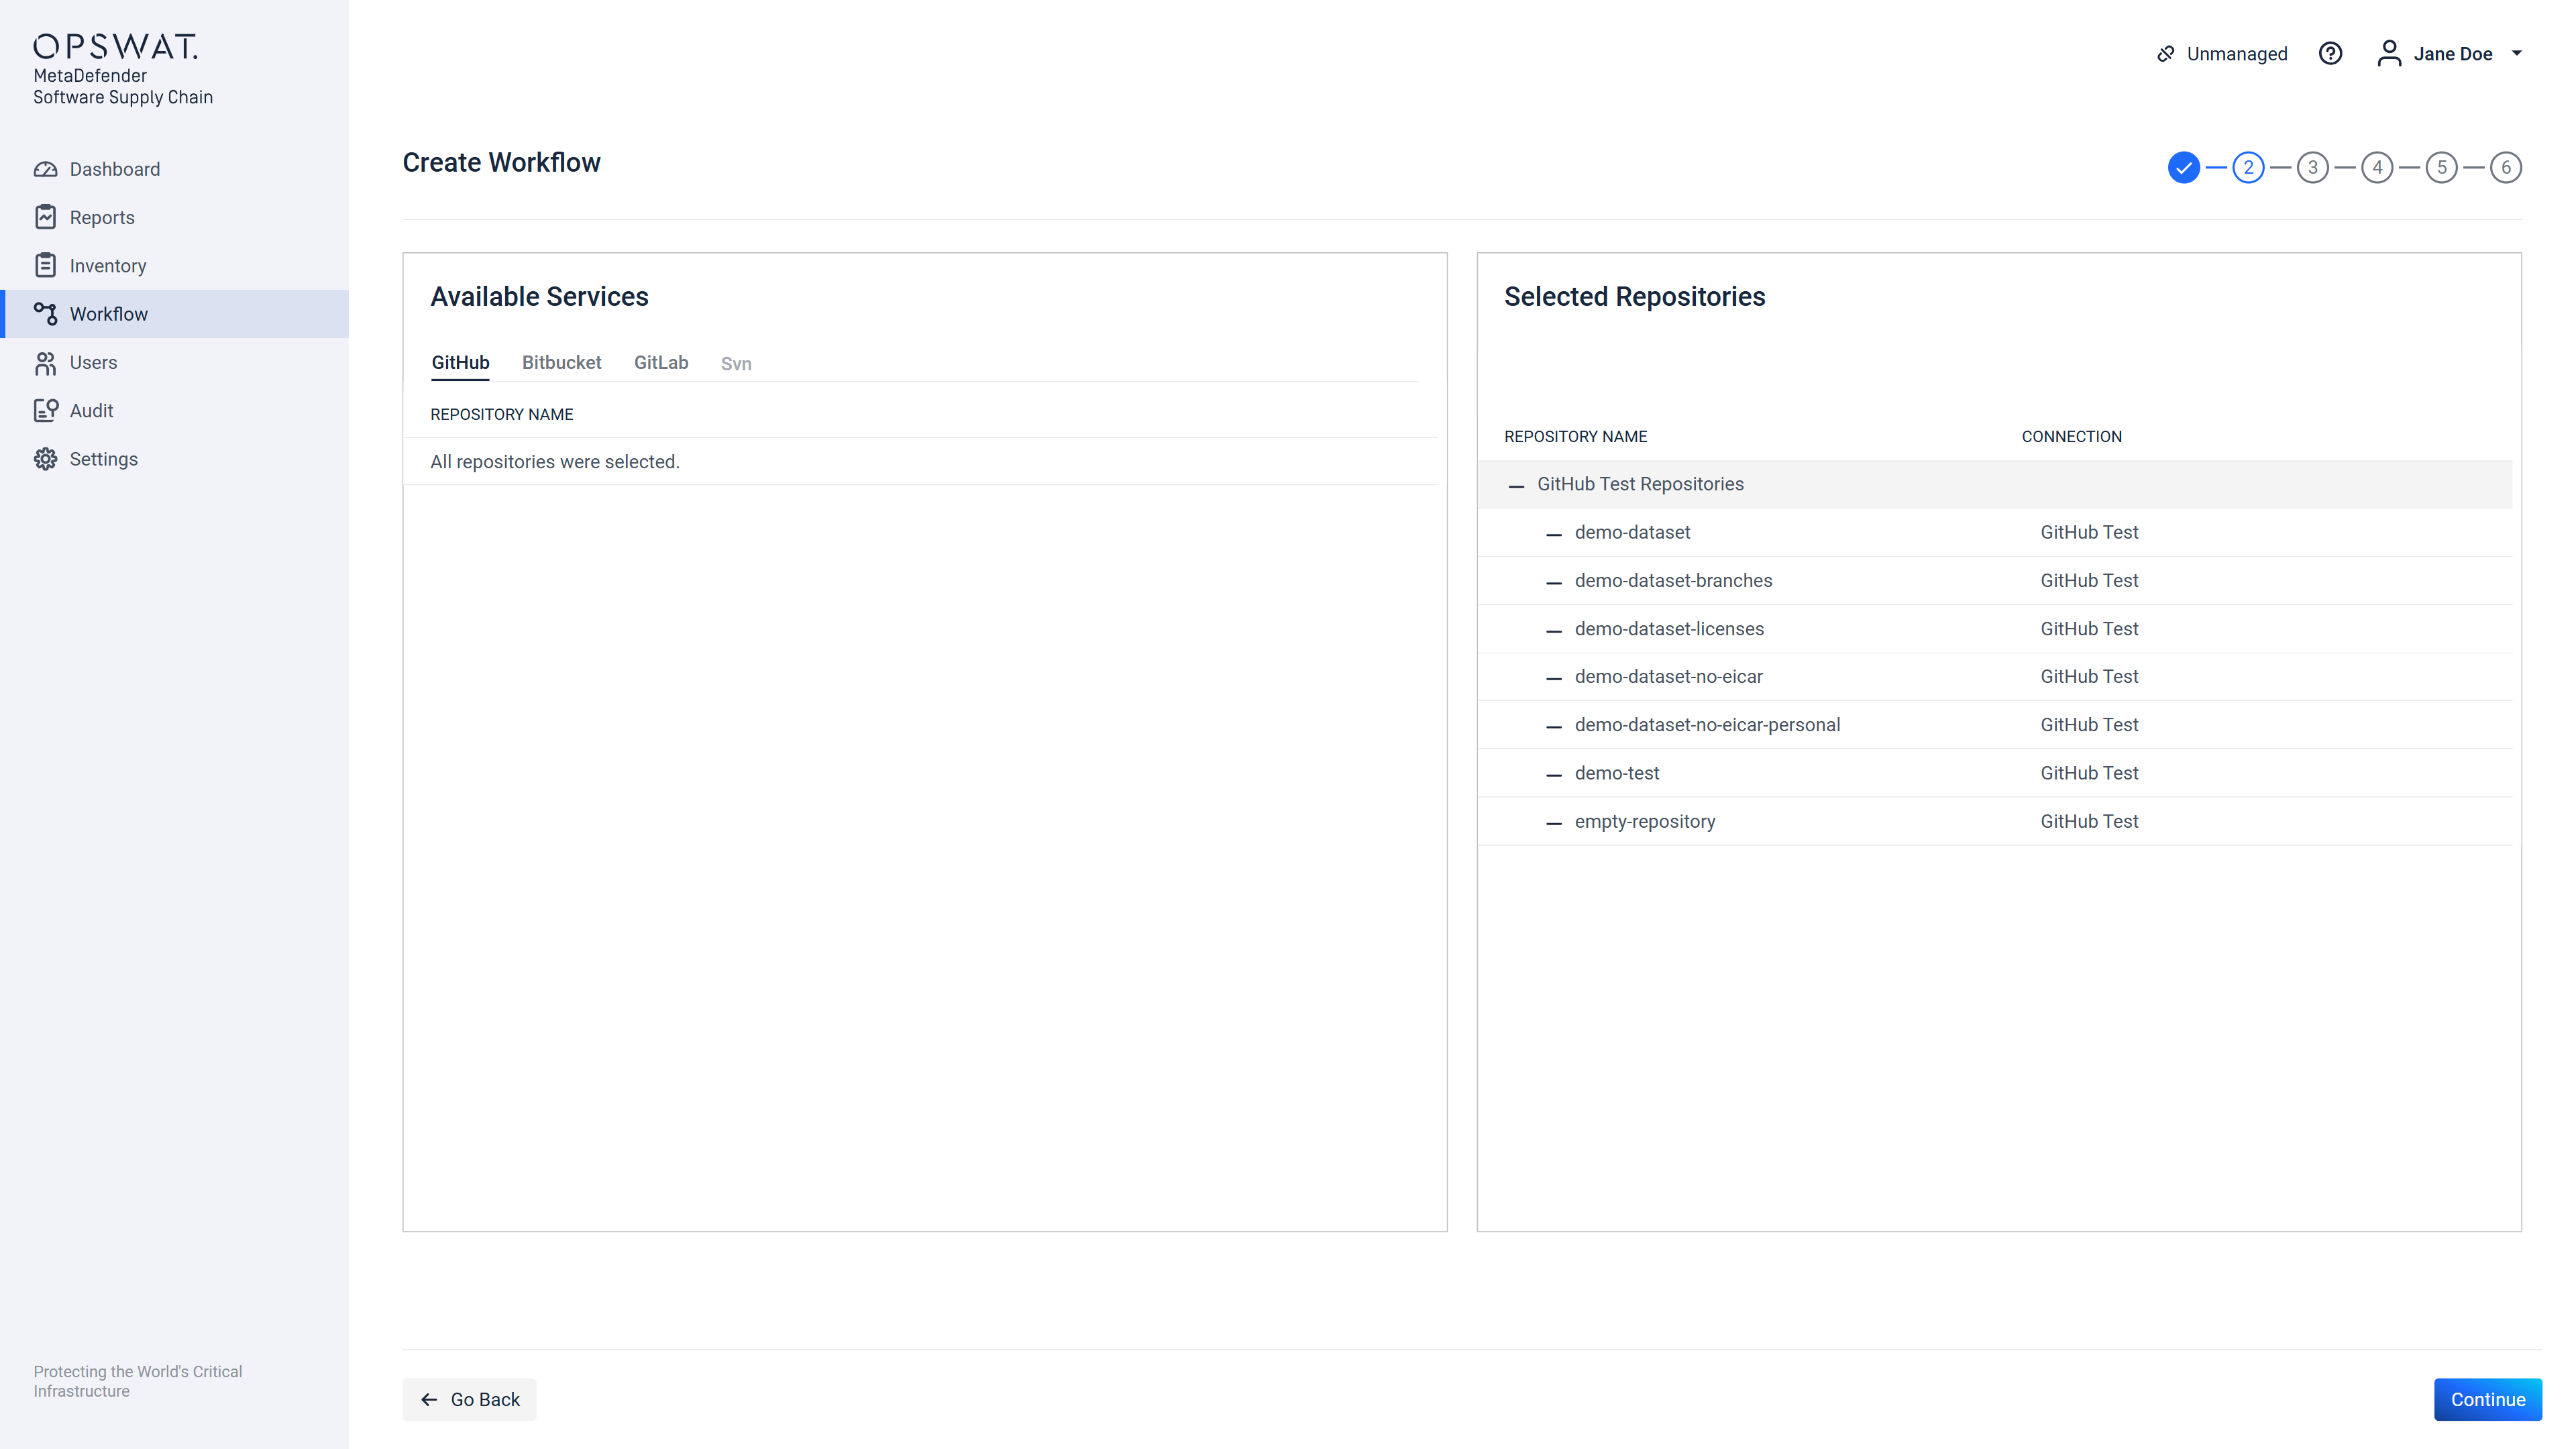
Step 2 content and functionality for the Container type of workflow is identical to this one. However, instead of a list of available repositories, a list of available containers and images will be shown. These can then be assigned or unassigned to the workflow in the same way.
Step 3 out of 6
Branch/tag selection
On this screen the user sees all the repositories/images that he has previously chosen. Each one of those repositories/images will have a dropdown which will contain the branches/tags available for that repository/image.
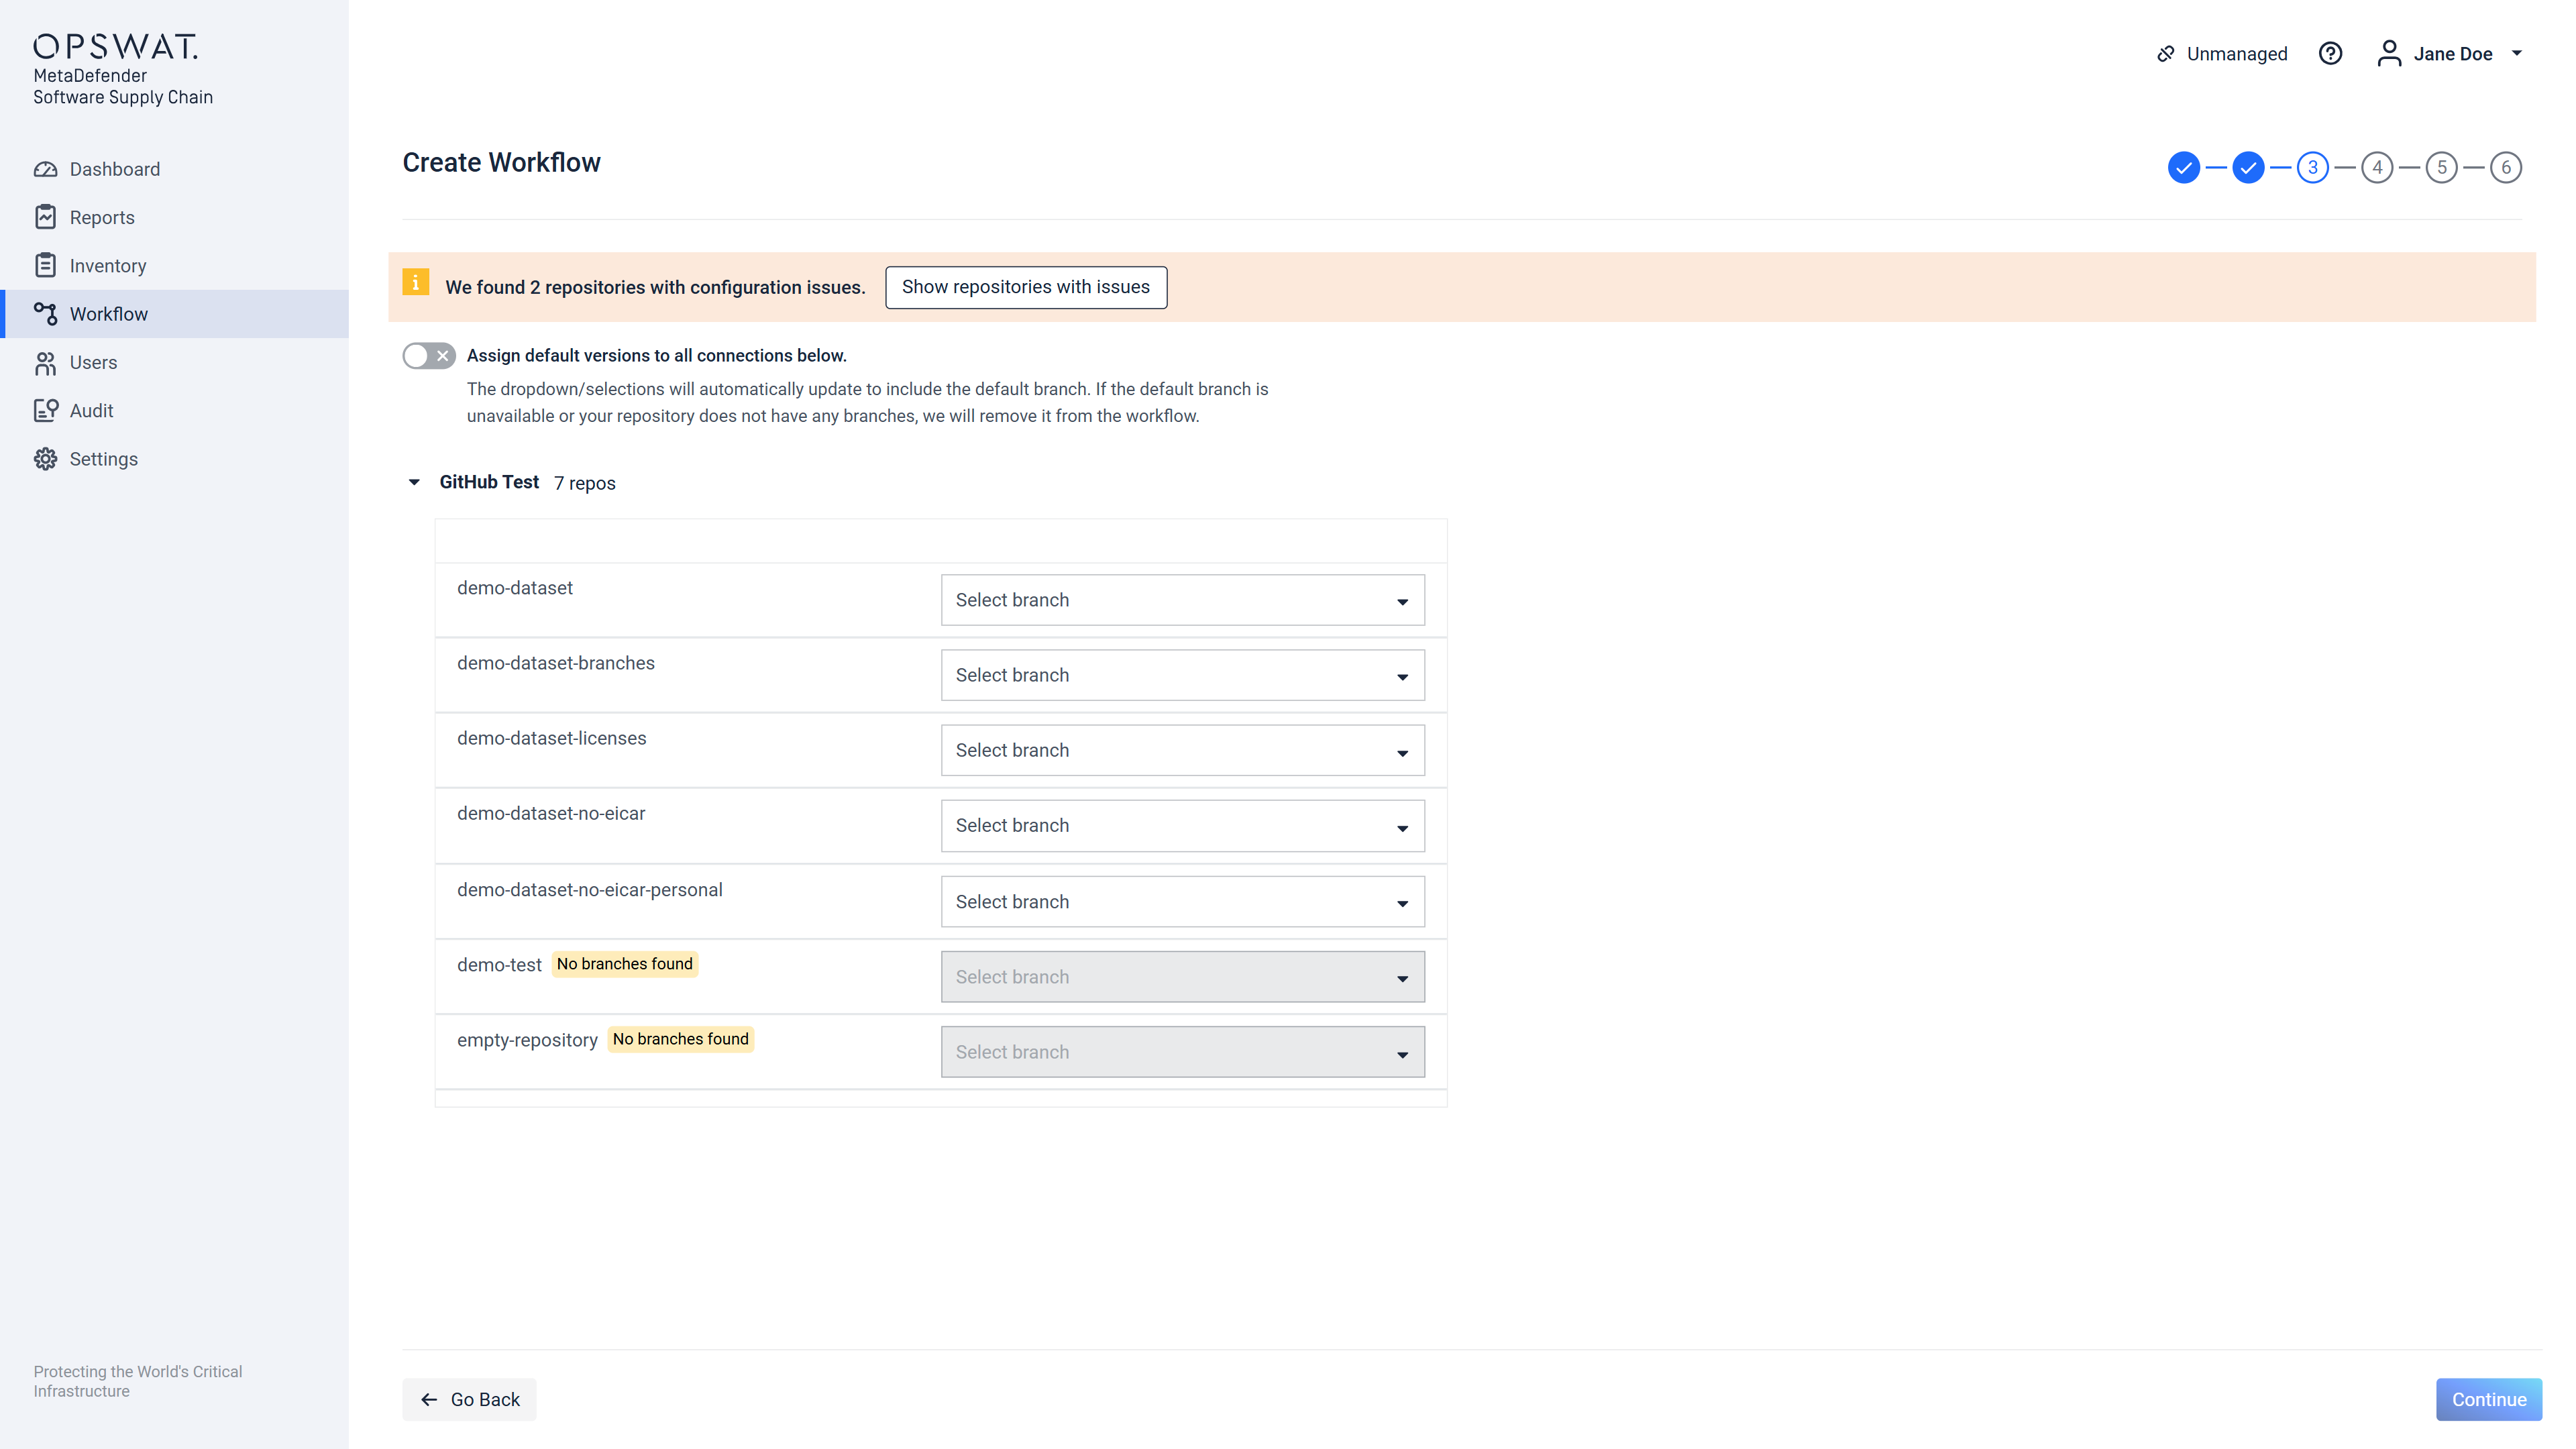
If we find repositories/images without any branches or tags we will emphasize them on the page showing a badge and disabling the dropdown. You can remove the repositories/images with issues by clicking on the Assign default versions to all connections below switch.
You can also see the removed repositories/images by clicking on the Show repositories/images with issues.

After pressing the switch or filling in manually with the branches/tags desired for scan you can proceed to the 4th step of the process.

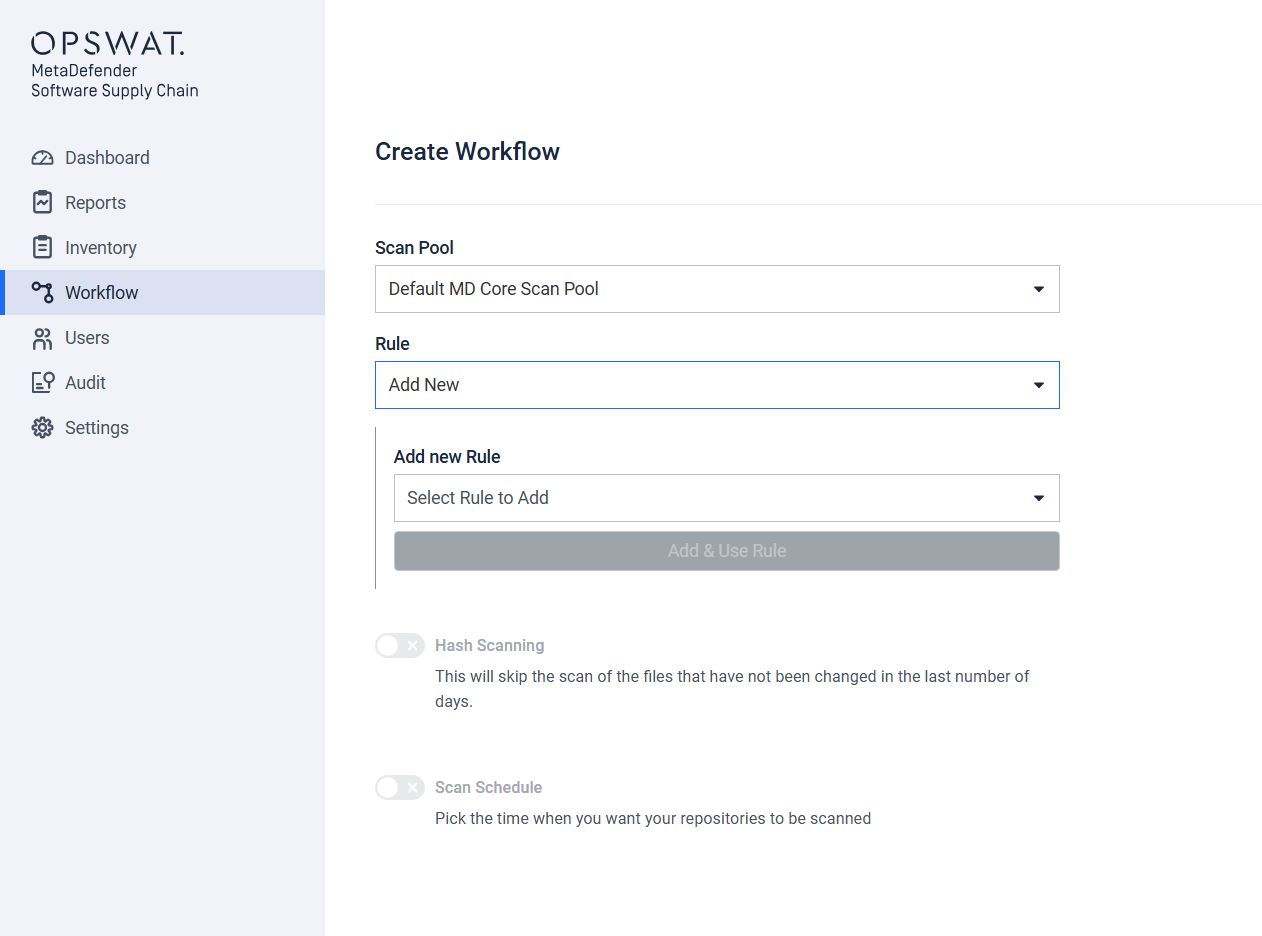
Step 4 out of 6
Scan Pool input field
On this screen the user has to choose a Scan Pool from a list of available Scan Pools, that will be used to trigger a scan using this workflow.
Each available input on Step 4 is initially hidden until the previous entry is selected, because their content will be changed based on the selection of the current active input. (see image "Example of second input field shown, after the scan pool is selected.")

Select Rule input field
This option input field displays a list of available scanning rules, but it also allows the creation of a new scan rule.
If choosing one of the default Rules like "MetaDefender Secure Supply Chain", the next input field is displayed, or if there are no other input fields, the continue button will be enabled and the user can go to the next step.
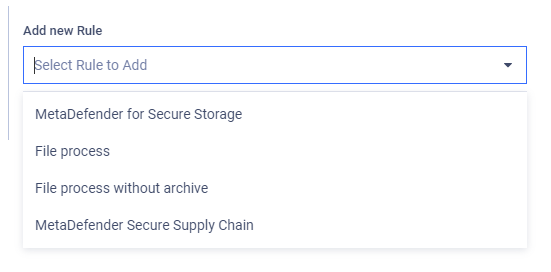
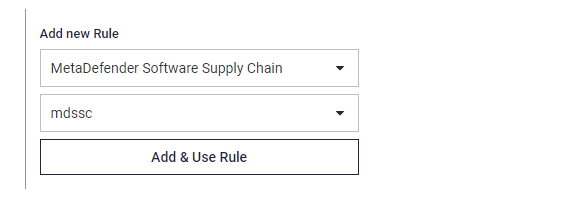
If It is desired to create a new rule, then after selecting the "Add New Rule" option, the following additional input fields will be shown:
The user can now choose from the following option of Rules:
When choosing the first option "MetaDefender for Secure Storage" the user is presented with an input field to select the User Agent:
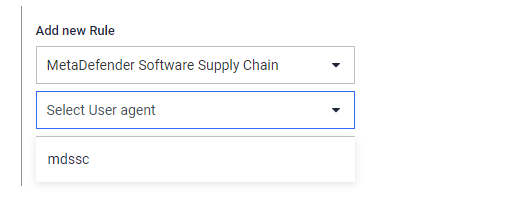
The only option here currently is "mdssc", after selecting this User agent, clicking the "Add & Use Rule" button the new rule can be saved and automatically selected as the selected rule for the workflow:
For details regarding Hash Scanning and Scan Schedule features, please check the "Operating" section from "Deployment & Usage".
If there are no additional inputs to configure, the user can continue to step 5.
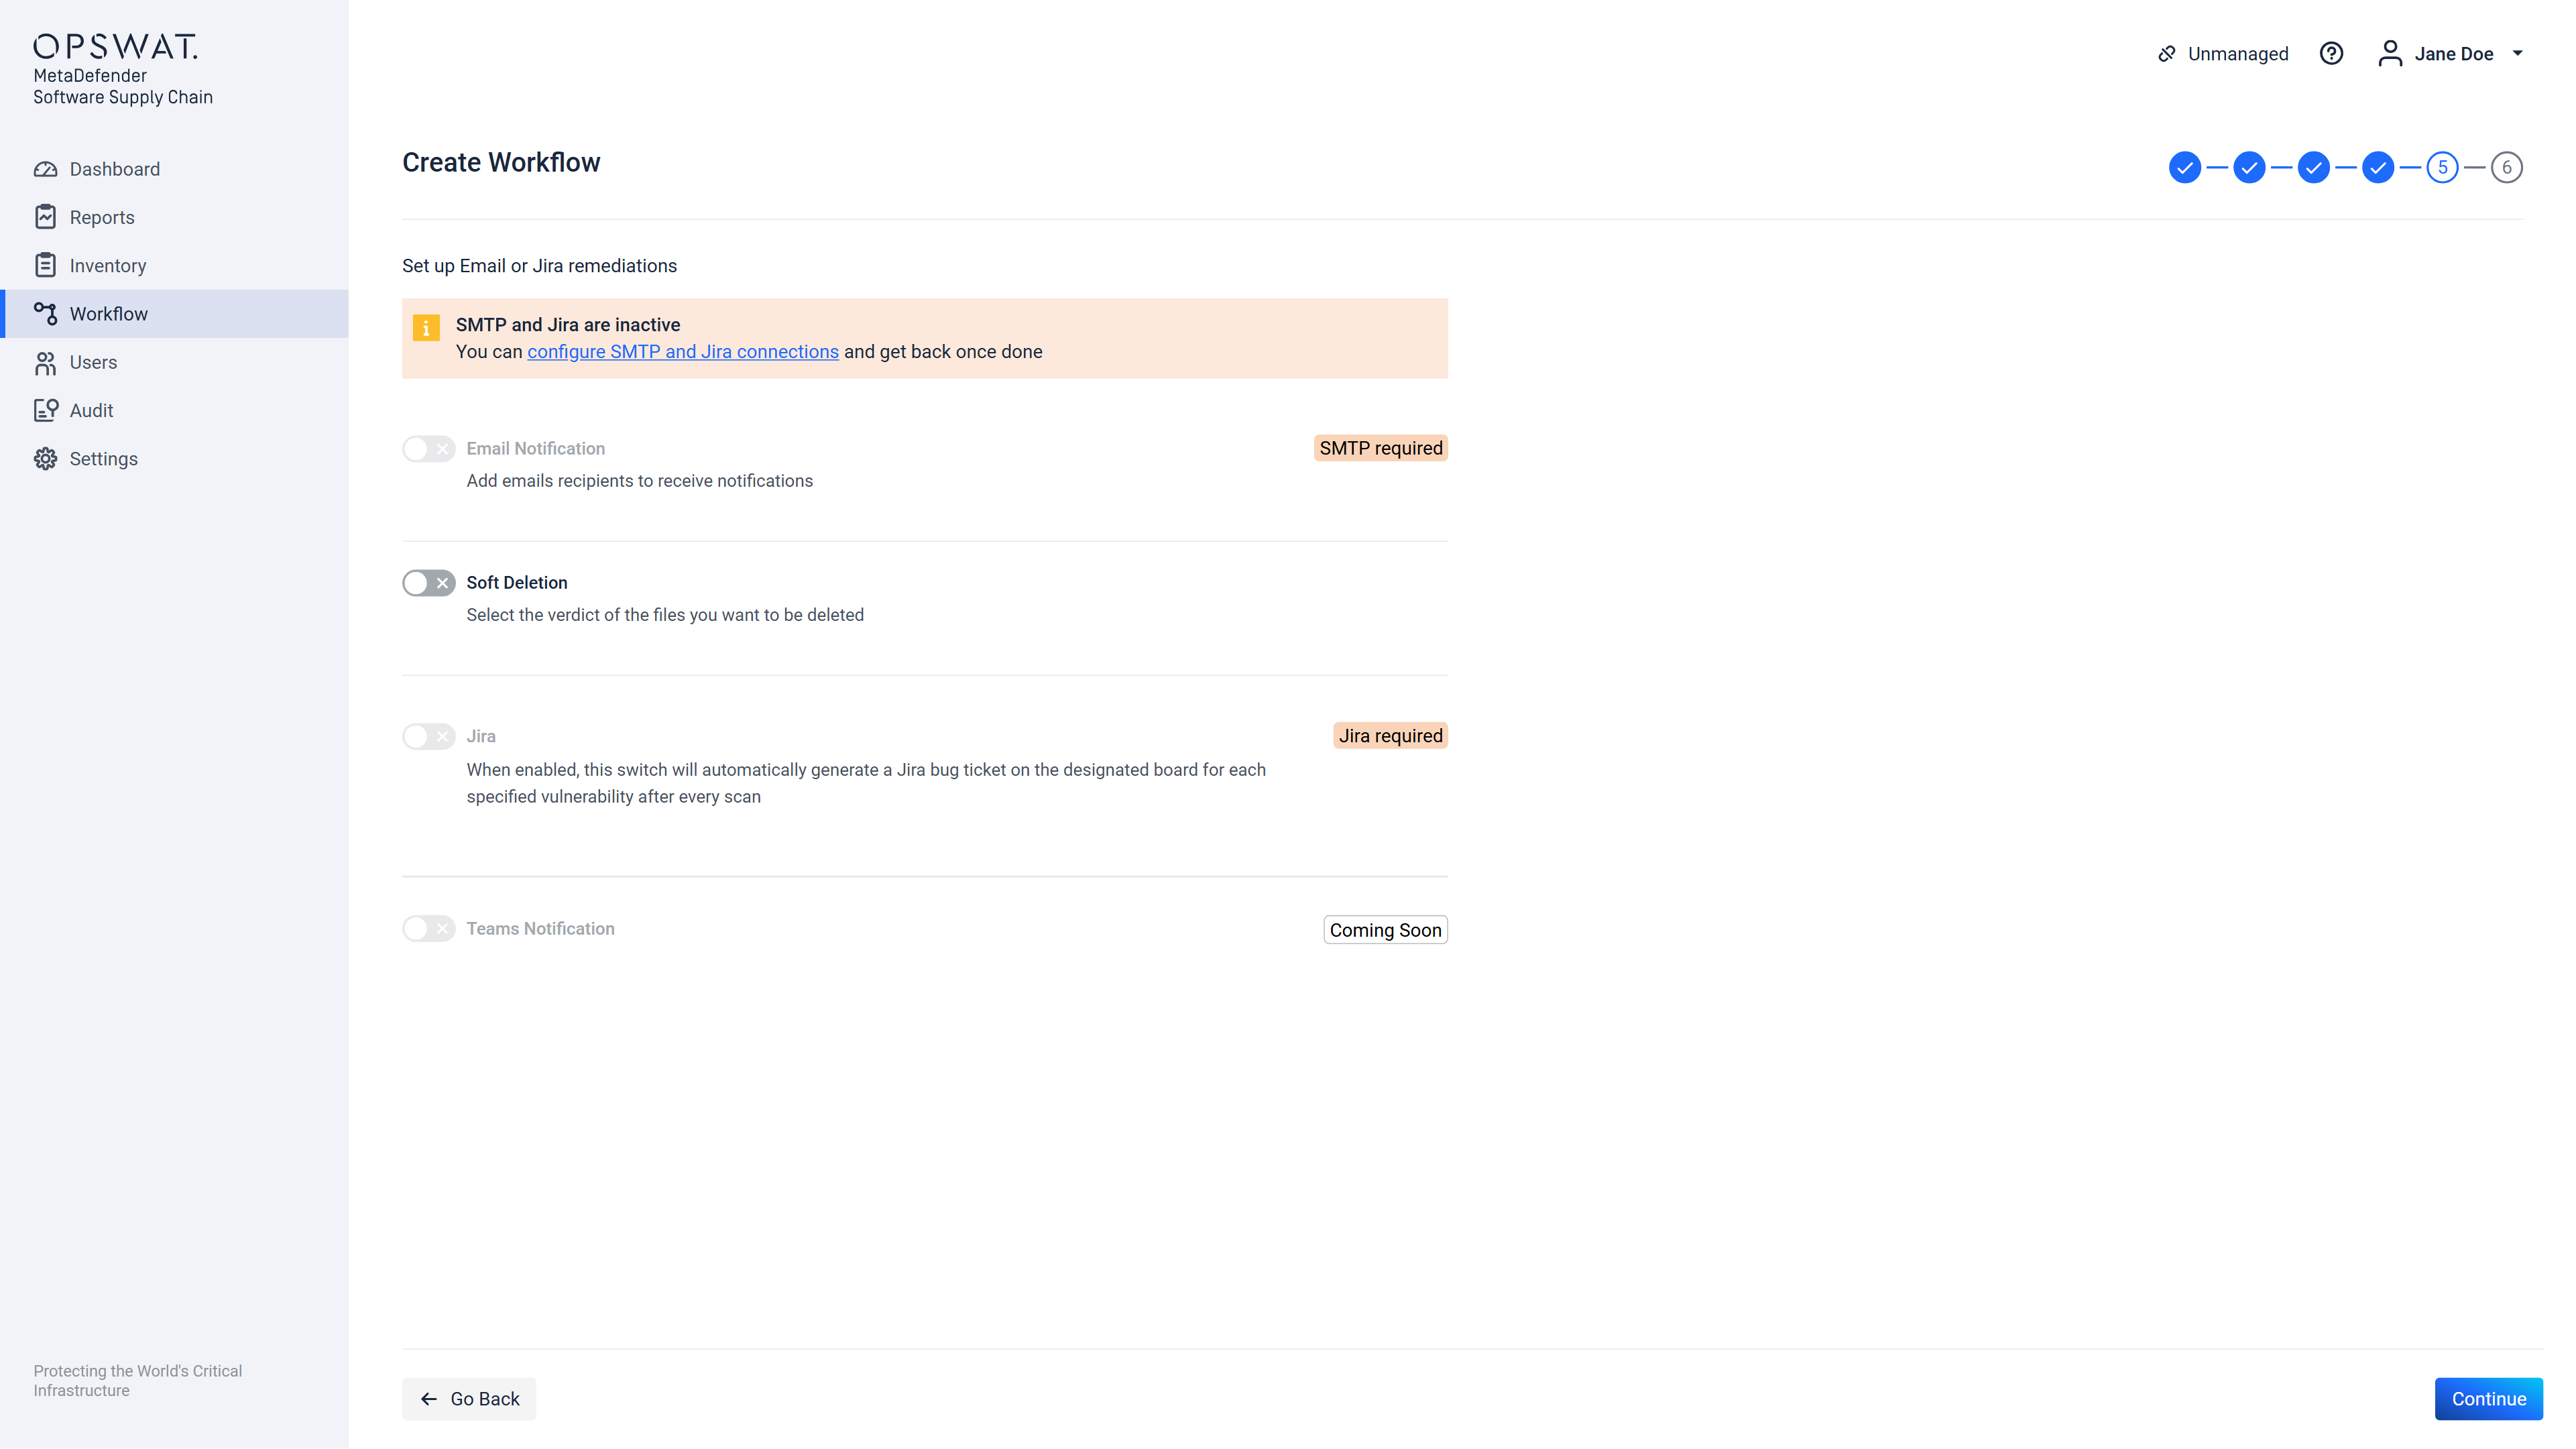
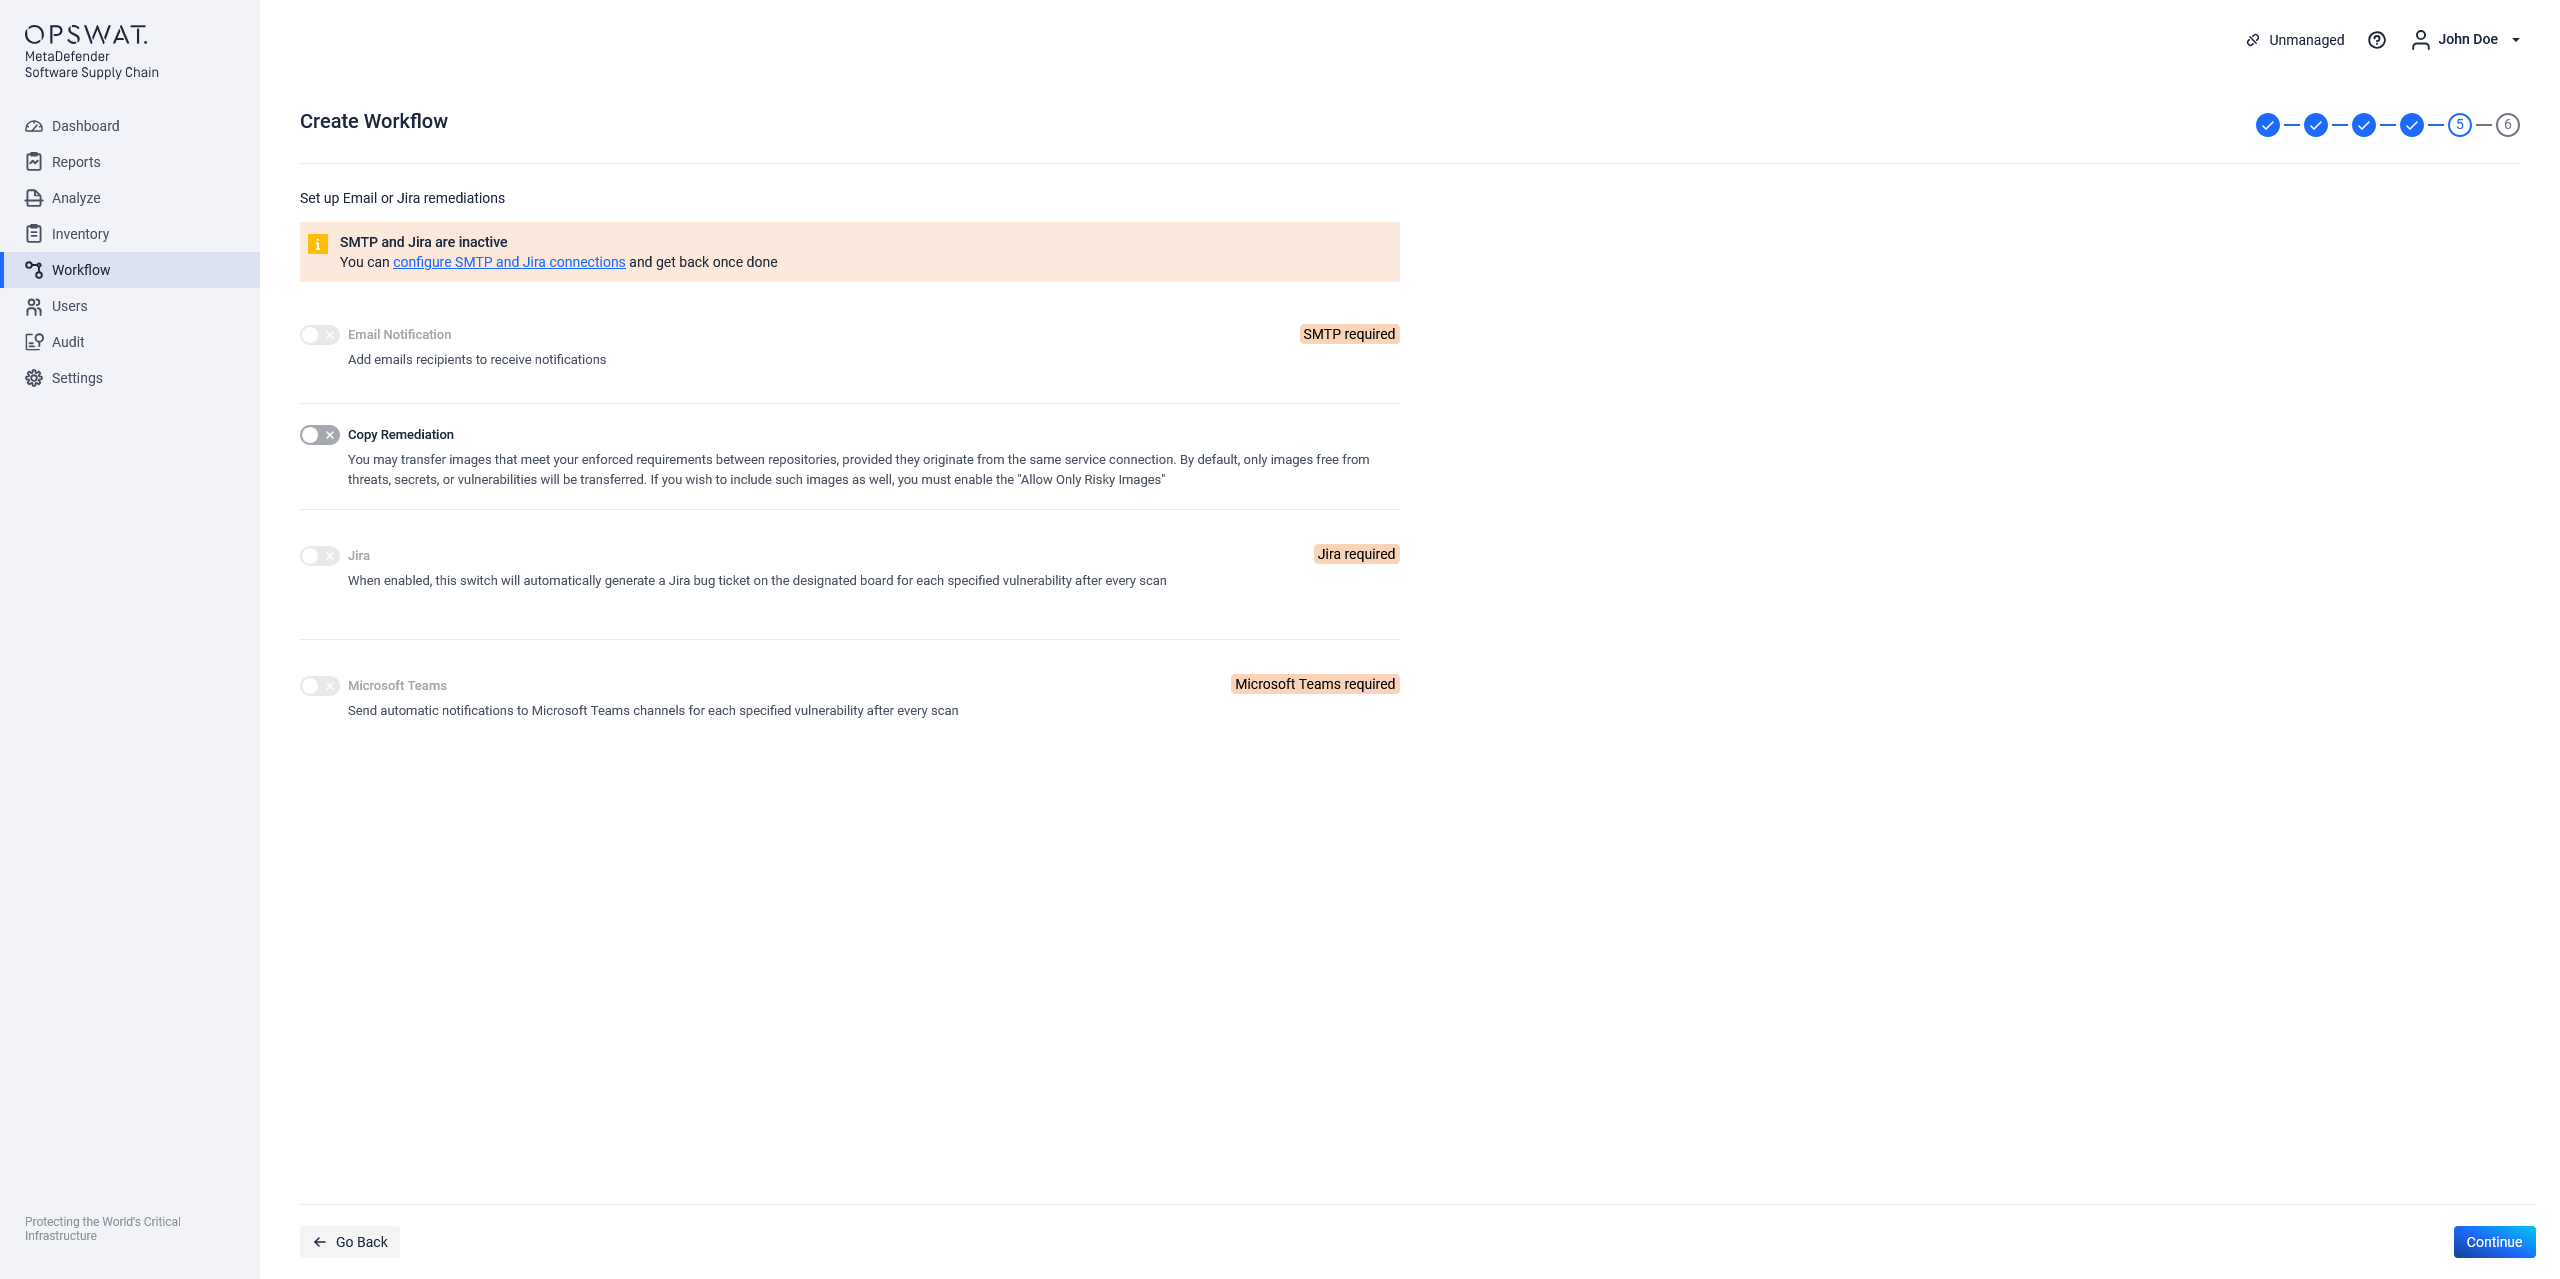
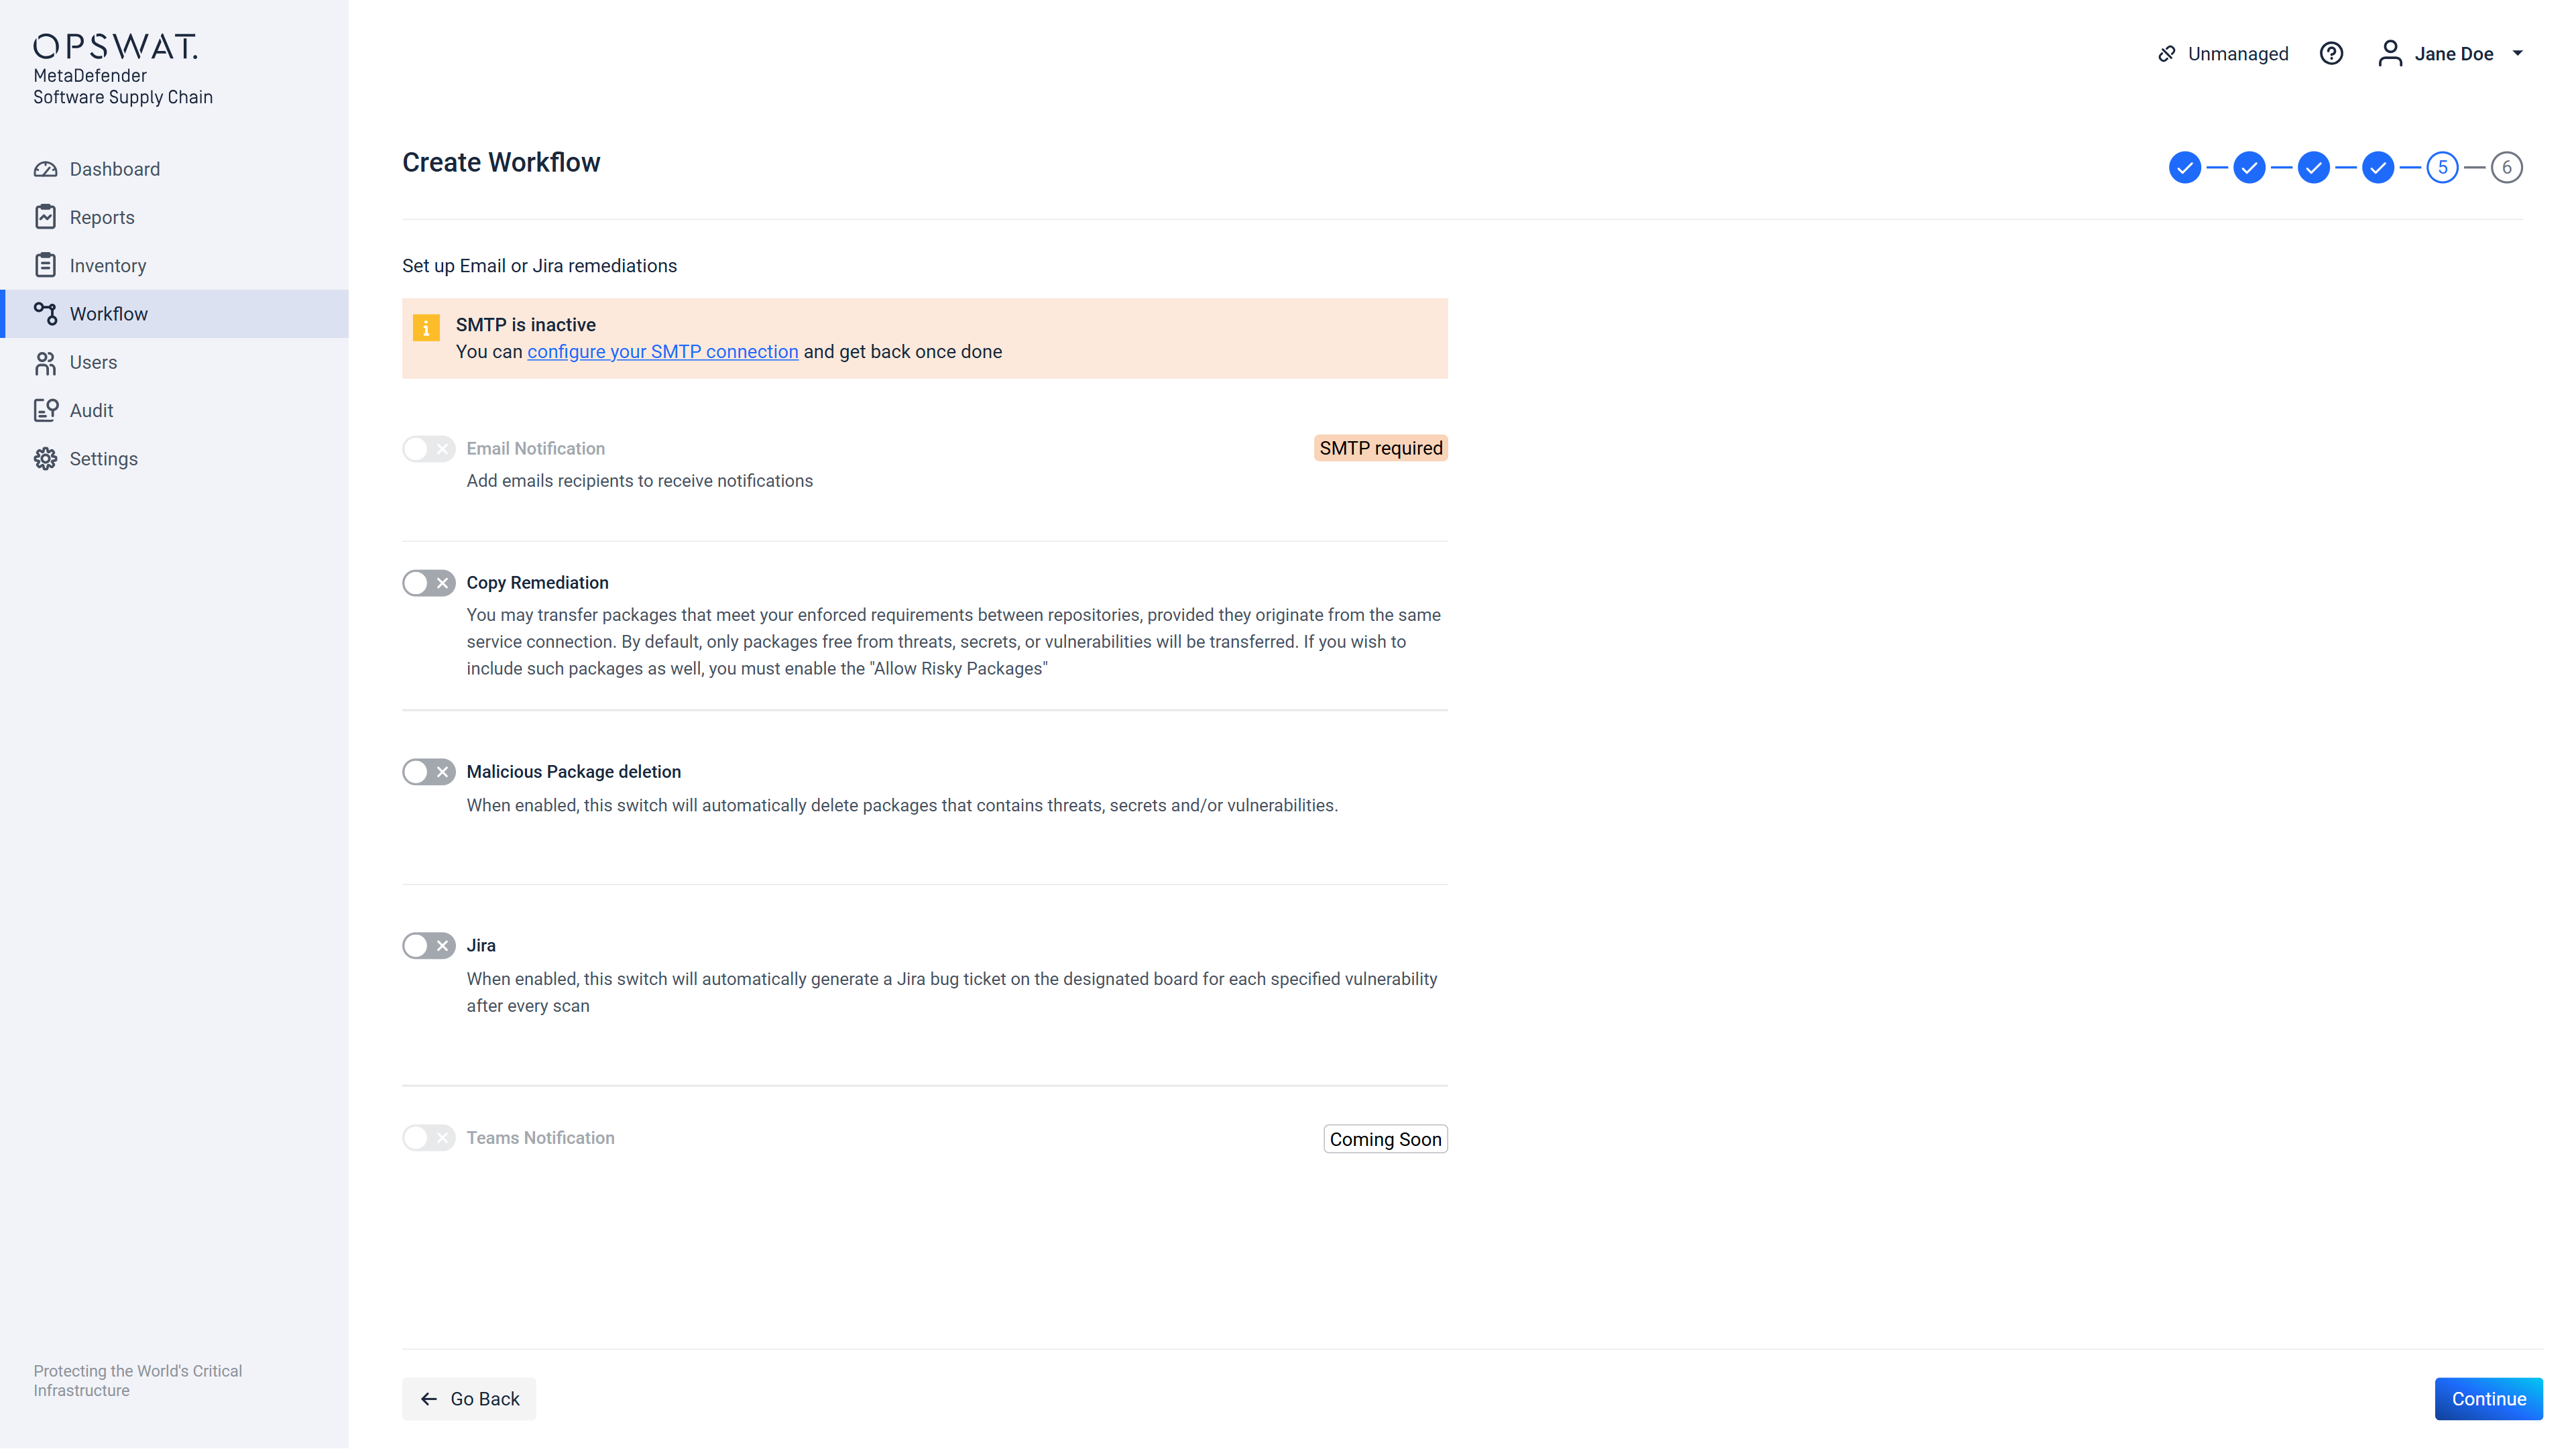
Step 5 out of 6
Step 5 allows configuration of remediation actions (what to do after a scan is finished). If there is no SMTP server configured that the framework can use, then on this page an error will be displayed and no email type remediations can be configured. The same applies to Jira remediation, if there is no Jira Connection added. This can be seen below:
If there was an SMTP server configured (check SMTP configuration documentation here) this screen will allow to enter a list of email addresses which will receive notification emails when a scan using this workflow will be finished:
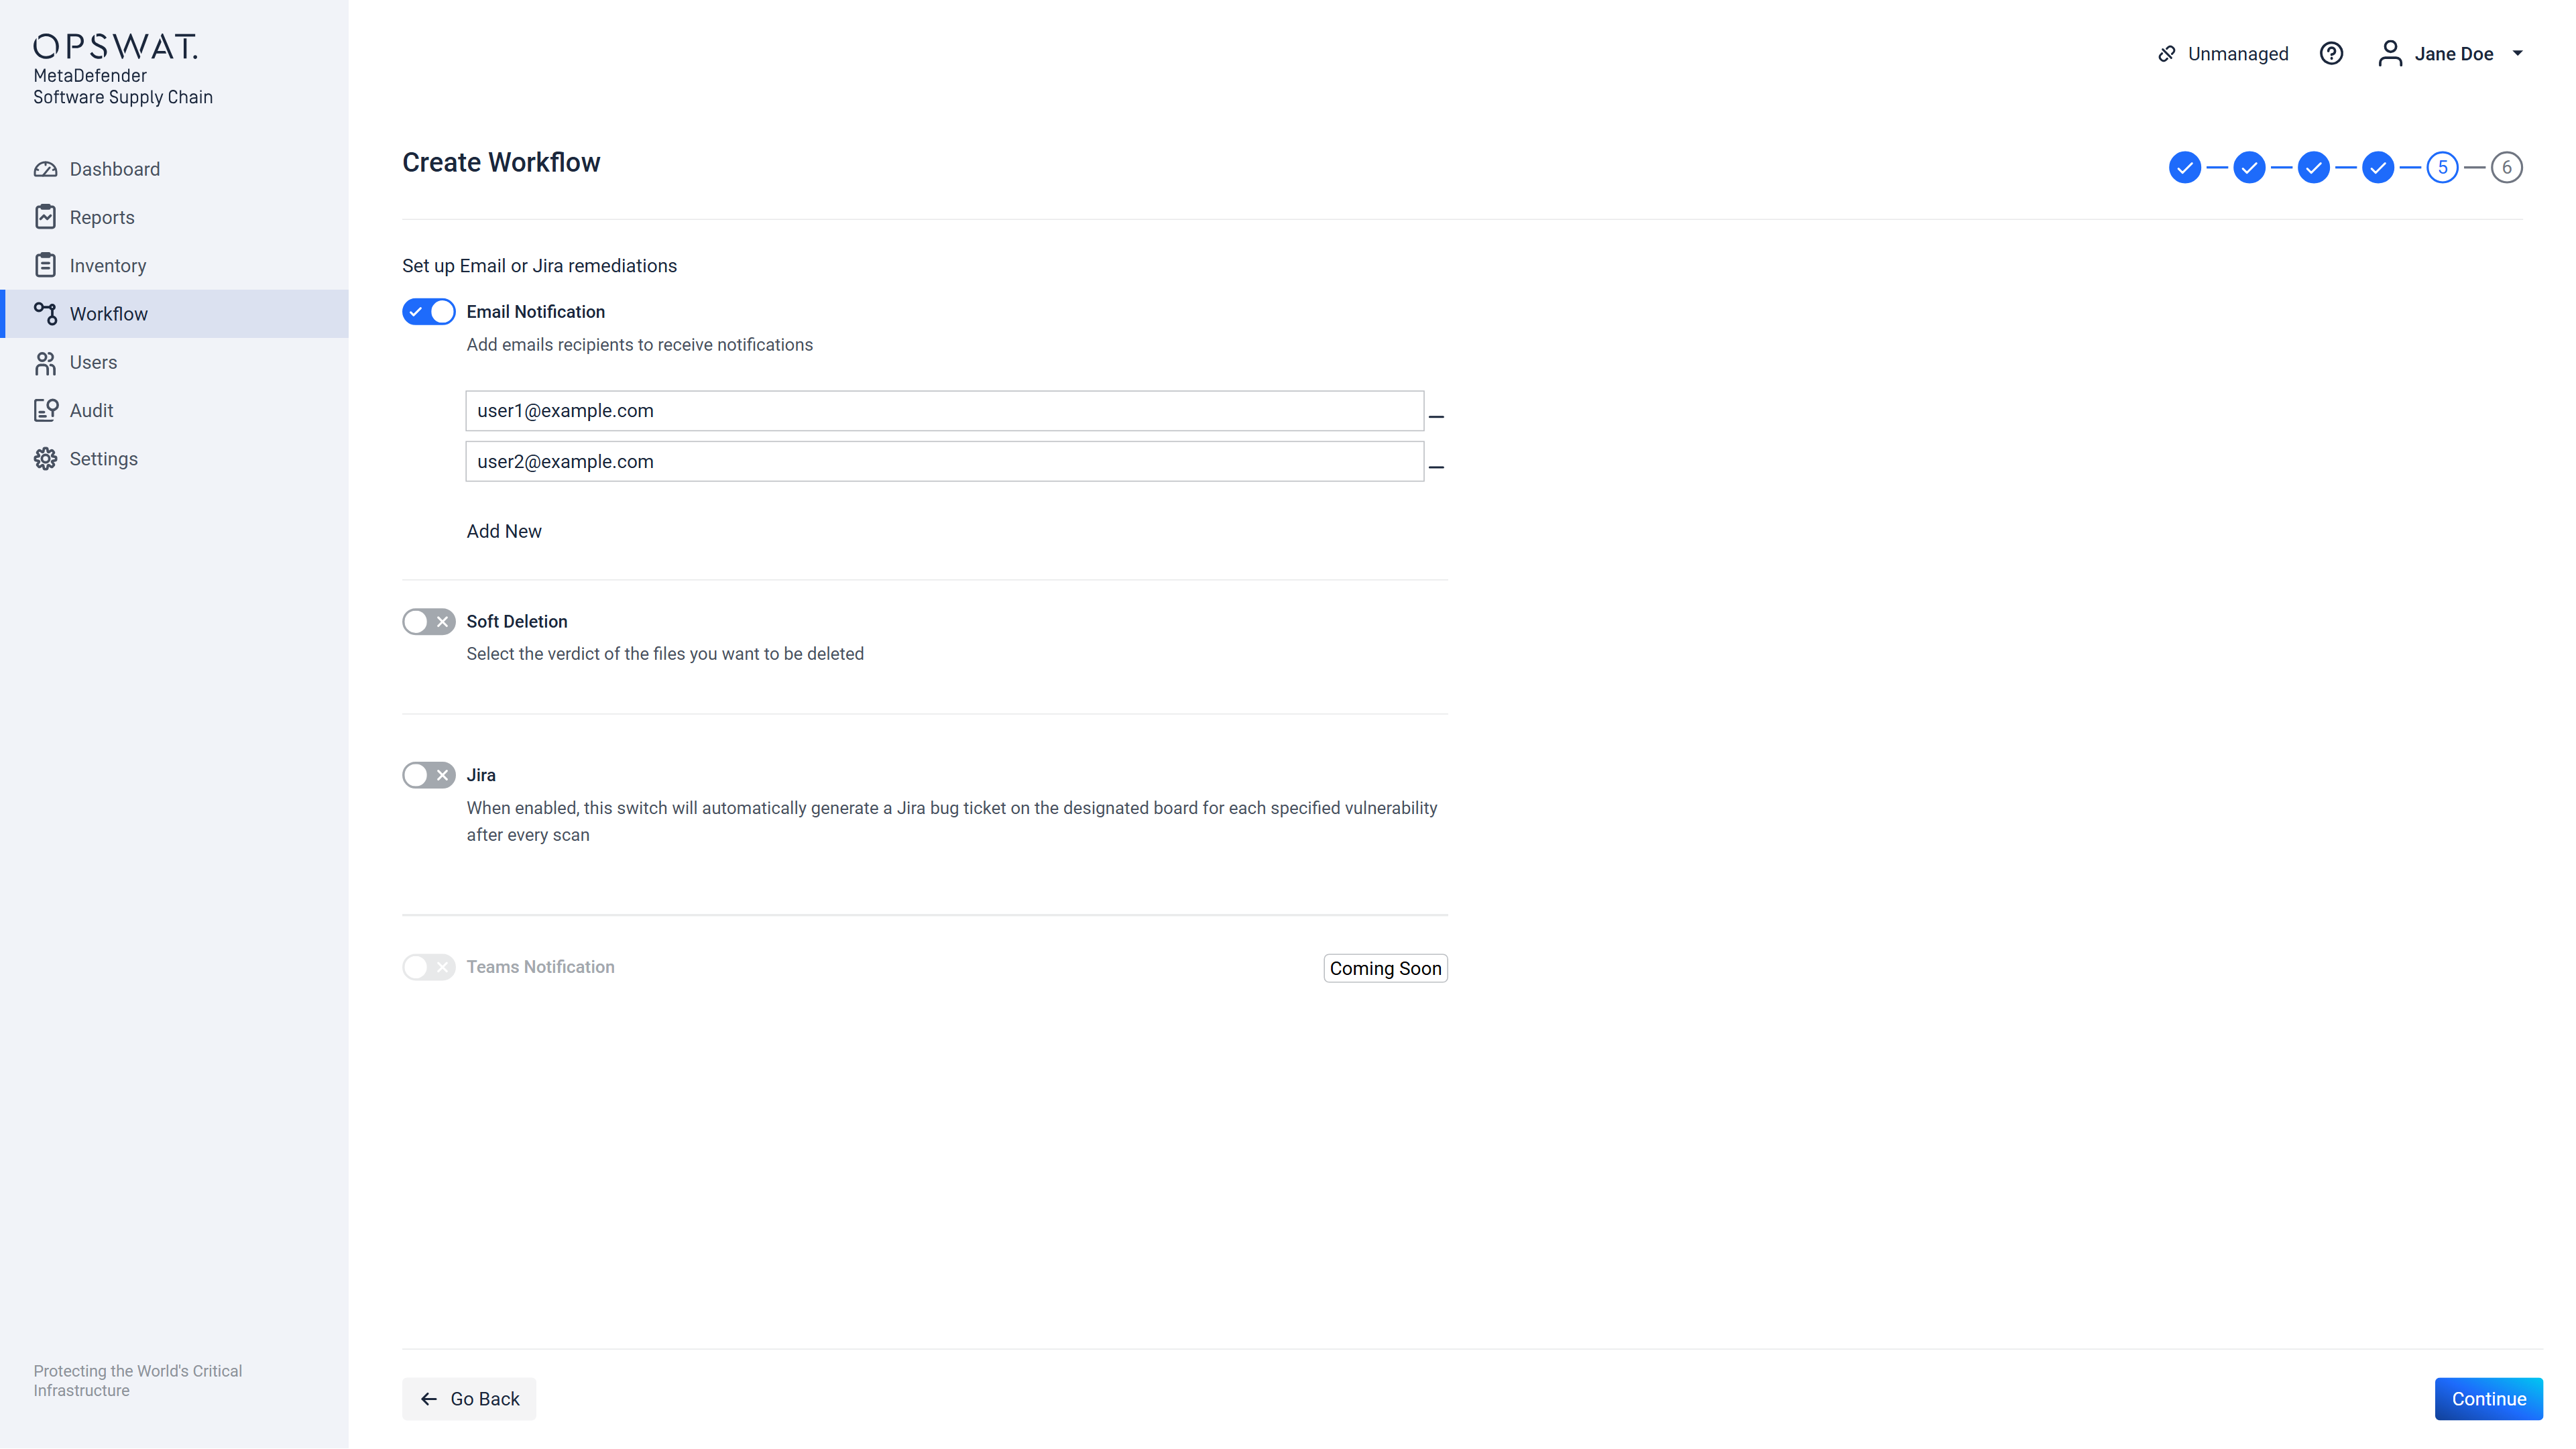
After configuring the email notifications, you can also set up the soft delete remediation option for your workflow, which is available specifically for GitHub, GitLab and Bitbucket integrations. This feature allows you to choose what to remove if issues are detected during the scan. You can opt to delete items flagged as Malware, Secrets, or both, ensuring enhanced security by automatically handling sensitive or harmful content in your repositories after scans complete.
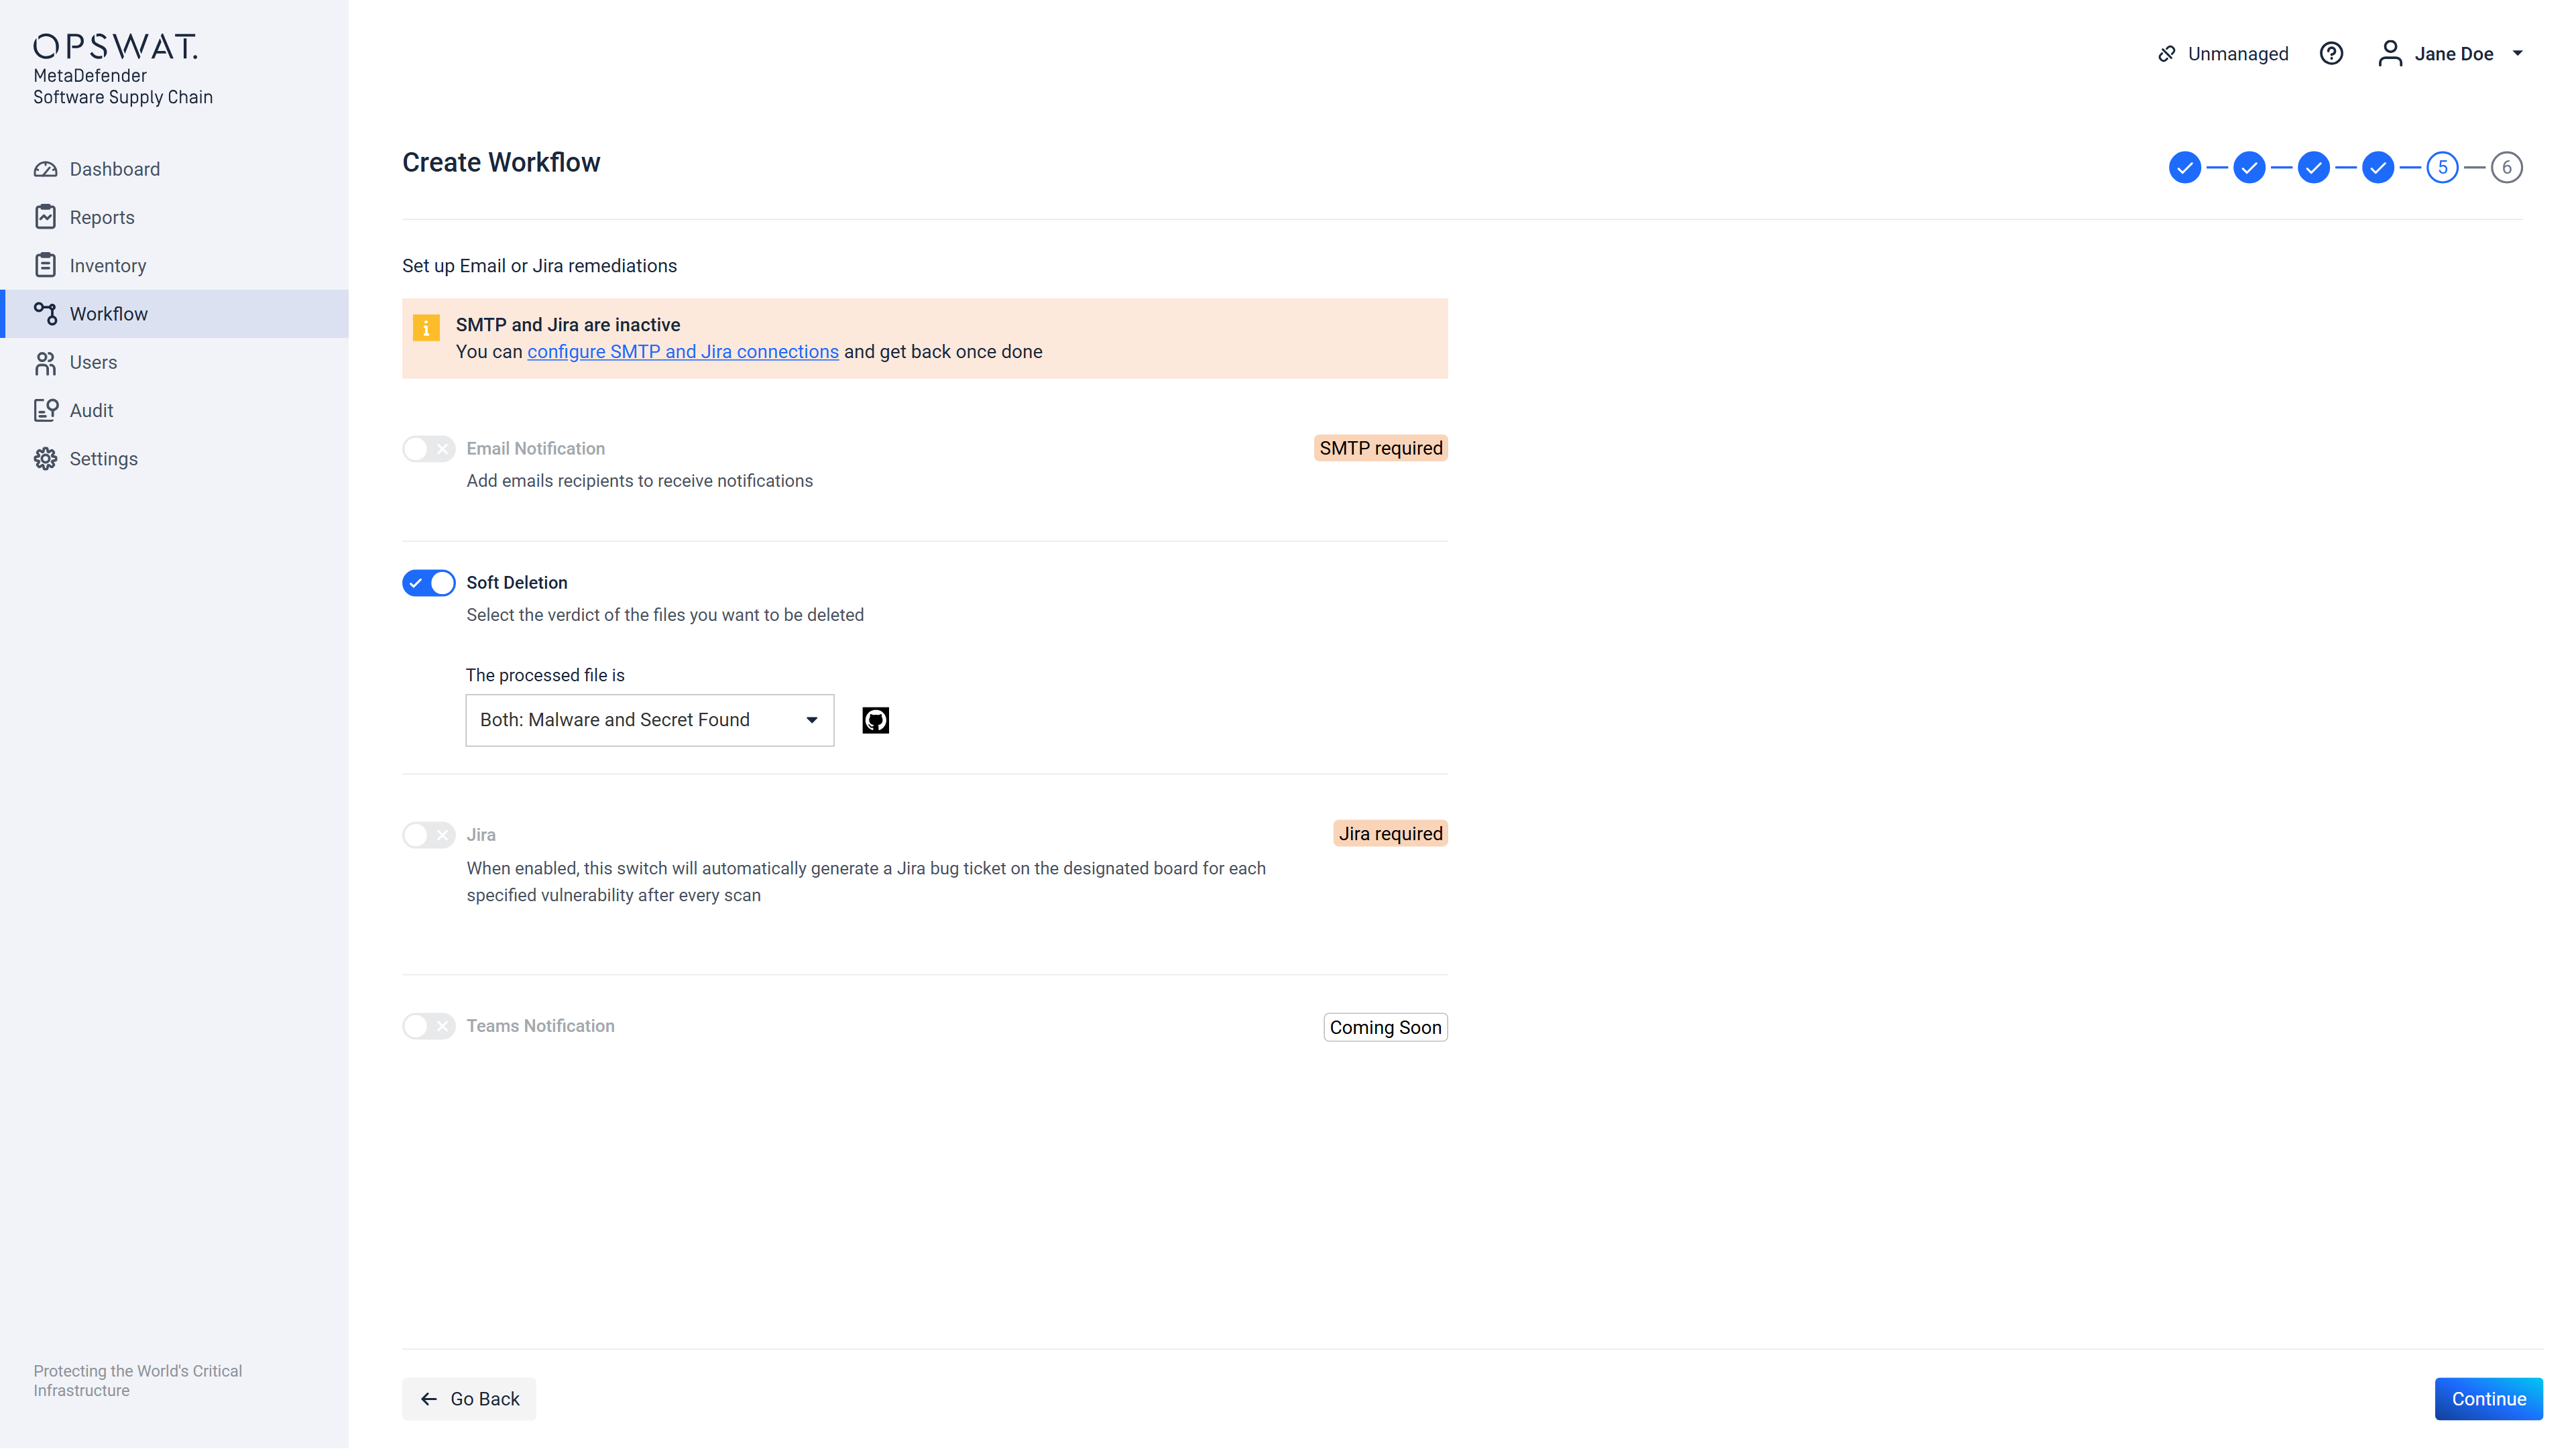
For GitHub, GitLab and Azure DevOps repositories, this action will create a commit where the flagged files are deleted. In contrast, for Bitbucket repositories, it will create a commit where the flagged files are updated with empty content, effectively rendering them inaccessible without complete removal from the repository.
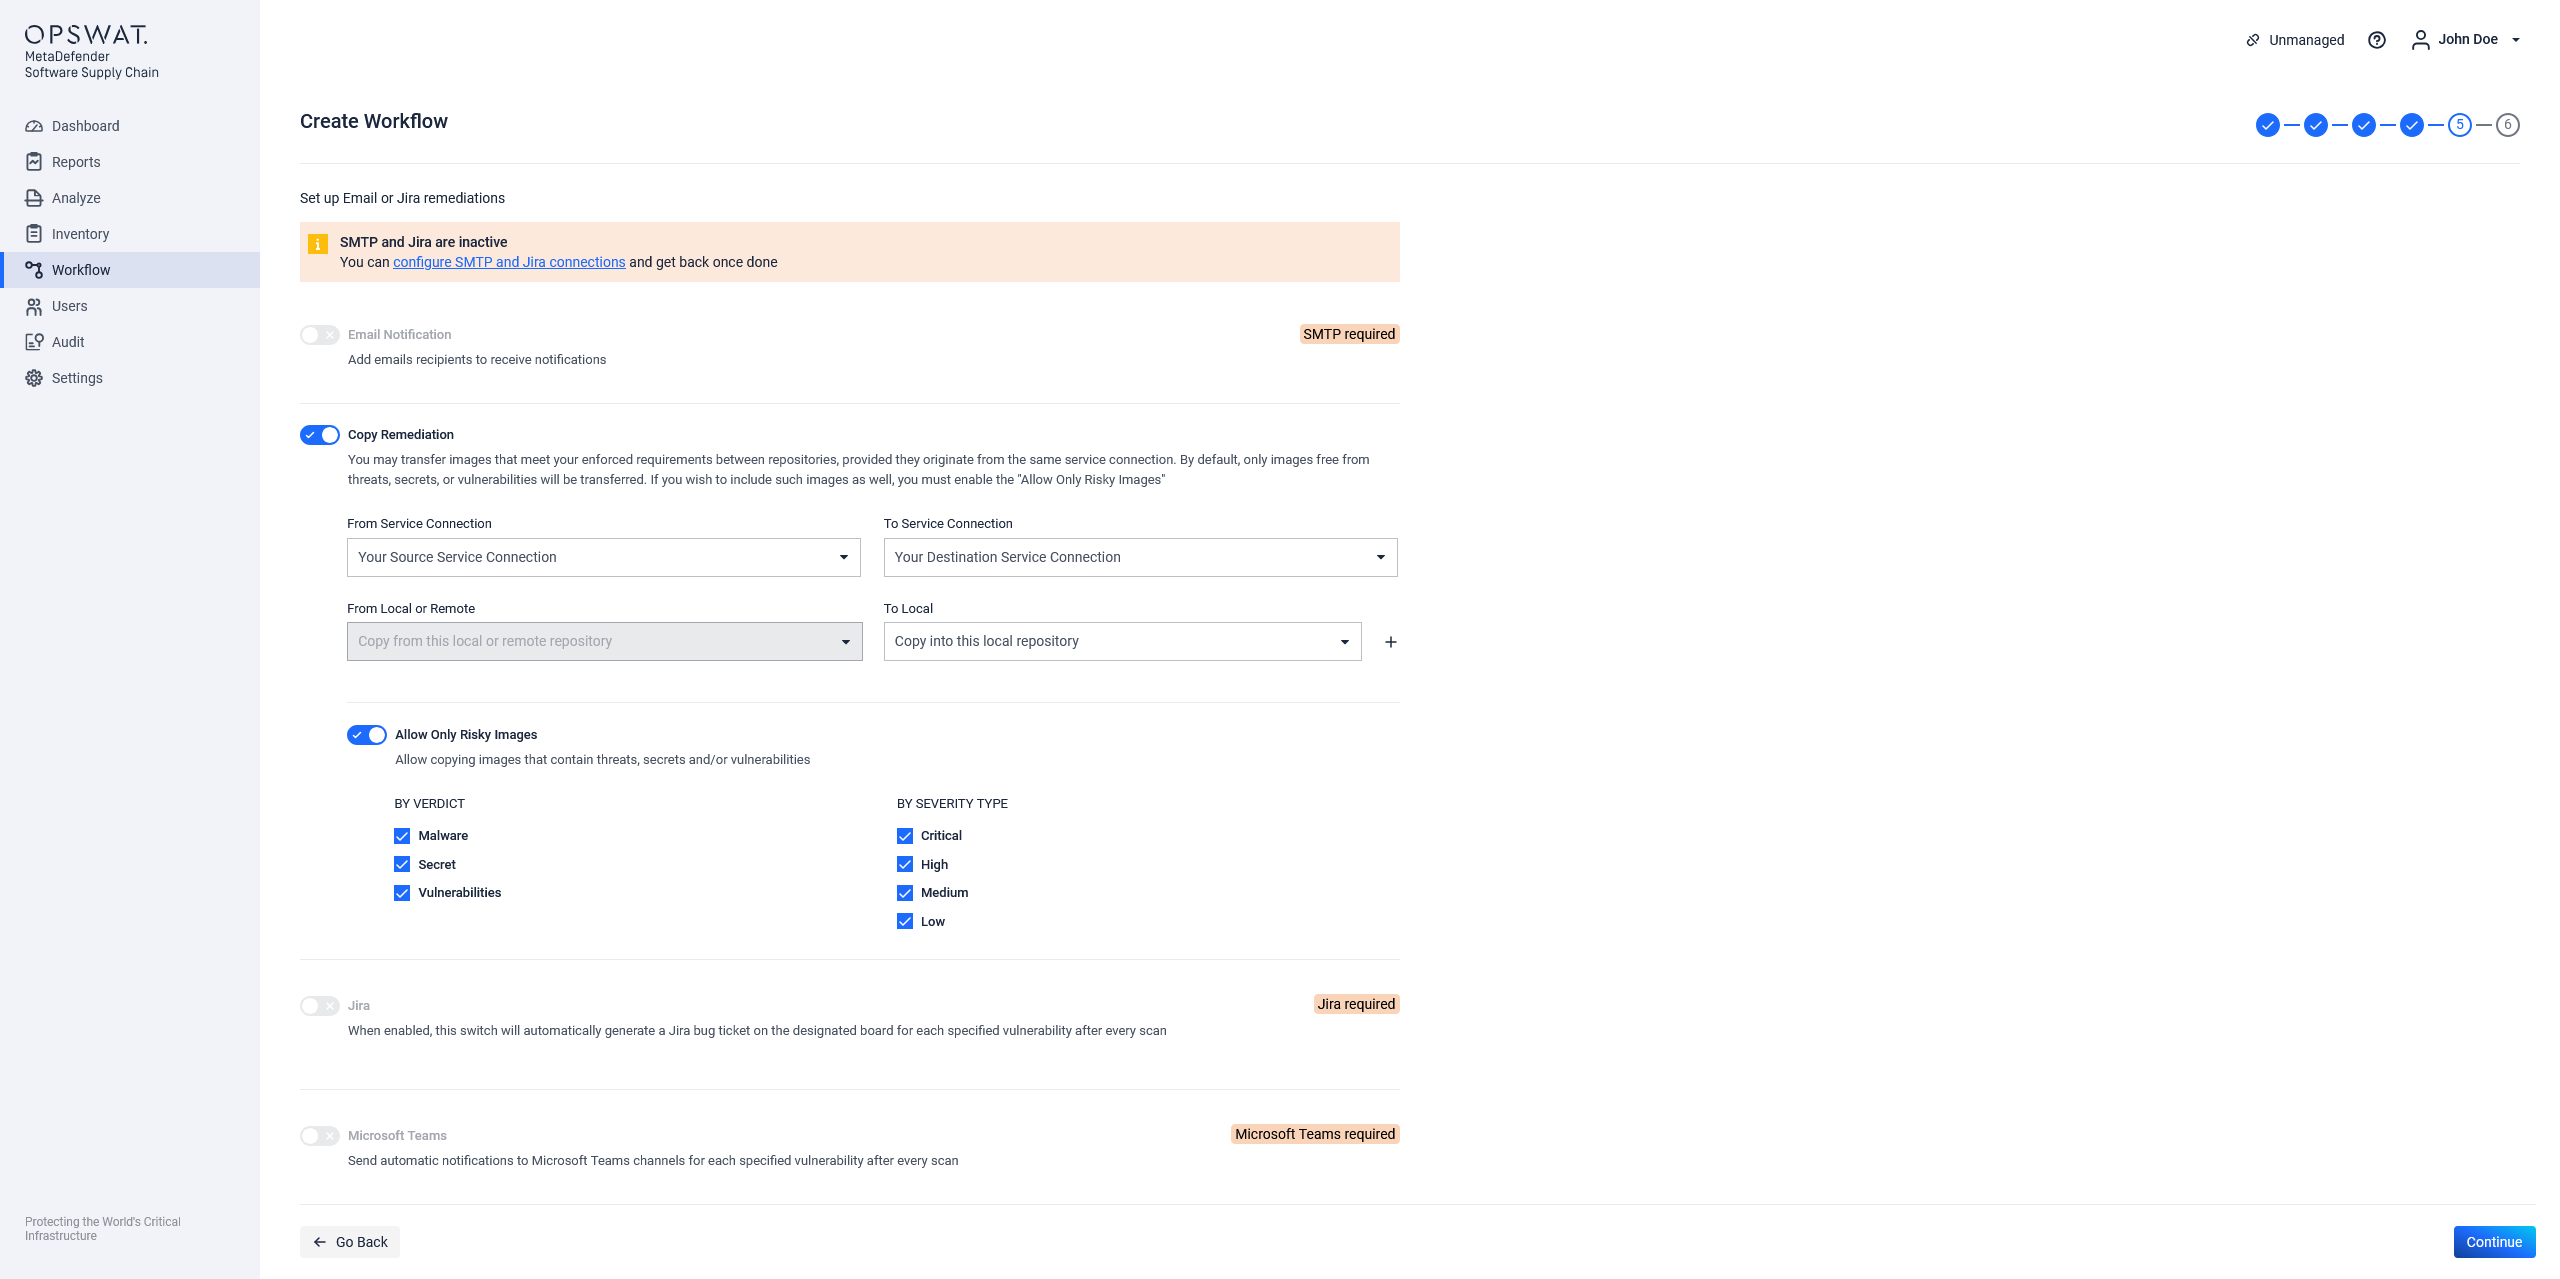
If workflow is intended to be created for JFrog Containers connections then one new option will apear Copy Remediation.
If Copy Remediation option is enabled, after every scan the clean images from local or remote repositories will be copied to local repositories:

It can be also possible to configure vice versa by using the Allow Risky Packages switch in order for the bad images to be copied in another locations (depending on your configuration):
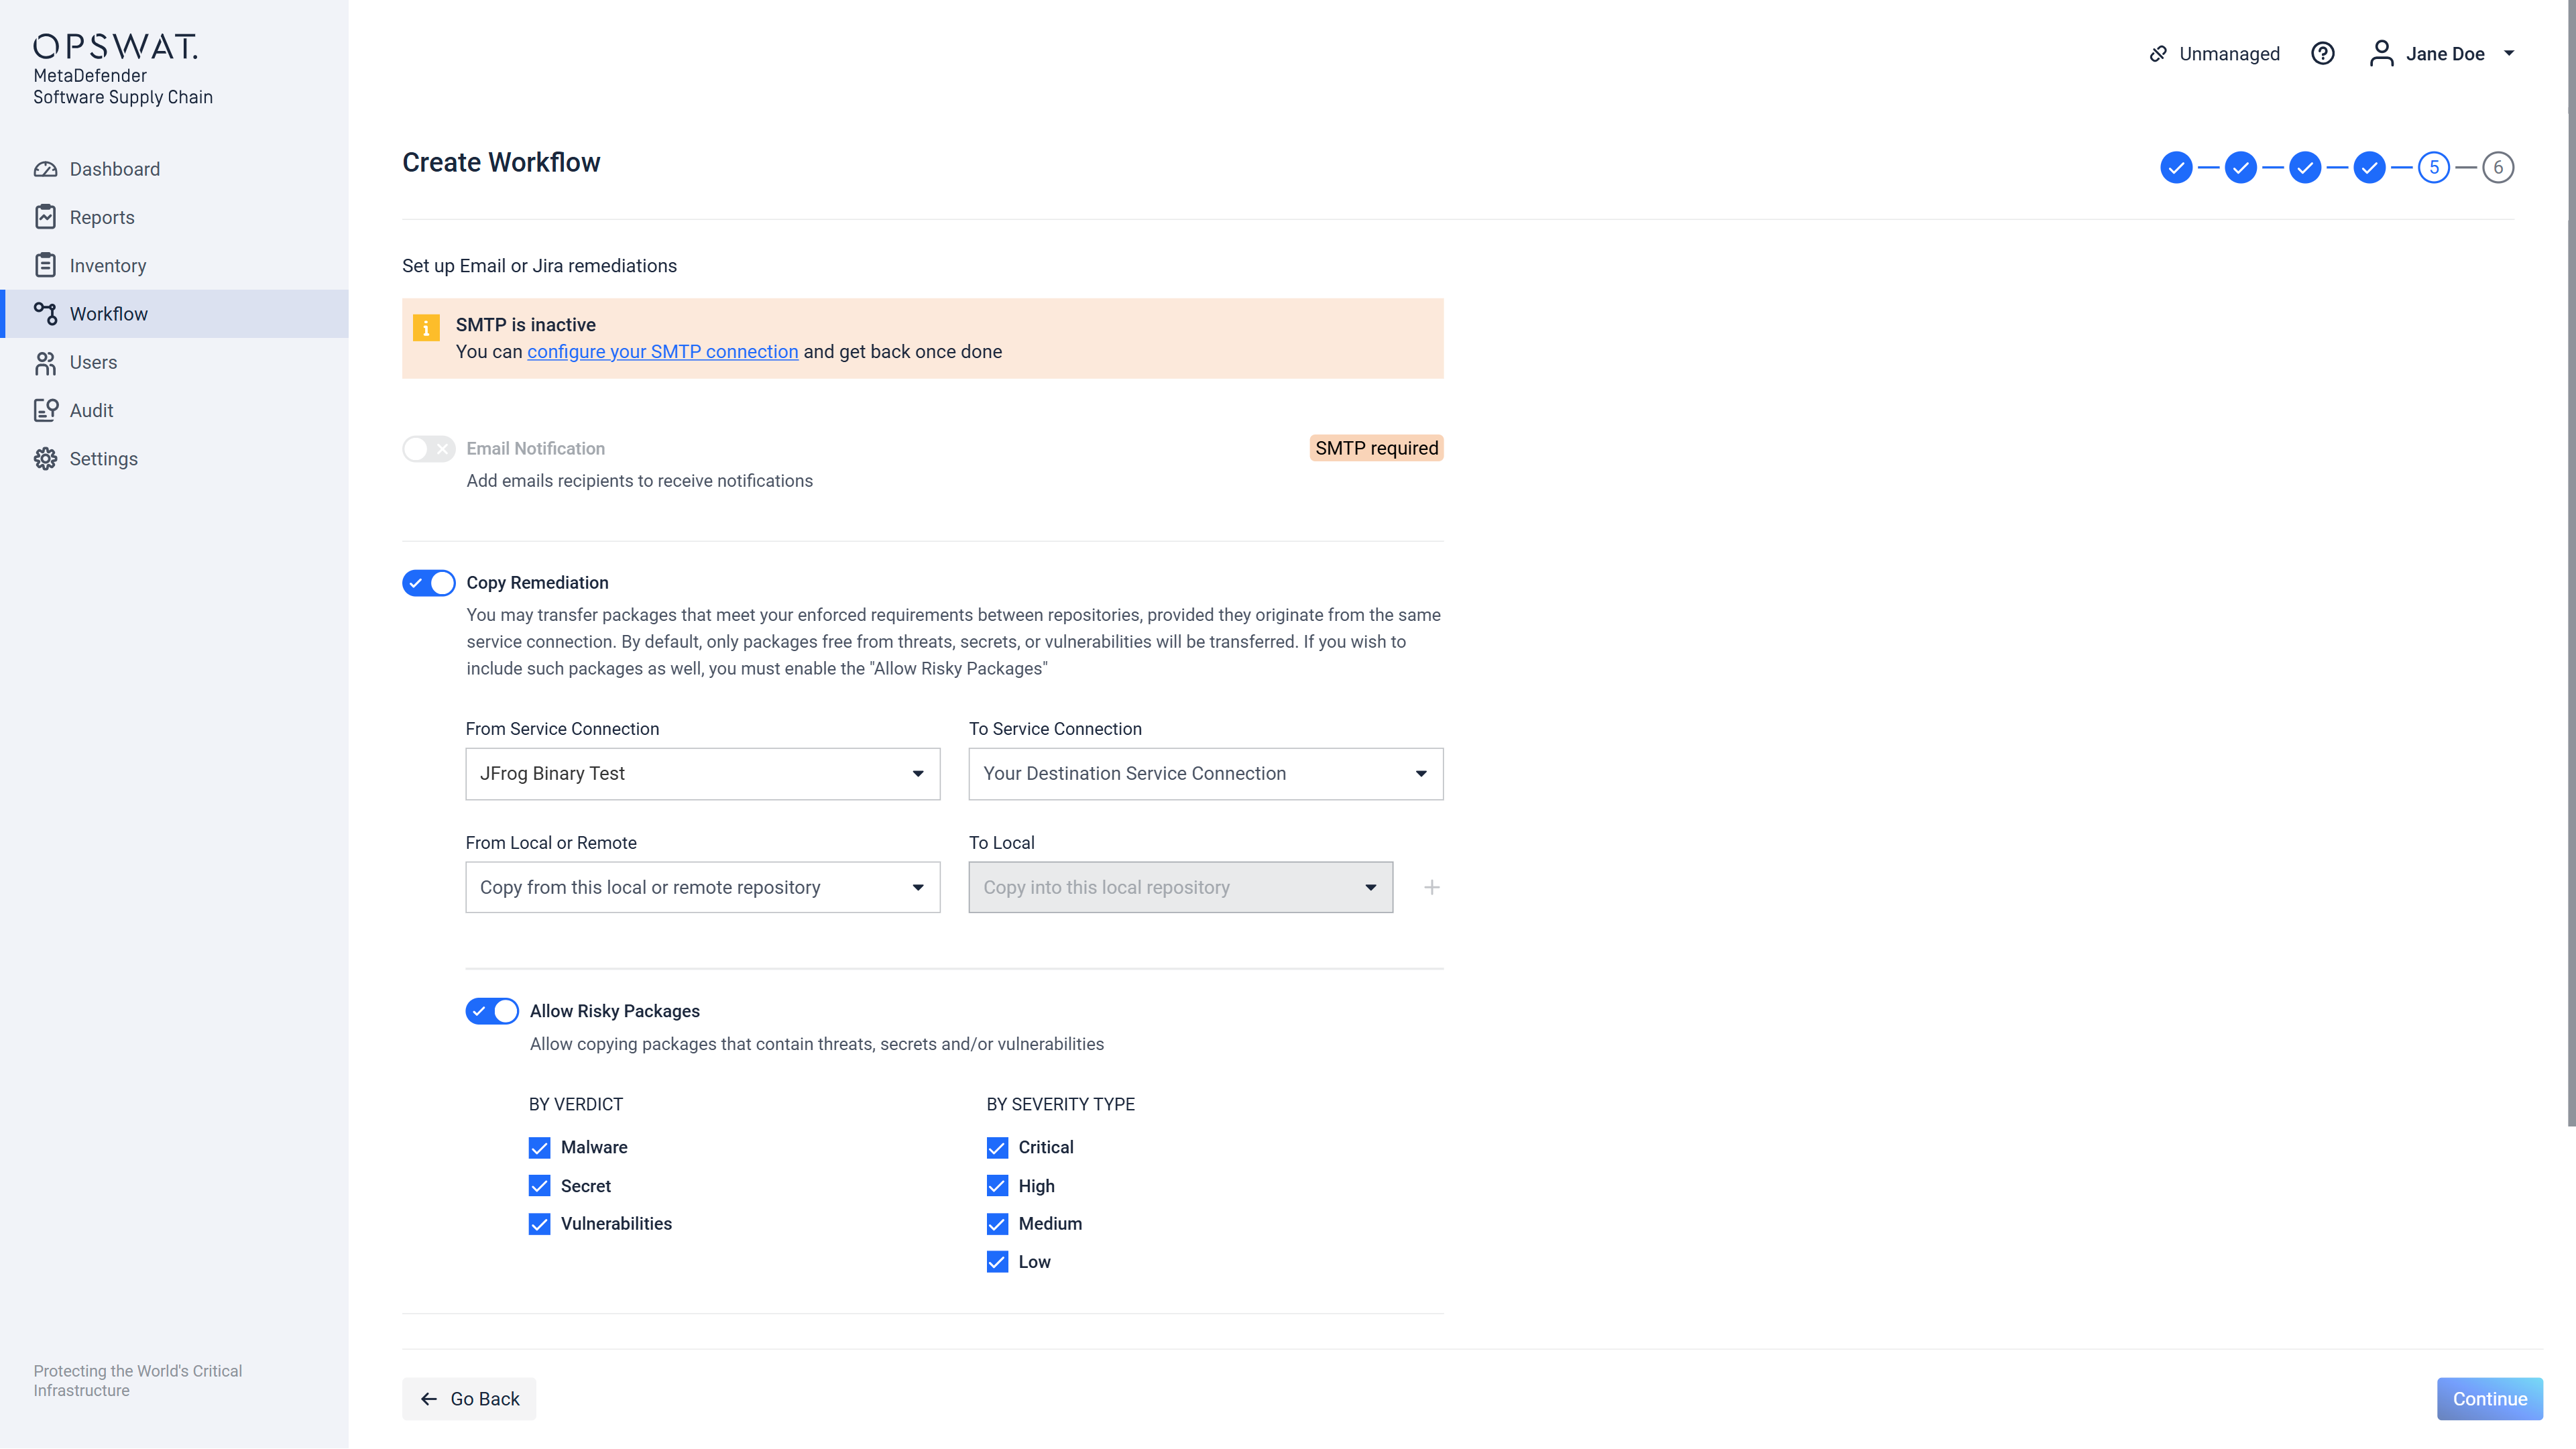
If workflow is intended to be created for JFrog Binary or Sonatype Nexus Repository connections then two new remediations options will appear: Copy Remediation and Delete Remediation.
If Copy Remediation option is enabled, after every scan the clean packages from local or remote repositories will be copied to local repositories:
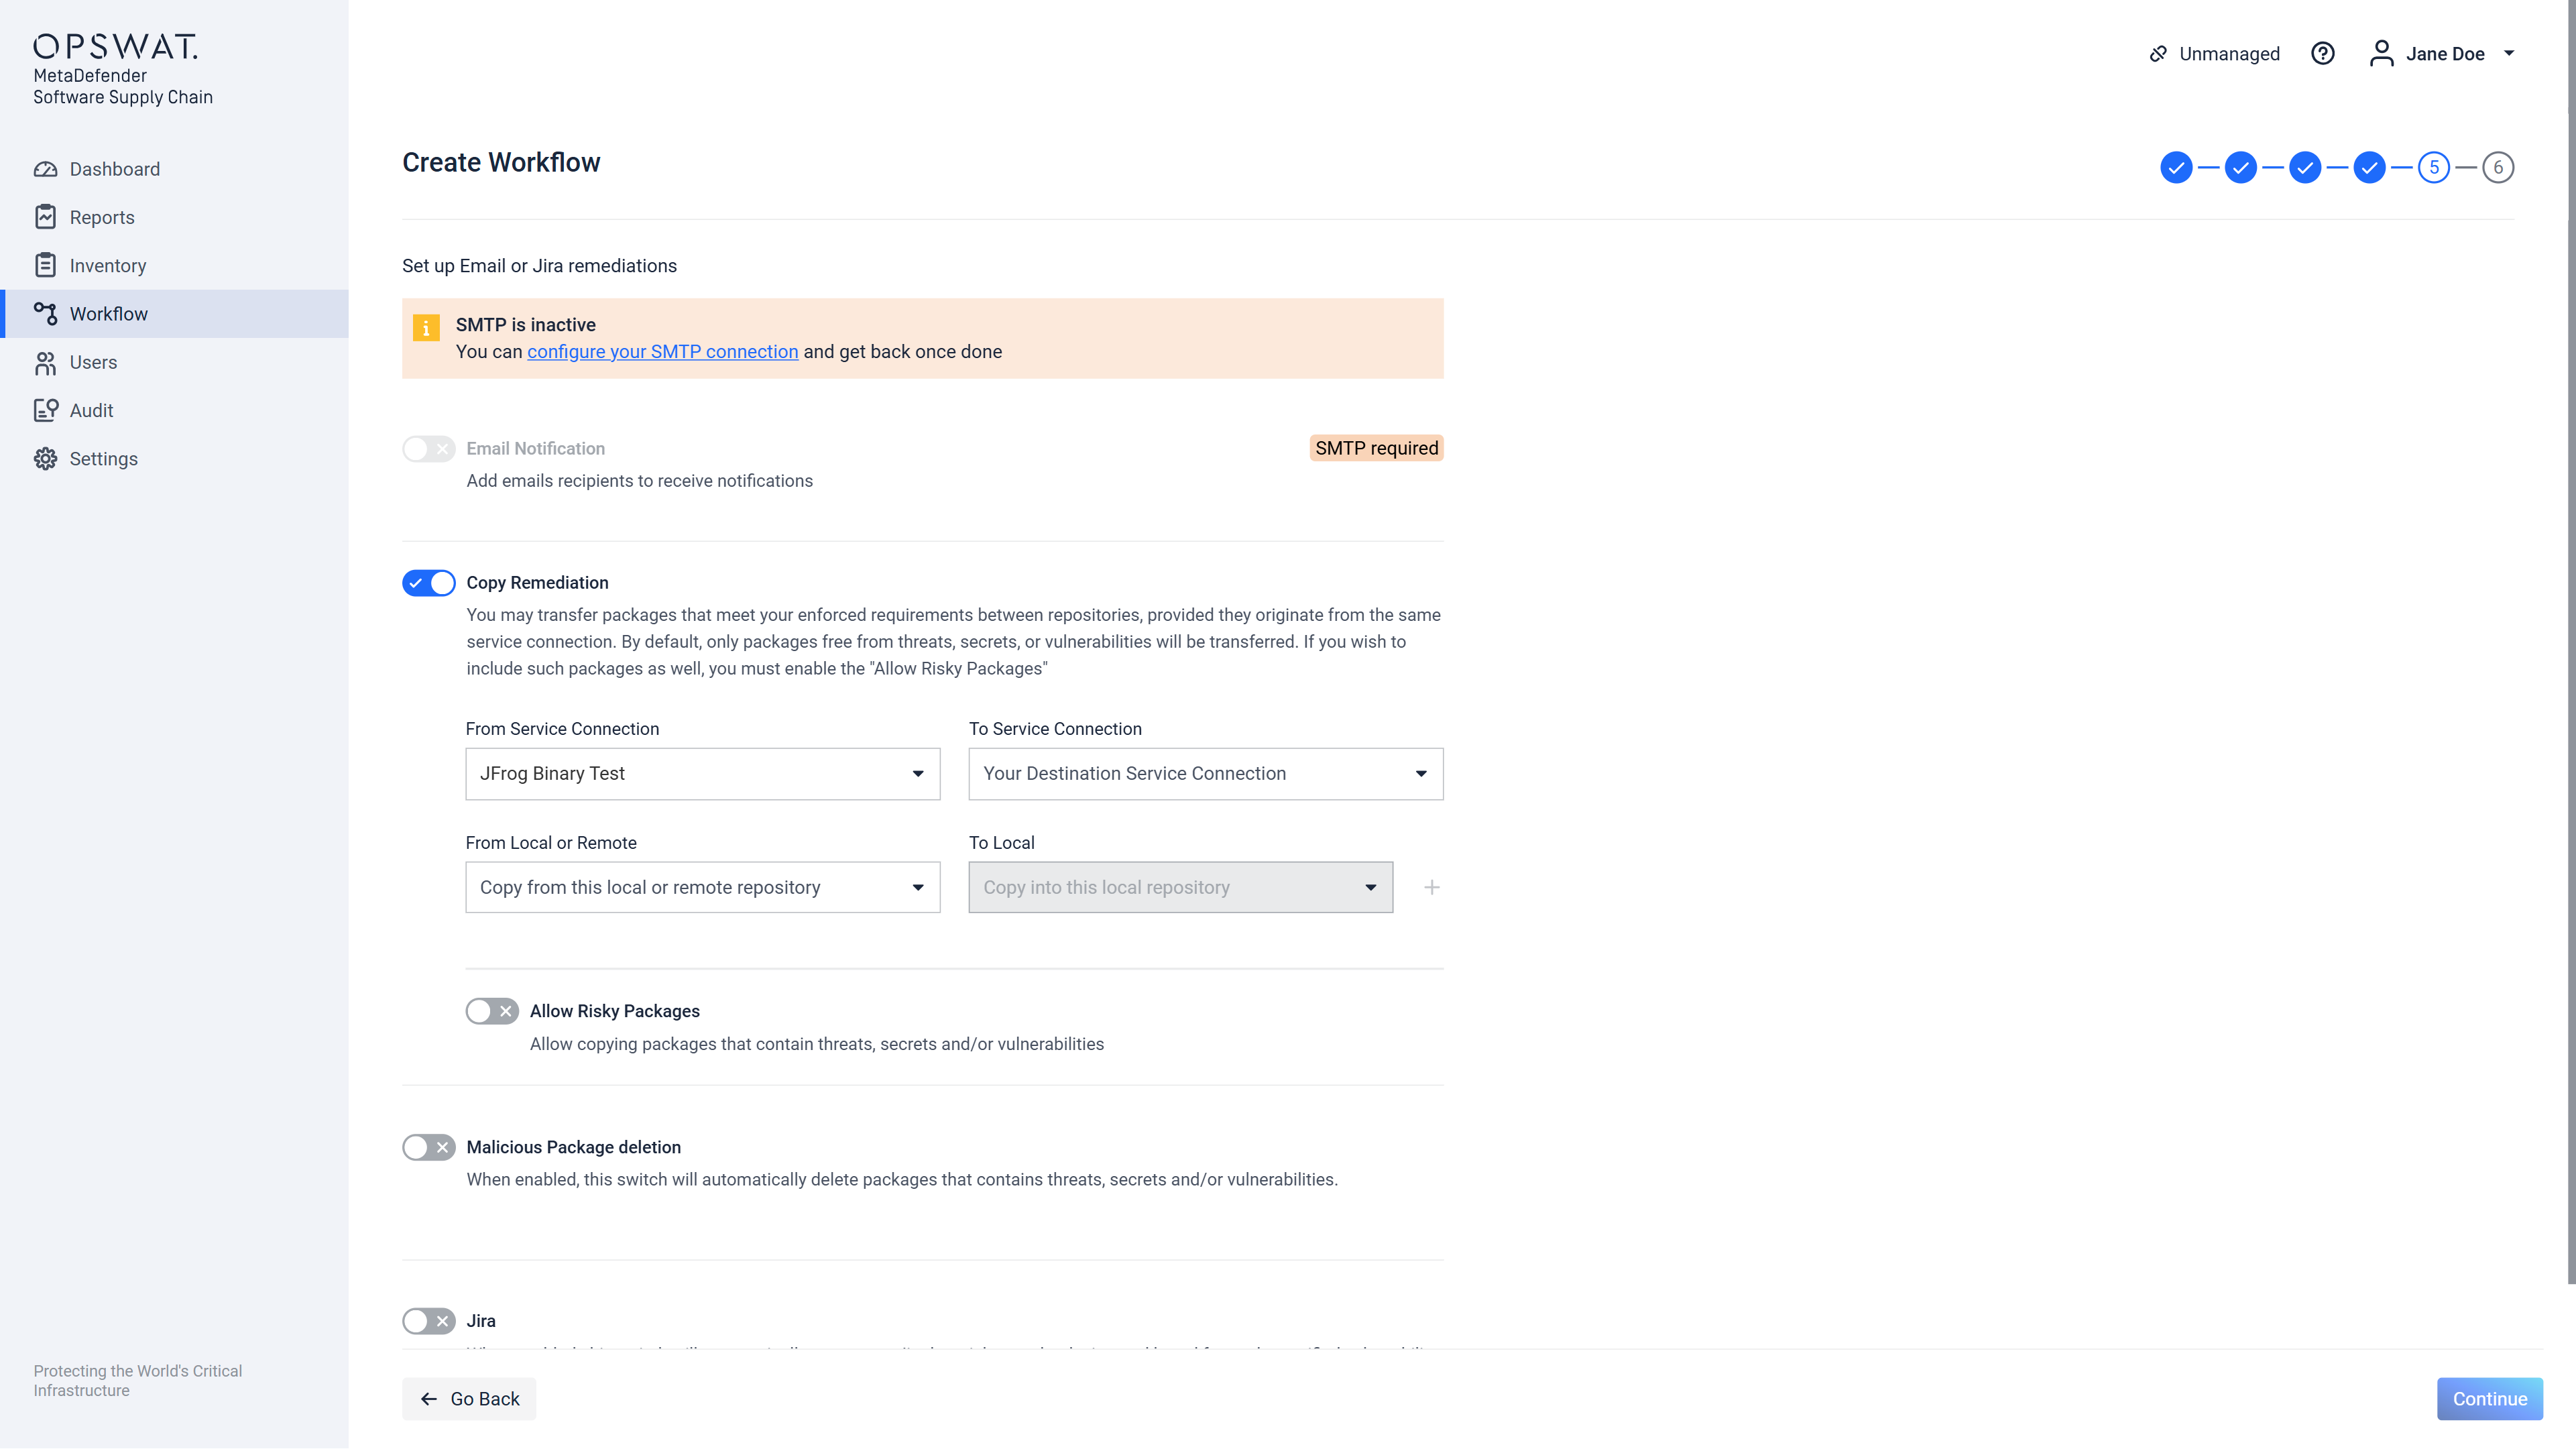
It can be also possible to configure vice versa by using the Allow Risky Packages switch in order for the bad packages to be copied in another locations (depending on your configuration):
If Delete Remediation option is enabled, after the scan is done every package which contains threats, secrets or vulnerabilities (depending on your configuration) will be deleted.
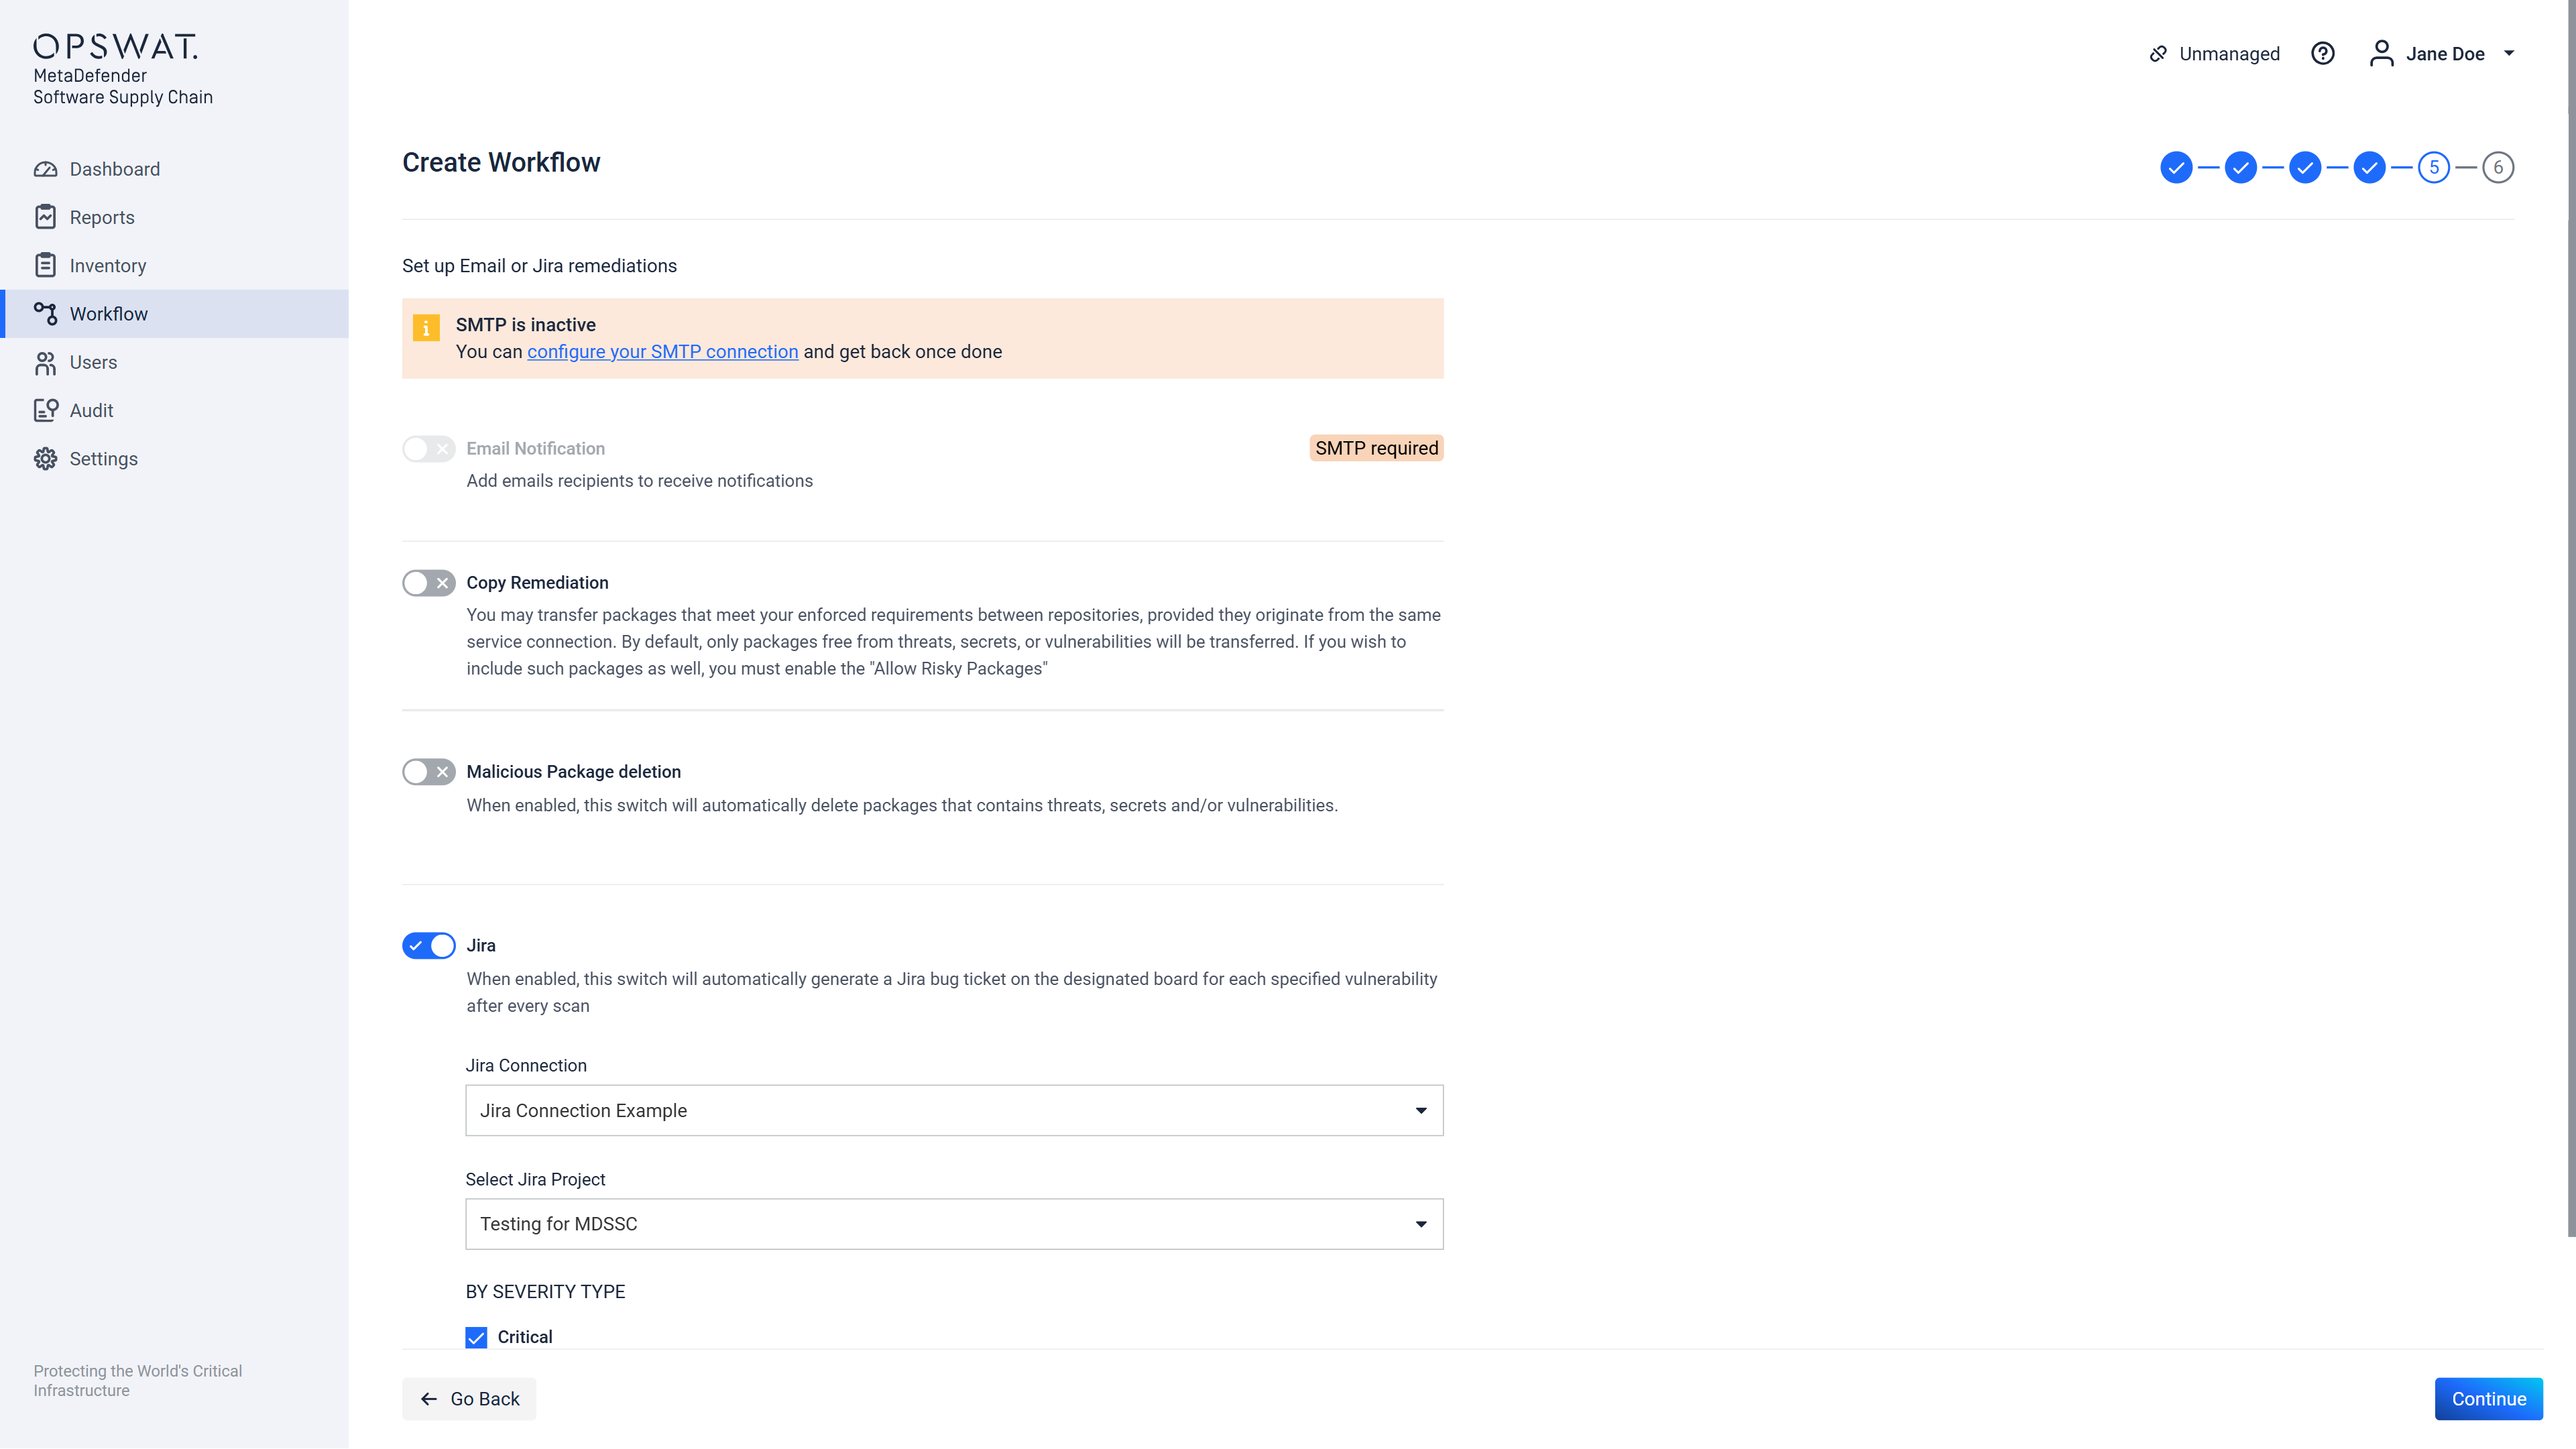
If there was a Jira Connection configured (check Jira Connection documentation here ), this screen will allow you to decide on what type of vulnerability (Critical, High, Medium, Low, or all) should generate a bug ticket on the selected project board from the Jira Connection which you choose from the list.
Clicking the "Continue" button, will move the user to the next step.
Step 6 out of 6
This step allows the configuration of:
The "Workflow Name" which is a string that can include spaces as well, it should be kept short and descriptive. This is a mandatory field!
The workflow "Description" which can be a detailed description of this particular workflow configuration or intended usage domain. The description can be left blank.
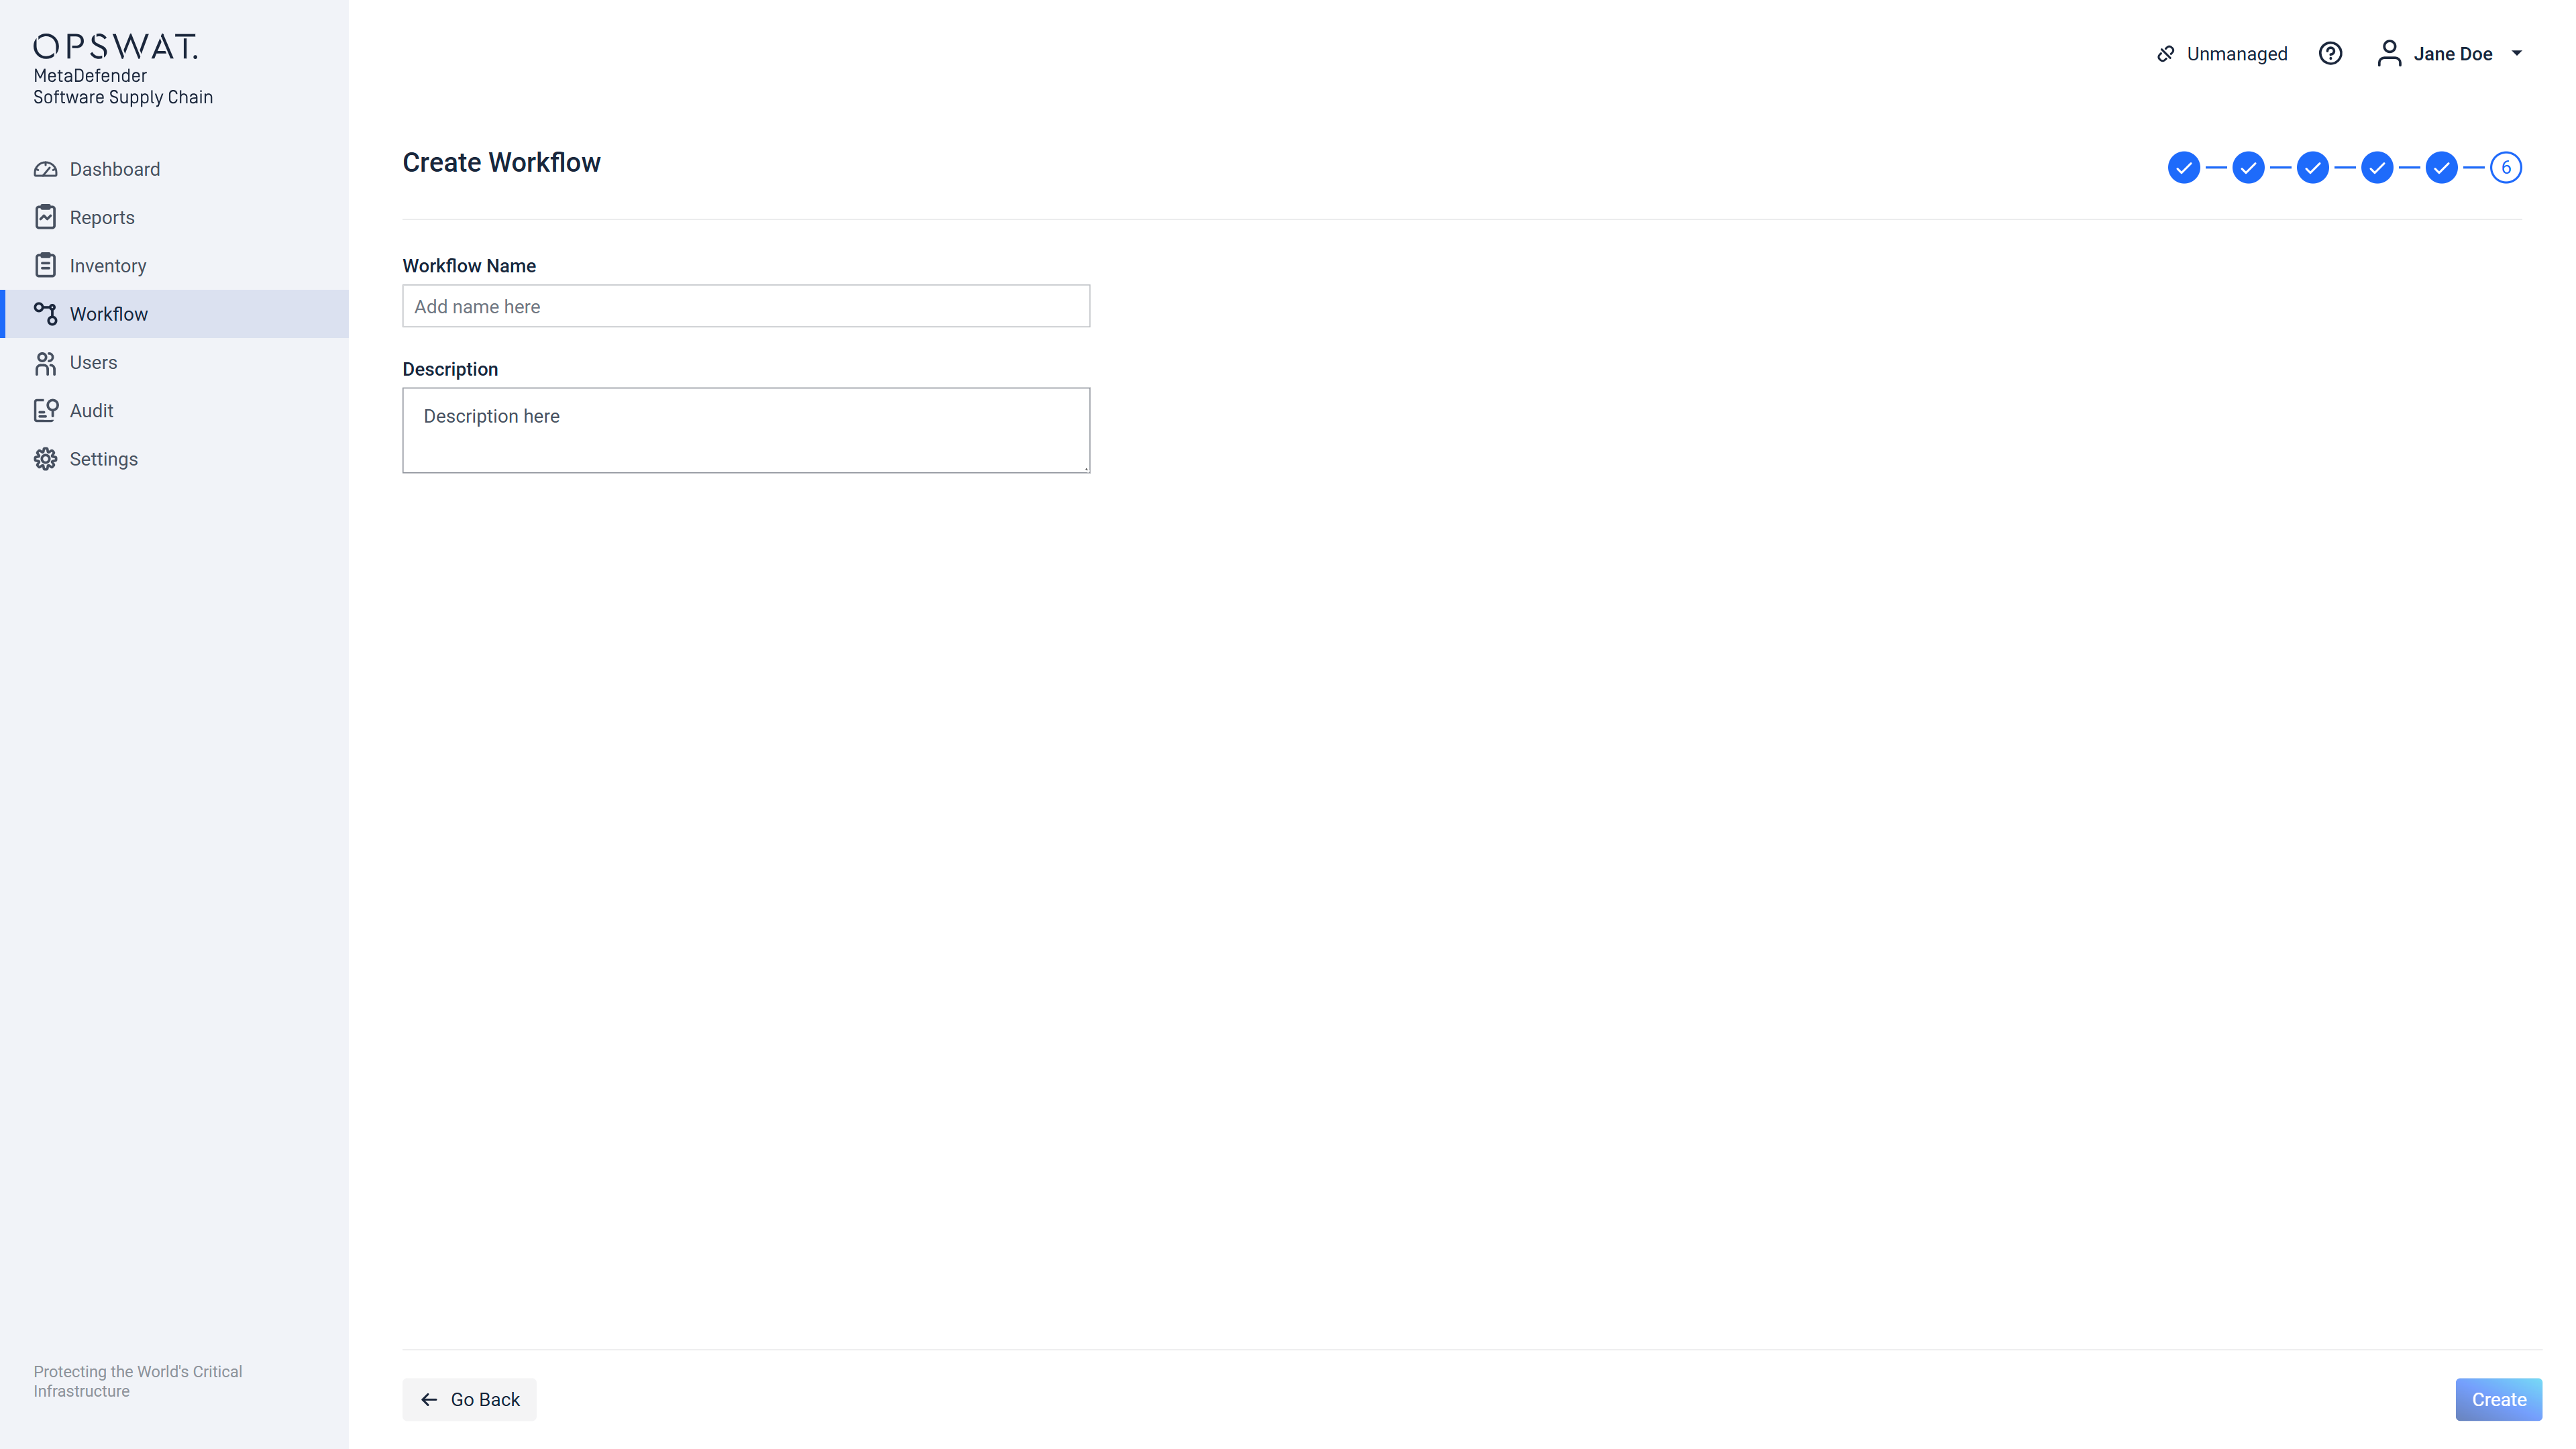
After providing the name of the workflow the "Create" or in case of editing an existing workflow the "Update" button will be enabled and either it will create a new workflow or it will update an already existing one.