
Files copied to Secure File Storage stay Unscanned until MetaDefender Kiosk scans them. The Kiosk sees Secure File Storage as a regular USB drive, so it is scanned with a regular Kiosk workflow, not the MetaDefender Drive integration workflow.
Before You Start
MetaDefender Kiosk has MetaDefender Drive Toolkit 3.8.2 or later installed, so the Kiosk detects both storage partitions.
A certificate is set up so the Kiosk signs its scan results, and Smart Touch trusts that certificate. Without it, files stay Unscanned after the scan. Set up one of the following, then import the certificate on Smart Touch. See Configure Secure Storage with KIOSK's Valid Certificate.
On the Kiosk: Configuration → Advanced → Certificate Handling.
On MetaDefender Core: Generate Batch Signature With Certificate in the Kiosk workflow.

A regular Kiosk workflow (Employee or Guest) that allows USB media on its Media Types tab.
Scan Files
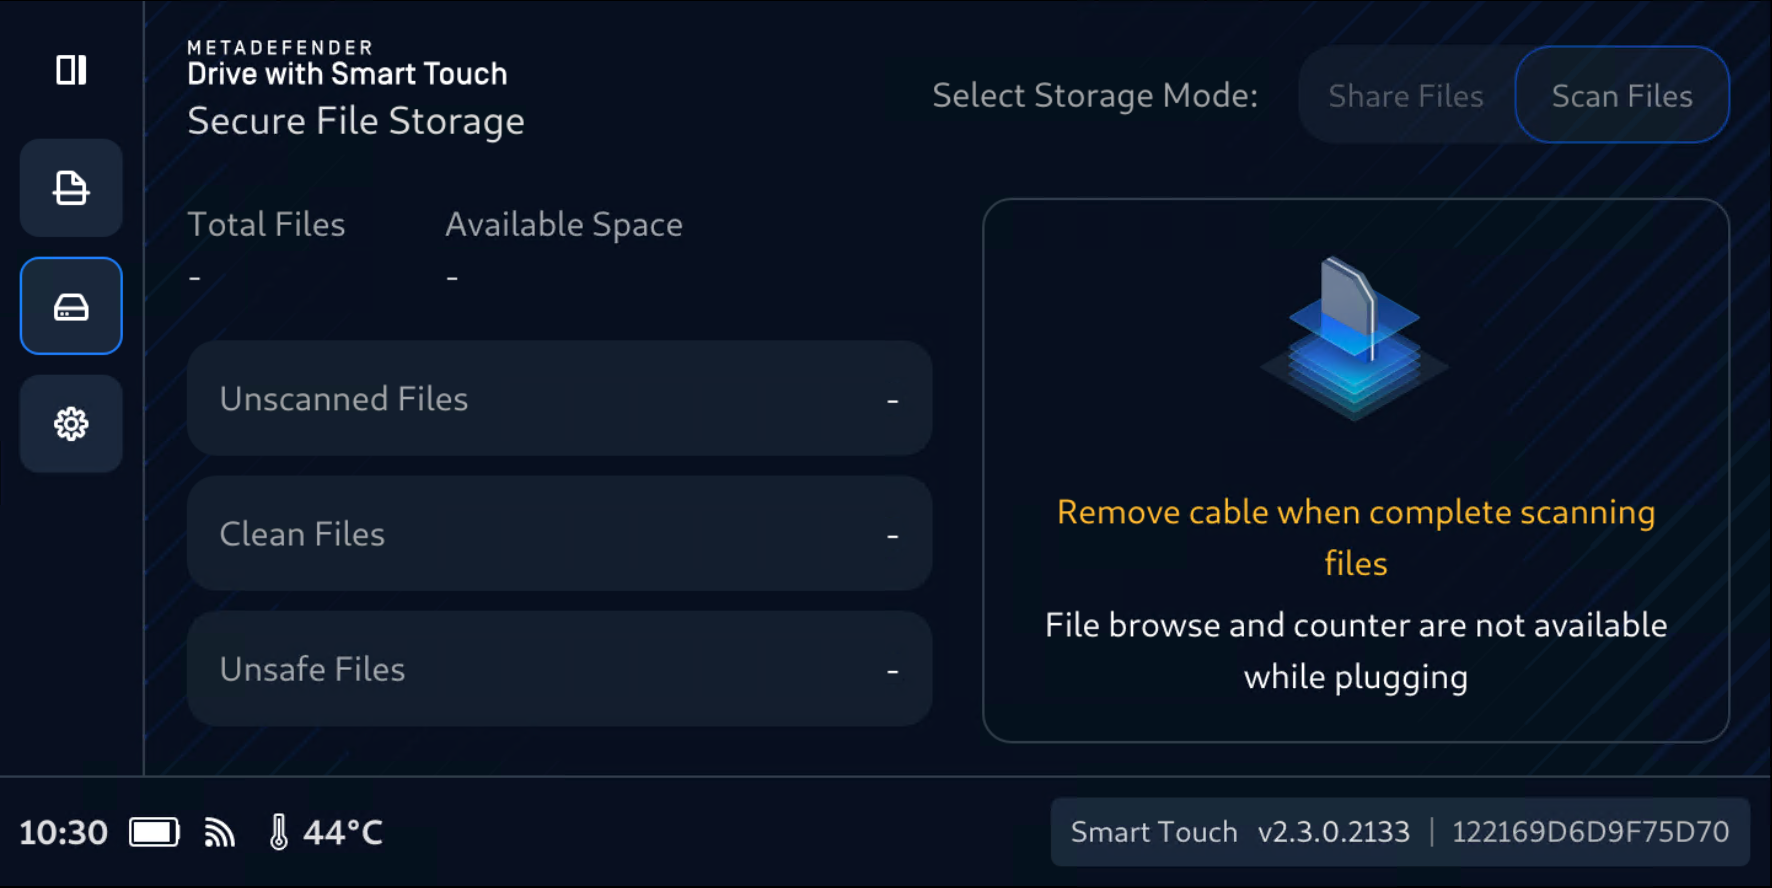
On Smart Touch, open Secure File Storage. After the files are counted, the screen opens on the Share Files tab.

Tap Scan Files, then tap Scan with MetaDefender Kiosk to confirm.

Smart Touch shows Connect to a MetaDefender Kiosk to scan files.

On the Kiosk, start a session. On Select User Type, select Employee or Guest, not Integration. Then select your workflow.
Do not use the Integration for Secure File StorageWhen Smart Touch is in Secure File Storage mode, from KIOSK we should chose ether Guest or Employee workflow instead of Integration.
This Integration user type only accepts MetaDefender Drive in Drive mode (visit Use MetaDefender Drive with MetaDefender Kiosk for details).
Secure File Storage inserted there shows Media type not supported.

Info
The workflows offered depend on the Kiosk configuration. If your workflow is not listed, check in the Kiosk console that it is enabled and assigned to your user.
When the Kiosk asks for media, connect the Smart Touch USB cable to the Kiosk. Smart Touch switches to Kiosk scanning mode.
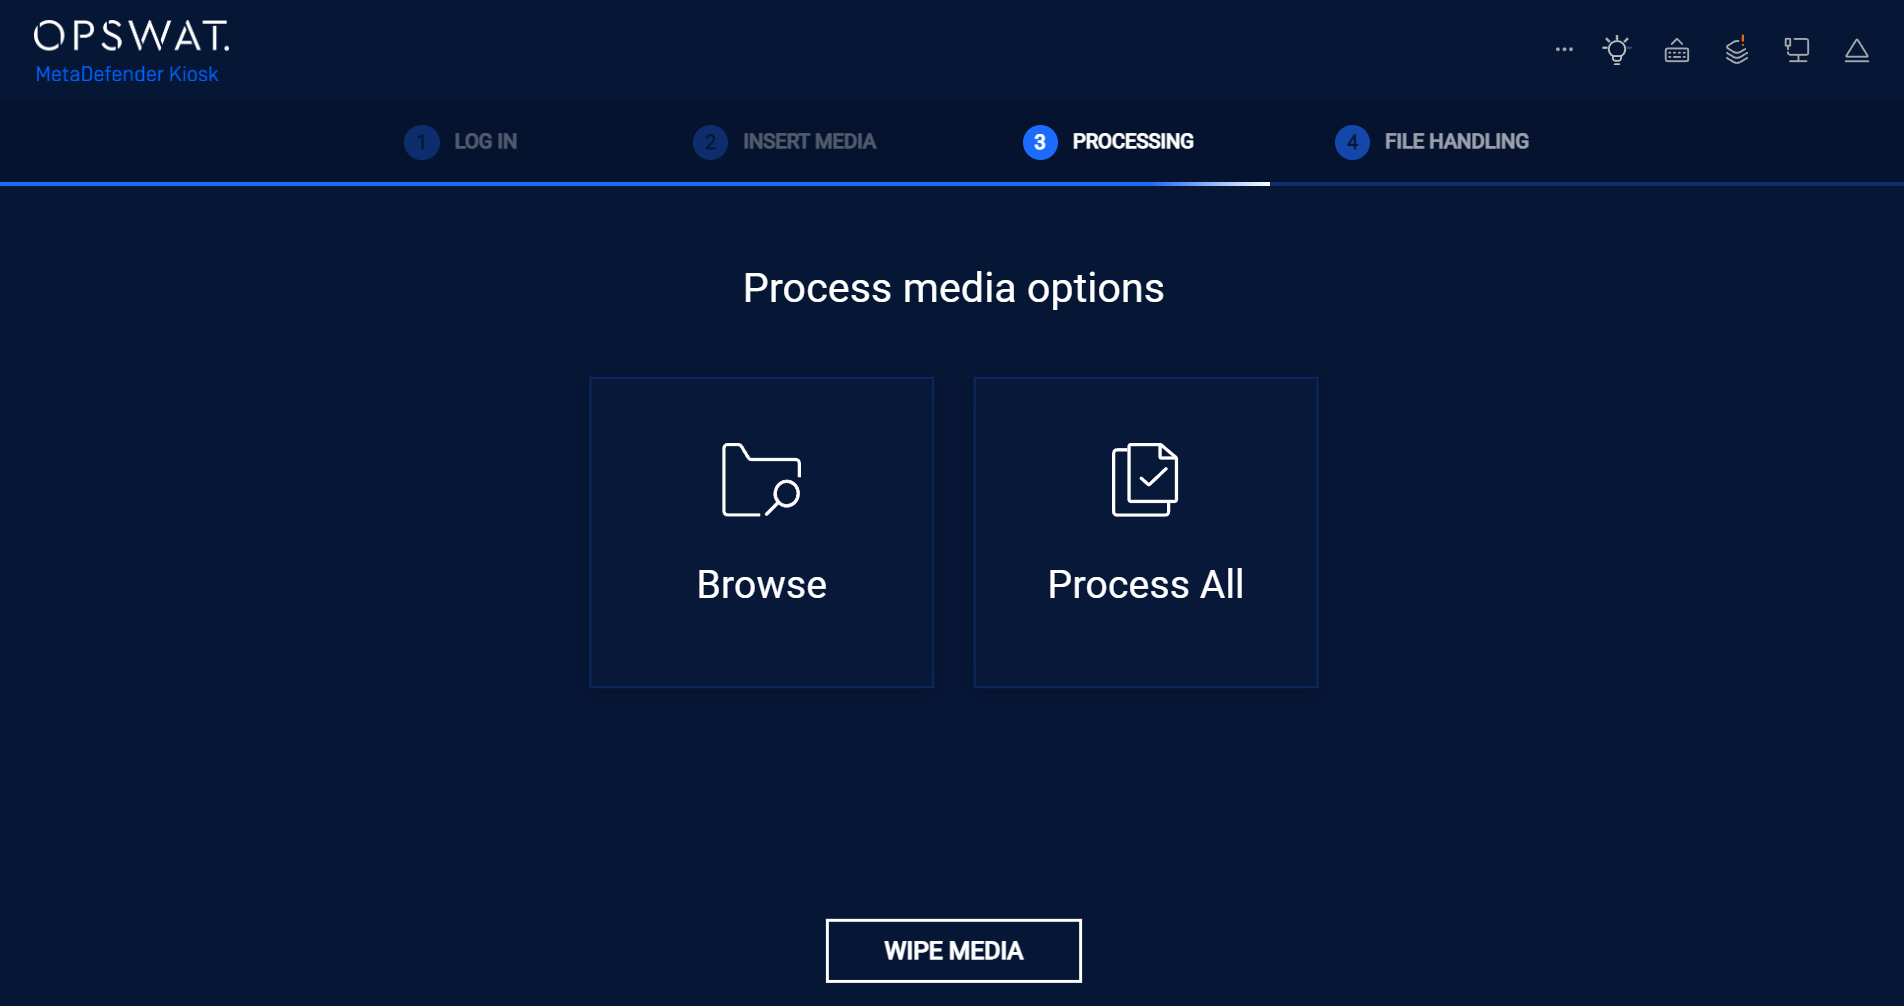
On Process media options, select Process All to scan every file, or Browse to choose files.
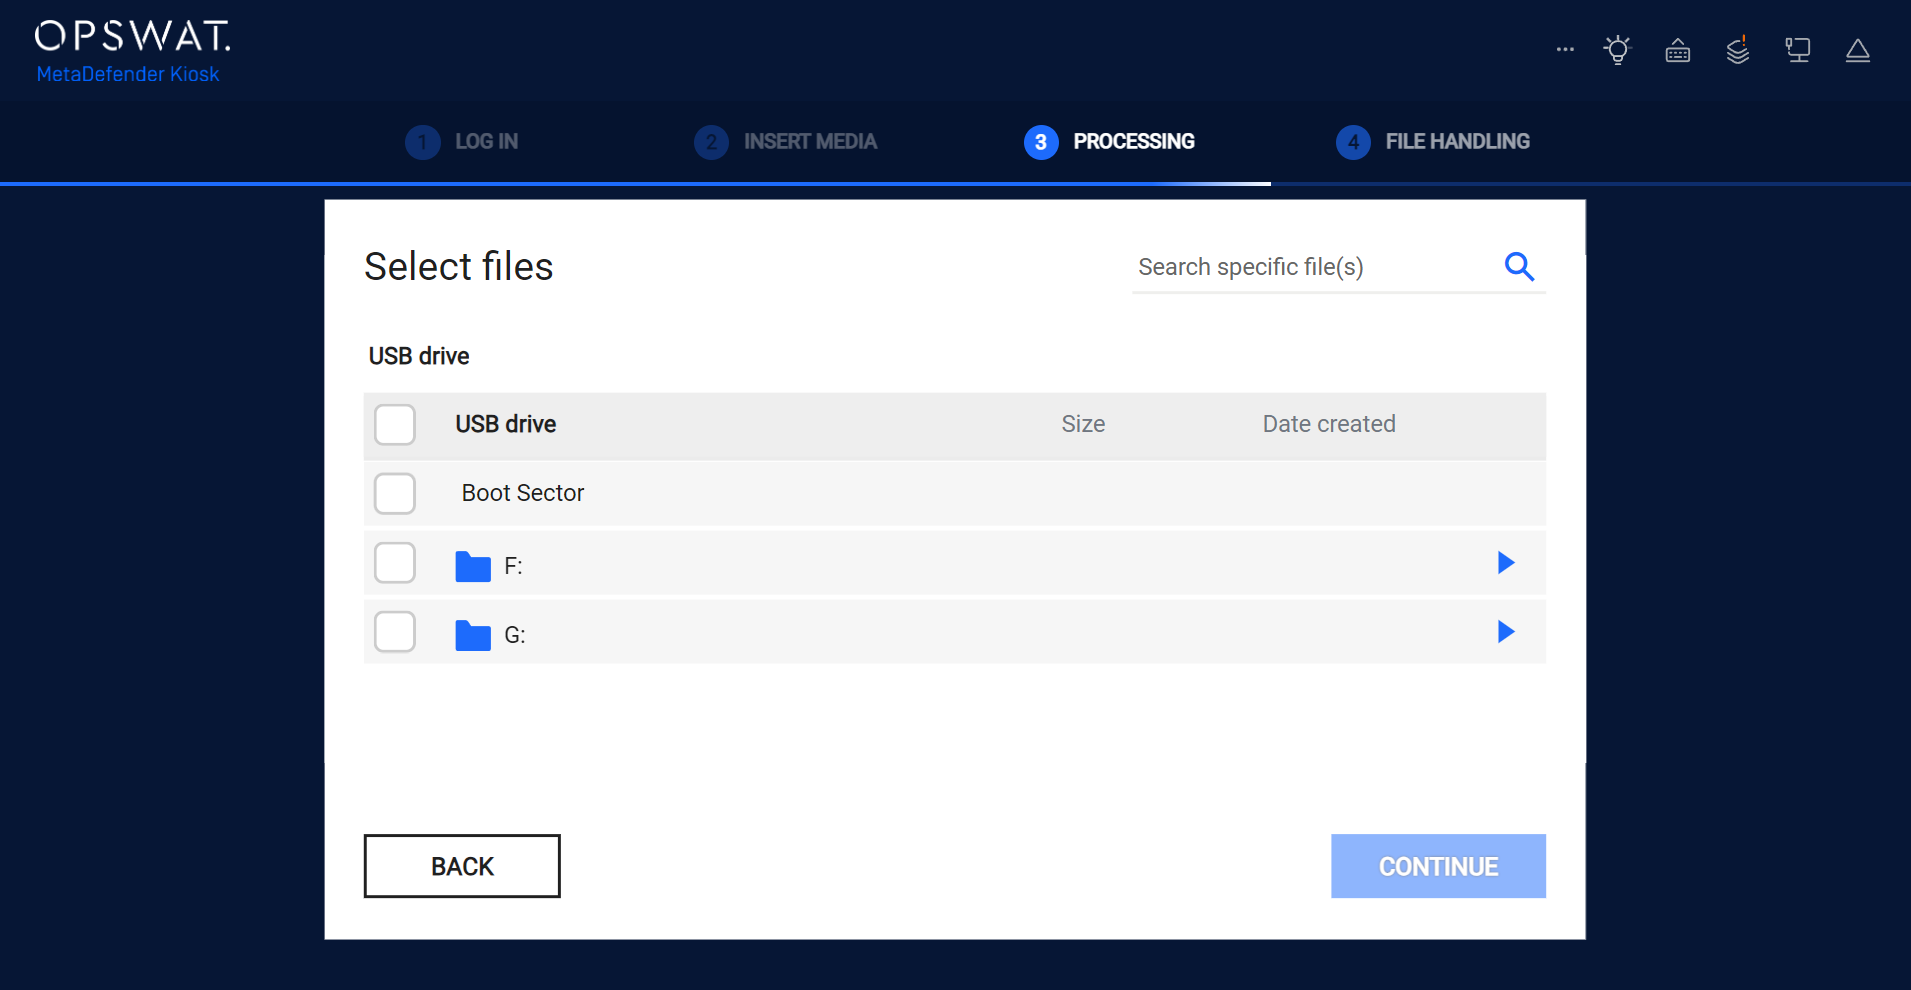
With Browse, the device shows two partitions. Select both, or the files you want, then select Continue.
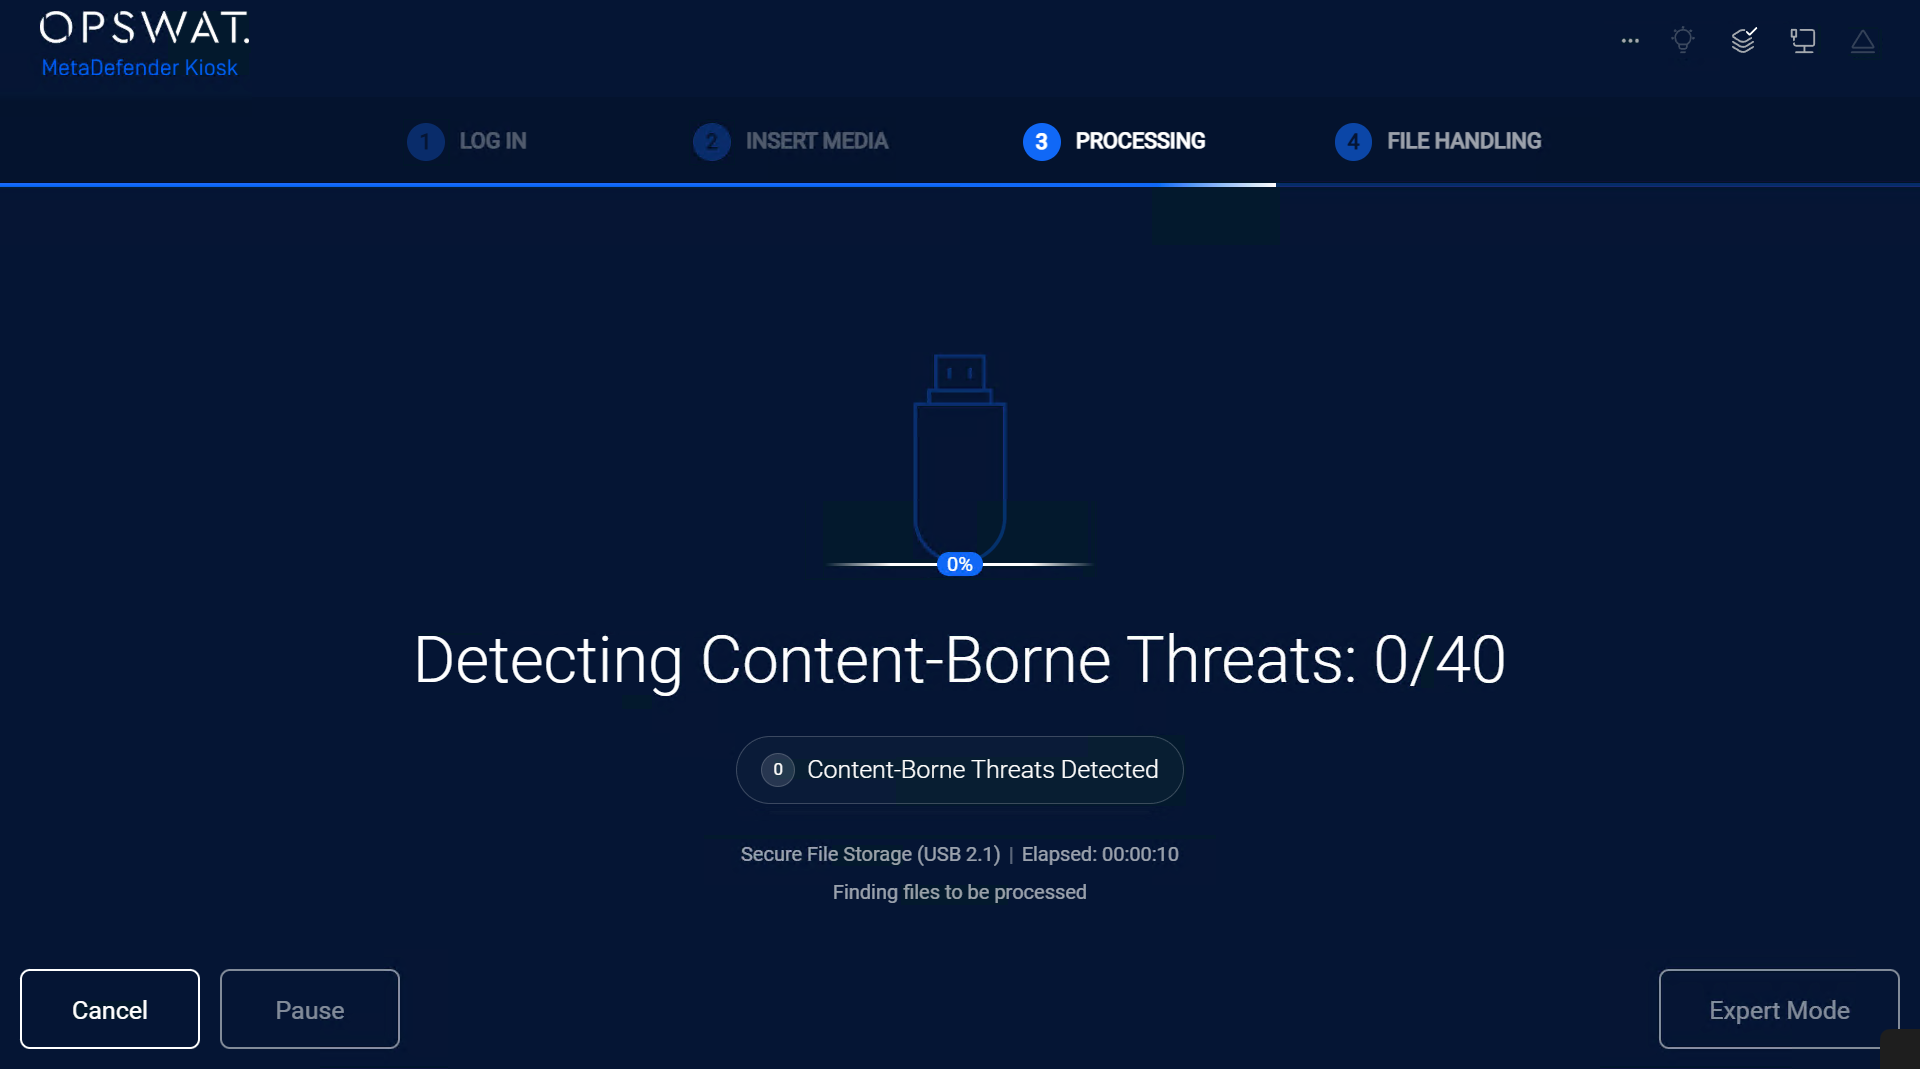
Wait for the scan to finish.
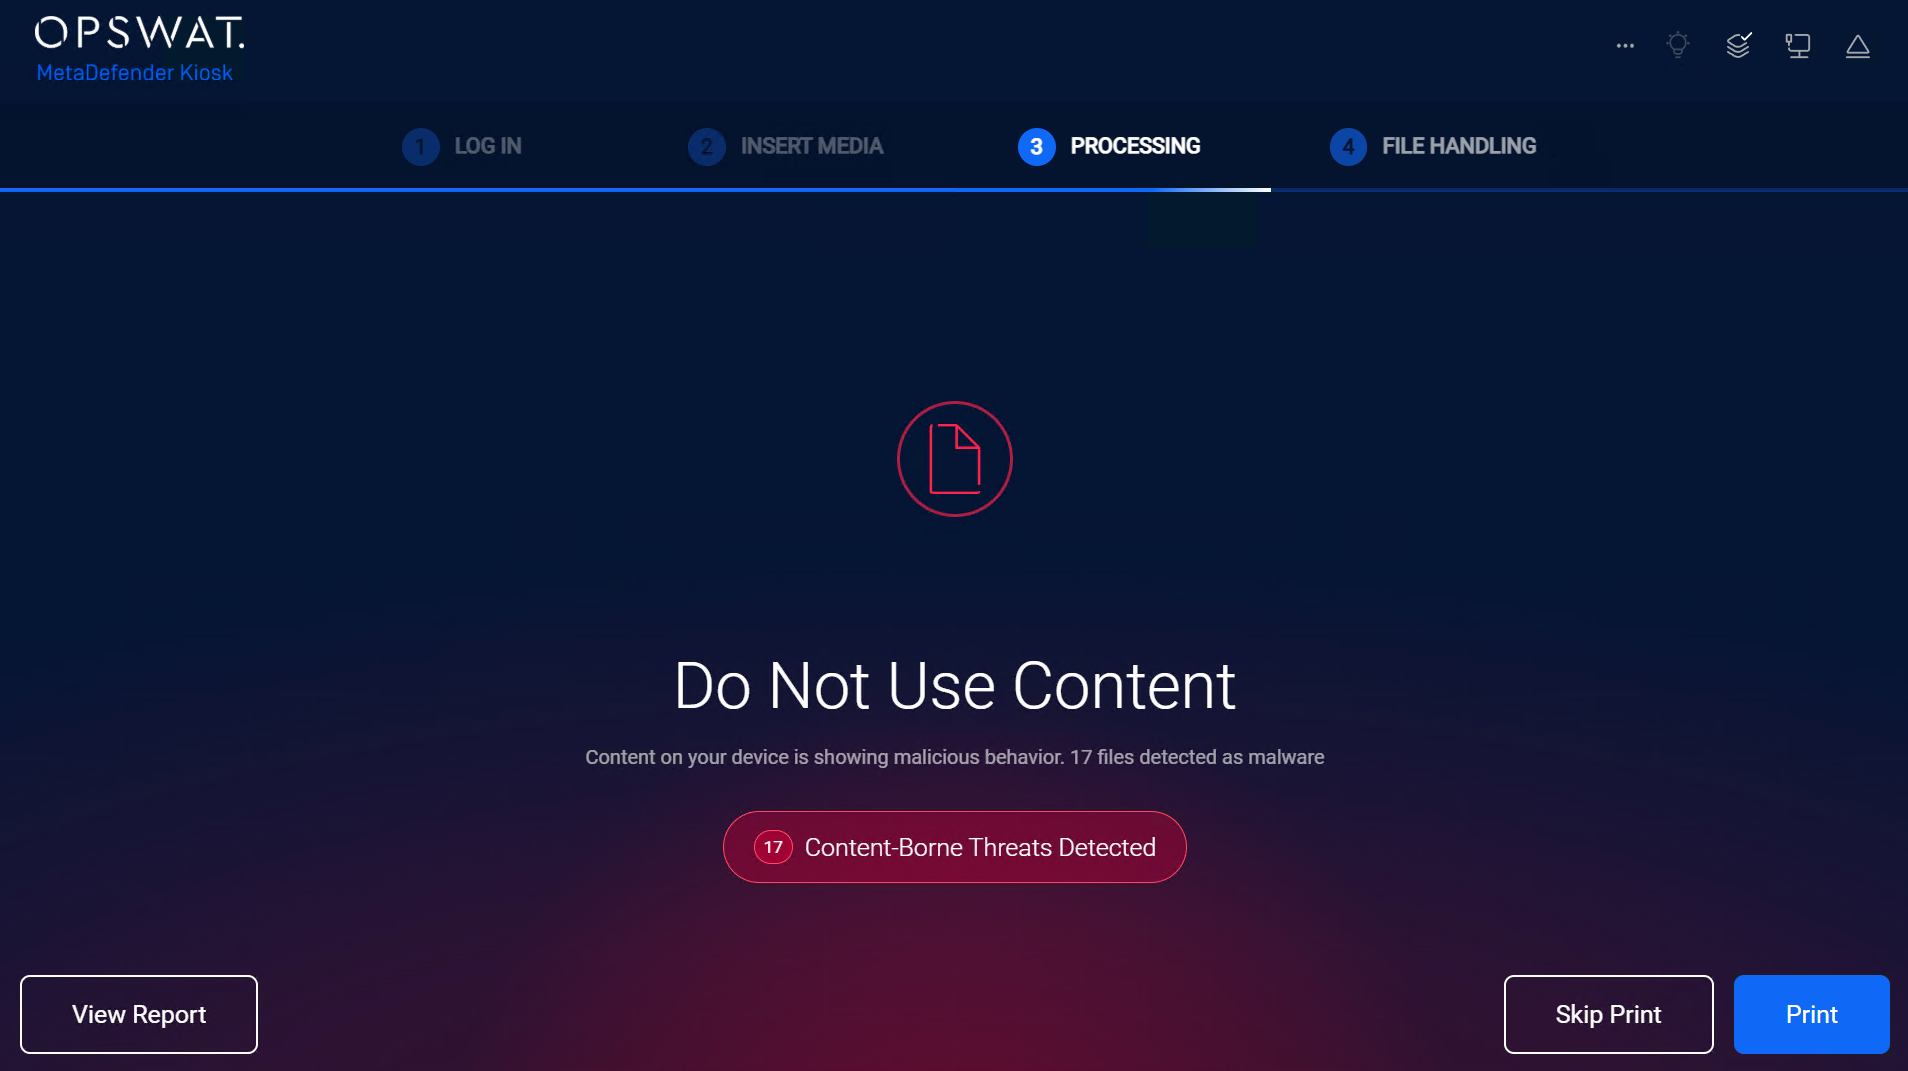
When the result is shown, tap Print, Skip Print, or the Eject icon.
Warning
Always tap Print, Skip Print, or Eject before you unplug the cable. This is when the Kiosk writes its results to Secure File Storage. If you unplug before, files stay Unscanned.
Unplug the USB cable. Smart Touch updates the files, and the Clean, Unsafe, and Unscanned counts change.


Kiosk result | Secure File Storage |
|---|---|
Allowed | Clean Files |
Blocked | Unsafe Files |
Skipped | Unscanned Files |
To manage the files afterward, see Manage Files in Secure File Storage.
Troubleshooting
Issue | Cause | Solution |
|---|---|---|
The Kiosk shows Media type not supported. | The Integration user type was used, or the workflow does not allow USB media. | Start a new session with Employee or Guest, and use a workflow that allows USB media. |
The Kiosk treats the device as MetaDefender Drive and starts syncing. | Smart Touch is in Drive mode, or the Kiosk has a Toolkit older than 3.8.2. | On Smart Touch, open Secure File Storage and tap Scan Files before connecting. Update the Toolkit on the Kiosk. |
Only one partition appears on the Kiosk. | A drive letter was removed in Windows Disk Management, or the Kiosk has a Toolkit older than 3.8.2. | Assign a drive letter to the partition, or update the Toolkit on the Kiosk. |
Files stay Unscanned after the scan. | The certificate is not set up or does not match, or the cable was unplugged before Print, Skip Print, or Eject. | Check the certificate setup in Before You Start, then scan again and tap Print, Skip Print, or Eject before unplugging. |