Since 5.15.0, MetaDefender Core has stopped supporting weak digest algorithms SHA1 and MD5. Customers who integrate MD Core with Okta SAML 2.0 are advised to update their Digest Algorithm option to a stronger algorithm if the option is configured in the current settings.
Please follow these steps to update your digest algorithm in Okta:
Sign to Okta console with your account.
In dashboard, expand
Applicationsin the left sidebar and clickApplications.In your SSO integration, select
Generaltab.Navigate to
SAML Settingsand clickEdit.On
Edit SAML Integrationpage, selectConfigure SAMLtab.Expand Advanced Settings, navigate to
Digest Algorithmand select SHA256 or higher.
From MetaDefender Core,
Sign in to MetaDefender Core with your account.
Select your SSO directory and click
Edit.Under
Identity Provider, clickFetch URL.Fill the metadata URL with SAML metadata link from Okta.
Click
Save Changes.
Create Okta application
Access https://www.okta.com/login/ and sign in.
In sidebar of dashboard, hit
Applicationsto drop sub items down, then selectApplications.Click
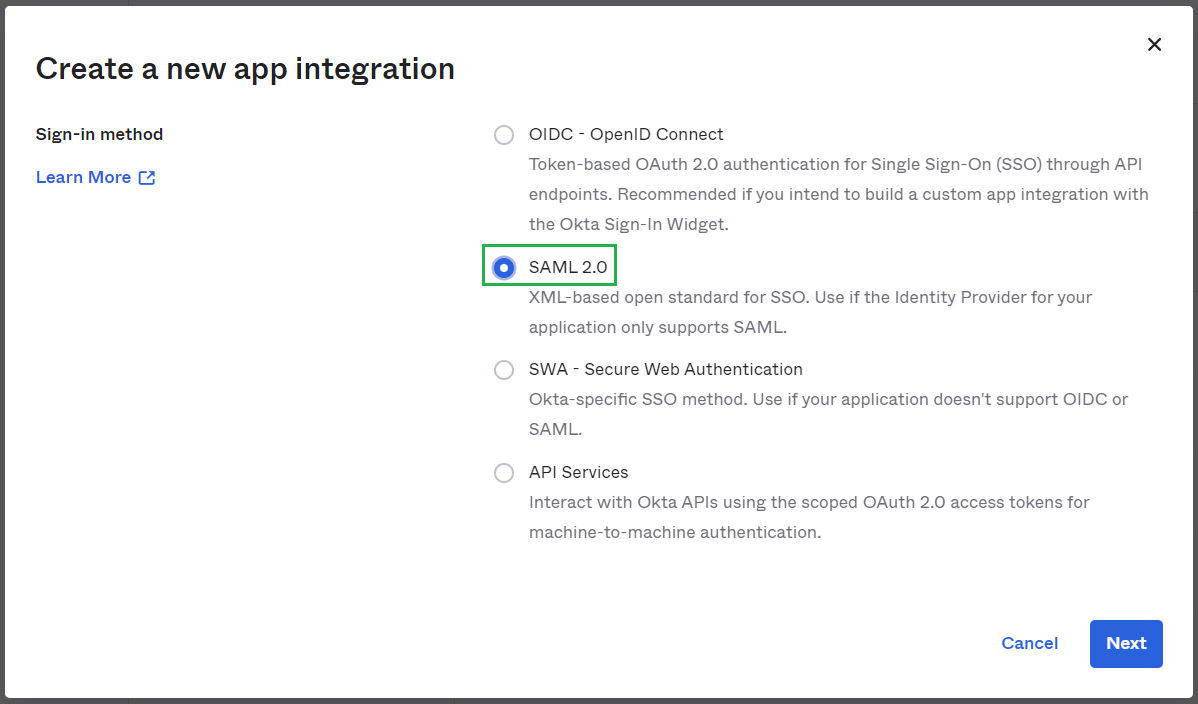
Create App Integration.

In
Sign-in method, chooseSAML 2.0and clickNext.
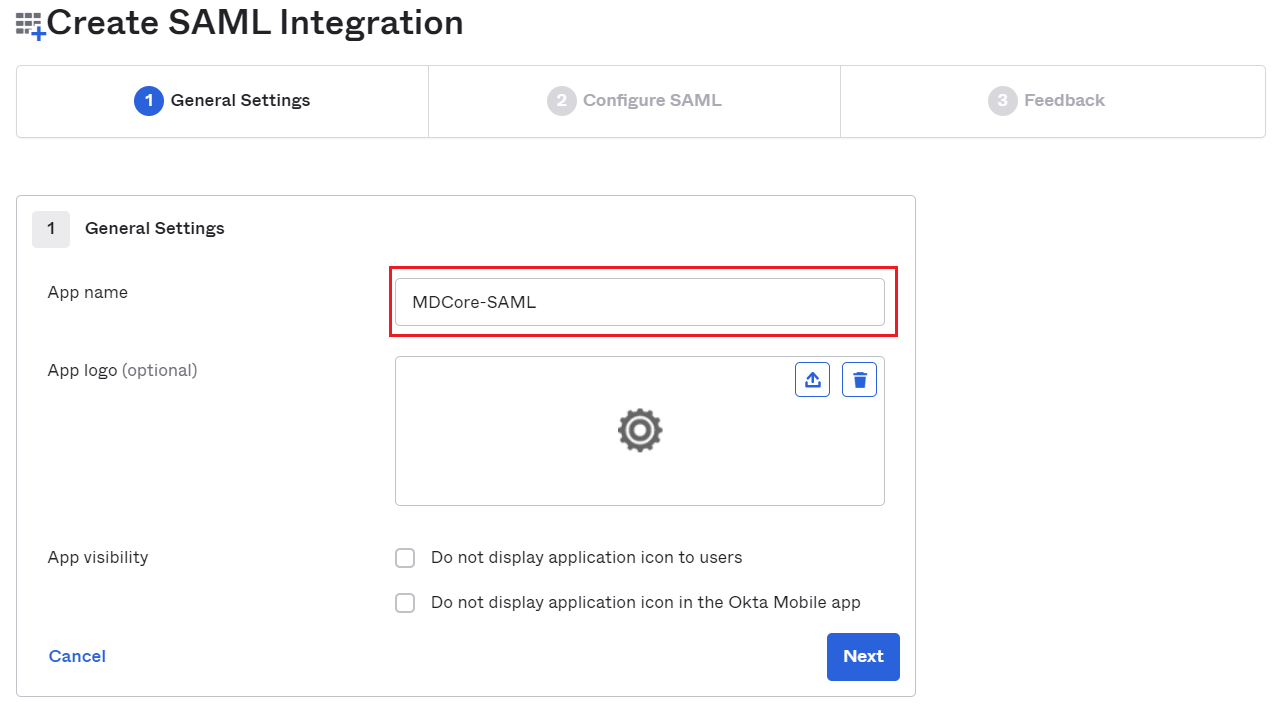
Fill
App name, MDCore-SAML for example and clickNext.
Create SAML directory in MetaDefender Core
Sign in to MetaDefender Core management console.
Under
Dashboard, hitUser Managementin the left sidebar.Under
User Management, chooseDirectoriestab and clickAdd directoryin the top right.

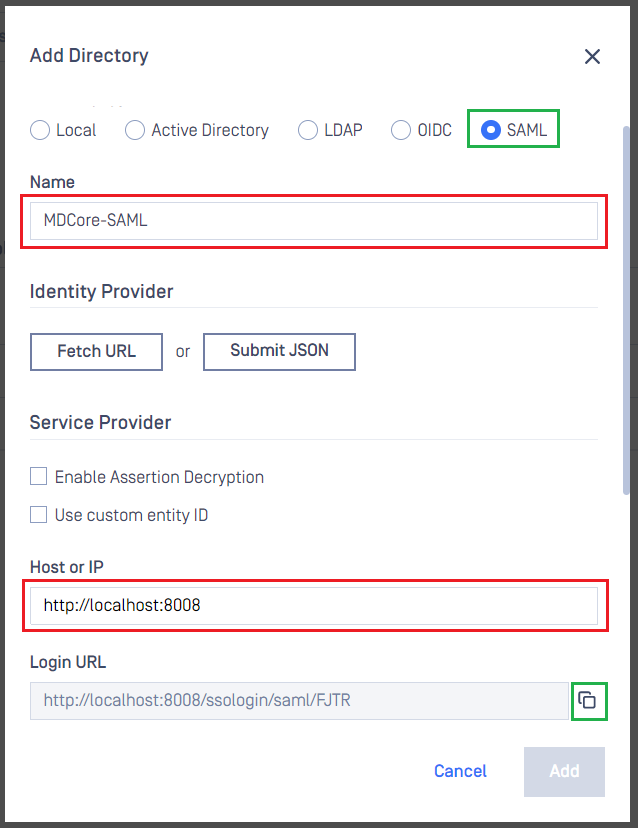
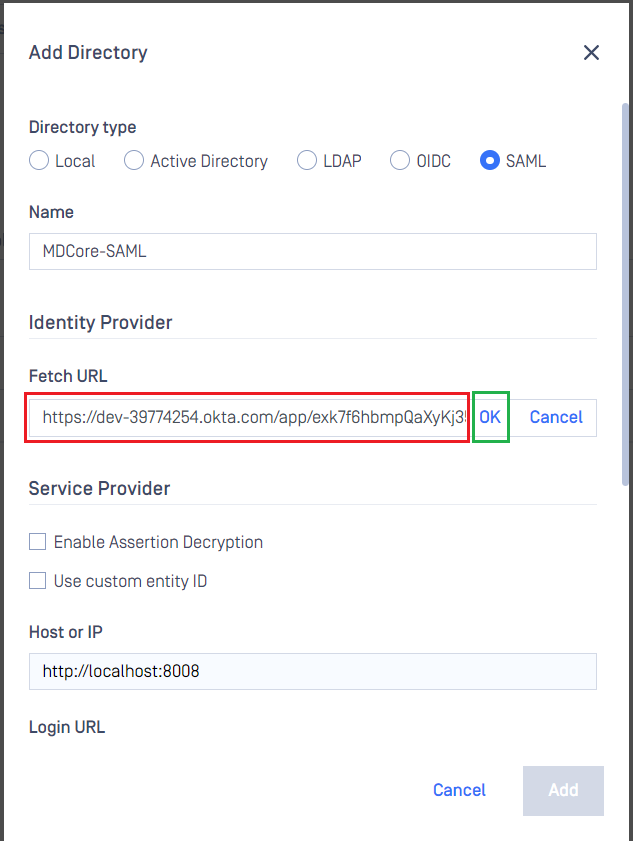
In
Add Directorypage, select SAML forDirectory Type.Fill
Nameof the new directory, MDCore-SAML for example.Under
Service Provider, fill inHost or IPwhere MetaDefender Core is being hosted, https://localhost:8008 for this example.
Configure Okta
Switch to
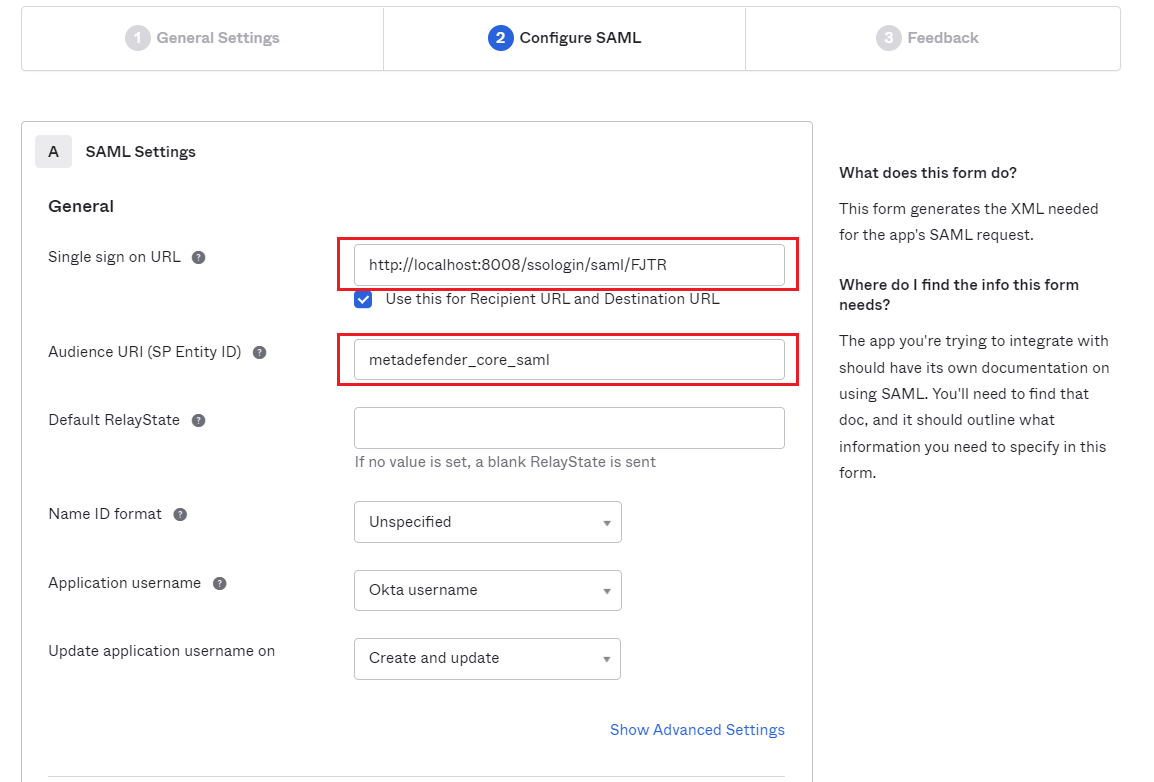
Applicationsscreen in Okta home page.Paste the
Login URLfrom MetaDefender Core intoSingle sign on URLand set ID forAudience URI, metadefender_core-saml for example.
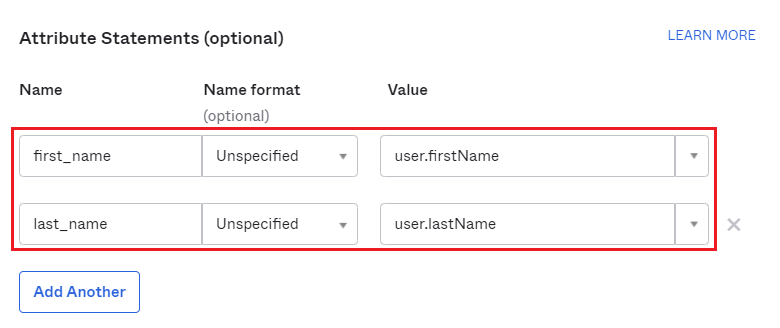
Scroll down, navigate to
Attribute Statementsand set mapping from Okta key name to the one set atUser identified byin MetaDefender Core, then hitNext.
Choose your answer at
Feedbackscreen and clickFinish.On the next screen, navigate to
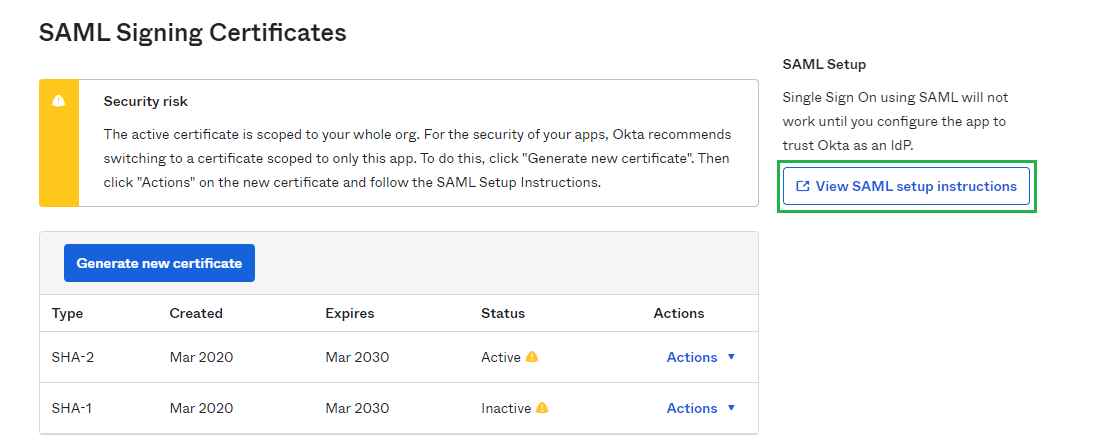
SAML Signing Certificates, choose the row that has value of columnStatusis "Active" then dropActionsdown and clickView IdP metadata.
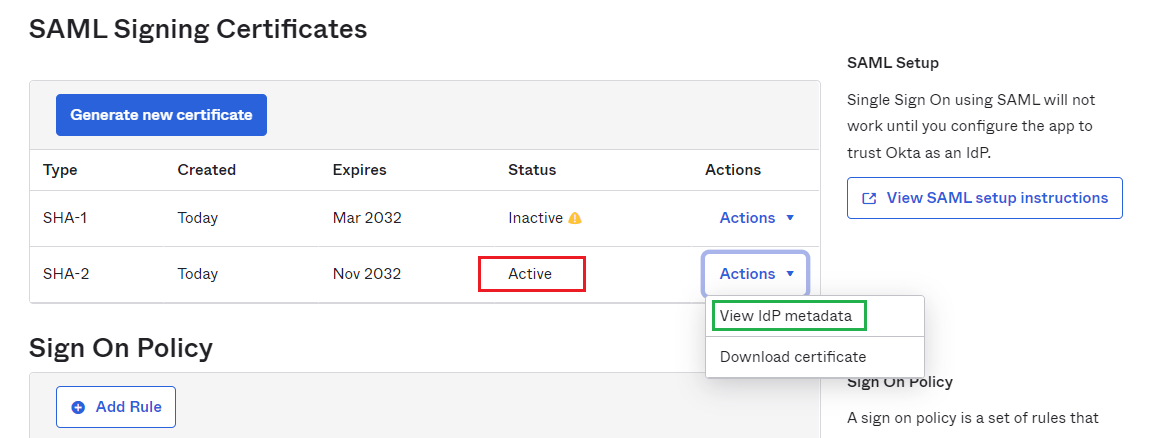
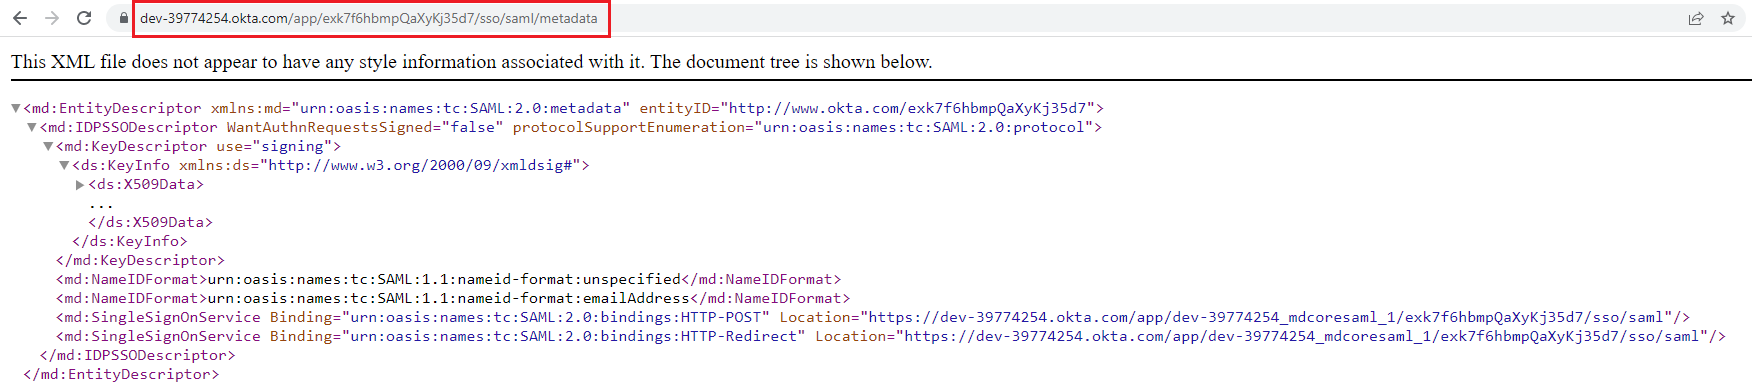
Copy SAML Metadata link.
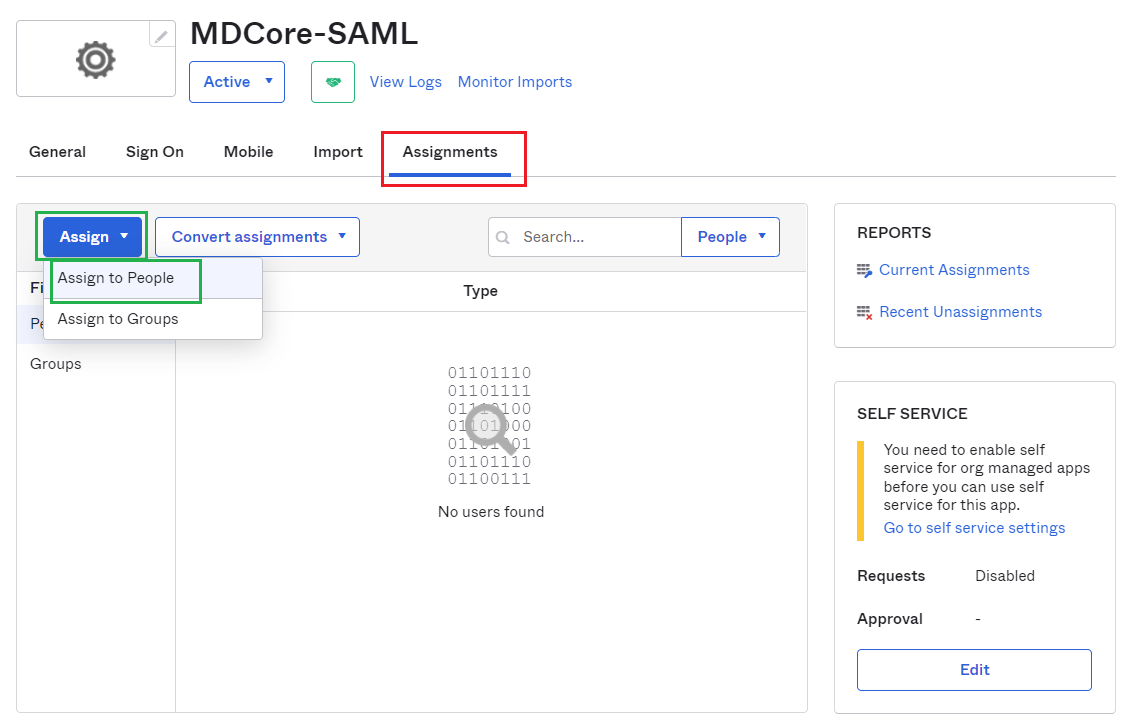
Switch to
Applicationsscreen in Okta, navigate toAssignmentstab, and assign users for the application.
Complete configuration in MetaDefender Core
Switch to MetaDefender Core screen, under
Identity Provider, click onFetch URL.Paste "SAML Metadata link" from Okta to the box under
Fetch URLand clickOKto ensure MetaDefender Core can set Okta as its IdP.
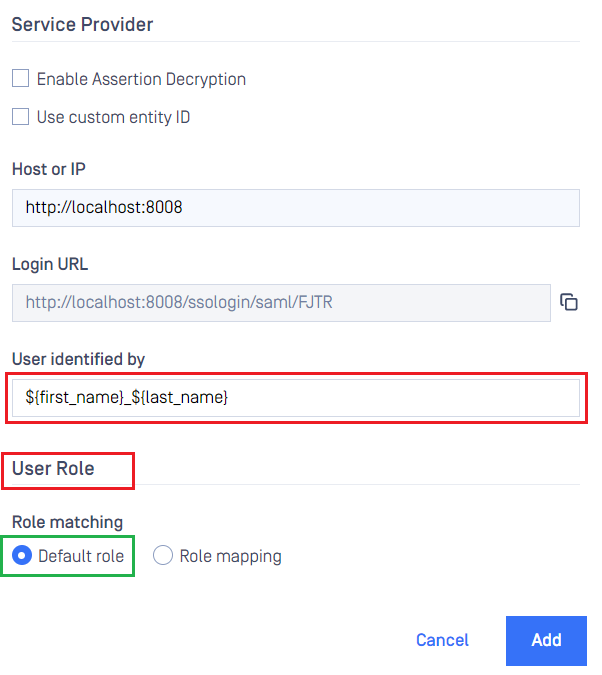
Under
Service Provider, fill in user identity underUser identified bywith ${first_name}_${last_name} for example.Select the appropriate role for the user under
User Role.Click
Addto complete the settings.
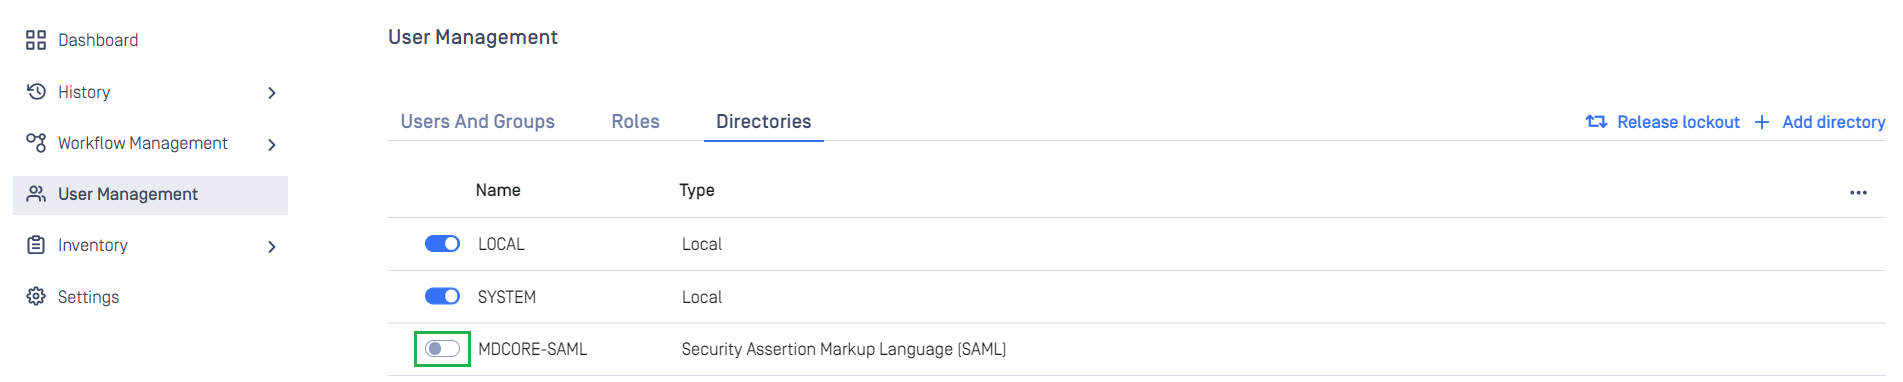
In
User Managementscreen, toggle the new directory, MDCORE-SAML in this example. A dialog box is shown to confirm the action. OnceEnableis hit, all existing sessions will be expired immediately and Okta will be used to authenticate users going forward.
Test the integration
Browse MetaDefender Core, hit
Login, user is redirected to Okta's sign-in page.
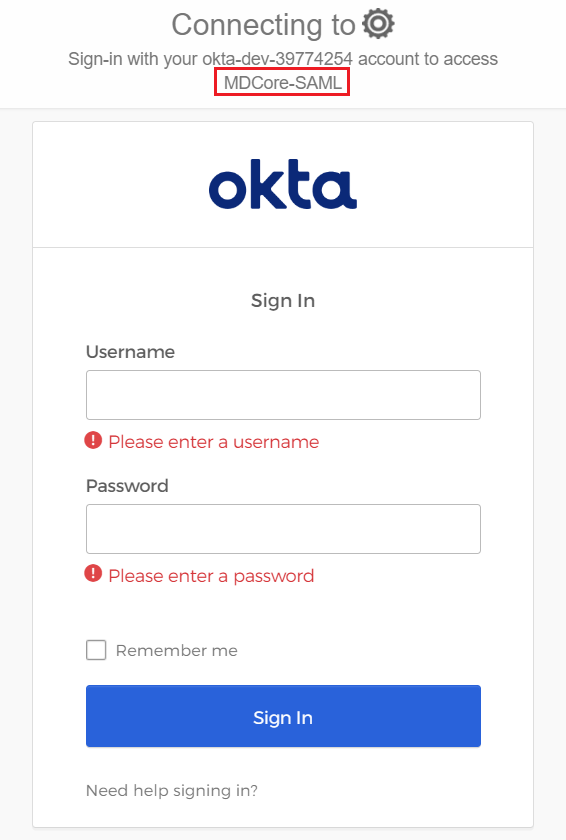
Sign in by the account registered in Okta.
If everything goes right, MetaDefender Core dashboard is shown with user identity set at the top right corner.

For troubleshooting, browse
<mdcore-host>#/public/backuplogin.
Test IdP-initiated SSO
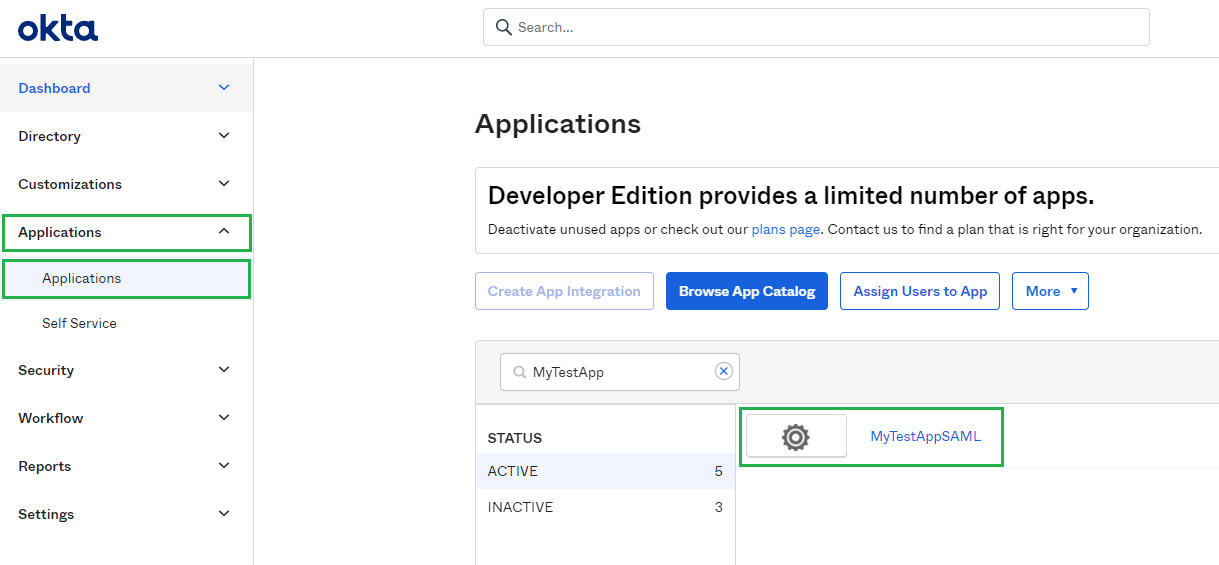
Sign in to Okta management page.
Navigate to
Applications/Applicationson the sidebar.Select the active SAML application.
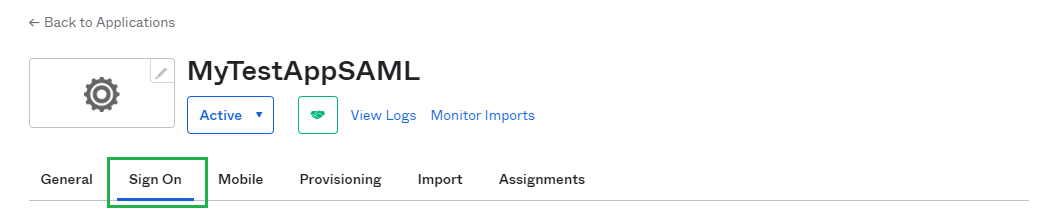
In
Sign Ontab, find and hitView SAML setup instructionsbutton.
In the new page, copy the URL under
Identity Provider Single Sign-On URLsection.
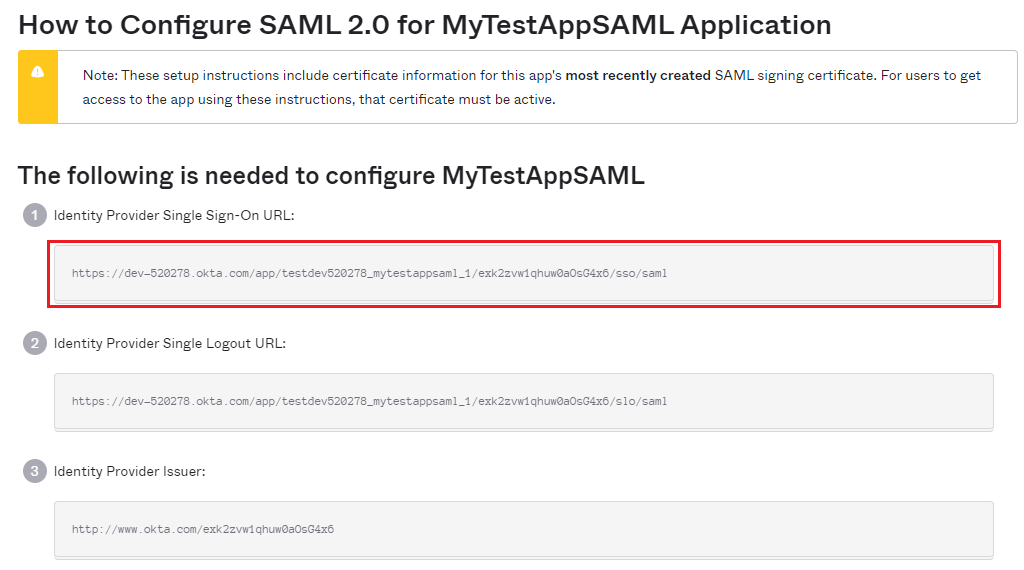
Paste the copied URL to a web browser and sign in.
If everything goes right, MetaDefender Core dashboard is shown with user identity set at the top right corner.
For troubleshooting, browse
<mdcore-host>#/public/backuplogin.