You need a security dongle inserted in the server which configuration you want to change, RED or BLUE.
Prerequisites
Before you configure any transfer parameters:
- Ensure a dongle is inserted in the server you want to modify.
- Ensure NetWall BLUE and NetWall RED network addresses are configured.
- Ensure the current license and personality are uploaded.
FTP
This should be configured in both sides BLUE and RED. Each of the sides have their own management UI.
Go to the management UI and insert user and password to login.
Click the File Transfer link, select the FTP label and then click on the Edit button.
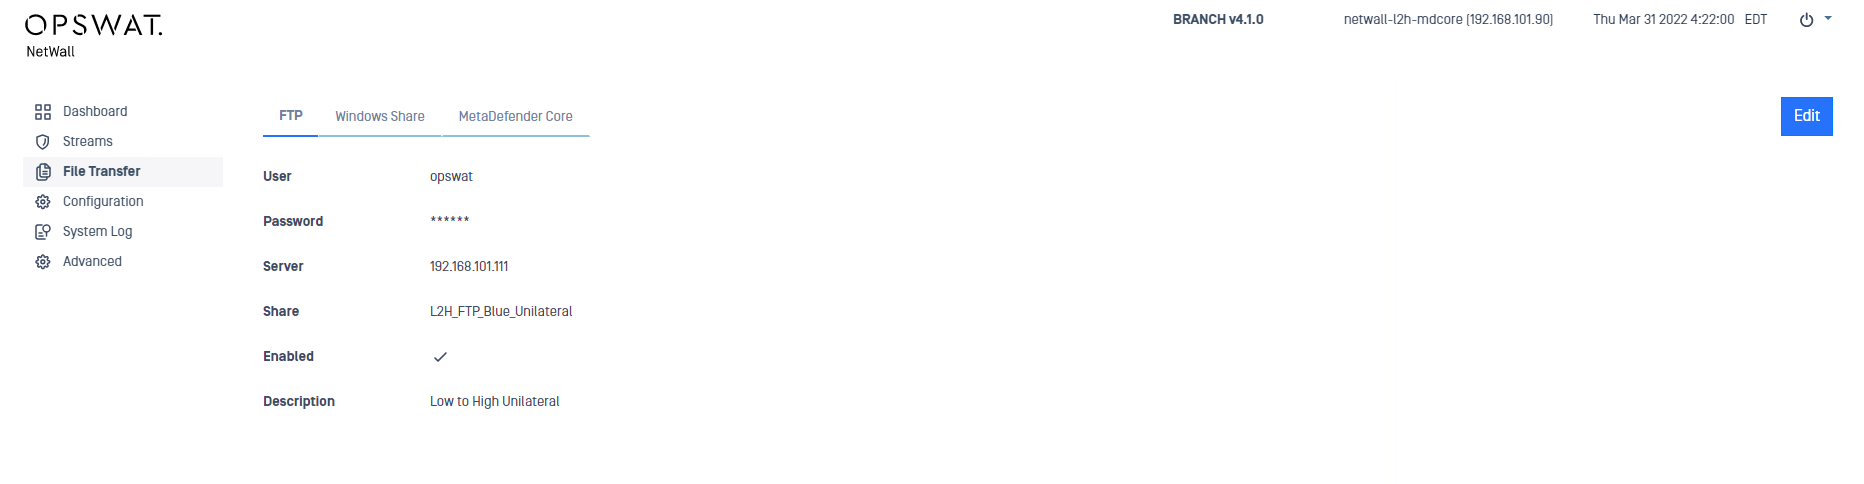
Complete the following fields:
User: Username for FTP file transfer server
Password: Password for the FTP server
Server: Name or IP address for the FTP server
Share: Folder on FTP server. The value can be a folder name or a ‘/’, depending on how you set up file sharing on the FTP server.
- NetWall BLUE: Location on the BLUE zone server that contains the data to be transferred
- NetWall RED: Location on the RED zone server that will receive the transferred data
Description (optional): Description of the FTP transfer.
Enabled: File transfer will be enabled if this checkbox is ticked
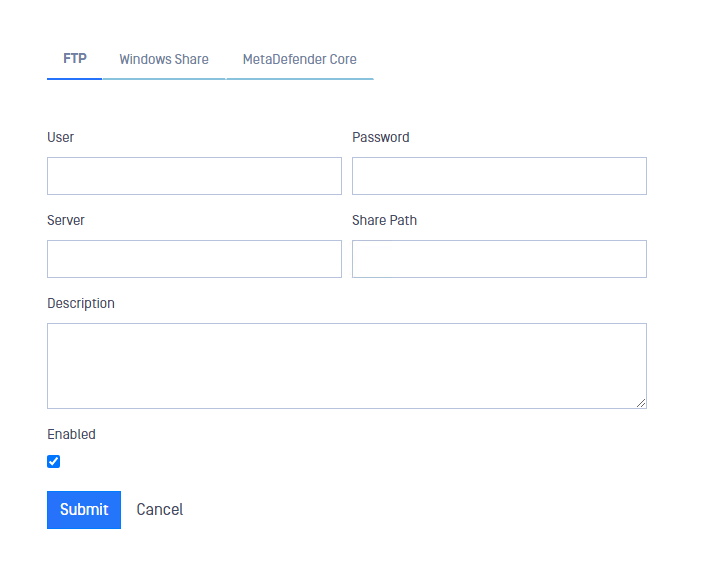
After filling in the fields, click on the Submit button to save configuration.
Windows File Share
This should be configured in both sides BLUE and RED. Each of the sides have their own management UI.
Go to the management UI and insert user and password to login.
Click the File Transfer select the Windows Share label and then click on the Edit button.
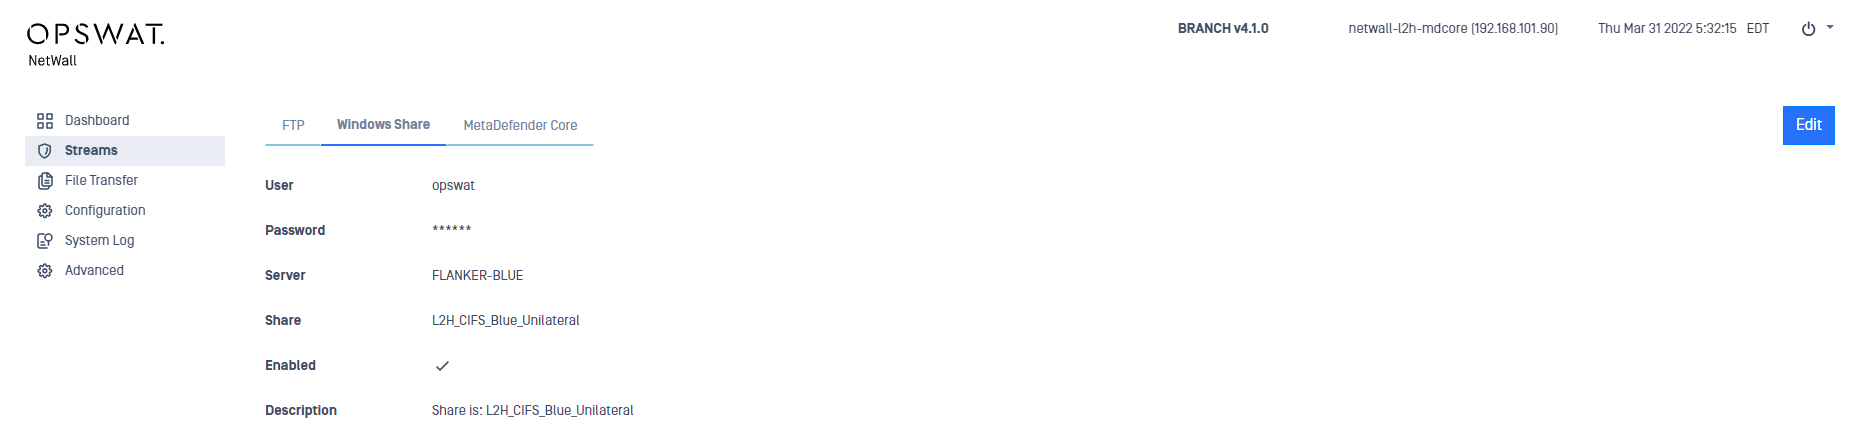
Complete the following:
User: Username for the Windows File Sharing server
Password/Re-enter: Password for the Windows server
Server: Name or IP address for the Windows server
Share: Folder on Windows File Sharing. This value must be a folder name
- NetWall BLUE: Location on the BLUE zone server that contains the data to be transferred
- NetWall RED: Location on the RED zone server that will receive the transferred data
Description (optional): Description of the Windows Share transfer.
Enabled: File transfer will be enabled if this checkbox is ticked
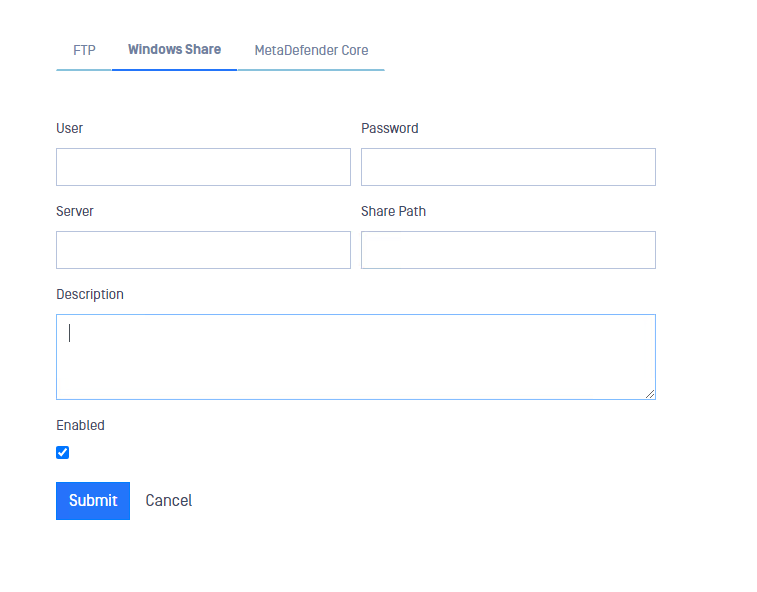
After filling in the fields, click on the Submit button to save configuration.
MetaDefender Core
Once Configured, all the files trasferred using NetWall will be scanned for malicious activity by MetaDefender Core. This scan will be performed before the transfer is done. Please, if you want more details on MetaDefender Core management and operation, go to https://docs.opswat.com/mdcore
API Key
API key are required in order to enable API integration with other products.
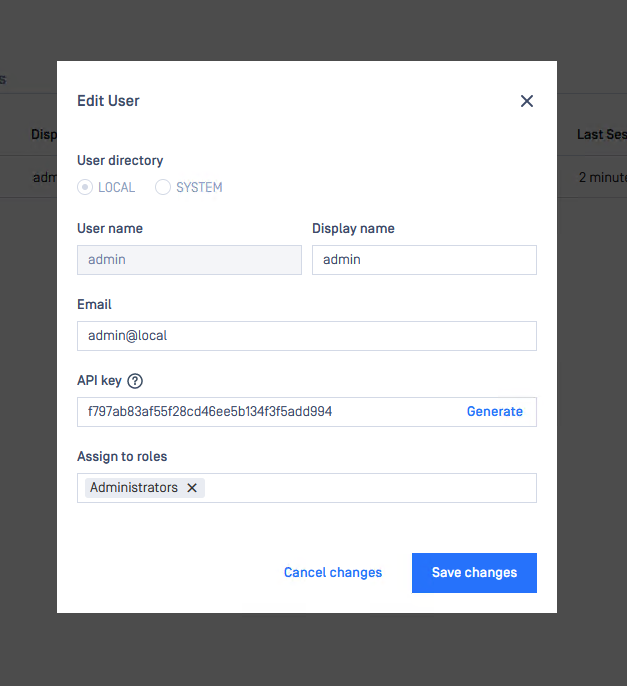
How to generate an API Key
In NetWall BLUE, go to https://localhost:8008 to access built in MetaDefender Core UI and login.
- From the sidebar menu go to User Management.
- Click on admin user
- Copy the API key (generate one if the box is empty). We will use it to configure NetWall BLUE side to configure the integration with MetaDefender Core
Configuring NetWall BLUE for MD Integration
In order to configure MetaDefender Core, fill out the necessary information on the NetWall BLUE configuration page:
- URL: The url of the MetaDefender Core we will use to scan the files transferred (e.g http://localhost:8008).
- API Key: Paste the API Key copied in the previous step, API Key.
- Timeout [Sec. 1-600]: can be used to specify a timeout when waiting for results from MetaDefender Core.
- Scan FIles: check this box to activate MetaDefender Core scan for trasferred files.
- Test Connection: press this button to check if the connection with MetaDefender Core instance is OK.
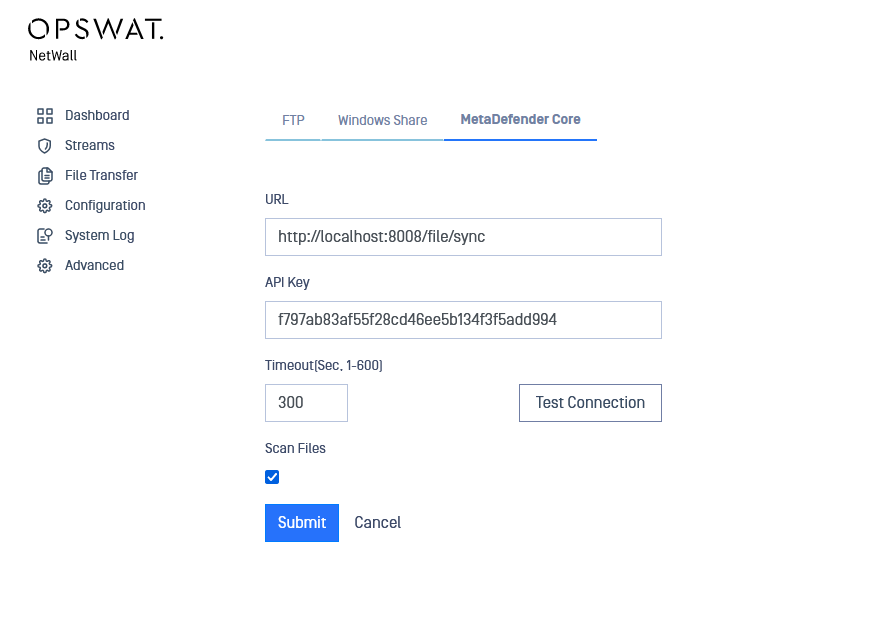
Click Submit to save the changes. NetWall will now process files with MetaDefender Core.