Selecting which copy option to run
If Allow user to select copy option is enabled (for each respective allowed/blocked designation), the file handling option screen will allow users to select the destination for files. This screen only lists the destinations your administrator has enabled for the workflow — for example, if only SharePoint and OneDrive are enabled, those are the only two choices shown. Navigating between allowed and blocked is possible when the option is enabled for both. Selection is done by clicking each option to run (a check mark indicates the option is selected and will be performed) and then hitting the Copy button.
If a workflow has only one destination enabled, this selection screen is skipped entirely and files are copied directly to that destination.
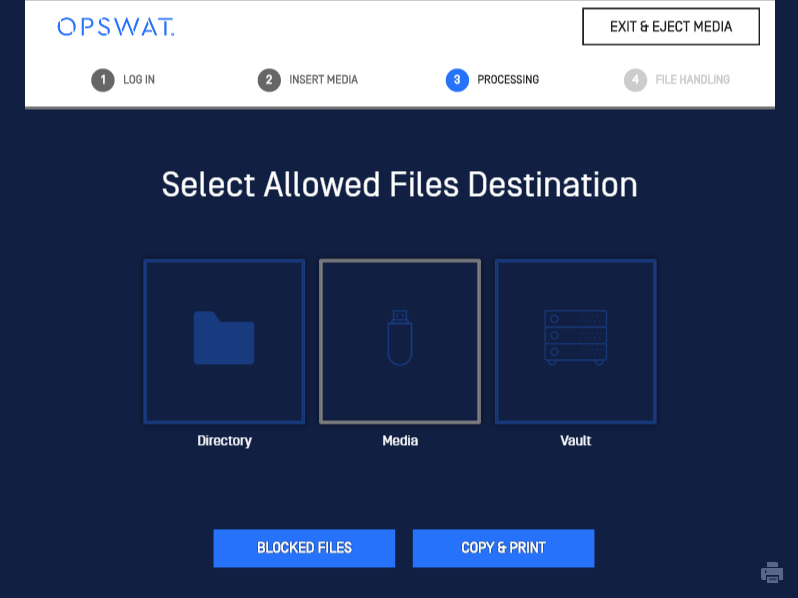
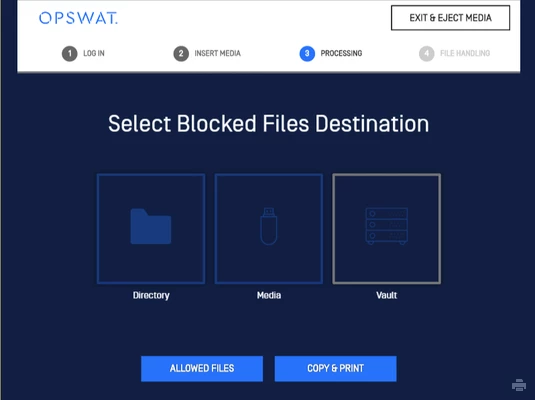
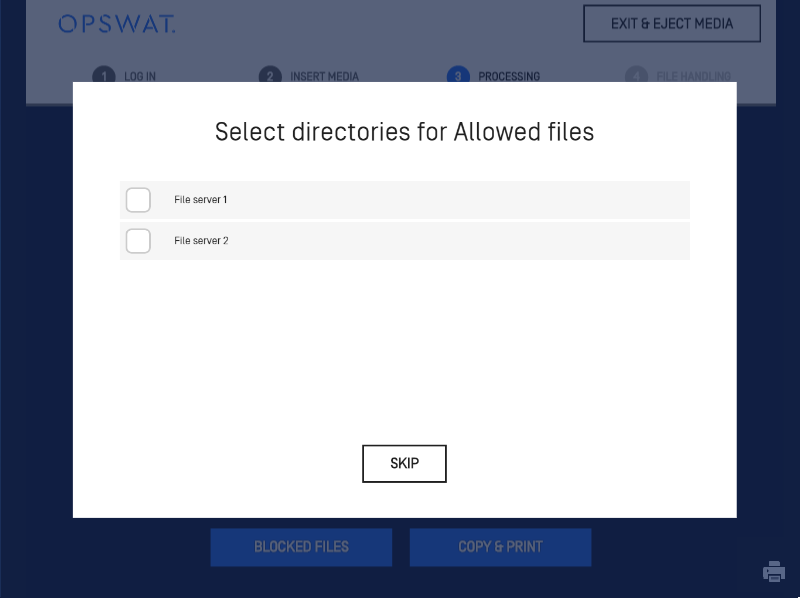
When Directory is selected, another window will pop up to allow the directory destination selection.
Copying files to another media
Whether a given media type can be used as a copy destination is controlled per media type by your administrator (see Allowed Media Types). The chart below shows which media types can support this in general — check with your administrator if a media type you expect to use isn't accepted during a session.
Copy-to Media Support Chart | ||
|---|---|---|
Media Type | Supported | Additional Info |
USB | Yes, if enabled by your administrator | |
CD/DVD/Blu-Ray (R or RW) | Yes, if enabled by your administrator | Disc must be blank and non-finalized |
Floppy | Yes, if enabled by your administrator | If copying to floppy is enabled, the Detect Floppy Disk button must be clicked after inserting a floppy |
SD Card | Yes, if enabled by your administrator | |
Hard Disk Drive | Yes | |
Phone | Not supported | Phones can't be used as a copy destination |
If an encrypted device is inserted as the media to copy to, there will be a prompt to enter the password to unlock the media before files are copied.
If your workflow specifies copying scanned files to other media, you are prompted to insert the media to which you want to copy your files. If you do not want to copy the files, click Skip Copy to Media . The original source media must remain connected to MetaDefender Kiosk to successfully copy the files.
If you insert a media type that isn't allowed as a copy destination in your workflow, Kiosk shows a message that the media can't be used for this purpose and prompts you to insert a supported device instead. You can also click Skip Copy to Media at this point if you don't need to complete the copy step.
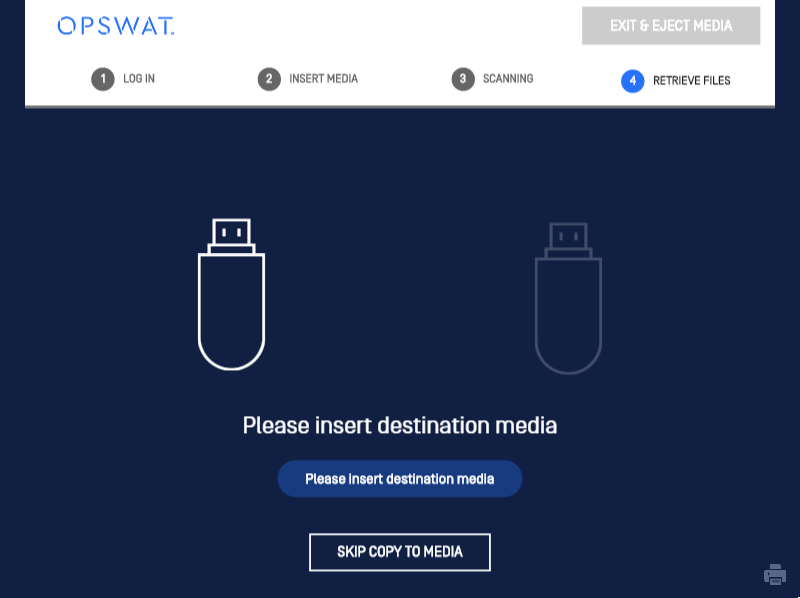
If the user media is configured to be wiped before copying, a prompt will alert the user that the destination media will be wiped.
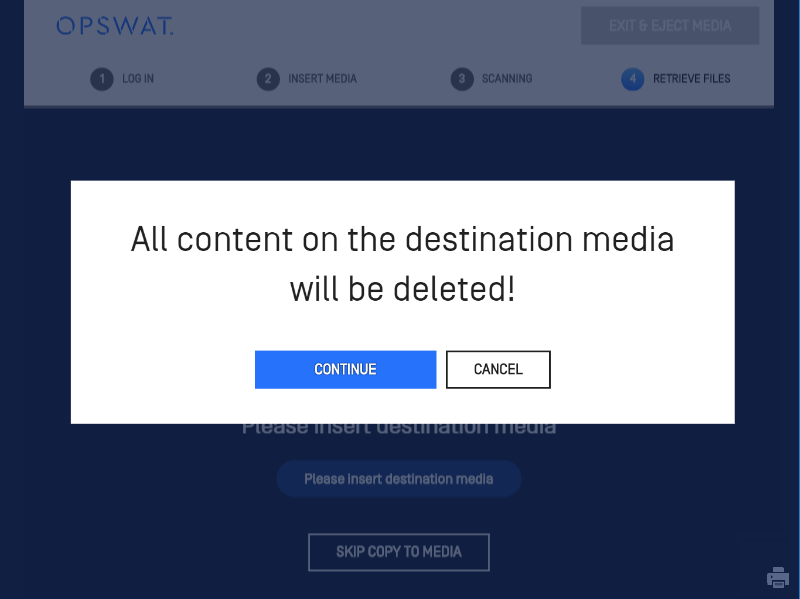
Select 'Continue' to have the media wiped and copy files to or 'Cancel' to be taken back to insert another media to copy files to.
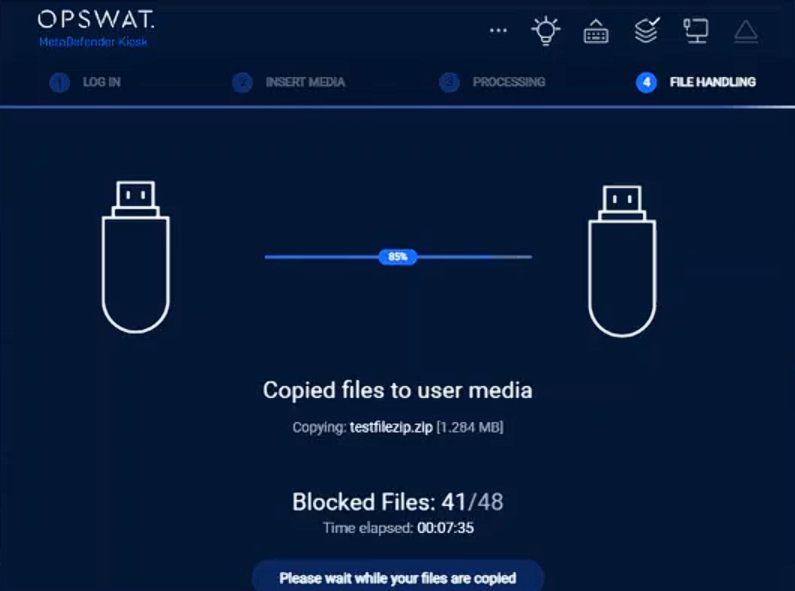
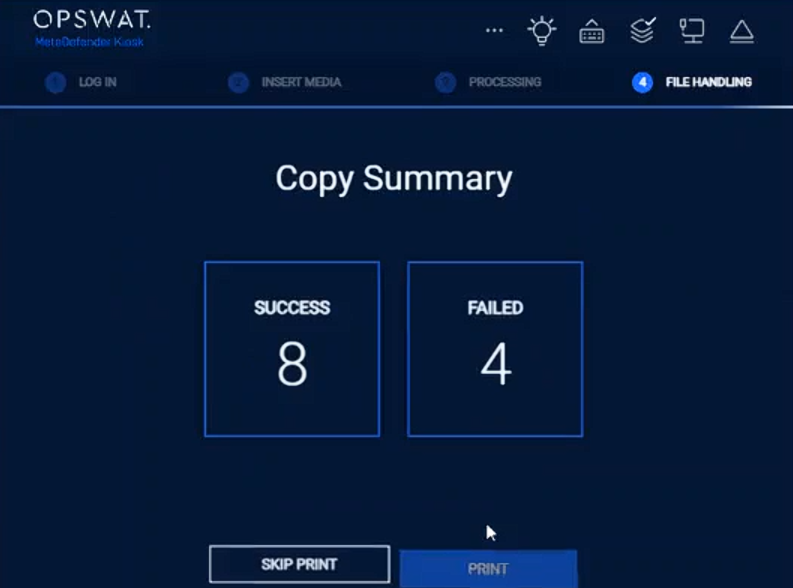
Copy summary is available on Kiosk 4.7.11 or later.
Once the file transfer completes, Kiosk shows the copy summary. User can click on 'Success' and 'Failed' to see details.