Step-by-step guide
NAC Enforcer IP Assignment
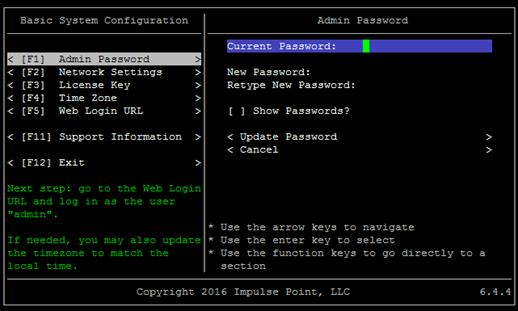
Once the appliance is powered on, connect to the console and login with the username “admin” and the password “admin”. After logging in, the console configuration utility will be launched. The resulting pages will prompt the user to update the admin password, configure the IP address settings and enter a license key. A License Key will need to be available prior to starting this step. If no license key is available, please contact OPSWAT Support for assistance. opswat-support@opswat.com
Reset Admin Password
Configure Appliance Network Settings
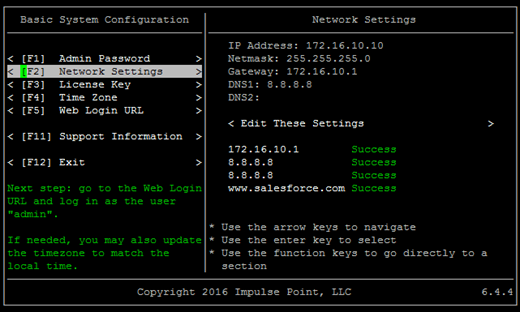
NOTE: If the initial attempt to save Network Settings fails, and you are confident your settings are correct, try saving again. Saving these settings involves bouncing the vNIC in the background, and this process can sometimes take longer than the timeout of the test utility.
Activate License Key
You can get this license key by visiting https://metaaccess.opswat.com, signing in with the same credentials used to register at my.opswat.com, and then clicking "Settings" from the left-side panel. You license key will be displayed on this page.
Enter this license key into the "License Key" section of NAC terminal interface

Write down the Web Login URL. The console utility displays formats for the default hostname and the IP address of the appliance. If this is a brand new installation, the IP address format will likely need to be used as DNS may not yet be configured.
Exit Appliance Basic System Configuration