Virtual Appliance Deployment
Please follow the below instructions to deploy the My OPSWAT On-premises virtual appliance.
Step 1: Download the My OPSWAT On-premises virtual appliance package, available in .ova format on My OPSWAT.
Step 2: Deploy the virtual appliance package to your hypervisor server and start it.
For VMware vSphere, using VMware vCenter:
Please refer to VMware's Deploy an OVF or OVA template documentation for more details.
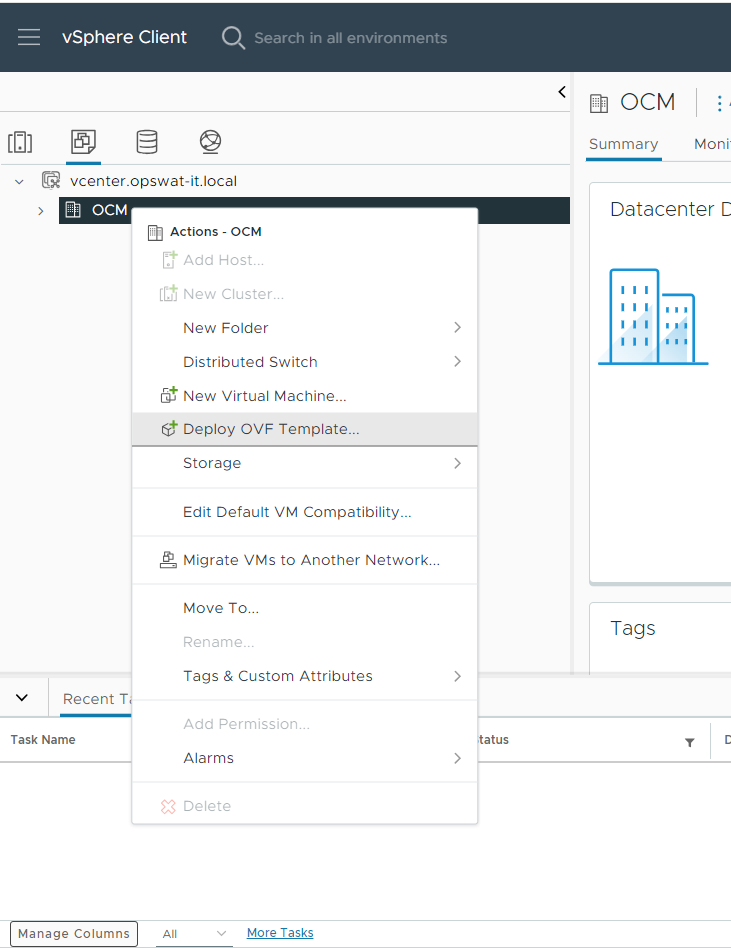
In the VMware vCenter UI, right-click any inventory object that is a valid parent object of a virtual machine, such as a data center, folder, cluster, resource pool, or host, and select Deploy OVF Template .
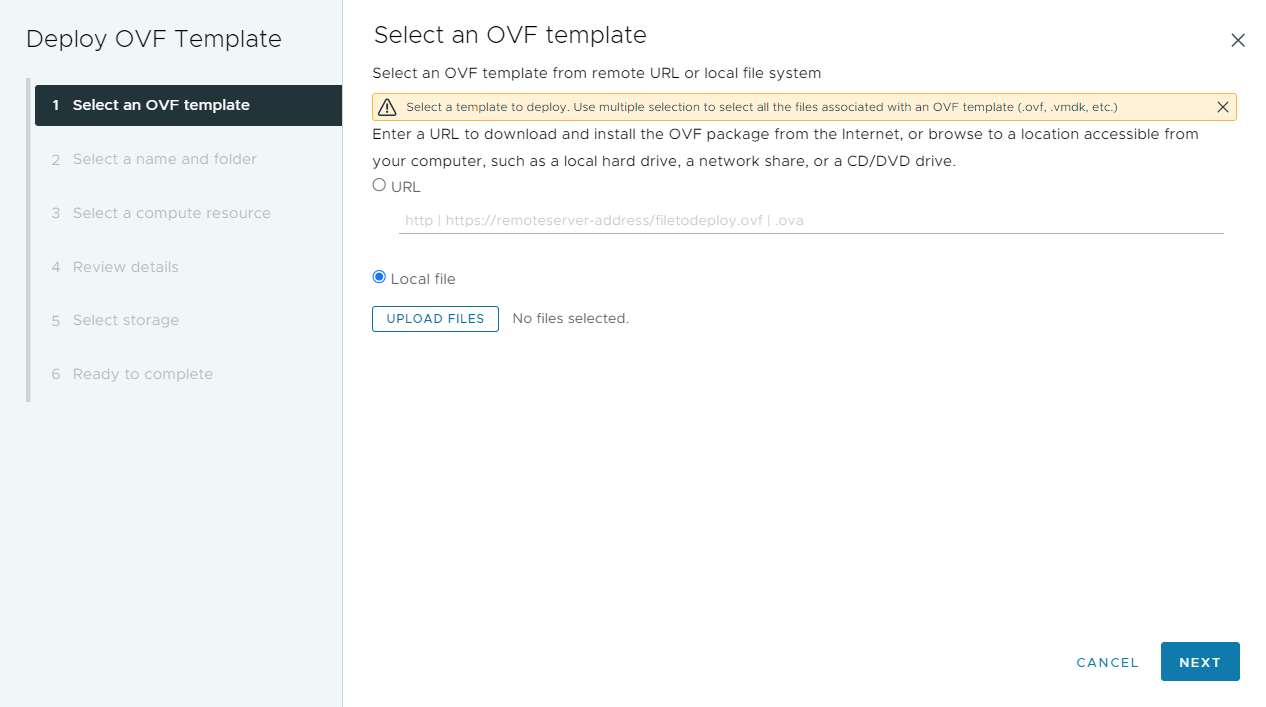
In the Deploy OVF Template wizard, on the Select an OVF template page, specify the location of the source OVF or OVA template and click Next.
For instance, you can select Local file and click UPLOAD FILES to upload the .ova file via your web browser.
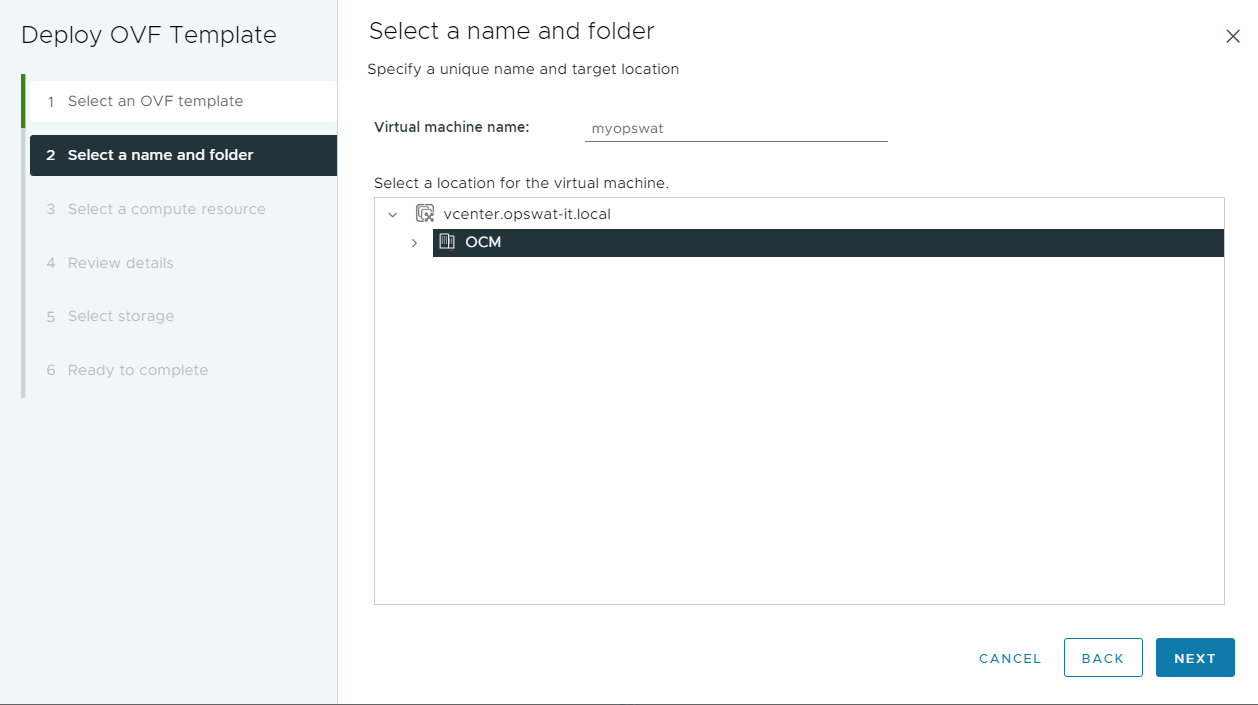
On the Select a name and folder page, enter the virtual appliance's name and select its destination folder. Click Next to continue.
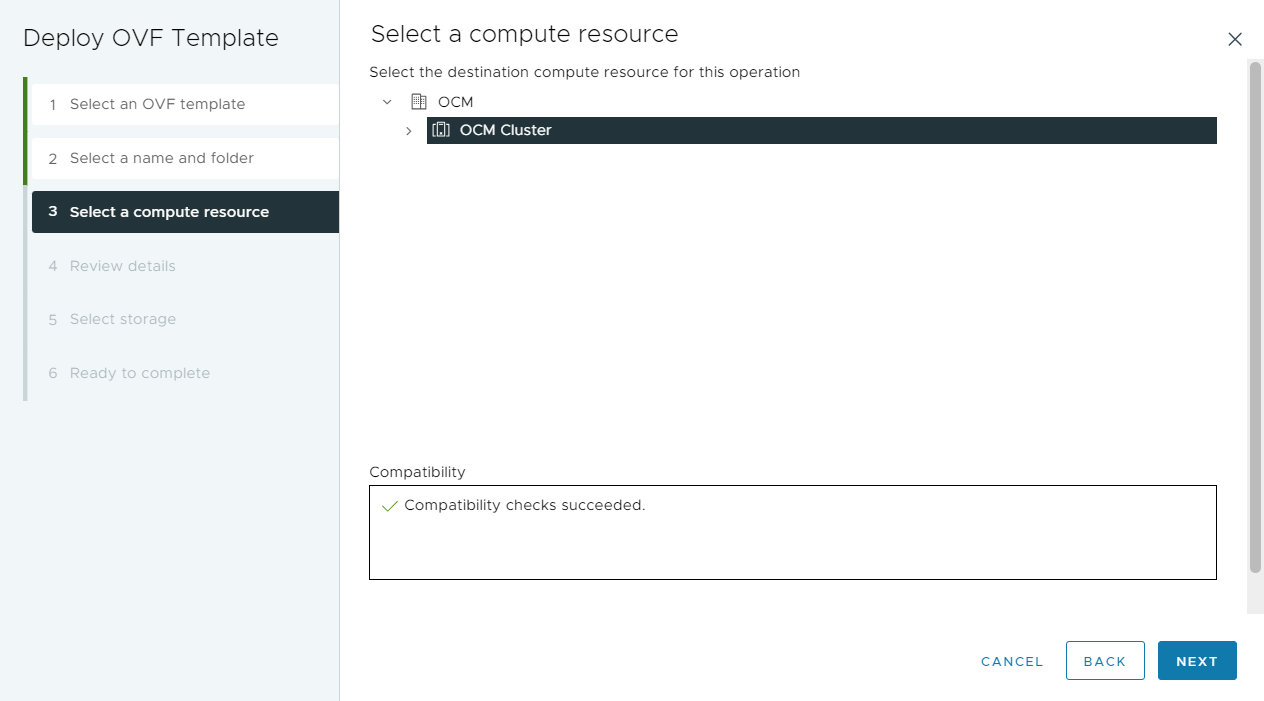
On the Select a compute resource page, select a resource where the virtual appliance should be deployed to, and click Next.
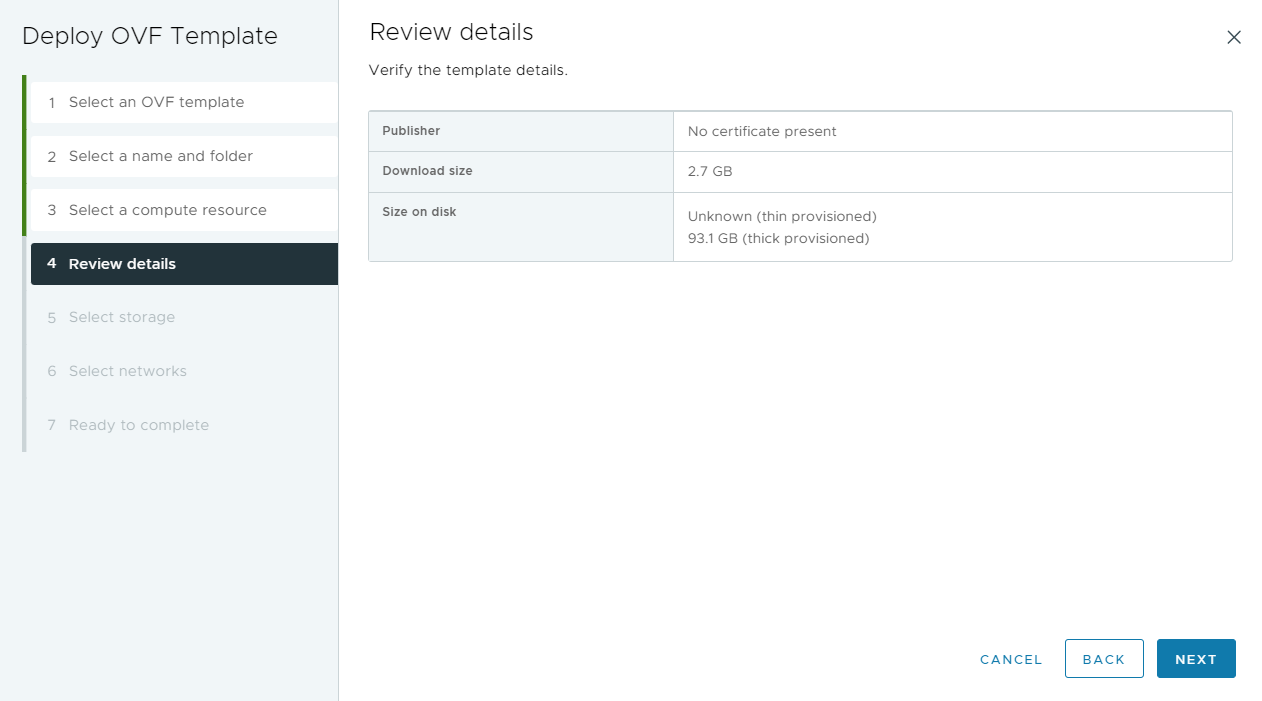
On the Review details page, review the details of the .ova file and click Next.
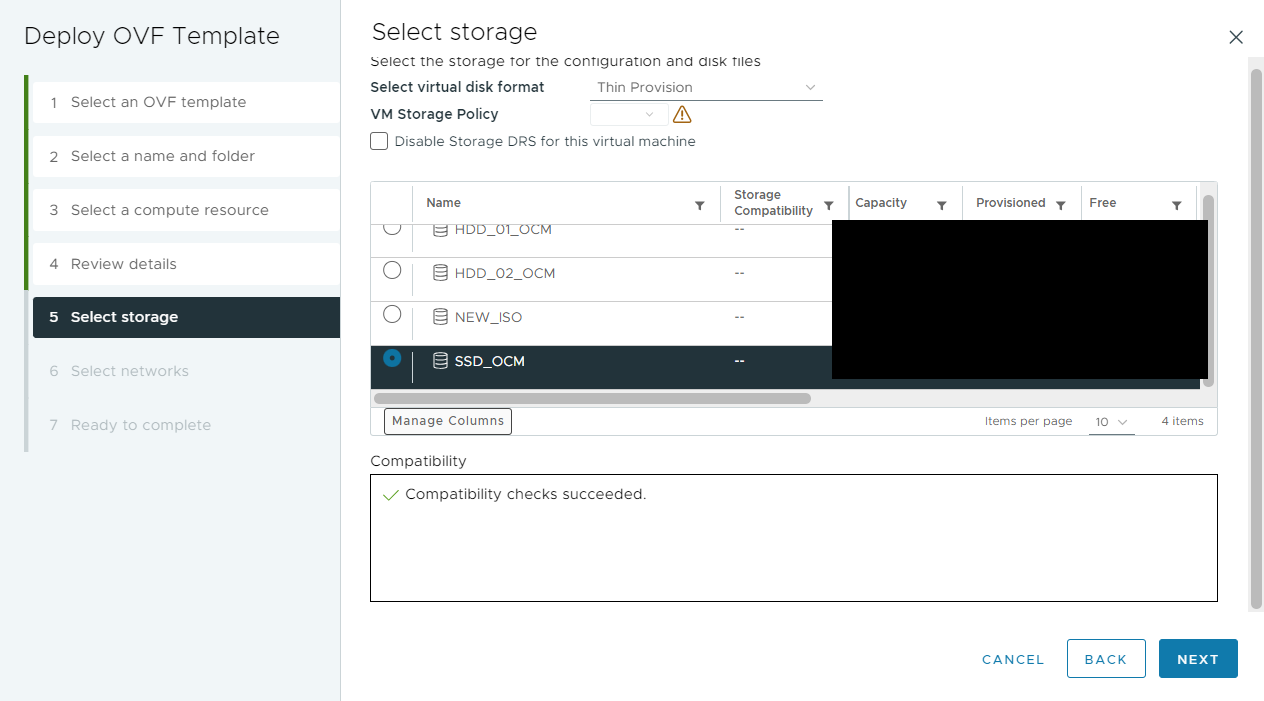
On the Select storage page, define where and how to store the files for the virtual appliance. Select a disk format, VM storage policy and the datastore that should store the virtual appliance's files. Please refer to VMware's Deploy an OVF or OVA template documentation for more details on how each disk format and storage policy functions.
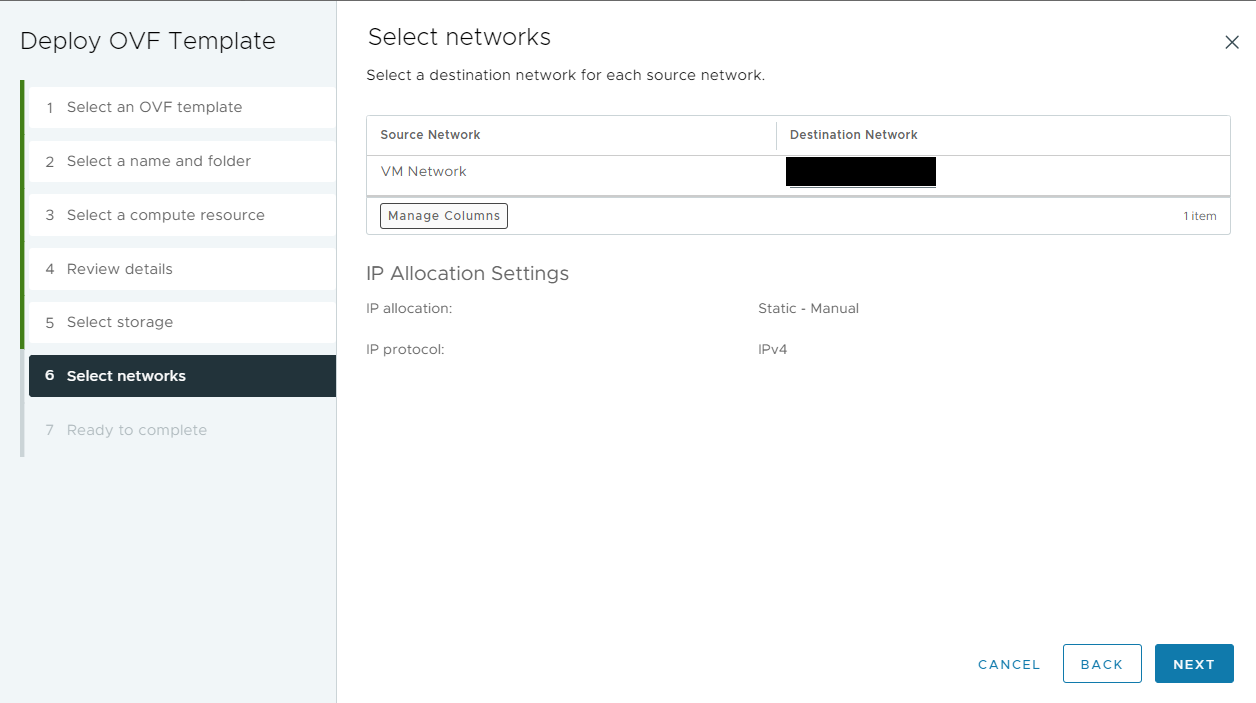
On the Select networks page, select the destination network that should be attached to virtual appliance's source network. Please note that the actual IP allocation process is done within the virtual appliance's setup wizard.
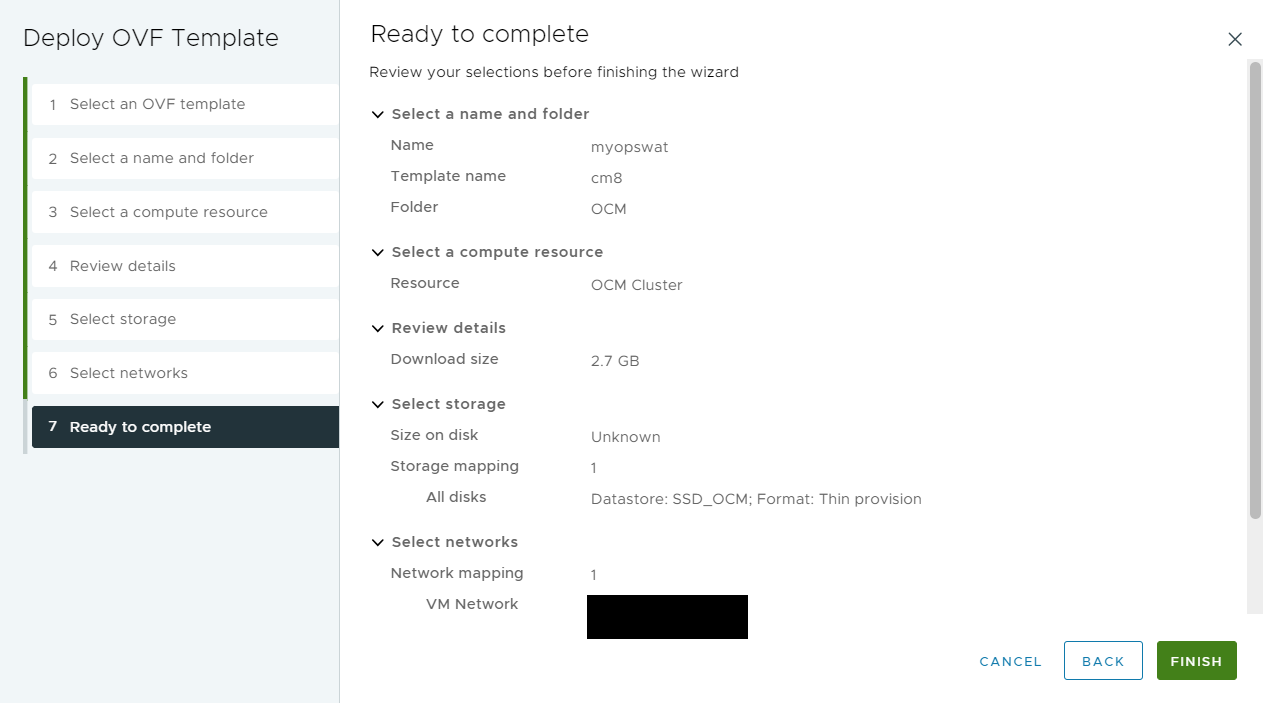
On the Ready to complete page, review your selection and click Finish to start the deployment process.
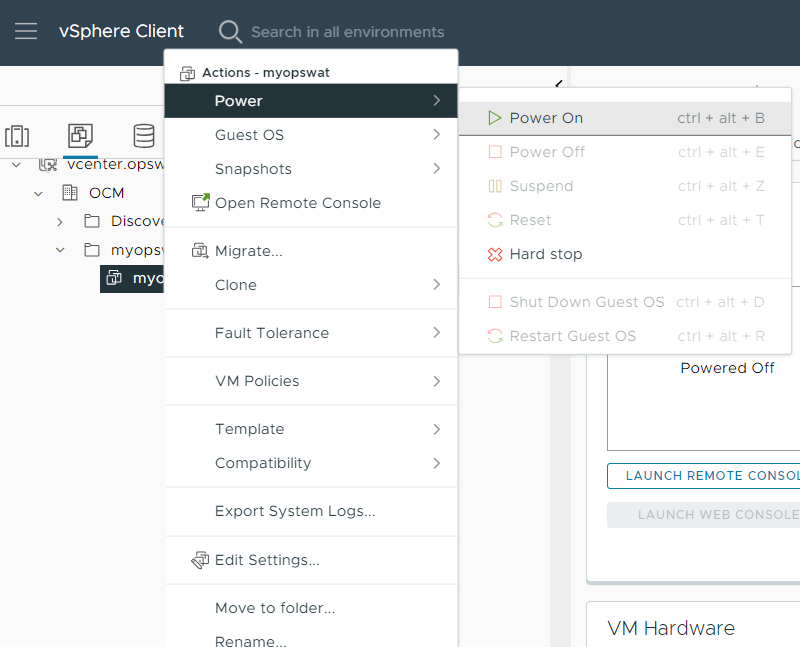
Once the deployment process complete, right-click the virtual appliance and click Power > Power On to start the virtual appliance and move on Step 3.
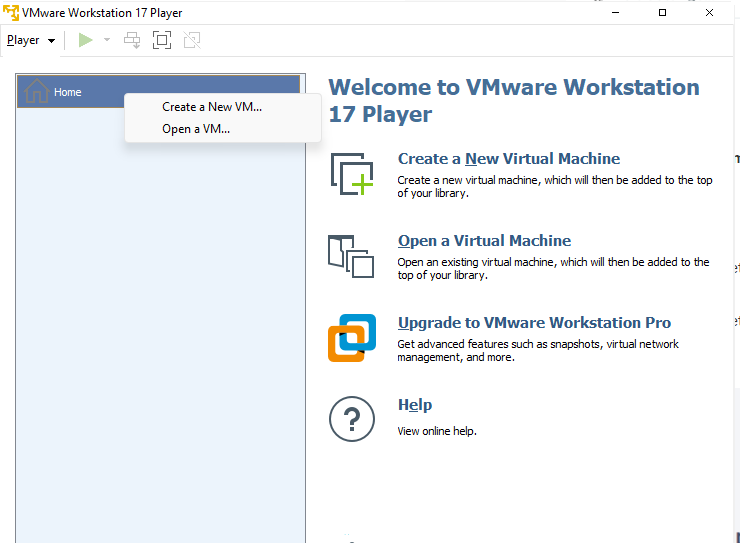
For VMware Workstation Player
In the VMware Workstation Player, right-click on Home, click Open a VM and select the .ova file via the file browser.
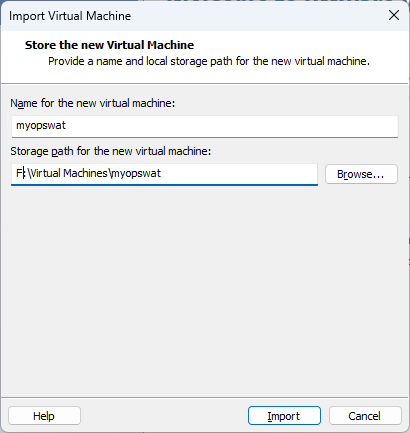
In the Import Virtual Machine wizard, on the Store the new Virtual Machine page, enter the virtual appliance's name and where to store its files. Click Import to start the import process.
Once the import process completes, right-click on the virtual appliance and click Power On and move to Step 3.
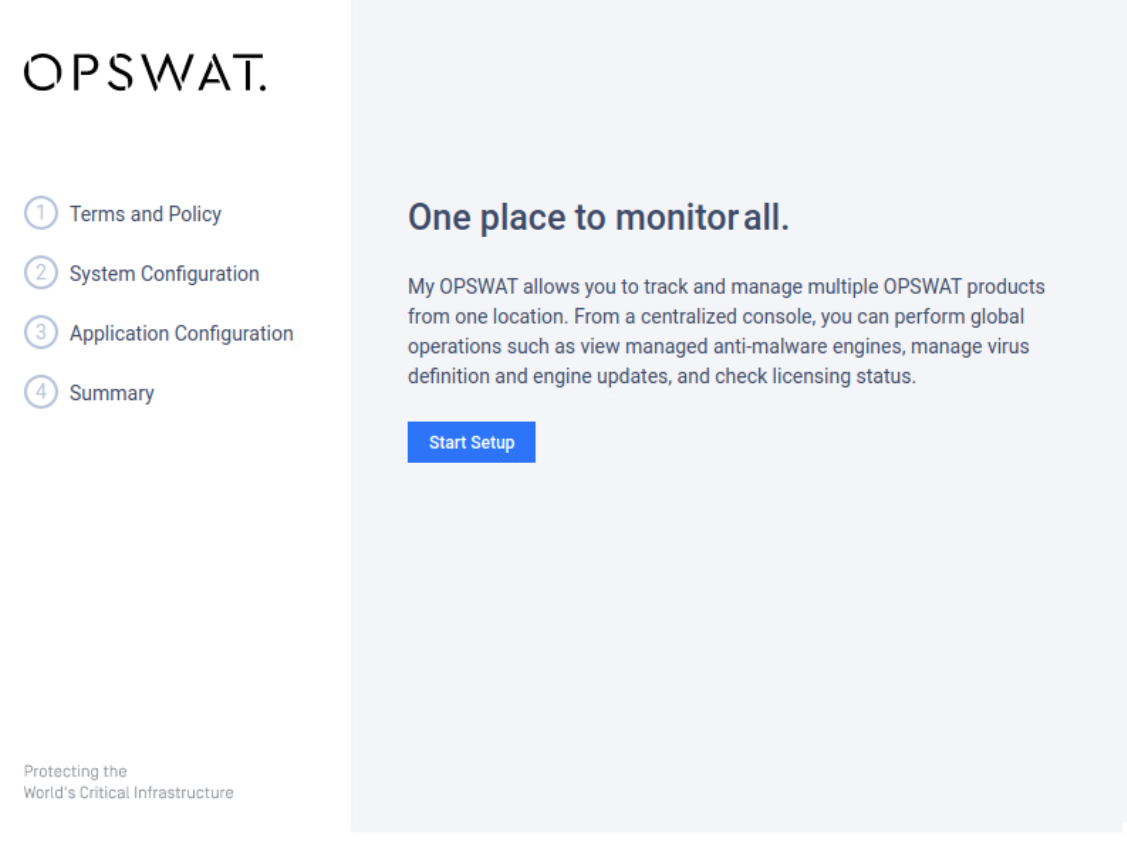
Step 3: Once the virtual appliance's startup is complete, a setup wizard will appear to guide you through the rest of the setup process. Click on Start Setup to begin.
Step 4: In the Terms and Policy section, agree OPSWAT's Terms of Service and Privacy Policy by ticking the checkboxes then clicking Continue.
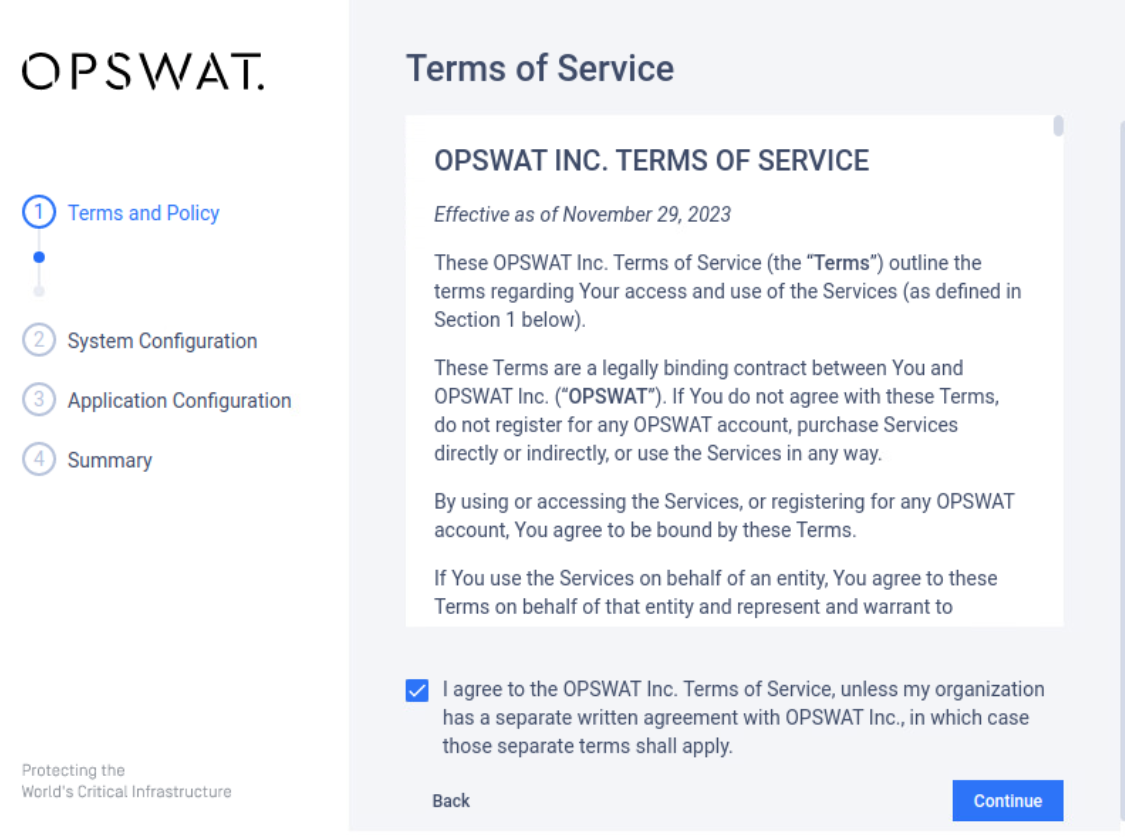
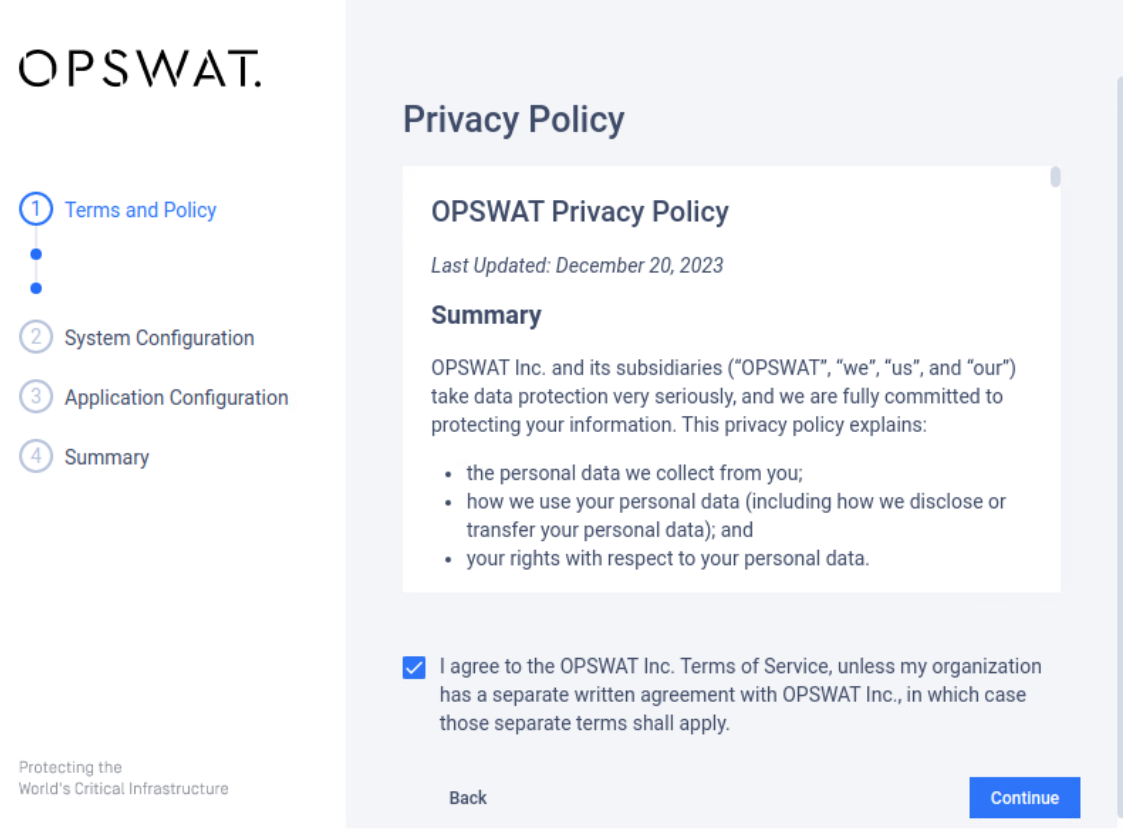
In the next few steps, you will set up various credentials that are important for the virtual appliance's operation. Please make sure that these credentials are recorded in a secure location because they cannot be recovered.
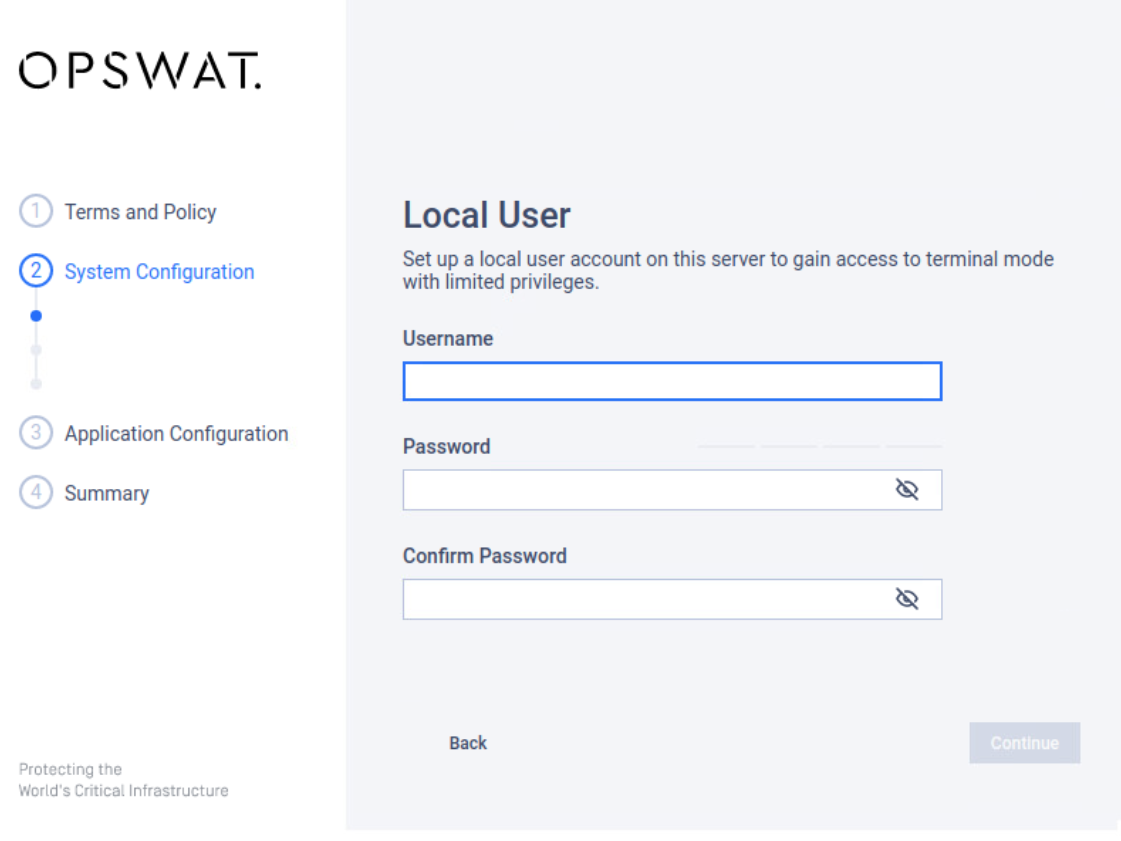
Step 5: In the System Configuration section, create a limited-privileges local user. This credential is used to access the virtual appliance's terminal via SSH for troubleshooting. Enter a username, password, and confirm password, then click Continue.
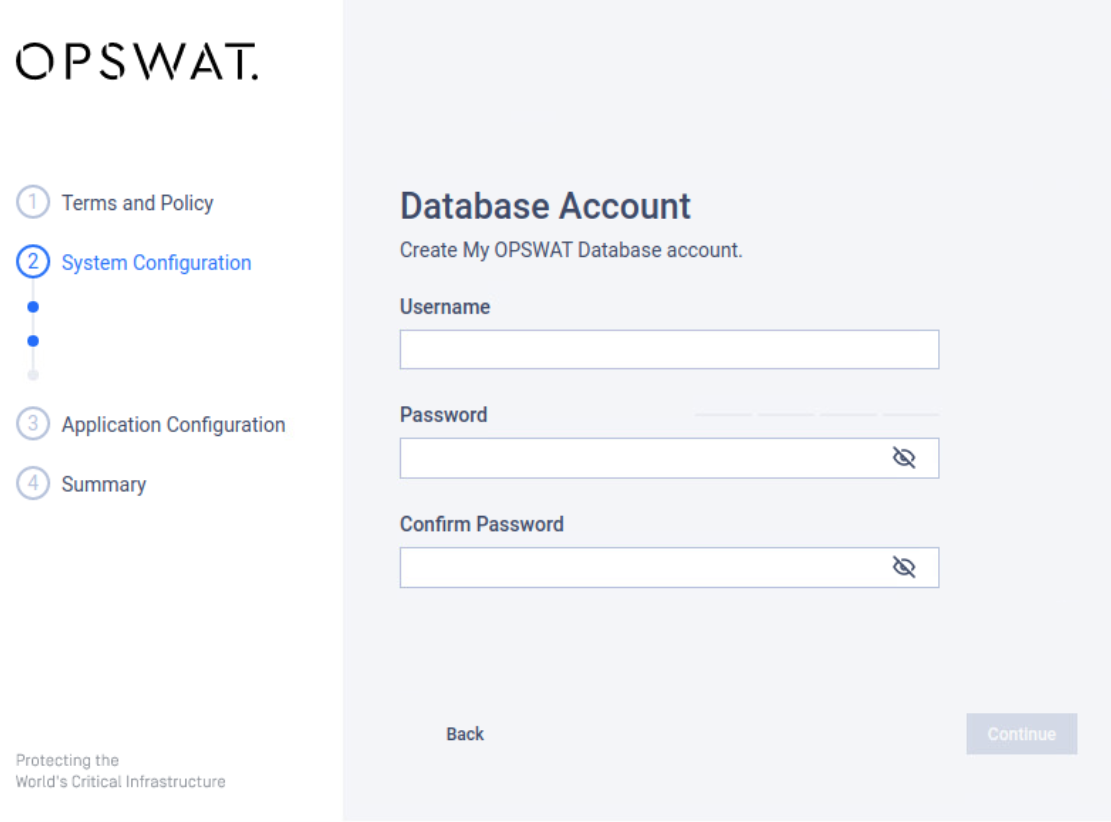
Step 6: Create a database account. This credential is used by My OPSWAT On-premises to access its database and also can be used to secure access the database for troubleshooting database issues. Enter a username, password, and confirm password, then click Continue.
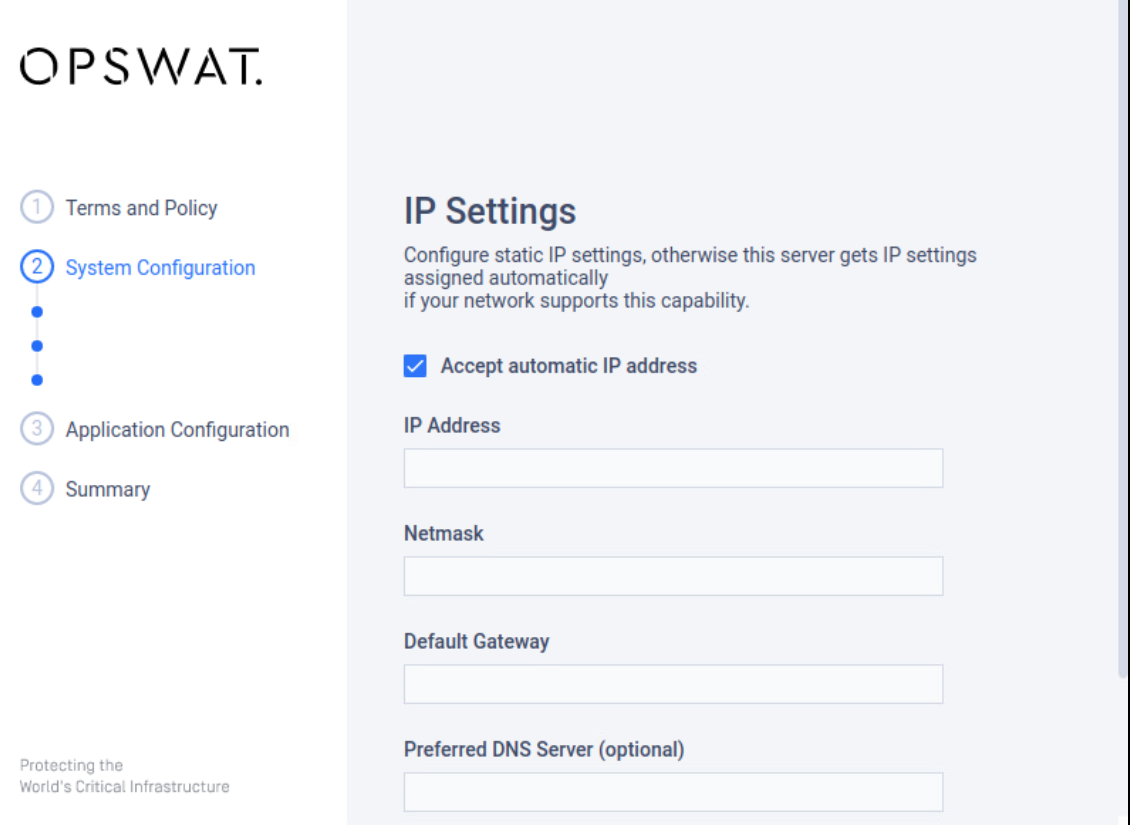
Step 7: Configure IP Settings for the virtual appliance.
Tick the checkbox Accept automatic IP address to use an IP address automatically by a DHCP server if present. If no DHCP server is present, the virtual appliance won't have an usable IP address.
Untick the checkbox Accept automatic IP address to manually configure an IP address. Fill in all the required fields.
Click Continue to move on to the next step.
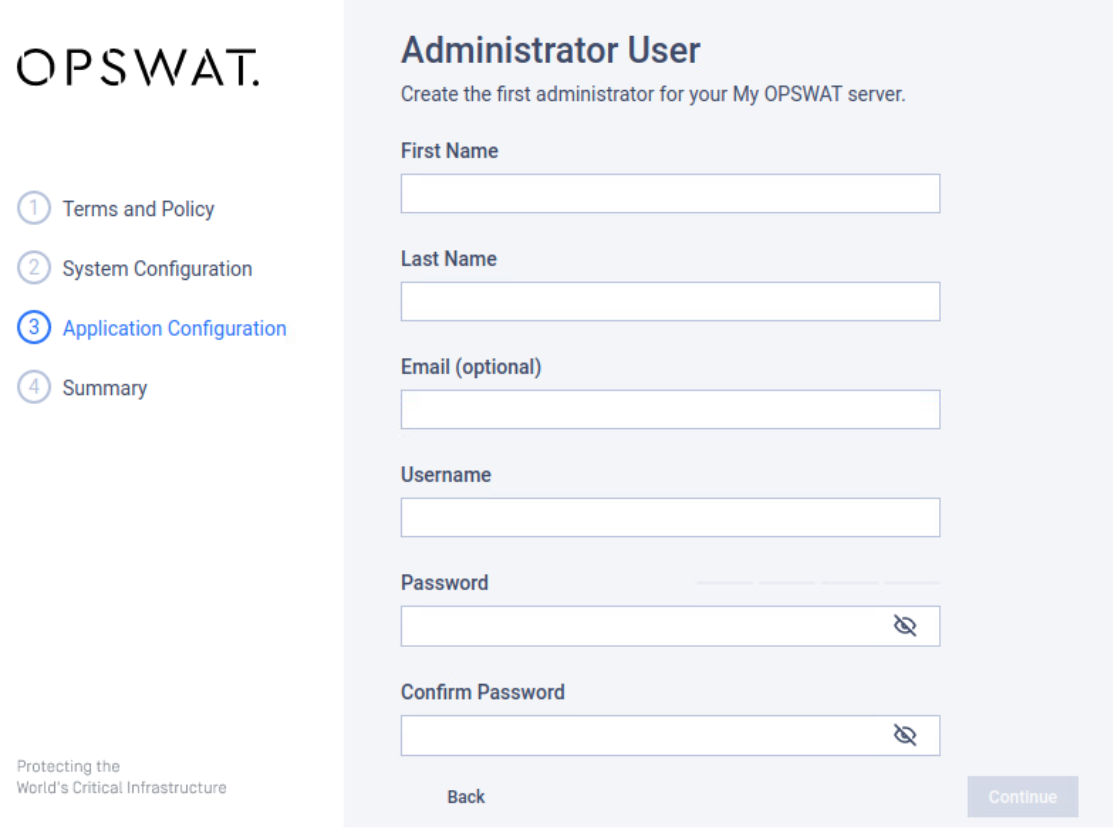
Step 8: In the Application Configuration section, create the first My OPSWAT On-premises administrator user. This credential is used to log into the My OPSWAT On-premises console and has administrative privileges. Fill in required information, then click Continue.
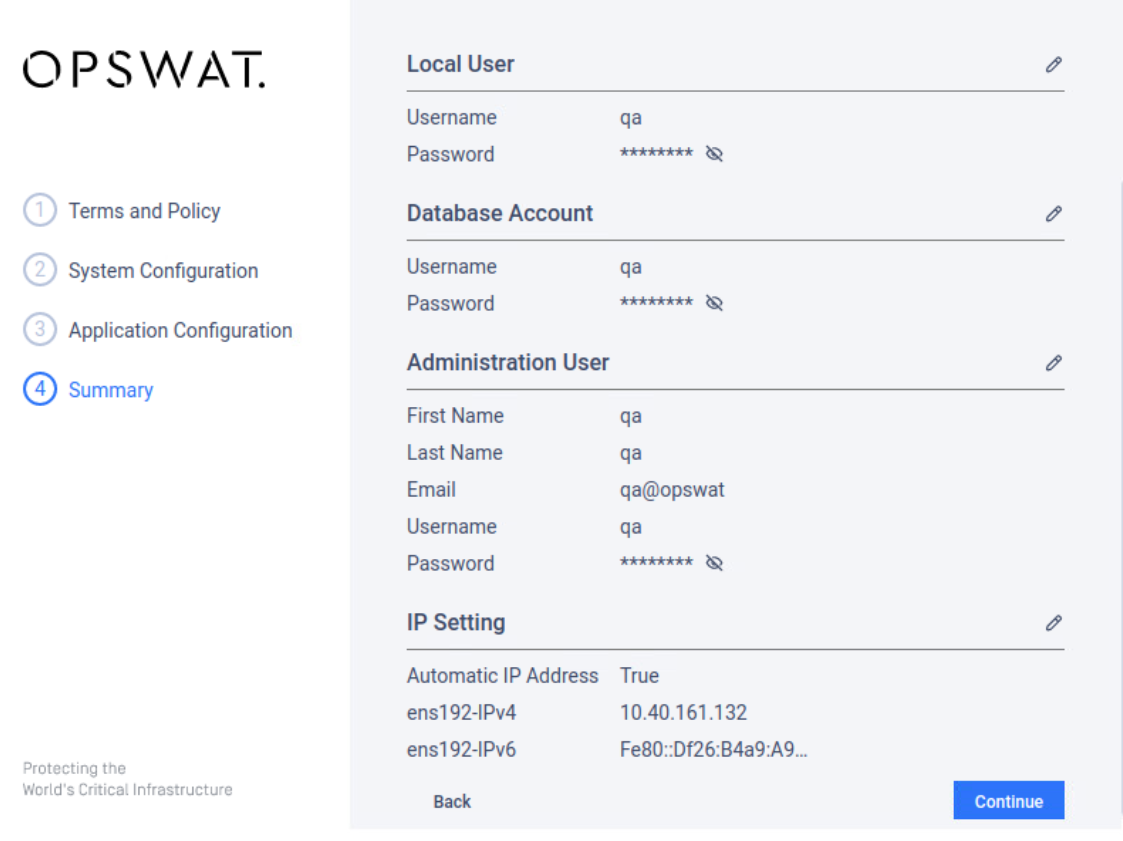
Step 9: preview your configuration in the Summary section. If you would like to make changes any information, click Edit (pencil icon) to go back to that configuration section. Again, make sure you store credentials you input in a secure place for future use. Click Continue to confirm your configuration and start the data initialization process.
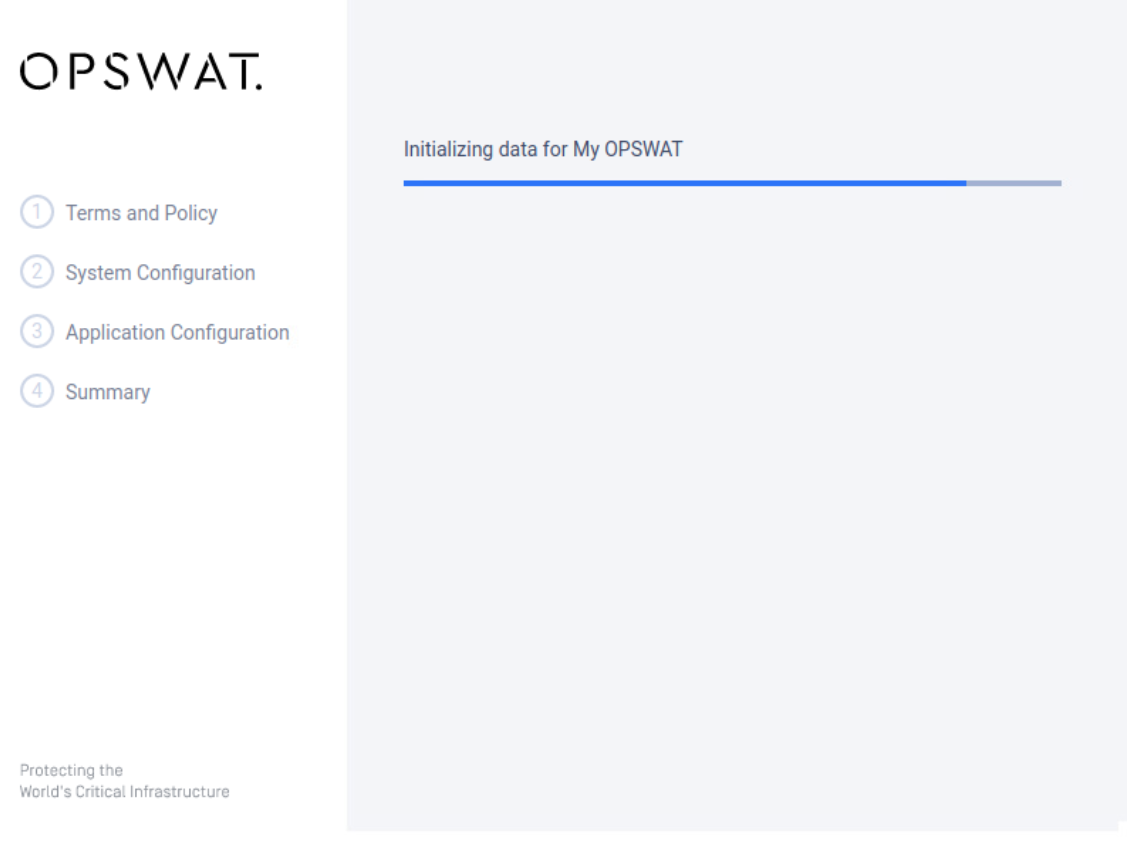
Step 10: The initialization process will start after you confirm your configuration. This can take up to 10 minutes depending on your hypervisor system.
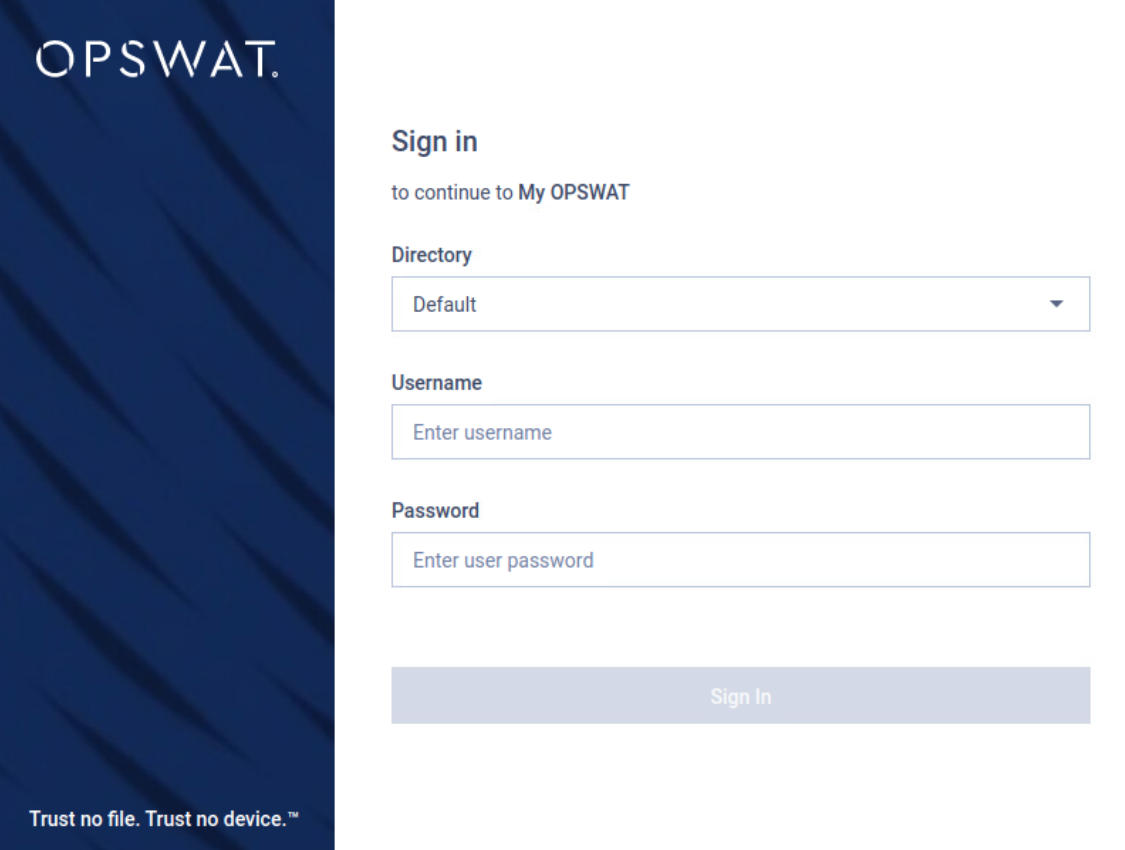
Step 11: After the data initialization is completed, you can use the My OPSWAT administrator user created in step 9 to log in directly on your server or any other machine that can access to this server at URL http://<your-server-IP>.
If the data initialization takes too long, there may be an issue that requires troubleshooting. Please refer the How to generate a support package for troubleshooting? KB to generate a support package.

