Deployment & Upgrade
2025.4.1-OP
Search this version
Deployment & Upgrade
Deployment & Upgrade
Title
Message
Create new category
What is the title of your new category?
Edit page index title
What is the title of the page index?
Edit category
What is the new title of your category?
Edit link
What is the new title and URL of your link?
Amazon Machine Image
Copy Markdown
Open in ChatGPT
Open in Claude
You can deploy My OPSWAT On-premises by using the marketplace image, available on the AWS Marketplace.
Prerequisites and Requirements
AWS knowledge: This guide assumes familiarity with EC2 and Amazon Machine Images.
AWS account: needs permission to create EC2 instances and edit/create security groups.
DNS: My OPSWAT uses the internal routing of the host instance and does not require any special routing.
Scripting languages supported: Linux - shell
Launch Instance
- Navigate to the EC2 Management Console in AWS and select Launch Instance
- Select Browse more AMIs > AWS Marketplace AMIs (tab) > search "My OPSWAT"
- Select the My OPSWAT AMI
- t2.xlarge instance type meets the minimum requirements to run My OPSWAT
Configure Network Settings
- Select the desired VPC and subnet you would like to deploy My OPSWAT in. My OPSWAT requires connections to the servers it manages.
- Security groups should follow your organizations best practices and recommendations. My OPSWAT can be used on 80 or 443 and can be changed to fit security requirements. Port 22 can be used to access via ssh for troubleshooting and administration.
Configure Storage
- My OPSWAT comes with 100gb gp2 root volume storage
Launch Instance
- Approximate time to initialize after launching: ~5 minutes
Setup Wizard
- Navigate to the IPv4 address or DNS of the instance you just provisioned. You should be redirected to the setup wizard to help set up My OPSWAT for the first time.
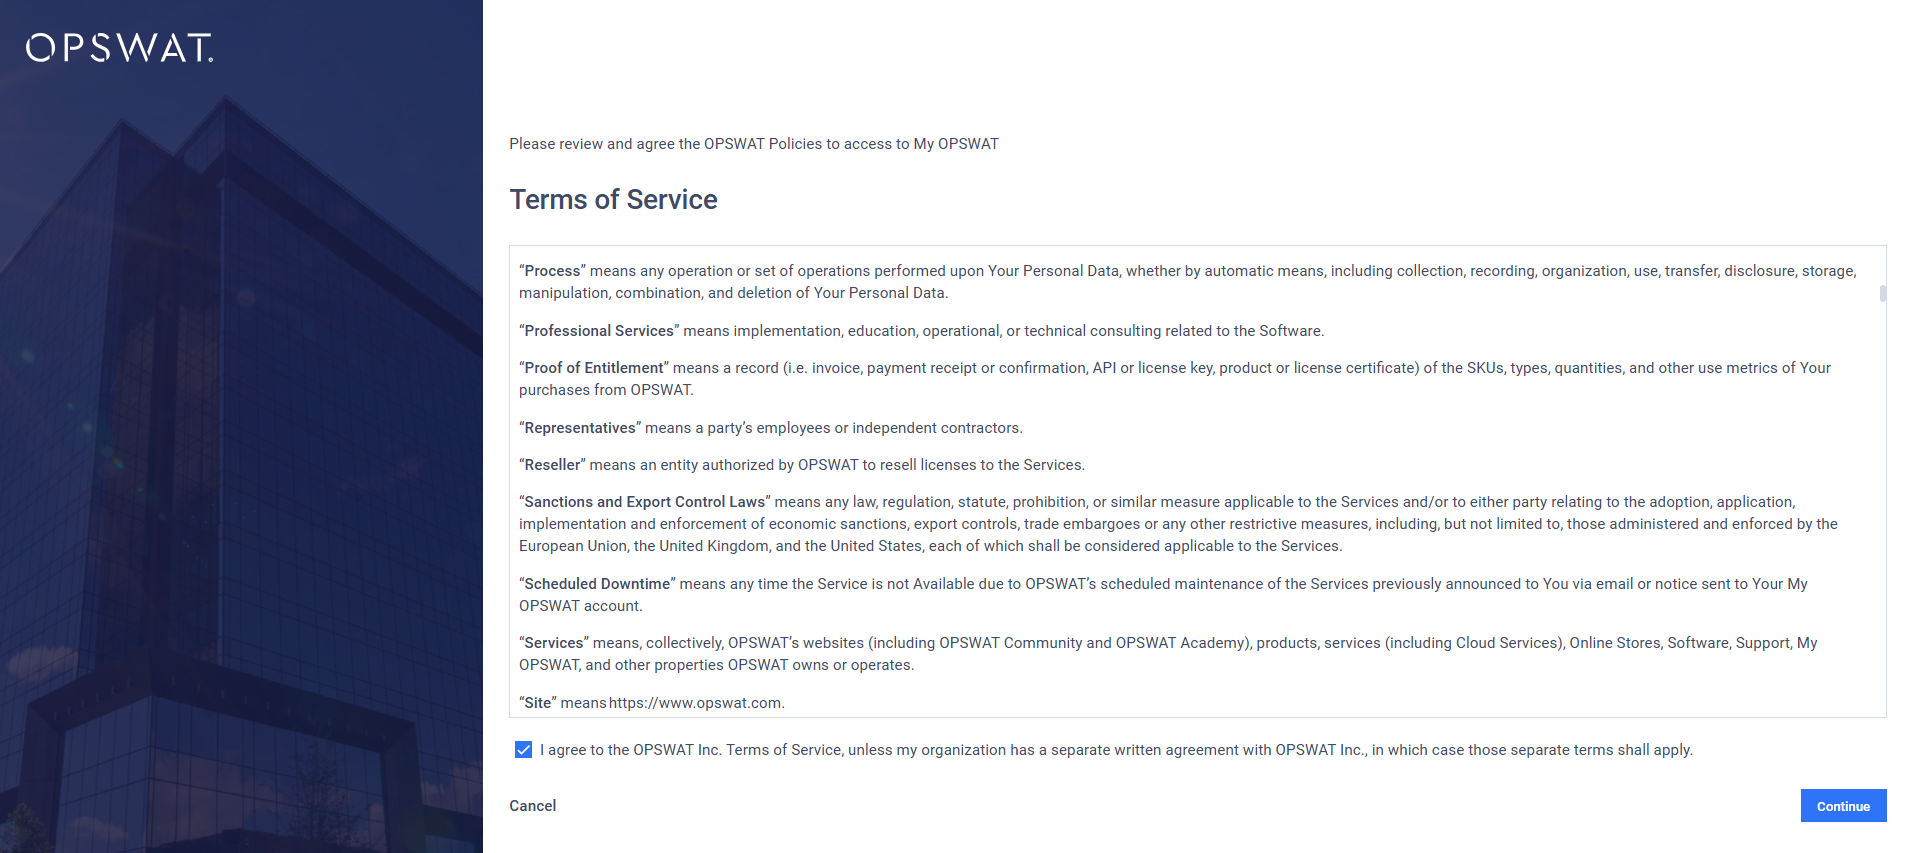
- Read and agree to the Terms of Service by ticking the checkbox. Click Continue.

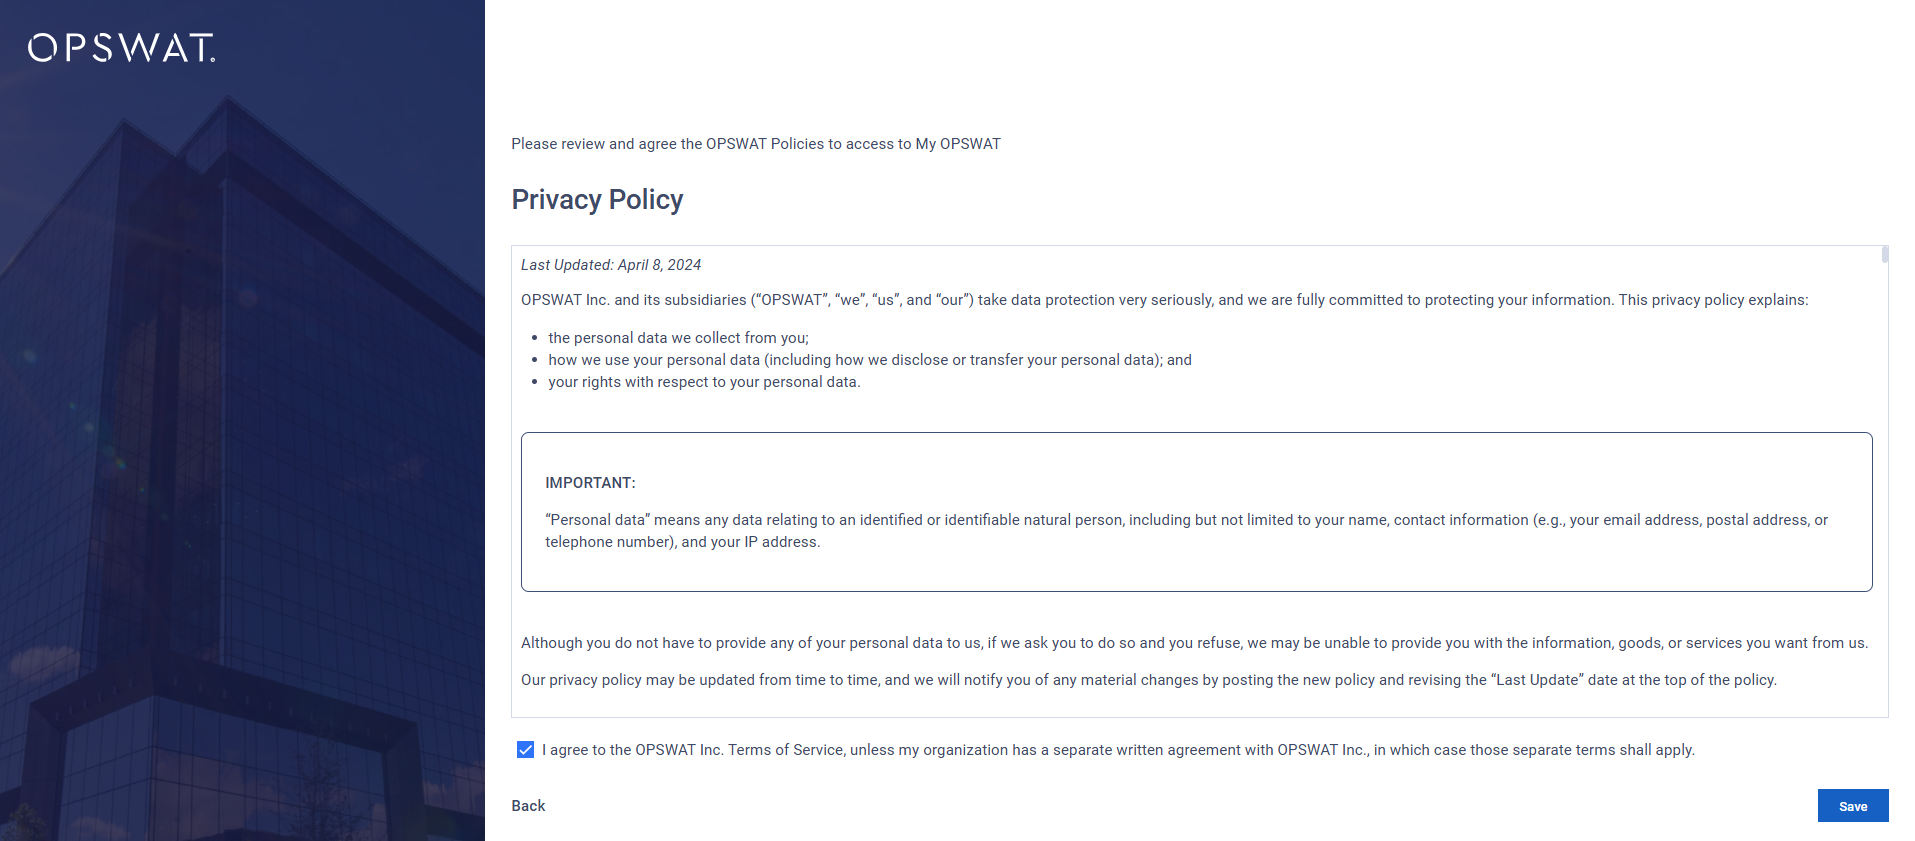
- Read and agree to the Privacy Policy by ticking the checkbox. Click Continue.

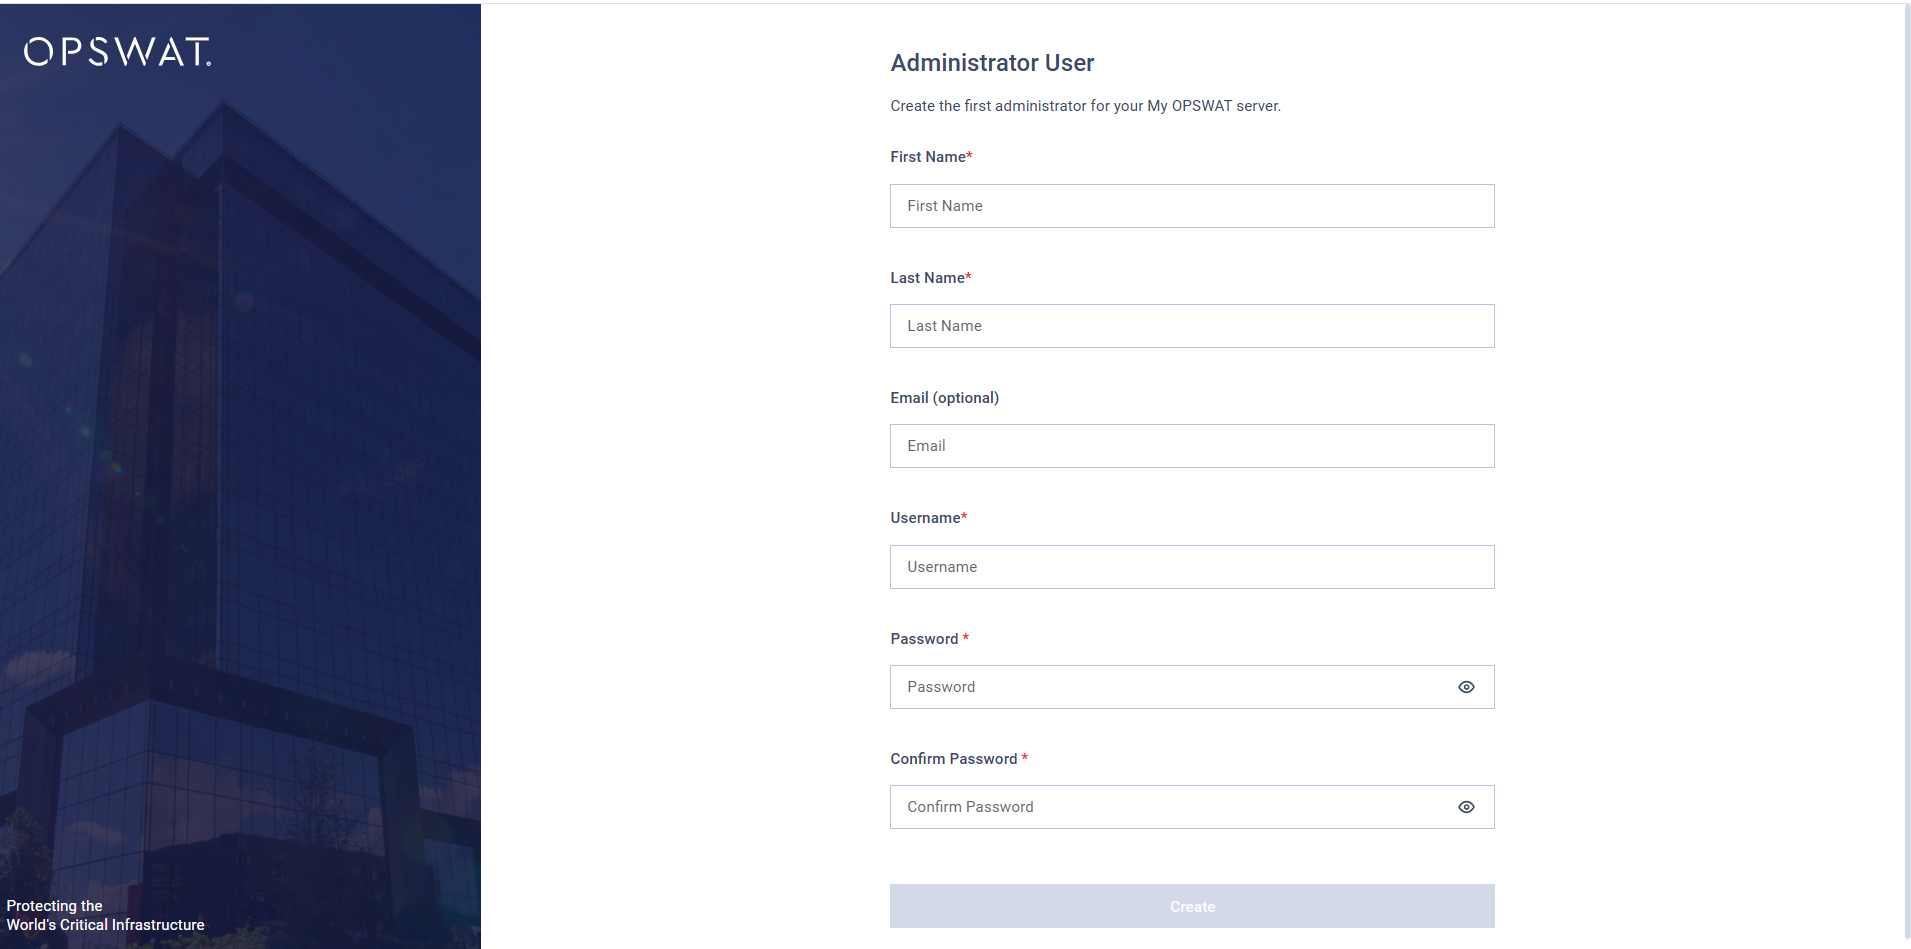
- Create your first user, which will serve as your default administrator credential.

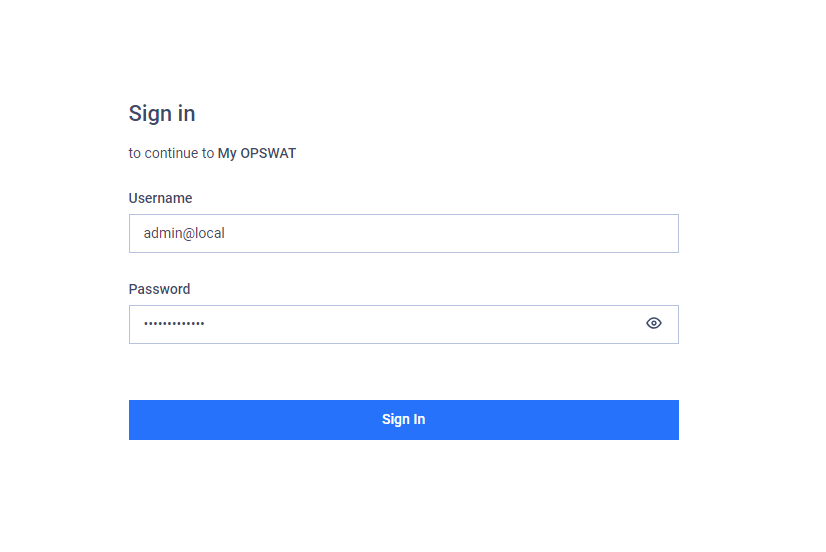
- After user creation, you should now be redirected to the sign in page.
Sign In to My OPSWAT
- Use the administrator credential that was created previously to login to the instance.

Type to search, ESC to discard
Type to search, ESC to discard
Type to search, ESC to discard
Last updated on
Was this page helpful?
Next to read:
Azure Virtual MachineDiscard Changes
Do you want to discard your current changes and overwrite with the template?
Archive Synced Block
Message
Create new Template
What is this template's title?
Delete Template
Message

