API keys enable API integration with other products (e.g. MetaDefender Kiosk™, MetaDefender Email Security™).
Generating API Keys
From the left sidebar menu, go to "Settings" → "Security" → "API Keys."
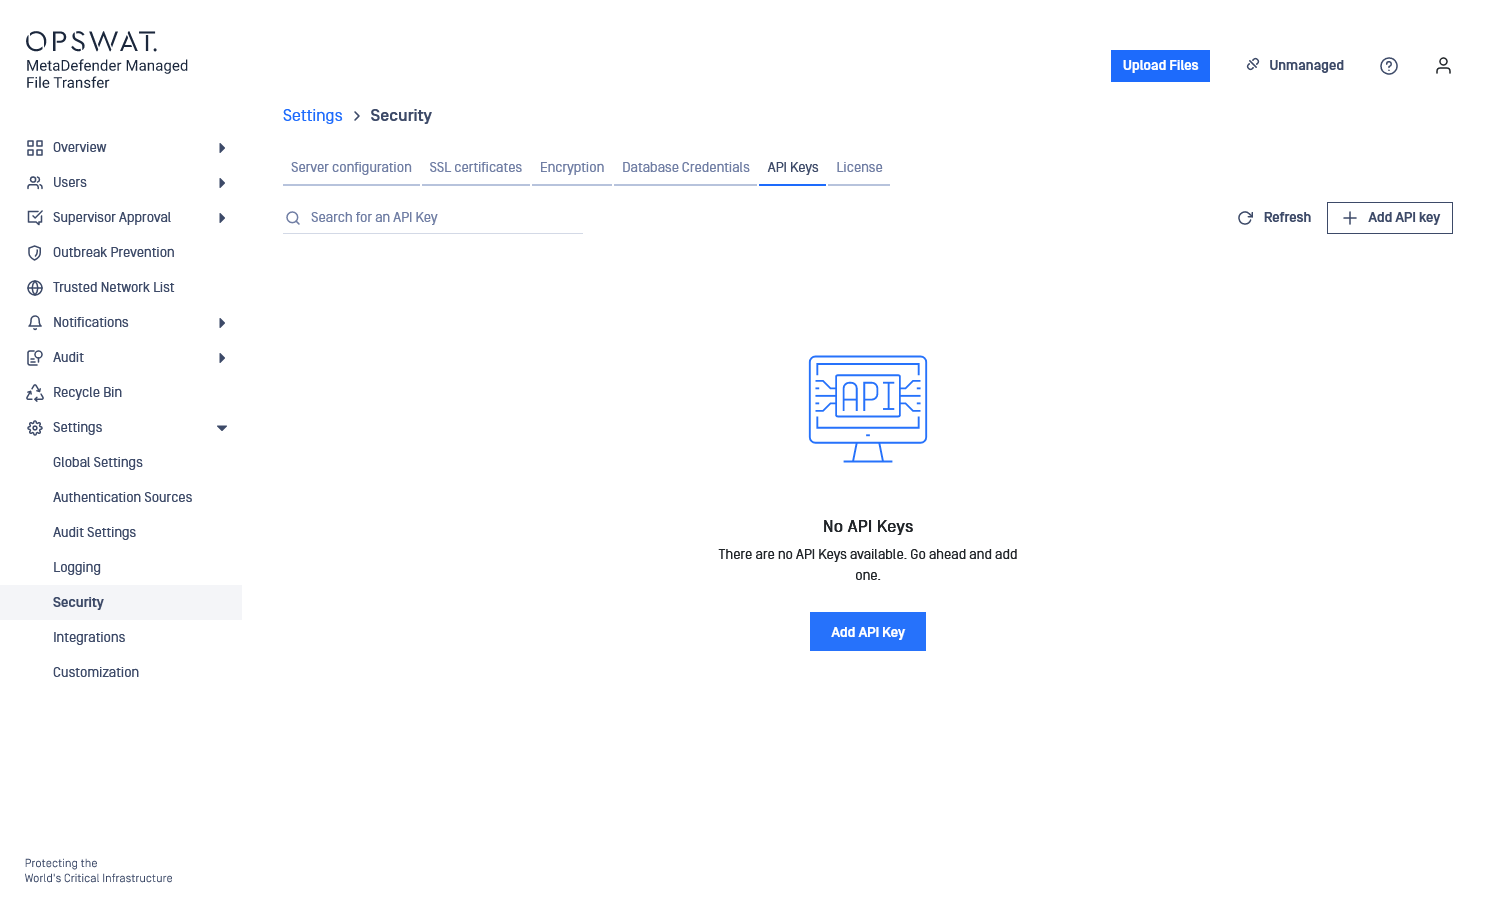
Click the "Add API Key" button.
Select the expiration date/hour from the calendar. Provide a description for the key for further reference. Example: for an integration with multiple applications, generate a key for each application for better control.
Choose between "User Level API key" and "System Level API key."
Level | Description |
|---|---|
User Level API key | Visible only to the user who created it. |
System Level API key | Visible to all administrators. |
All API keys are bound to the user who created them.
Disabling the user will prevent authentication with the associated keys.
Deleting the user will remove all associated keys.
By default, the API keys are created at user level. System level API keys can be created by enabling the toggle.
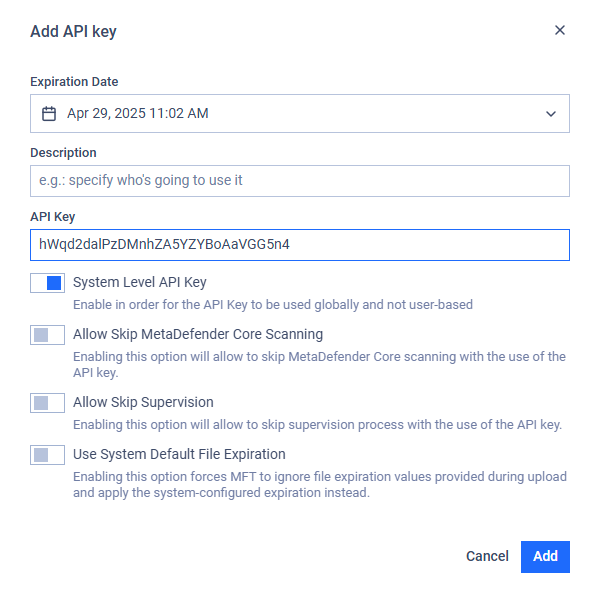
By selecting a System level API key, you can also enable "Allow Skip MetaDefender Core™ Scanning" and "Allow Skip Supervision" options. With these options the created API key can control the file transfer process in an MFT to MFT integration. A System level API key also has the "Use System Default File Expiration" option which can be used for forces MetaDefender® MFT to ignore file expiration values provided during upload and apply the system-configured expiration instead.
In the "API Key" field enter a custom 30-character key or use the pre-generated key and click "Add."
Generated user-level API keys can only be viewed and managed by you. The system can hold multiple API keys associated with other users which are invisible in the list.
Edit API Keys
Open the context menu of the API key and click the "Edit API Key" button. Adjust the key's expiration date or the related options (in case of a System level API key) in the pop-up modal.
The API key itself and the type of the API key cannot be updated after the creation.