How to upload and scan a file?
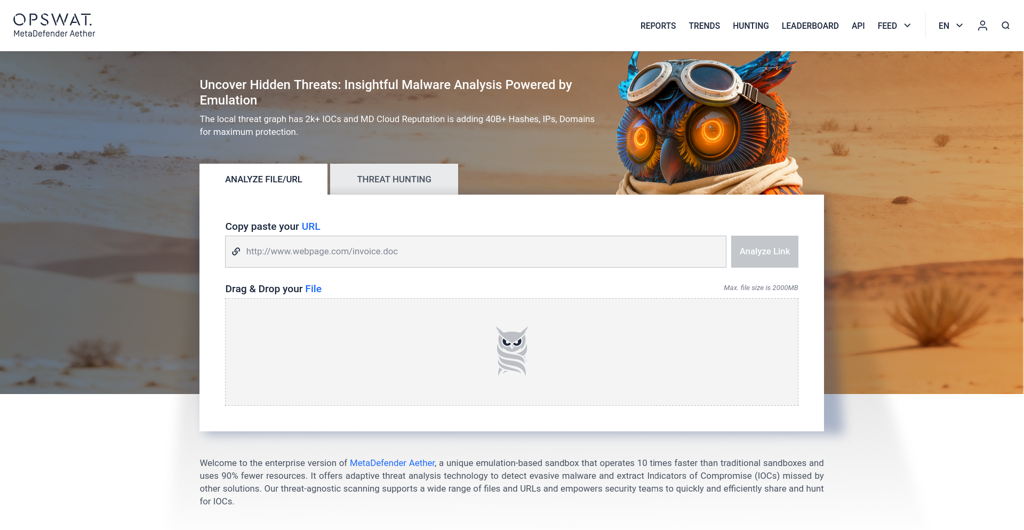
Step 1 - Go to the main page
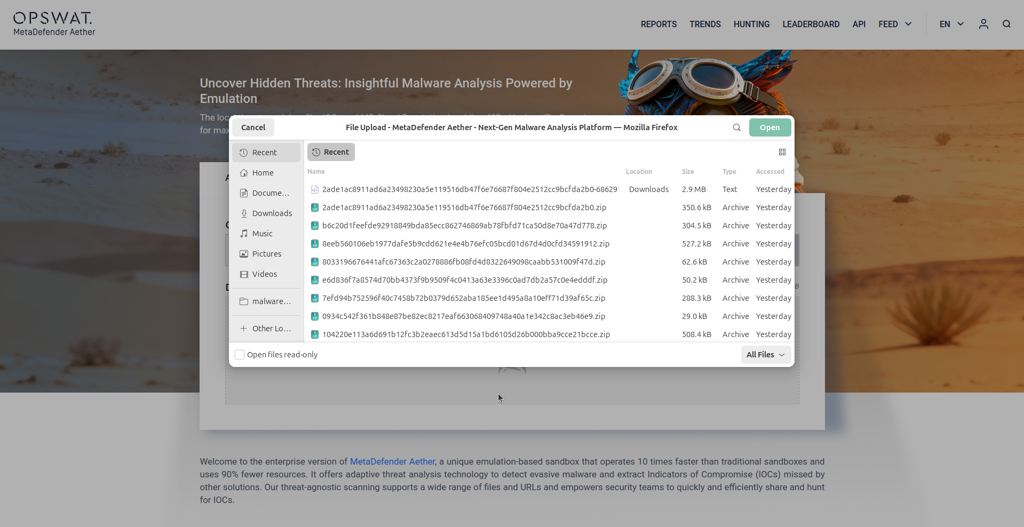
Navigate to the main page of your MetaDefender Aether instance and either drag and drop a file or upload one using the file browser by clicking on the upload area.
Uploading a file via File Browse
Step 2 - Customize analysis options
Basic Options
Set the most important analysis options for your upload
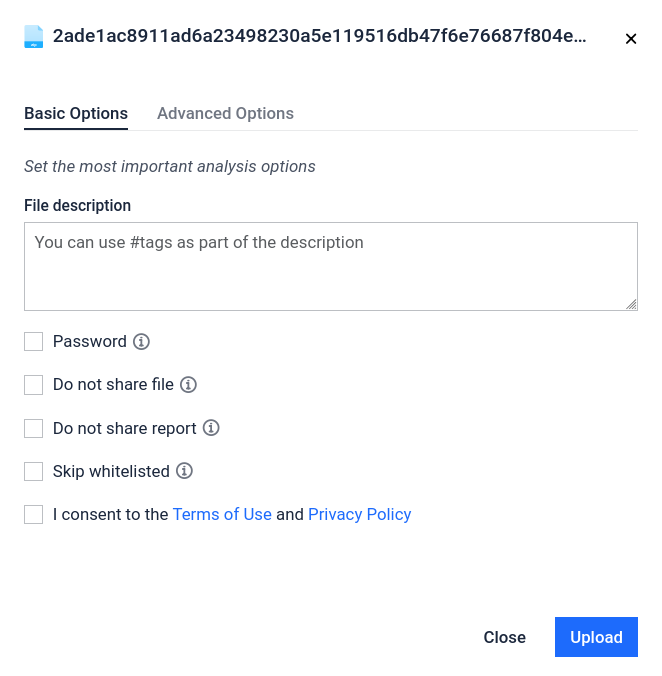
Tags: You can add some description with #tags
Password: You could provide a password for password-protected archives. The following common password will be applied automatically if archive uses common password:
- “infected”
- “malware”
- “virus”
- “password”
Do not share file: This setting prohibits other community members from accessing the file. However, the reports remain public (Including screenshots and extracted texts.)
Skip whitelisted: If the file is detected as "whitelisted", the file won't be scanned and report won't be created.
Advanced Options
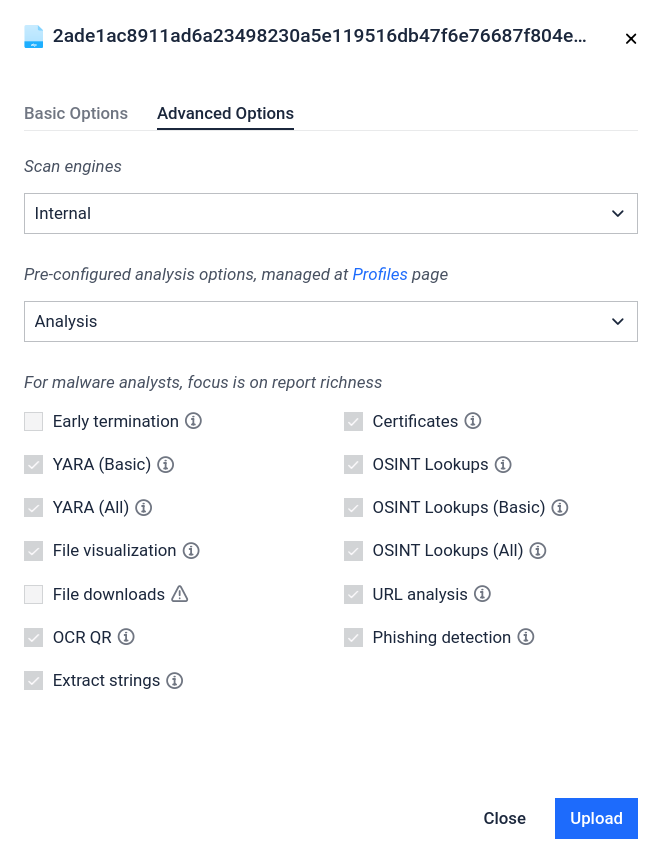
Pre-configured analysis options: It excludes the apply_fine-tune_analysis use case. If you apply this setting, then the system will apply a preconfigured profile to execute the scan.
- Rapid mode - Most simple analysis, disable multiple individual options
Fine-tune key aspects of your analysis: You can choose from the following list. The selection is optional. It is not required to select at least one.
- YARA (Basic) - Enabling YARA rule matches on input file
- YARA (All) - Enabling YARA rule matches on extracted artefacts
- File visualization - Enabling file visualization (e.g. PDF rendering)
- Images OCR - Enabling OCR text recognition on extracted images
- File downloads - Enabling downloading files from extracted URLs
- OSINT Lookups - Enable OSINT Lookups globally
- OSINT Lookups (Basic) - Enable OSINT Lookups on the IOCs related to the input file
- OSINT Lookups (All) - Enable OSINT Lookups also on the extracted artifacts
- Domain resolving - Enable Resolving domains to the IPs (DNS)
- WHOIS - Enable WHOIS record lookups
- IP geolocation - Enable metadata lookups for Extracted IDs
Personalization: You can apply this feature to save the selected configuration.
- Save preset
Step 3 - Accept the Term of Use and Privacy Policy (Filescan.io)

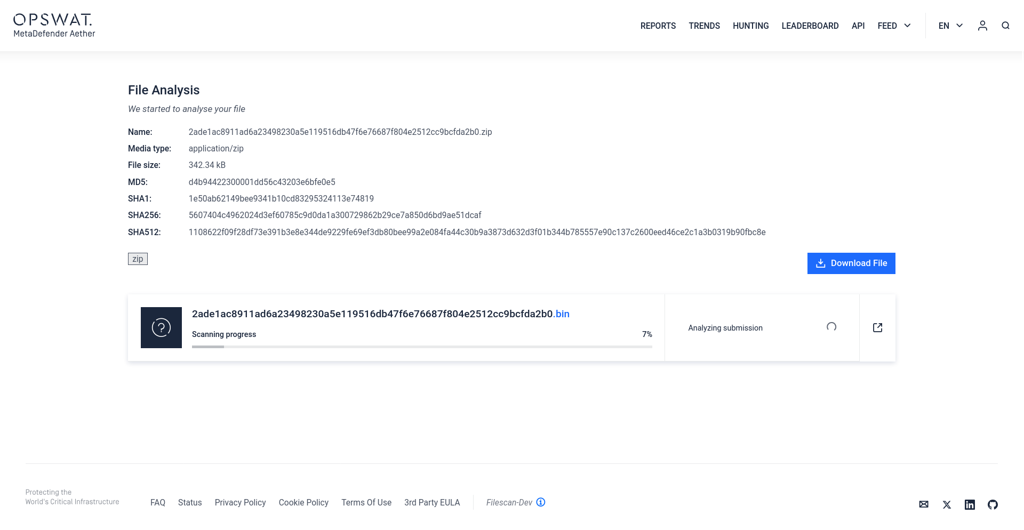
Step 4 - Start the scan
After clicking the Upload button, the scanning process will begin.