
Windows package using Command Line (.msi)
From the command line interface, it is possible to install the product by executing
where the possible keys and their default values are the following:
Key | Description |
|---|---|
/quiet or /passive | Suppress the installation wizard |
--% INSTALLFOLDER | Customize the installation directory |
WEB__CLIENT__PORT | 80 (Web client (UI) port) |
API__GATEWAY__PORT | 8005 |
LICENSING__SERVICE__PORT | 5001 |
POSTGRESQL_PORT | 5432 |
SMB__PORT__RANGE_START | 6002(SMB starting port. Reserves 10 ports total: 5 consecutive from this value and 5 more offset by 1000) |
SFTP__SERVICE__PORT | 5003 |
NFS__SERVICE__PORT | 5004 |
PG__ADMIN__PASSWORD | PostgreSQL superuser password |
MODULE__AMAZON__S3 | Enable Amazon S3 module (1=enabled, 0=disabled) |
MODULE__AZURE__BLOB | Enable Azure Blob module (1=enabled, 0=disabled) |
MODULE__AZURE_FILES_ | Enable Azure Files module (1=enabled, 0=disabled) |
MODULE__GOOGLE__CLOUD | Enable Google Cloud module (1=enabled, 0=disabled) |
MODULE__ALIBABA__CLOUD | Enable Alibaba Cloud module (1=enabled, 0=disabled) |
MODULE_SMB | Enable SMB module (1=enabled, 0=disabled) |
MODULE_BOX | Enable Box module (1=enabled, 0=disabled) |
MODULE__ONEDRIVE_SHAREPOINT_ | Enable OneDrive / SharePoint Online module (1=enabled, 0=disabled) |
MODULE_SFTP | Enable SFTP module (1=enabled, 0=disabled) |
MODULE_NFS | Enable NFS module (1=enabled, 0=disabled) |
MODULE_FTP | Enable FTP module (1=enabled, 0=disabled) |
MODULE__OPSWAT__MFT | Enable Oracle SDK module (1=enabled, 0=disabled) |
MODULE__ORACLE__SDK | Enable OPSWAT MFT module (1=enabled, 0=disabled) |
MODULE__SHAREPOINT__ONPREM | Enable SharePoint On-Prem module (1=enabled, 0=disabled) |
Step by step using Install Wizard
The Install Wizard is only for the Windows installer (.msi file).
Before you begin, please make sure to read the following pages in order to install the necessary requirements for each system.
Run the MetaDefender Storage Security installer (.msi file)
Important: Run the installer with Administrator privileges. If a local antivirus or endpoint protection solution is active, you must configure an exclusion for the MetaDefender Storage Security installation directory before running the installer. Failure to do so may result in blocked components, incomplete installation, or unstable runtime behavior. Refer to How to Exclude the OPSWAT Folder from Windows Defender? for exclusion instructions.
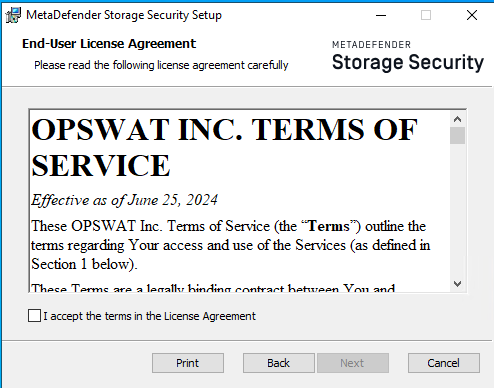
To proceed with the installation, read the License Agreement and check I accept the terms in the License Agreement if you accept it.
(Optional) Configure Installation Options
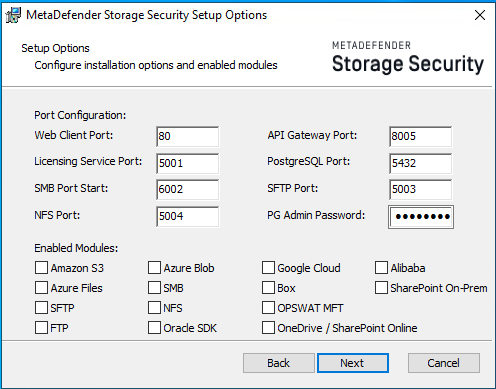
Review the installation options presented in the setup wizard.
Configure the Port Configuration section:
Web Client Port: Default is 80
API Gateway Port: Default is 8005
Licensing Service Port: Default is 5001
PostgreSQL Port: Default is 5432
SMB Port Range Start: Default is 6002. This is the starting port of a range. When set, 10 ports will be reserved: 5 consecutive ports starting from this value (e.g., 6002-6006) and another 5 consecutive ports offset by 1000 (e.g., 7002-7006).
SFTP Service Port: Default is 5003
NFS Service Port: Default is 5004
When installing MetaDefender Storage Security, you can choose which storage connection modules to enable. Each module allows integration with different storages. Select the desired Enabled Modules by checking the corresponding boxes
Click Next to proceed with the installation
Enabling this module requires the installation of additional SharePoint Client Components. These will be installed automatically on the next system reboot, or immediately by running the following command from a PowerShell session with Administrator privileges, from the scripts folder, once the main installation has completed: .\mdss.ps1 -c refresh
Port configuration and additional modules can be added later by modifying the customer.env file. See: Custom configuration
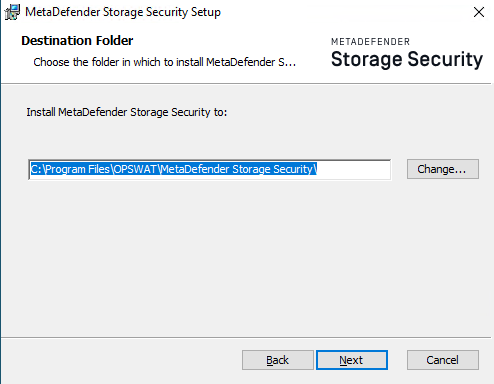
To choose another installation path click Change and then Browse to the desired location. Confirm the new location by clicking OK.
Click Next.
Click Install.
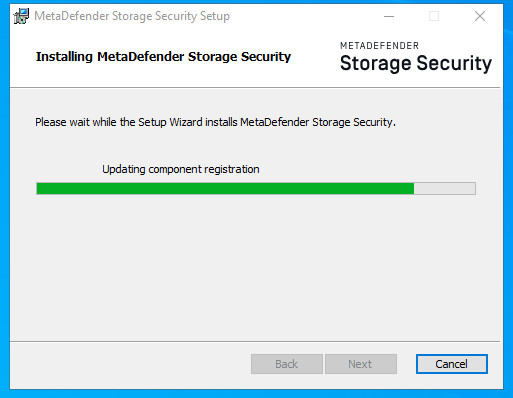
Please wait while the product is being configured.
Note: this operation may take more than 15 minutes to complete
Installation completed successfully.
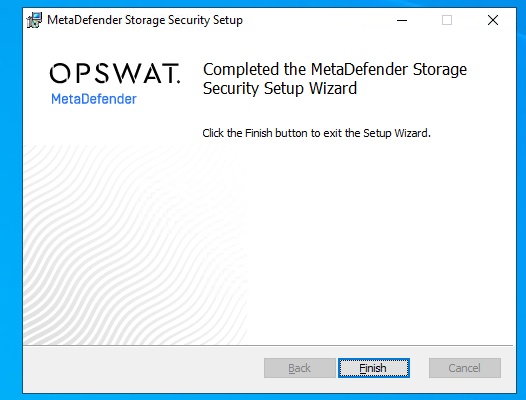
Press Finish.
Next steps
Production deployments should follow the Production Considerations in order to set up a remote PostgreSql database and enable HTTPS.
After that, please follow the setup in the newly opened browser window in order to create a local administrator and complete the installation.
Please see the onboarding page for more details.