Important notice
The Install Wizard is only for the Windows installer (.exe file).
Before you begin, please make sure to read the following pages in order to install the necessary requirements for each system.
To limit the required resources, use the ENABLED_MODULES environment variable in the customer.env file to select which modules to install when deploying MetaDefender Storage Security, you can follow these steps:
- Locate the
customer.envfile in your MetaDefender Storage Security deployment. This file contains environment variables used for customization. - Open the
customer.envfile in a text editor. - Add the
ENABLED_MODULESenvironment variable to the file. The variable should be in the formatENABLED_MODULES=<module_list>, where<module_list>is a comma-separated list of the modules you want to enable. For example, if you want to enable modules Amazon S3, Google Cloud, and Azure Blob storage units, yourcustomer.envfile should include the following line: ENABLED_MODULES=azureblob,amazonsdk,googlecloud - Save the
customer.envfile. - Proceed with the deployment of MetaDefender Storage Security.
Step by step installation
- Run the MetaDefender Storage Security installer (.exe file)
Note: The installer needs to be run with administrator permissions
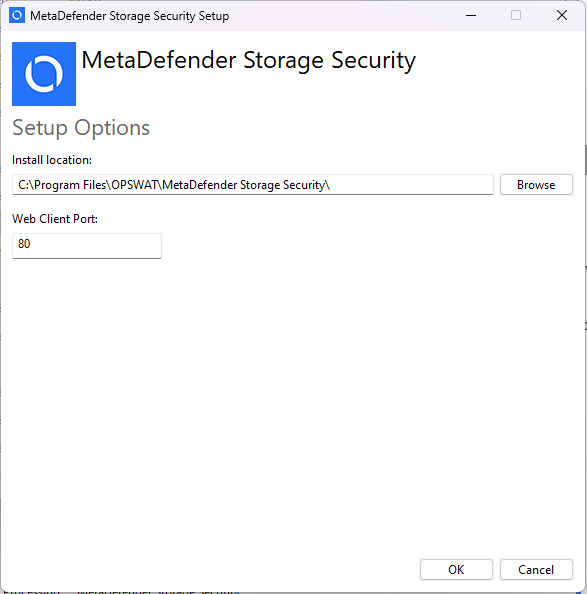
- To choose another installation path click Options and then Browse to the desired location. Confirm the new location by clicking OK.
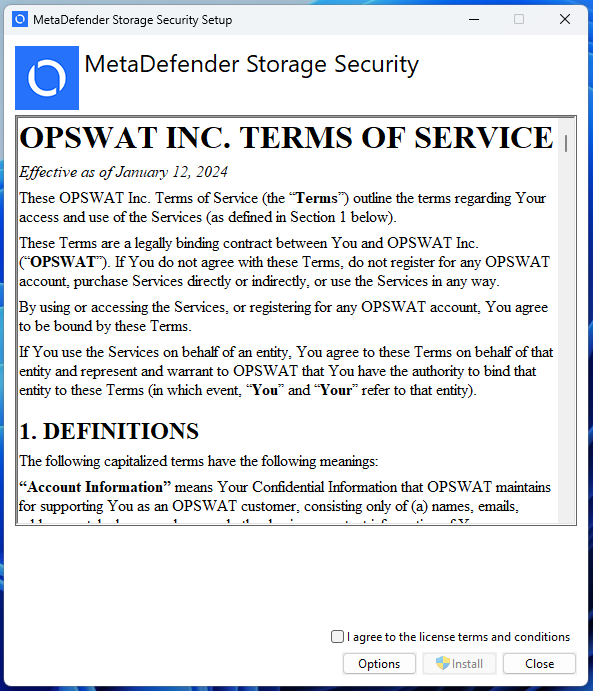
- To proceed with the installation, read the License Agreement and check I agree to the license terms and conditions if you accept it.
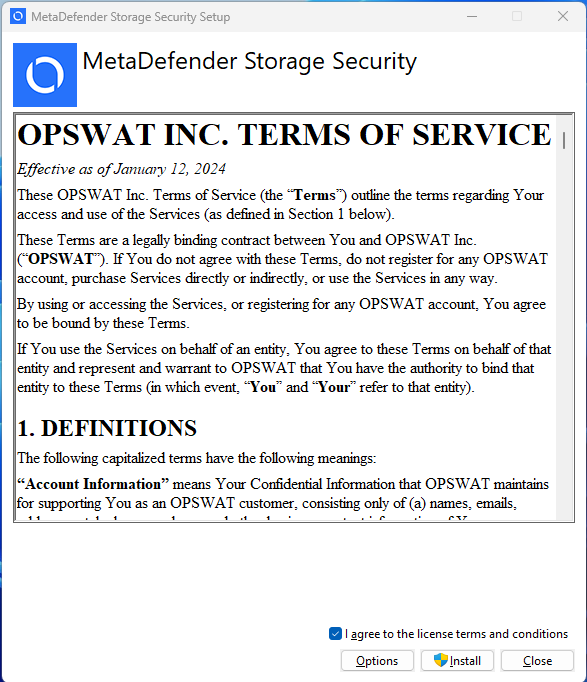
- (Optional) For setting up a custom install location or a different Web Port click on Options
- Click Install.
- When the message Do you want to allow this app to make changes to your device? is prompted by Windows User Account Control, please click Yes.
- When the message Do you want to allow this app to make changes to your device? is prompted by Windows User Account Control, please click Yes.
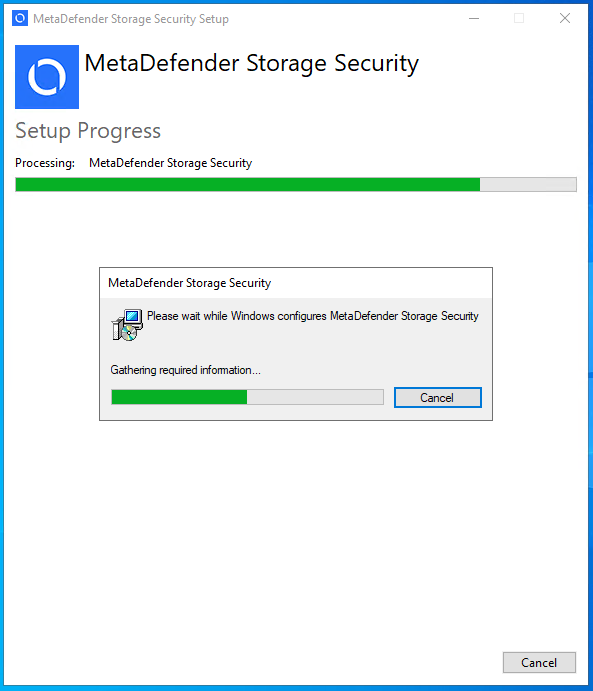
- Please wait while the product is being configured.
Note: this operation may take more than 15 minutes to complete
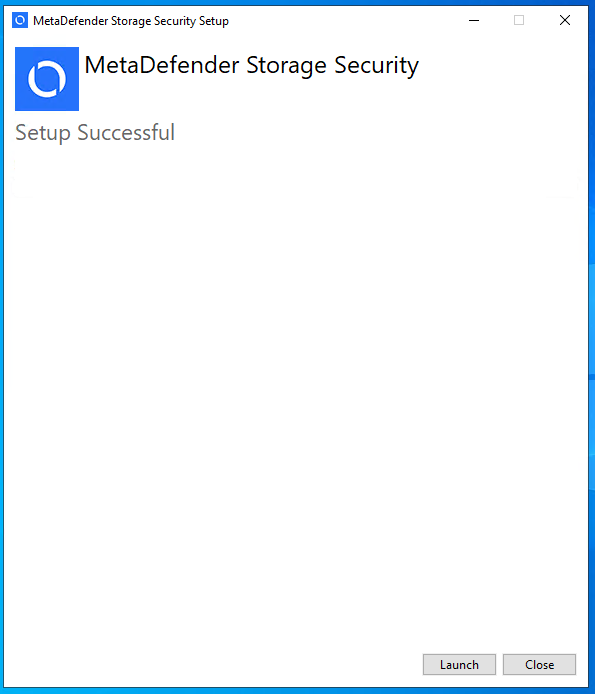
- Installation completed successfully. Choose Launch in order to access the web user interface.
Next steps
Production deployments should follow the advanced installation guide in order to set up a remote MongoDB database and enable HTTPS.
After that, please follow the setup in the newly opened browser window in order to create a local administrator and complete the installation.
Please see the onboarding page for more details.

