This guide will cover the High Availability related steps to install MetaDefender® MFT in a HA cluster. For more details about the installation in general click here.
The following table outlines a possible composition of an HA cluster:
Machine | Component |
|---|---|
Node1 | MetaDefender® MFT Node1 |
Node2 | MetaDefender® MFT Node2 |
HA Controller | MetaDefender MFT HA Controller™ |
Database server | MSSQL Server |
File storage | Network share or S3 compatible bucket |
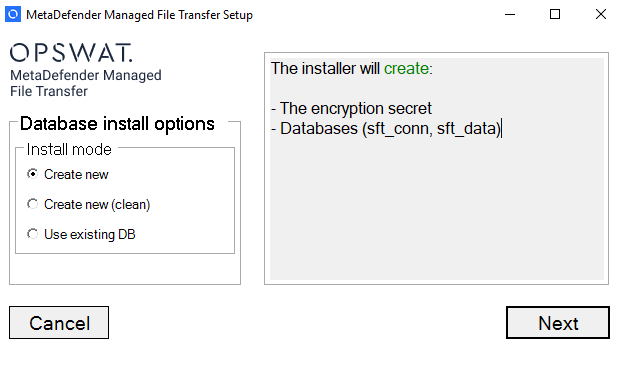
New installation
First we will install MetaDefender® MFT on the Node1 machine with the
Create newdatabase option.
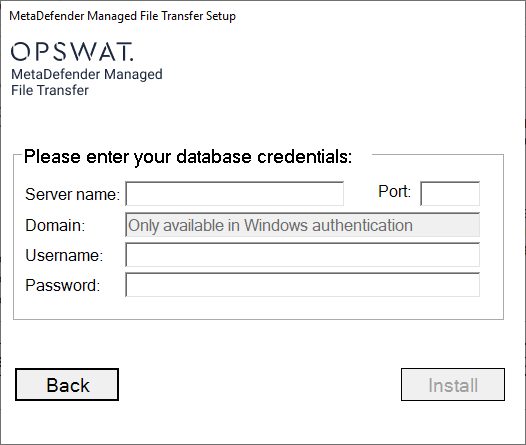
On the database credential form fill in the MSSQL Server address and credentials
This step will create database which is going to be used by both active and passive MetaDefender® MFT nodes.
Let the installation process complete.
After installation, finish the Setup Wizard (post-install configuration) to finalize system settings and validate connectivity.
Configure each storage to use a shared network file system (or an S3-compatible bucket) instead of local disk storage. By default, MetaDefender® MFT configures local file storages in its installation directory. For a High Availability setup, these default local storages must be replaced (or reconfigured) to comply with the High Availability File storage requirements.
Stop the first node, see instructions here.
After setting up the first node you can follow the steps to install the second node, see instructions here.
Move existing MetaDefender® MFT to a HA cluster
If you already have a single MetaDefender® MFT installation and you want to move it into a High Availability cluster follow these steps. In the High Availability cluster we will use the existing MetaDefender® MFT instance as Node1.
Upgrade your MetaDefender® MFT to the latest version as you would normally do.
Verify that your file storages meet the High Availability File storage requirements. If you have been using local storage, you must reconfigure each storage location to use a shared network file system (or an S3-compatible bucket) instead of local disk storage.
If you were previously using local file storage, move every file from your previous (local) storage to the newly added network or S3-compatible storage. To migrate files, open Storage History, find the inactive storage entry, and click Move to Active Storage. For more detailed guidance, click here. If you were not using local storage previously then you can skip this step.
Stop the first node, see instructions here.
After setting up the first node you can follow the steps to install the second node, see instructions here.
After an upgrade, if rate limiting is enabled, please make sure whether the Burst value is set to at least 1. This is important for the node manager to work properly.
Stop the first node
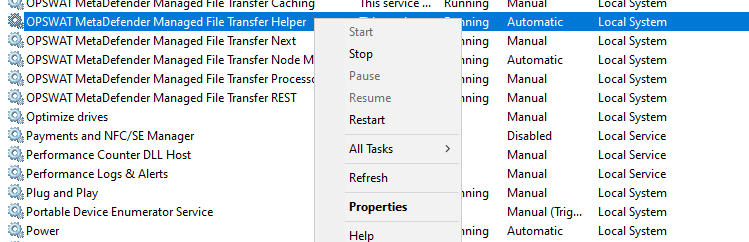
Before installing the second node in the HA cluster, stop the application’s Windows Services on the Node1 machine. Go to Windows Services and stop the OPSWAT MetaDefender Managed File Transfer Helper process, which will stop every other services as well.
It is crucial that, during the install process, no node interacts with the database or shared file storage, to avoid data inconsistencies or conflicts between installations.
Install second node
Ensure that the first node is stopped according to these instructions.
On the second machine (Node2), launch the same application installer used for Node1.
During the installation select the
Use existing DBoptionEnter the exact same database address, credentials, port, and any connection parameters that you used when installing Node1
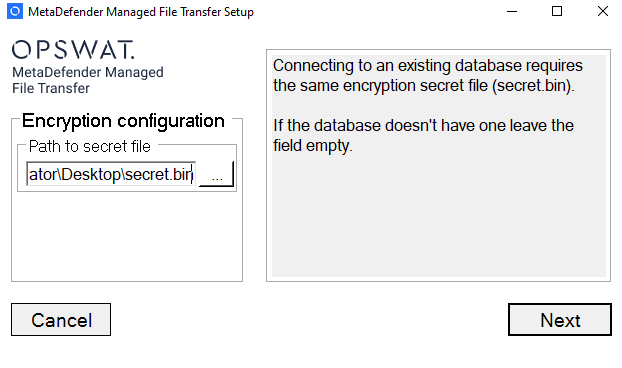
Copy the
<install-dir>\Services\secret.binfrom Node1 to Node2 machine and provide it for the installer when it asks for the file. This is necessary because the database has been created by using thissecret.binfile.When using the existing DB option the installer will ask for Encryption configuration, provide the
secret.binfile which is copied from Node1 installation directory.
Proceed with installation. The installer should validate connectivity to the database before continuing.
Once installation completes, verify Node2 is running.
Login with your administrator account, which was created during the first installation.
Activate your secondary license for the Node2.
Go back to Node1 machine and start only the
OPSWAT MetaDefender Managed File Transfer Node Managerservice.
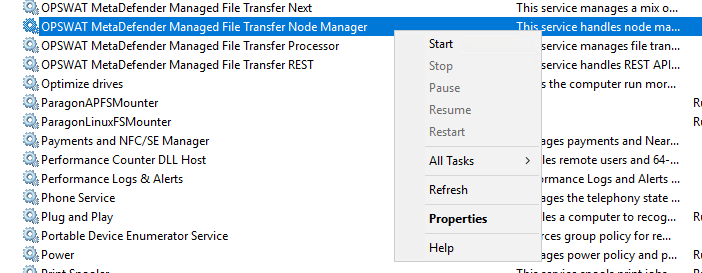
At this point we have Node1 and Node2, on both machines we have installed MetaDefender® MFT. On Node1 only the Node Manager and the Helper services should run:

Helper and Node Manager services should always be in Running state for the passive node, too.
On Node2 every service should run:

The next step is to install MetaDefender MFT HA Controller™ on the HA Controller machine. For more details click here.