Configuration
This article applies to all MetaDefender ICAP releases deployed on Windows and Linux systems.
Create OIDC directory on MD ICAP
- Sign in to MetaDefender ICAP.
- In the dashboard, click on
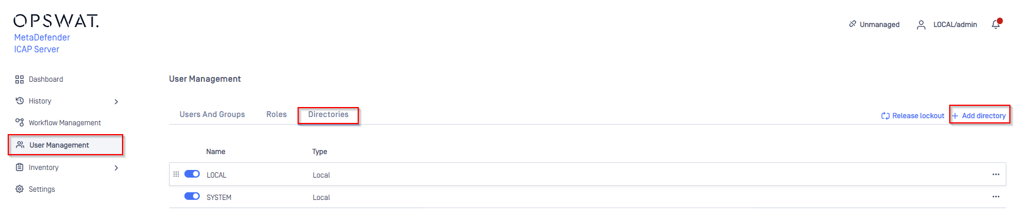
User Managementin the left sidebar. - On
User Managementpage, selectDirectoriestab and clickAdd Directoryin the top right
- In
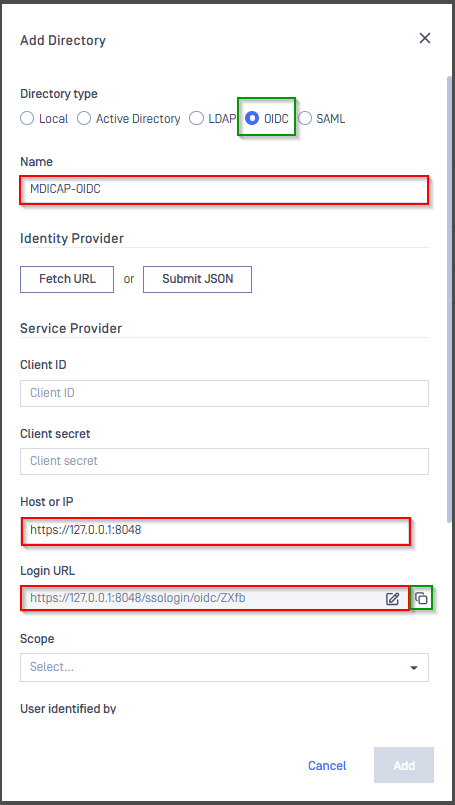
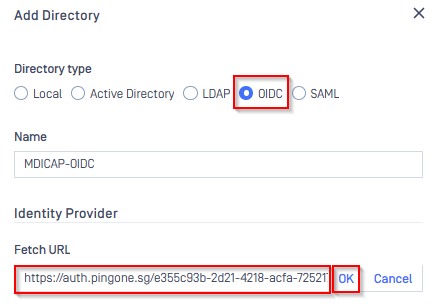
Add Directorypage, chooseOIDCinDirectory Type, fillNamefor the new directory, MDICAP-OIDC for example - Fill
Host or IPwhere MD ICAP is hosting, https://127.0.0.1:8048 for this example - Copy string generated under Login URL and store to redirect_uri
Create and configure OIDC application on PingOne
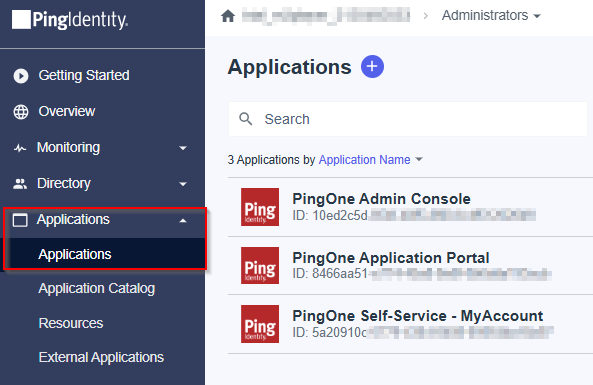
- In the PingOne Overview page, navigate
Applicationson sidebar
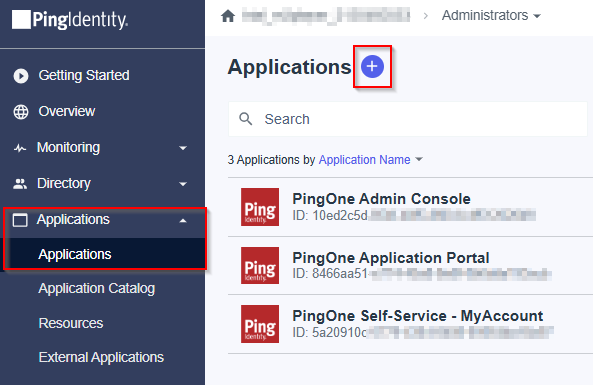
- Click the plus button to add a new application.
- Enter the application name, MDICAP-OIDC as an example, choose
OIDC Web AppforApplication Type, and clickSave.

- Select
Configurationtab, hit Edit button
- In
Edit Configurationpage, navigate toRedirect URIsand paste redirect_uri to the box below, then hitSave

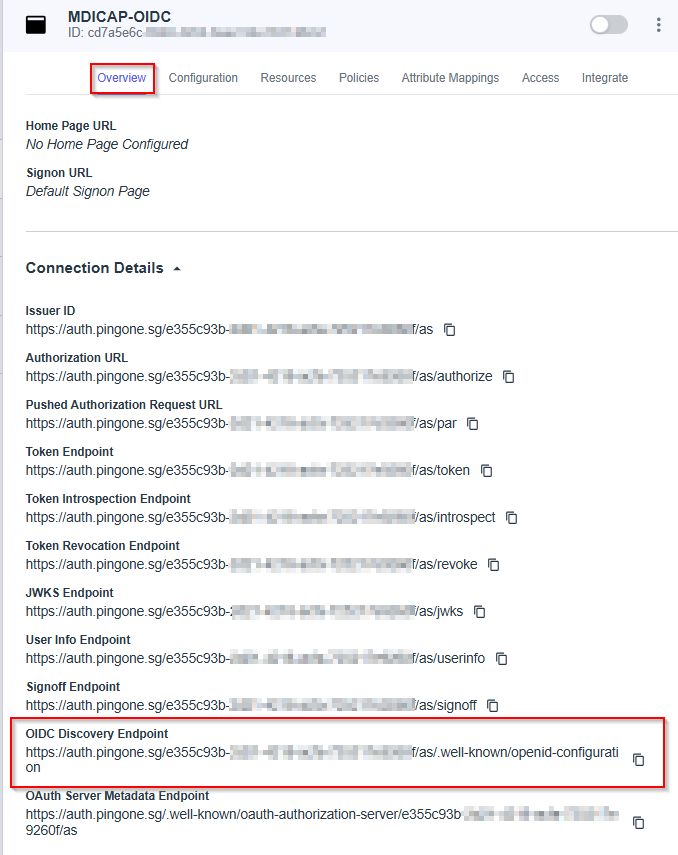
- In
Overviewtab, navigate toOIDC Discovery Endpoint, copy the link below and store to metadata_url
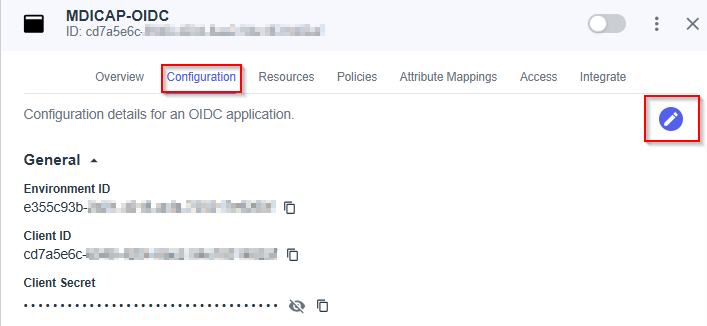
- Select
Configurationtab, expandGeneralsection, navigate toClient IDandClient Secret, copy and store them in client_id and client_secret.
__

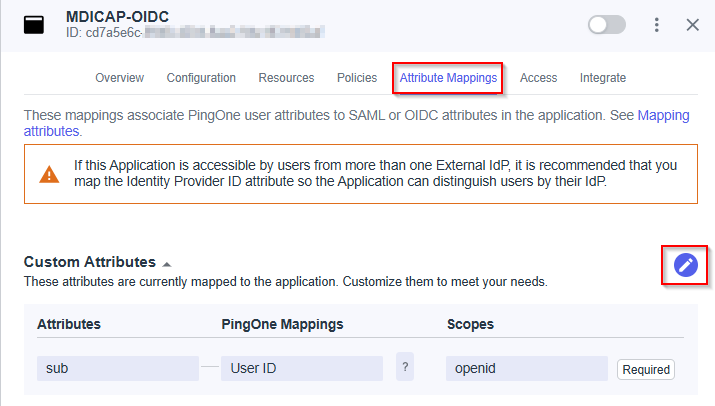
- Select
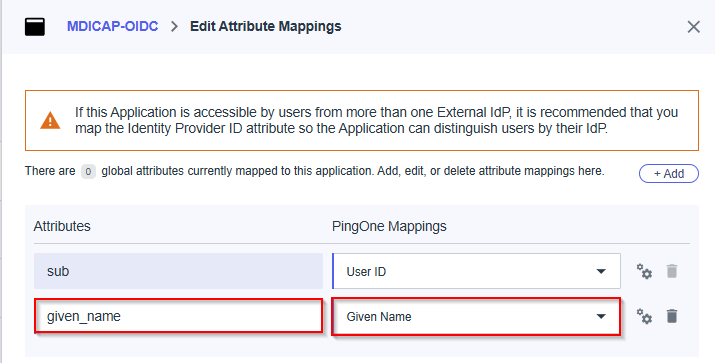
Attribute Mappingstab and hit Edit button
- In
Edit Attribute Mappingspage, hitAddto add new mapping
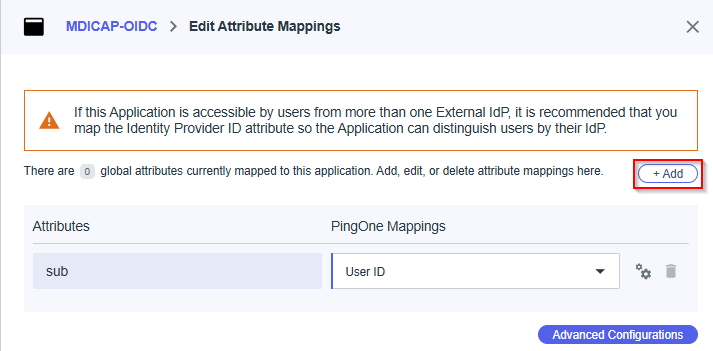
In this step, we make a mapping from the key name used by MD ICAP and the name exported by PingOne. For example, we set given_name mapped to Given Name exported by PingOne. Later on, given_name is used by MD ICAP to identify the login user
- Fill attribute name, given_name in this example, select item Given Name in PingOne Mappings and hit Save to complete
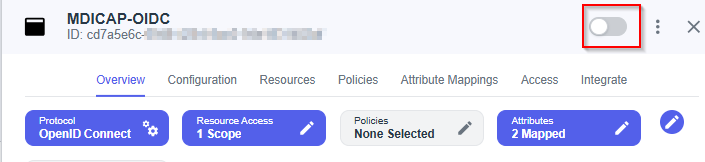
- Enable the new application on PingOne
Complete configuration on MD ICAP
- Switch back to MD ICAP, under
Identity Provider, hitFetch URL, paste metadata_url to the box under, and then hitOK, which requests MD ICAP to check and set PingOne as its IDP if succeed
- Under
Service Provider, paste client_id and client_secret to boxes underClient IDandClient secretrespectively - Fill ${given_name} in the box under
User identified by - Select
Default roleoption, choose the role to assign to login user underUser Roleand hitAddto complete setting on MD ICAP.
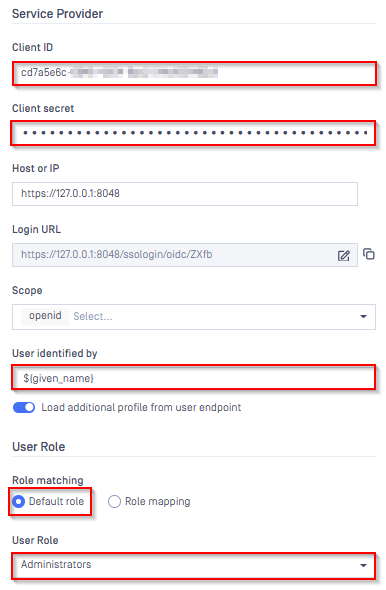
Note: When we successfully fetch, Scope default will be selected is OPENID
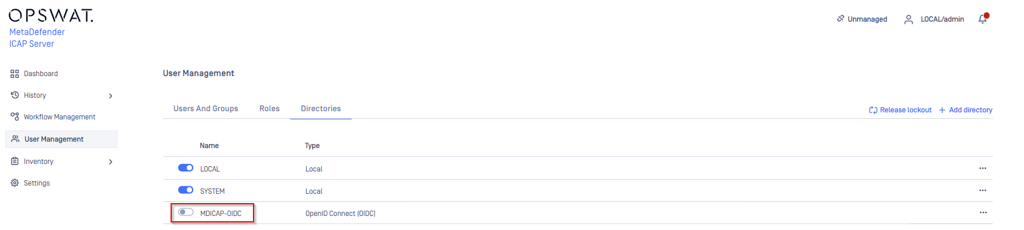
- In
User Managementpage, toggle the new directory, MDICAP-OIDC in this example. A dialog box is shown to confirm the action.
Test the integration
- In Home screen on MD ICAP, the user is redirected to login page having “Sign-In with SSO” option
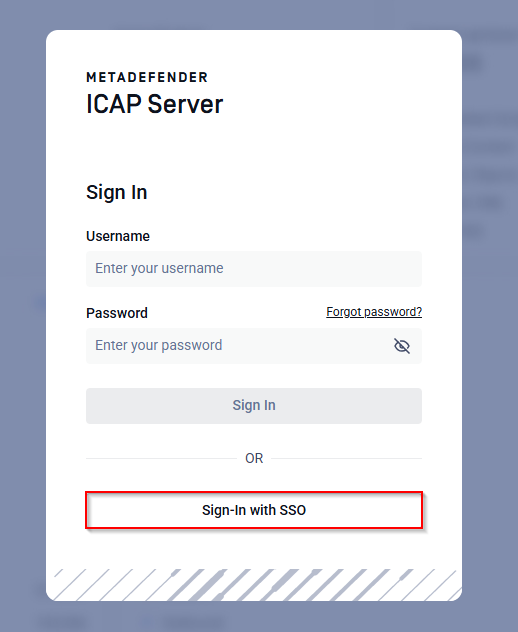
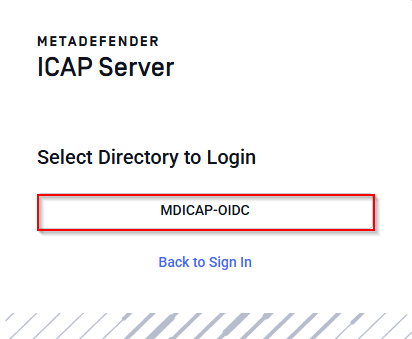
- Select
Sign-In with SSOand Select Directory to LoginMDICAP-OIDCin this example
Result Sign on using IDP authentication
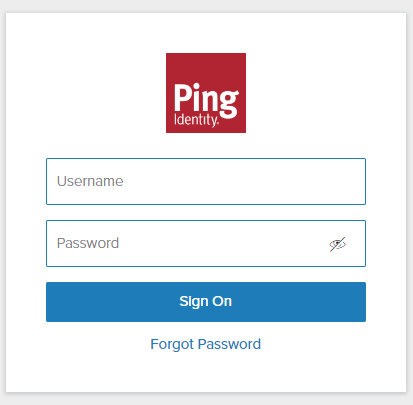
- Login by the account registered to PingIdentity
- If everything goes right, MD ICAP dashboard is shown with user identity set at the top right corner

- Otherwise, access back login page at
<mdicap-host>#/public/loginand sign in using the local administrator account for troubleshooting purposes.
If Further Assistance is required, please proceed to log a support case or chatting with our support engineer.
Was this page helpful?