This page contains tips on how to obtain the BIND USERNAME, the USER BASE DN and GROUP BASE DN attributes when creating an Active Directory type user directory.
Normally a domain administrator should provide these values.
All three attributes must be expressed using a valid LDAP syntax.
Bind username
Normally a domain administrator should provide these values, however there is a way to get the BIND USERNAME as an LDAP DN, that is needed for the product to do searches in the directory information tree, and it is as follows:
Log on to a Windows server machine that has connectivity to the Active Directory
Choose a user that is intended for this purpose (ie: has rights to do searches in the tree)
Open a Command window with elevated rights (Run as Administrator)
Assuming example.com as domain and John Smith with account name john.smith as the user, type the following:
or
The commands above will return the correct DN for the user in question. The DN should look something like this:
CN=John Smith,OU=People,OU=Engineering,DC=example,DC=com
Please note, the actual user DN will not look exactly like the above example, but will depend on the structure of the underlying directory information tree in the Active Directory server.
On non-server Windows machines the dsquery command can be obtained with installing the Remote Server Administration Tools (RSAT).
User base and group base DN
Once the bind user DN is obtained, an easy way to get the DNs for the user and group searches is by taking all the DC parts of the user DN and leaving the rest out, which results in the following DN:
Please note that using only DC components for the user/group DNs may result in searches to be executed from the top of the directory information tree and potentially slow down AD server responses a lot and thus have an impact on the MetaDefender product's password validation. The rule of thumb here is that the more specific the user/group DN the faster the server response.
Taking the above example into consideration: a user search DN of "OU=People,OU=Engineering,DC=example,DC=com" could potentially result in much faster server response than "DC=example,DC=com" and should be preferred assuming all users reside under "OU=People,OU=Engineering,DC=example,DC=com" in the directory information tree.
Please also note that users and groups may reside in different parts of the directory information tree, as a consequence applying the same, more specific DN both as USER BASE DN and GROUP BASE DN may cause the MetaDefender product to not find group accounts in the directory information tree. So these DNs should be chosen carefully.
Integration with Privileged Access Management Manager
BeyondTrust Password Safe
Step 1. Configure the Beyond Trust Password Safe With Active Directory
Follow the steps below to configure BeyondTrust Password Safe with a local Active Directory (AD) server.
Step 1.1: Example Setup
Active Directory Server
IP: 10.40.168.220
Port: 389 (Non-TLS)
Domain: ad.icap.com
AD User (which will be provided for Password Safe):
AD User: password.safe@ad.icap.com
Password: [Your Password]
A Windows host to install the Resource Broker (Resource Broker Server)
Recommend OS from Password Safe: Windows Server 2019, or 2022
E.g. Public IP Address: 203.205.57.108
Update the host file to resolve the domain of AD Server via IP (file: C:\Windows\System32\drivers\etc\hosts)

Step 1.2: Set up Resource Zone
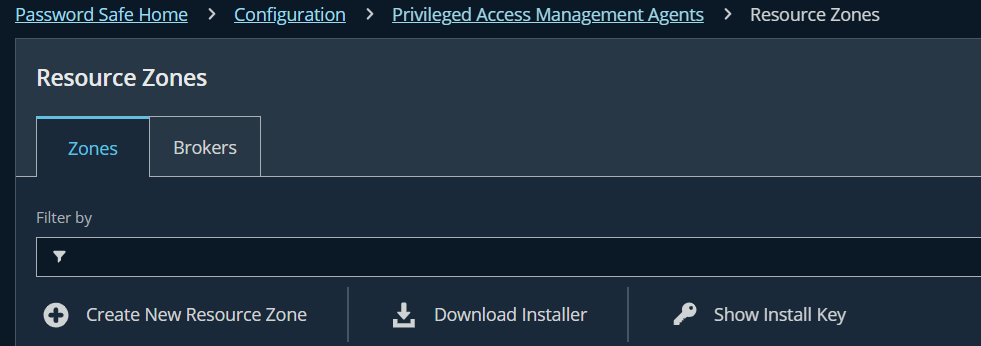
Navigate to: Configuration → Privileged Access Management Agents → Resource → tab Zones
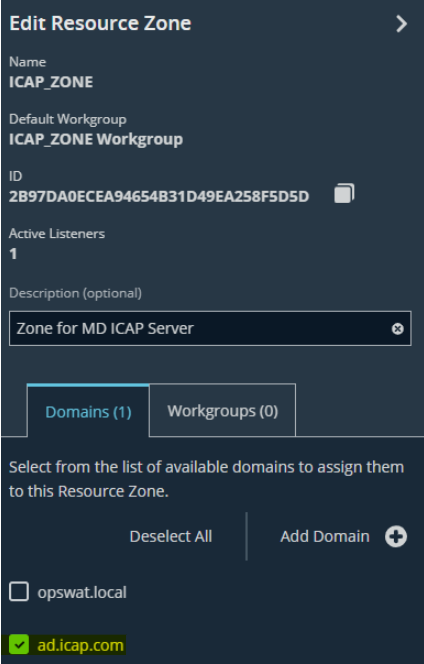
Click Create New Resource Zone
Enter the domain of the input AD Server: ad.icap.com
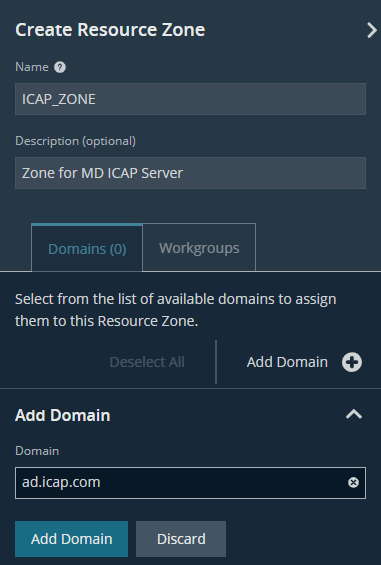
Make sure the checkbox of ad.icap.com is selected
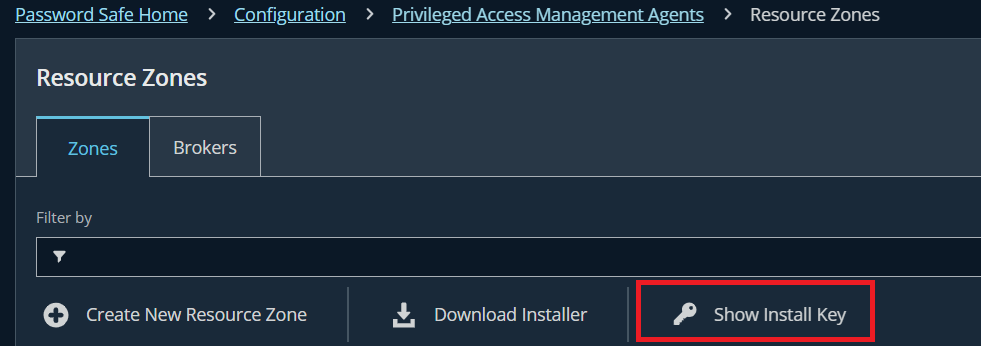
Step 1.3: Install Resource Broker
Download installer and copy the install key: Go to Configuration → Privileged Access Management Agents → Resource → tab Zones → Download Installer
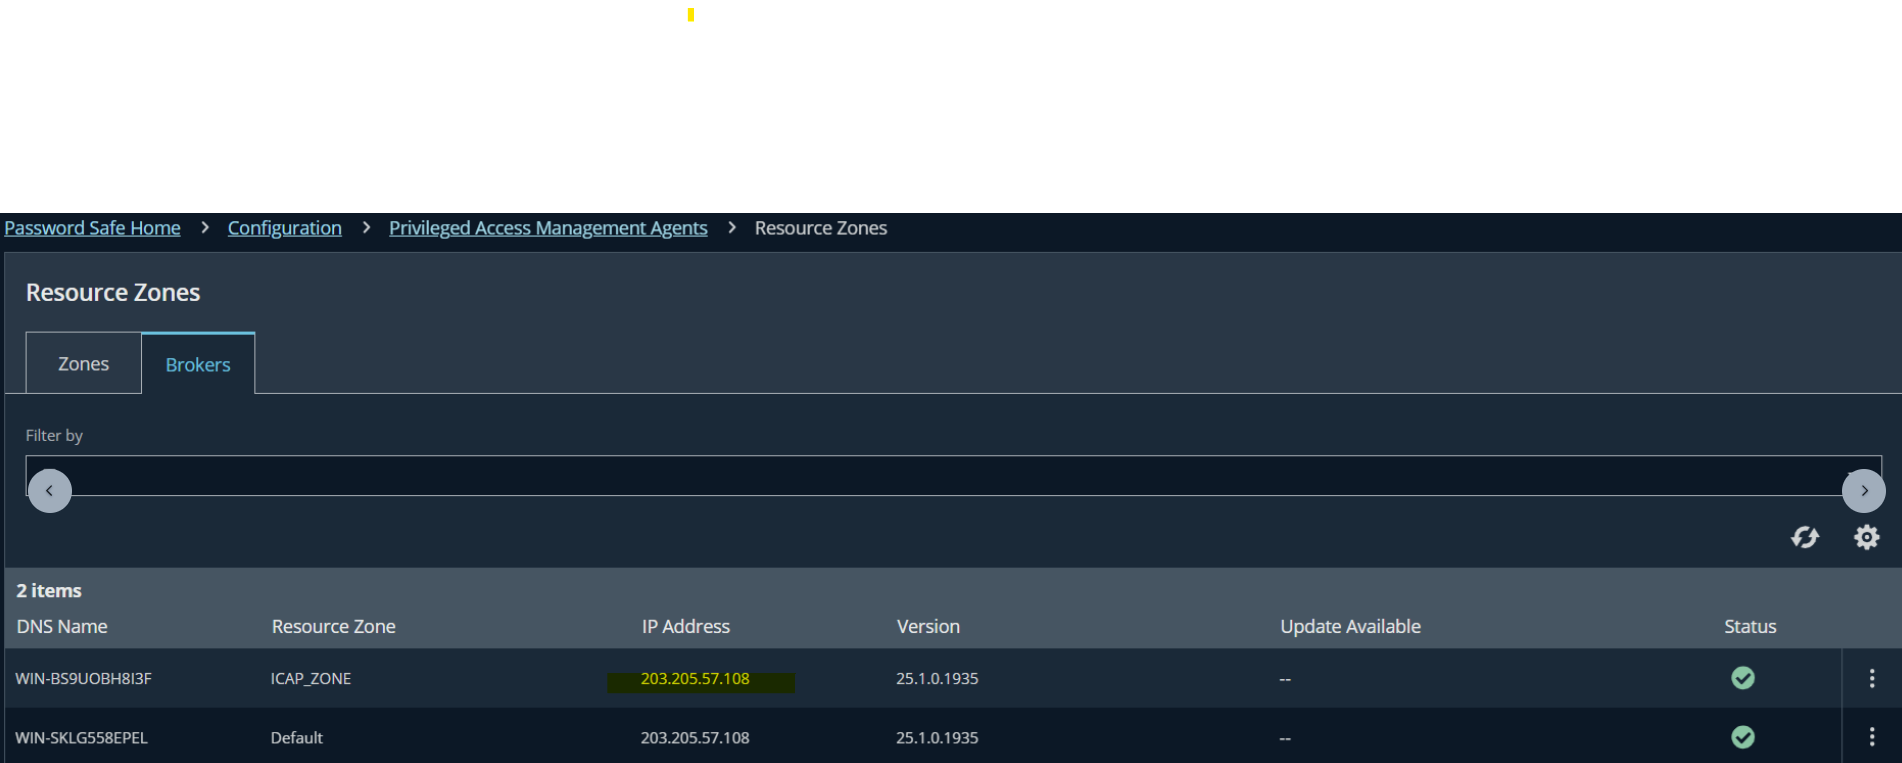
Use the install key to install on the prepared Windows host above
Result: The public IP Address of the Broker Service will be matched with Public IP address of the Windows host above.
Step 1.4: Set up Functional Account
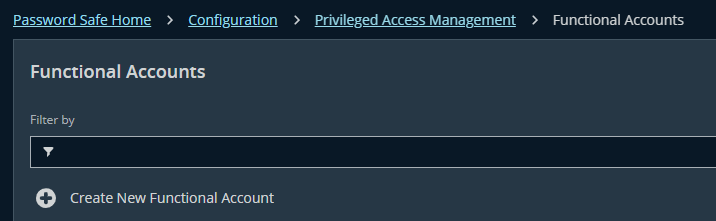
Navigate to Configuration → Privileged Access Management → Function Accounts → Create New Functional Account →
Click Create New Functional Account
Enter the details of the AD User account
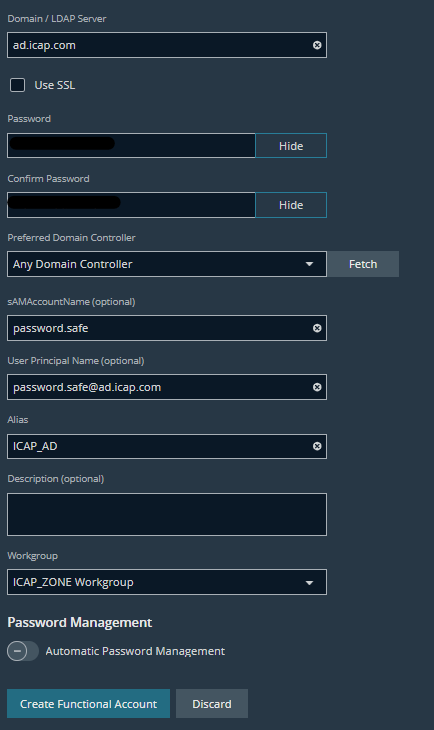
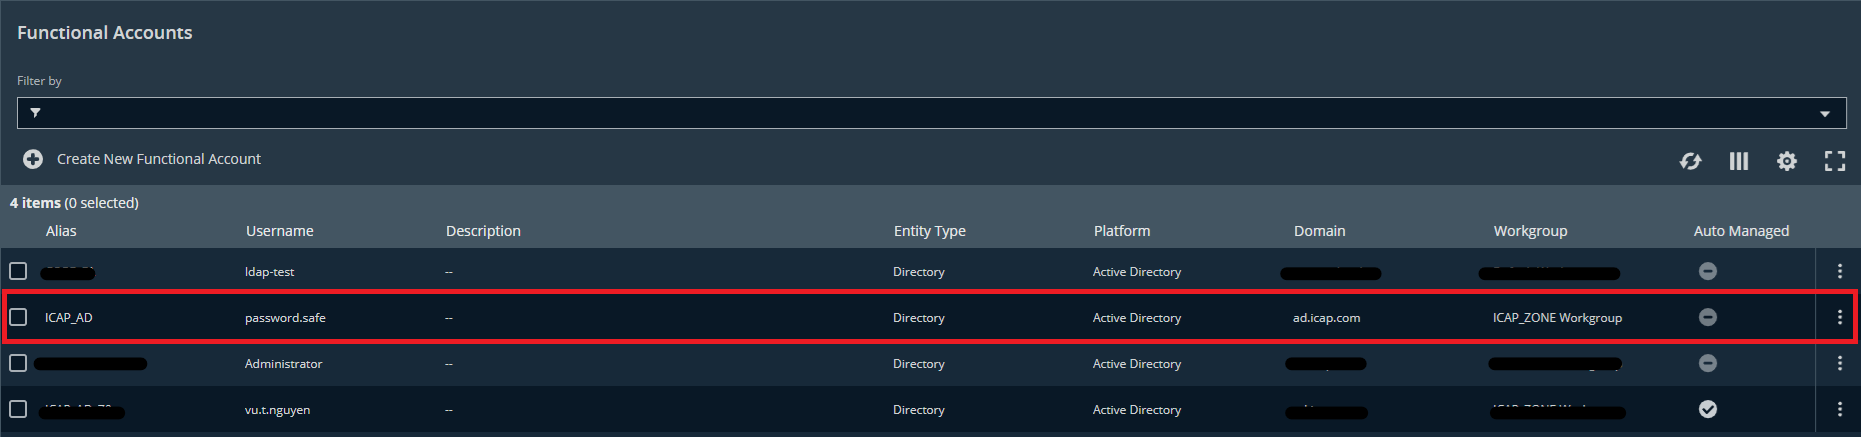
The results should look like this:
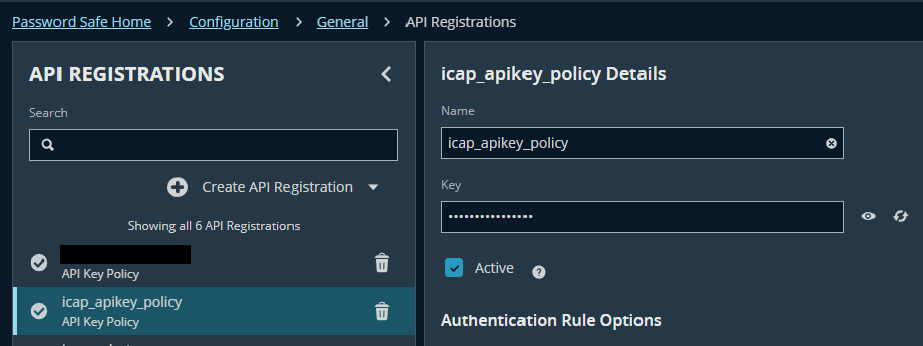
Step 1.5: API Registrations
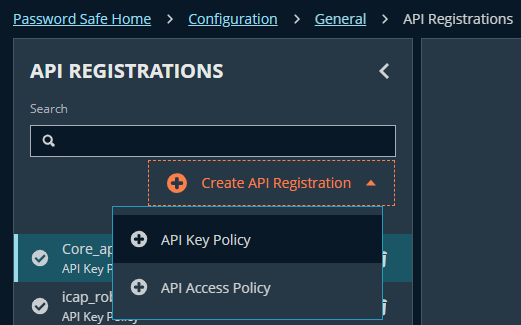
Navigate to: Configuration → General → API Registrations → Create API Registration
Select API Key Policy
Enter the name (e.g.: icap_apikey_ policy)

The "Key" and the "API Base Endpoint" will be used to integrate with AD of ICAP later in Step 2.
Set up Authentication Rules: at Add Authentication Rule → Create Rule
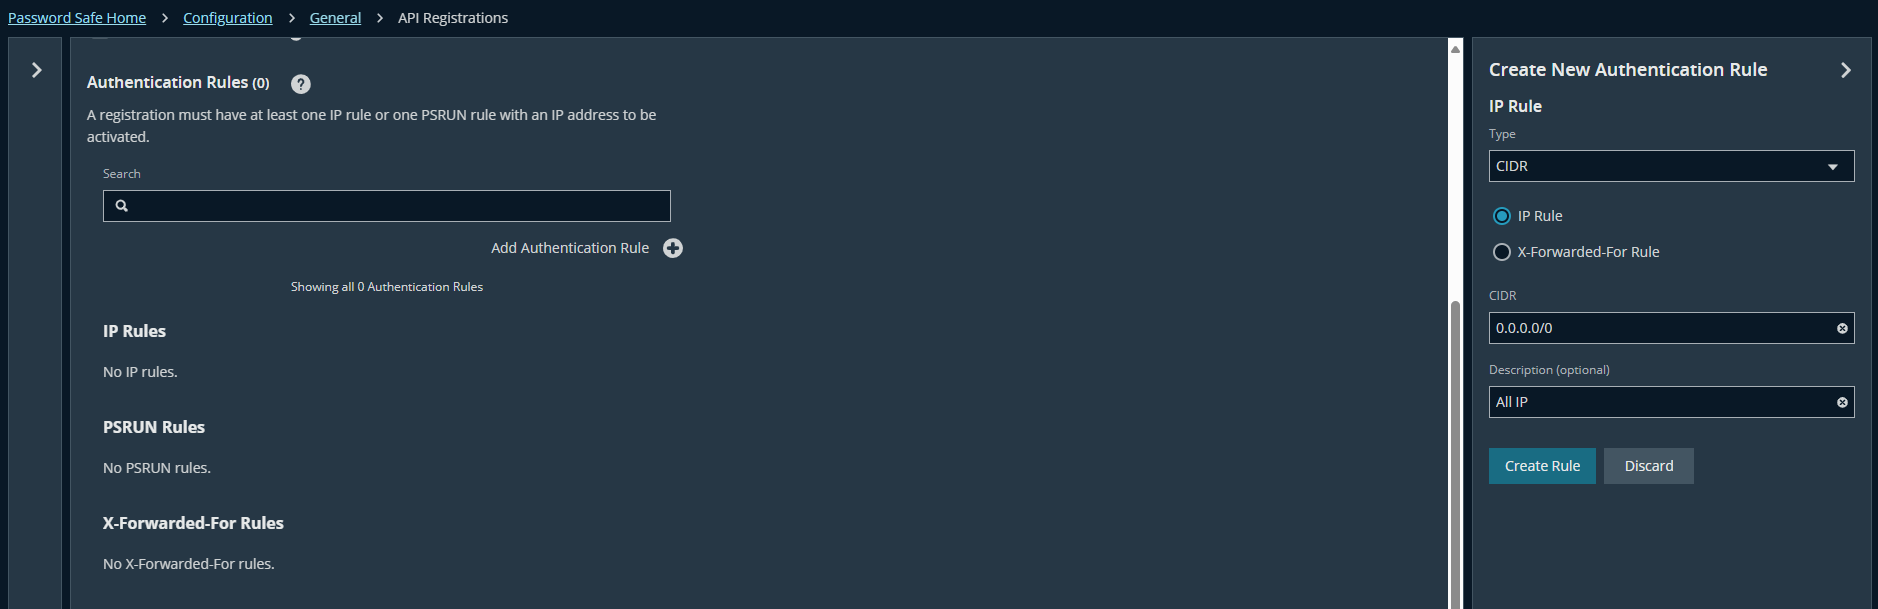
Result:
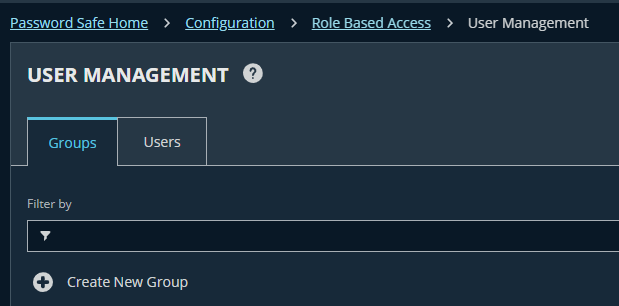
Step 1.6: Create User Group
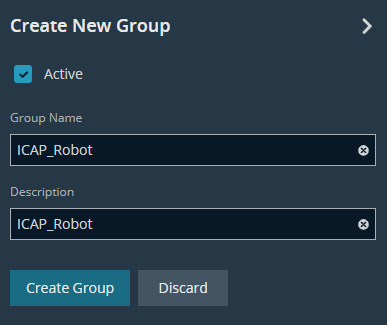
Navigate to: Configuration → Role Based Access → User Management → tab Group → Create New Group
Enter a group name and description (e.g: ICAP_Robot )
Add Smart Groups (E.g., All Managed Accounts)
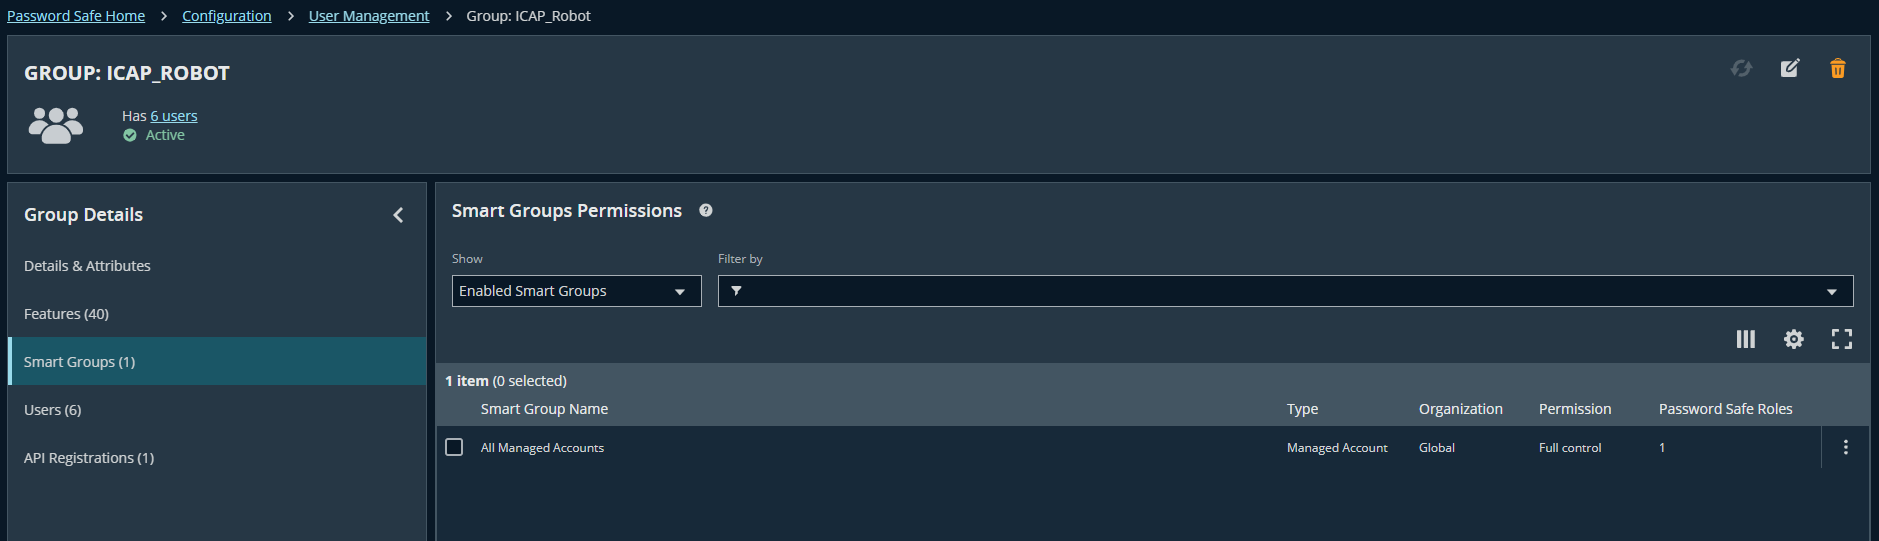
Add users to the group
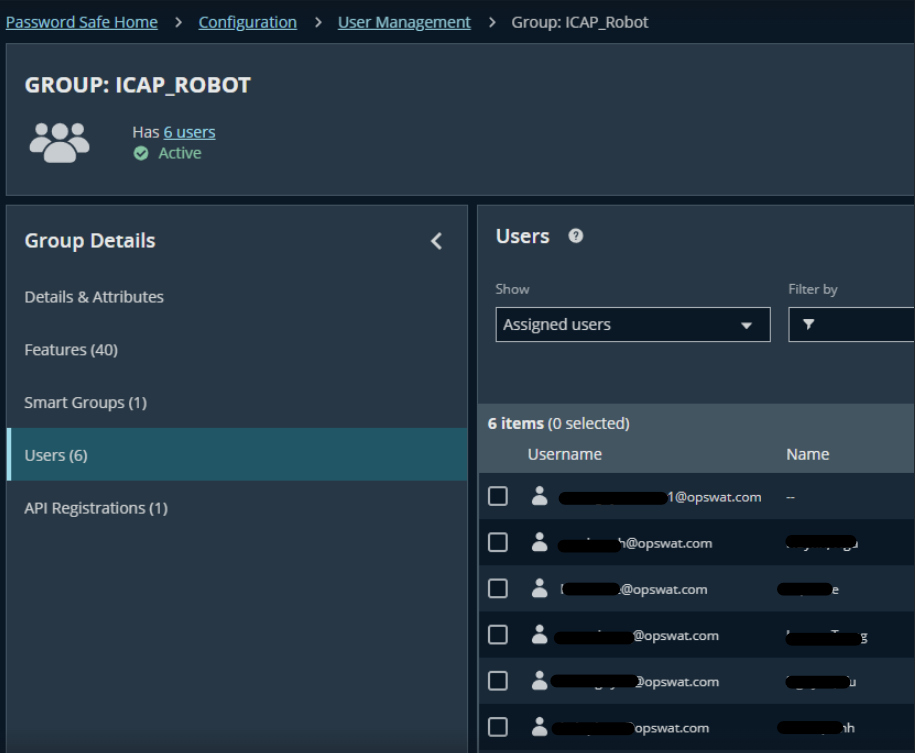
Any user belong to this group can later be used in Step 2 for the field "BeyondTrust username"
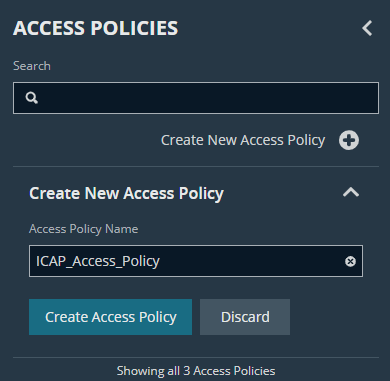
Step 1.7: Access Policies
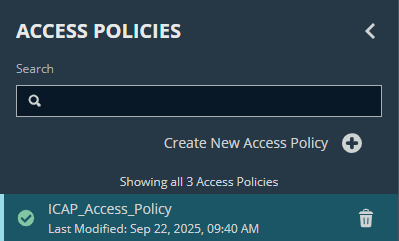
Navigate to: Configuration → Privileged Access Management Policies → Access Policies → Create New Access Policy

Input the policy name (E.g., ICAP_Access_ Policy)
Add the schedule
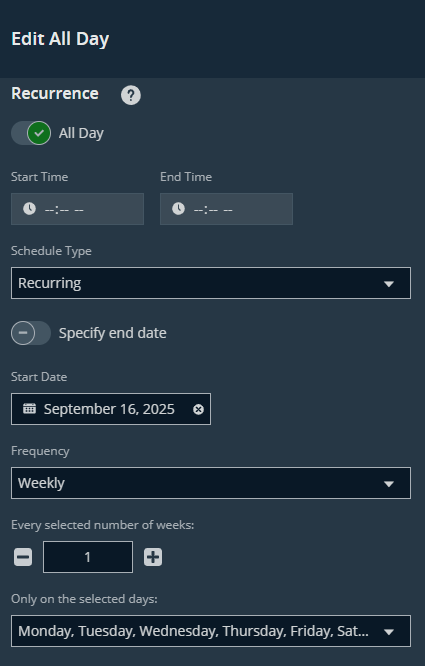
Enable Auto Approve and disable “Reason is required for new requests.”
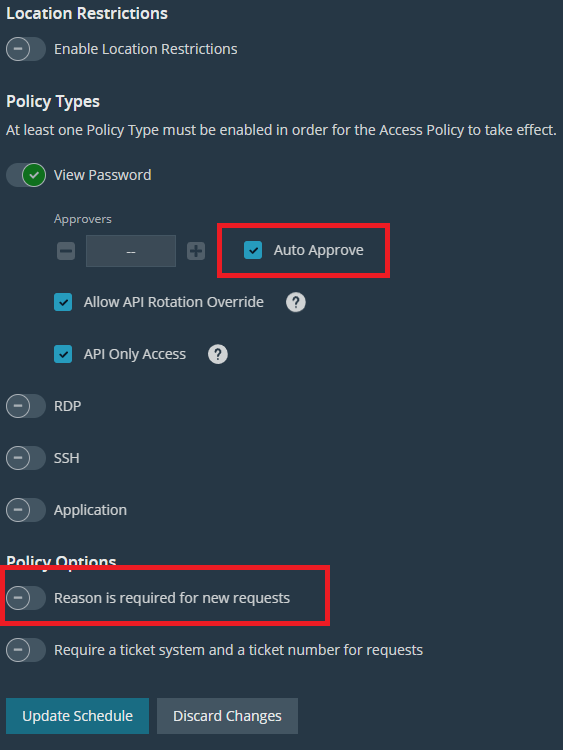
Click Create Schedule
Go to Assignees → Managed Assignees

Assign group "ICAP_Robot" to this access policy: Go to group detail → Smart Groups → Choose
All Managed Accounts→ Edit Password Safe Roles
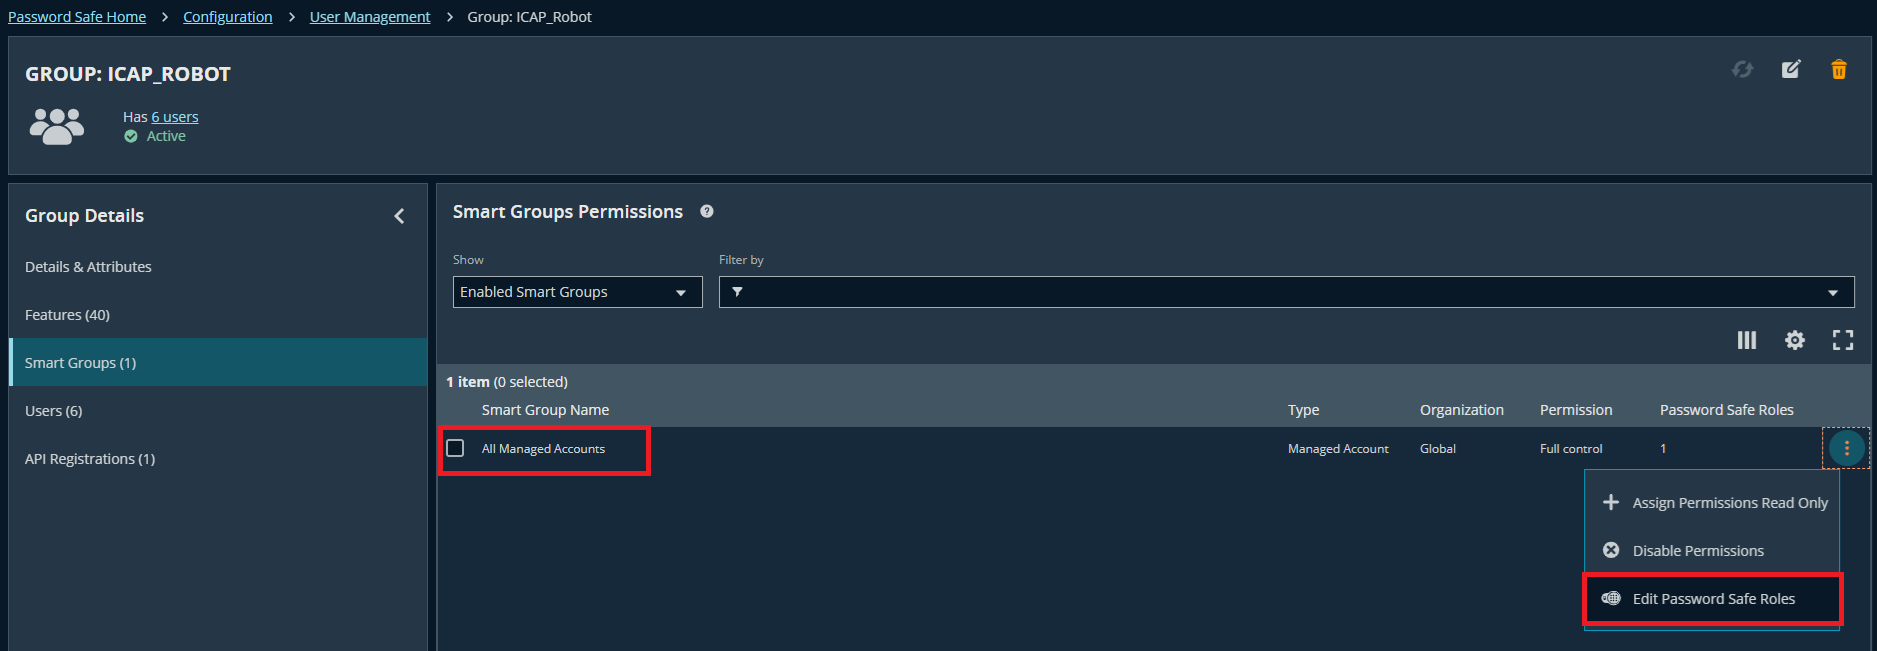
Assign Requestor/Approver roles to access the policy named
ICAP_Access_Policy
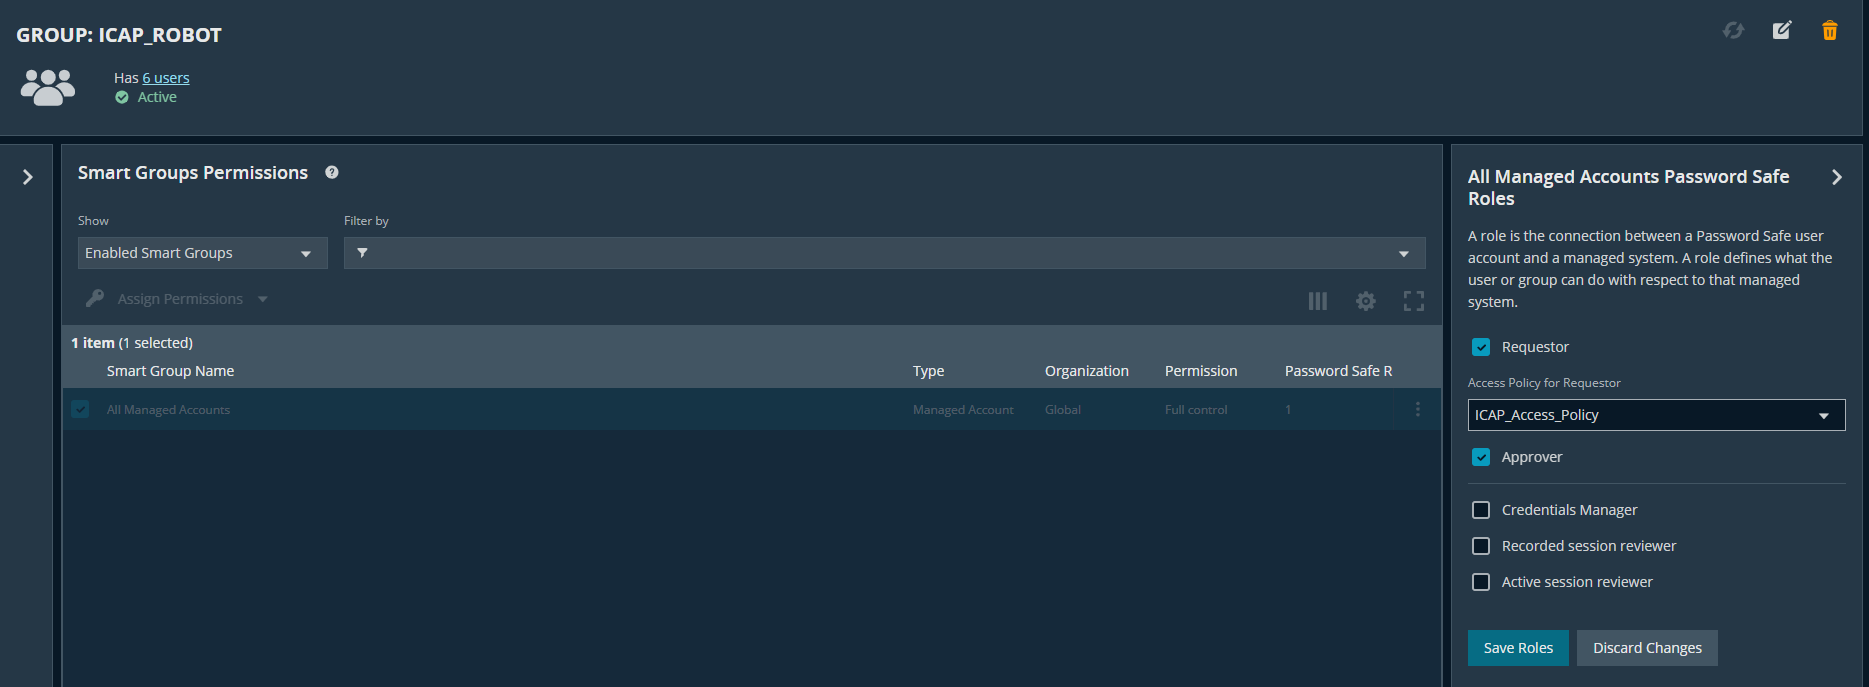
Select Update Access Policy
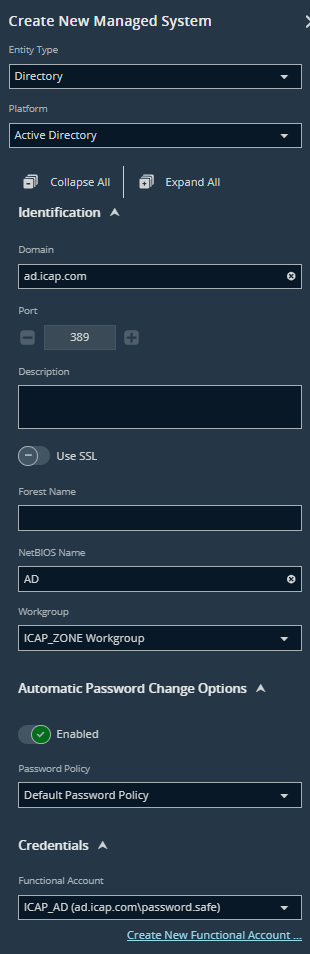
Step 1.8: Setup Managed System
Navigate to: Managed Systems → Create Managed System
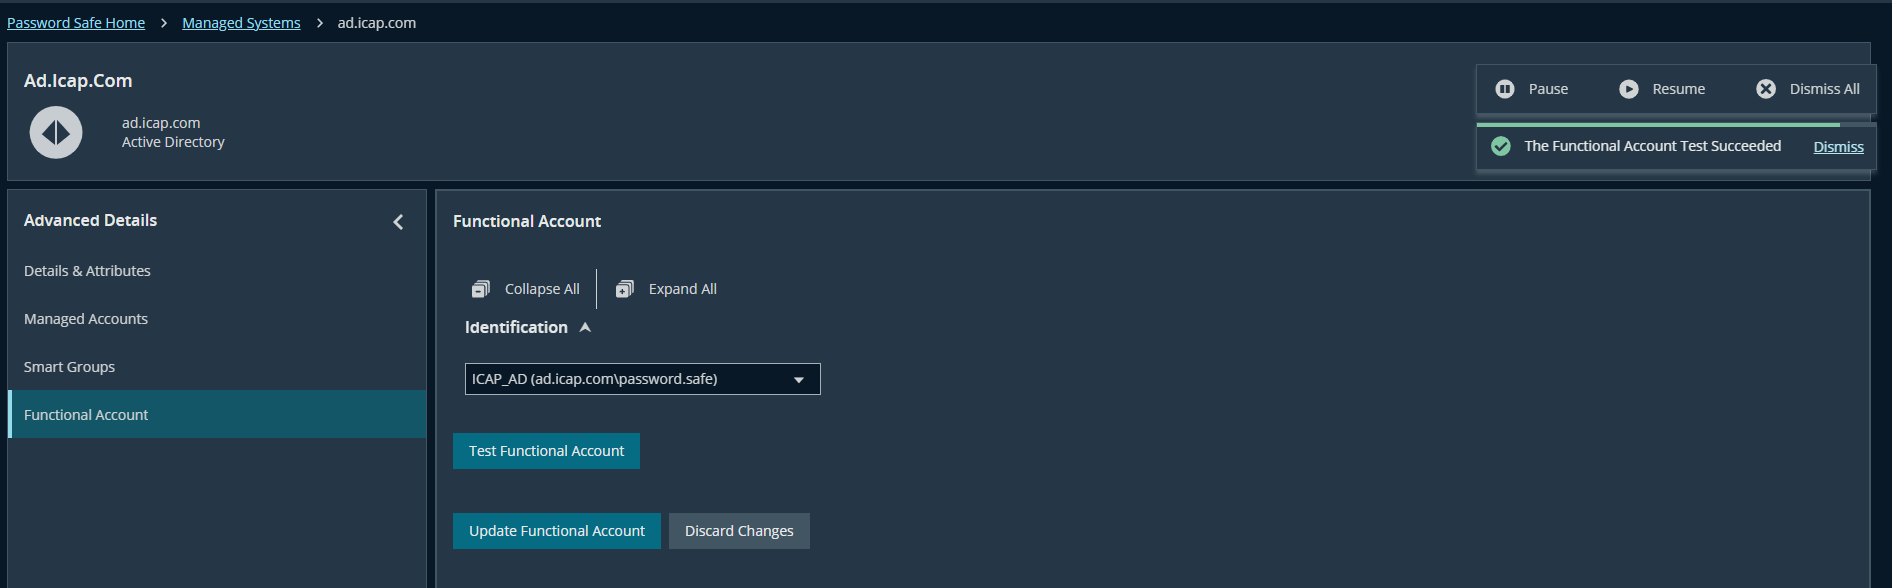
Go to the Advanced detail of the managed system → Functional Account → Test Functional Account. Ensure that the functional account works normally with this managed system.
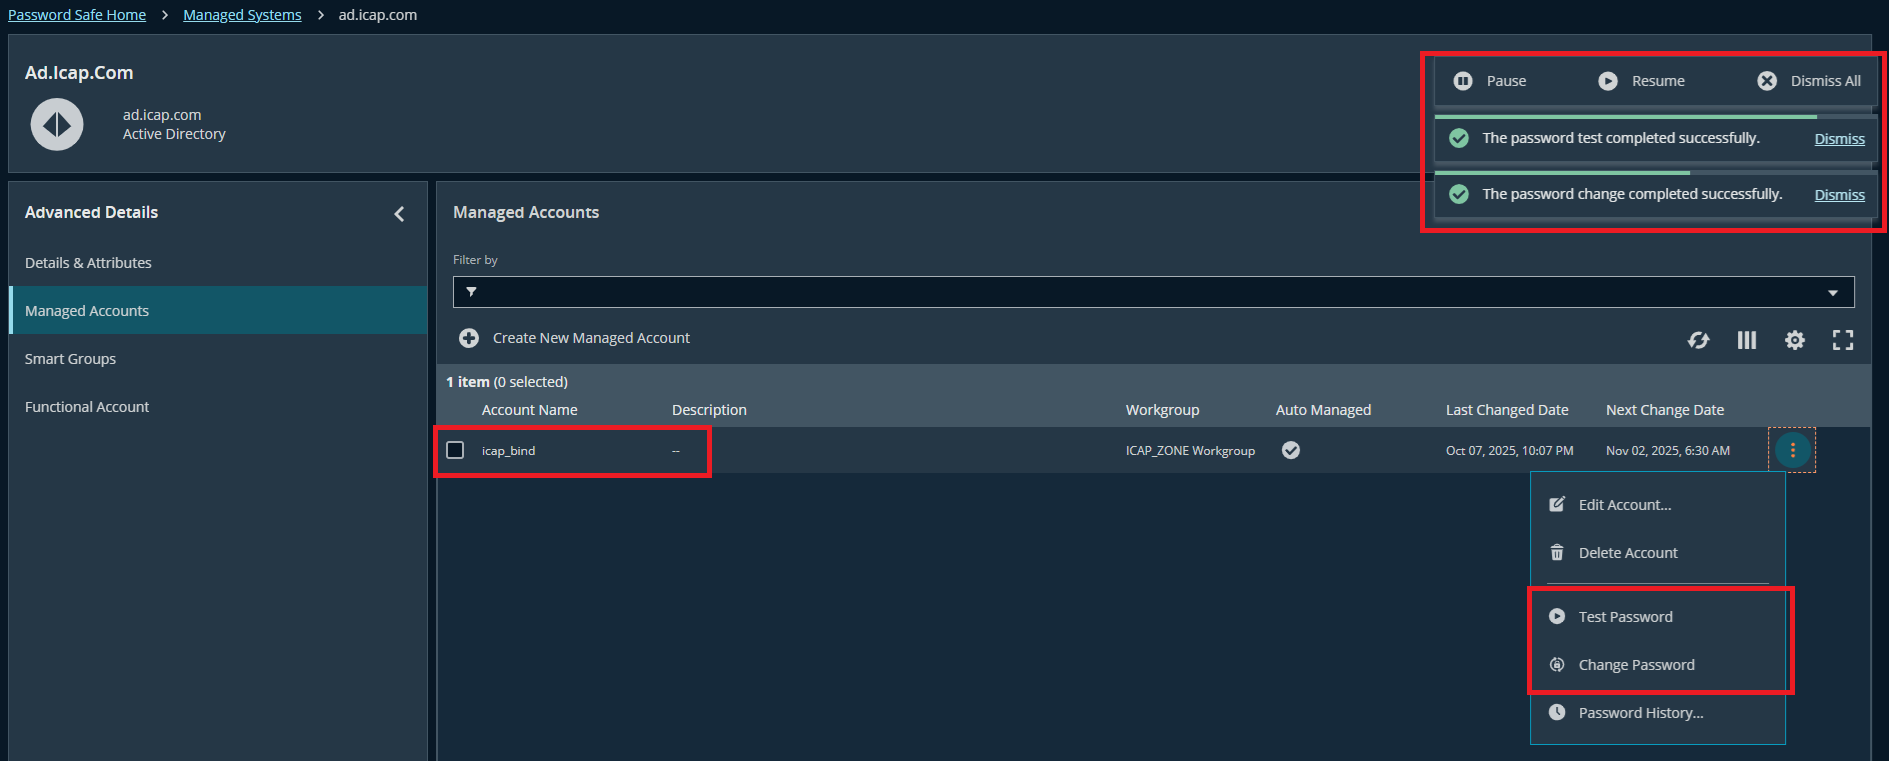
Step 1.9: Manage AD Users
Navigate to Managed Systems → See the advanced detail of ad.icap.com (our AD server) → Managed Accounts
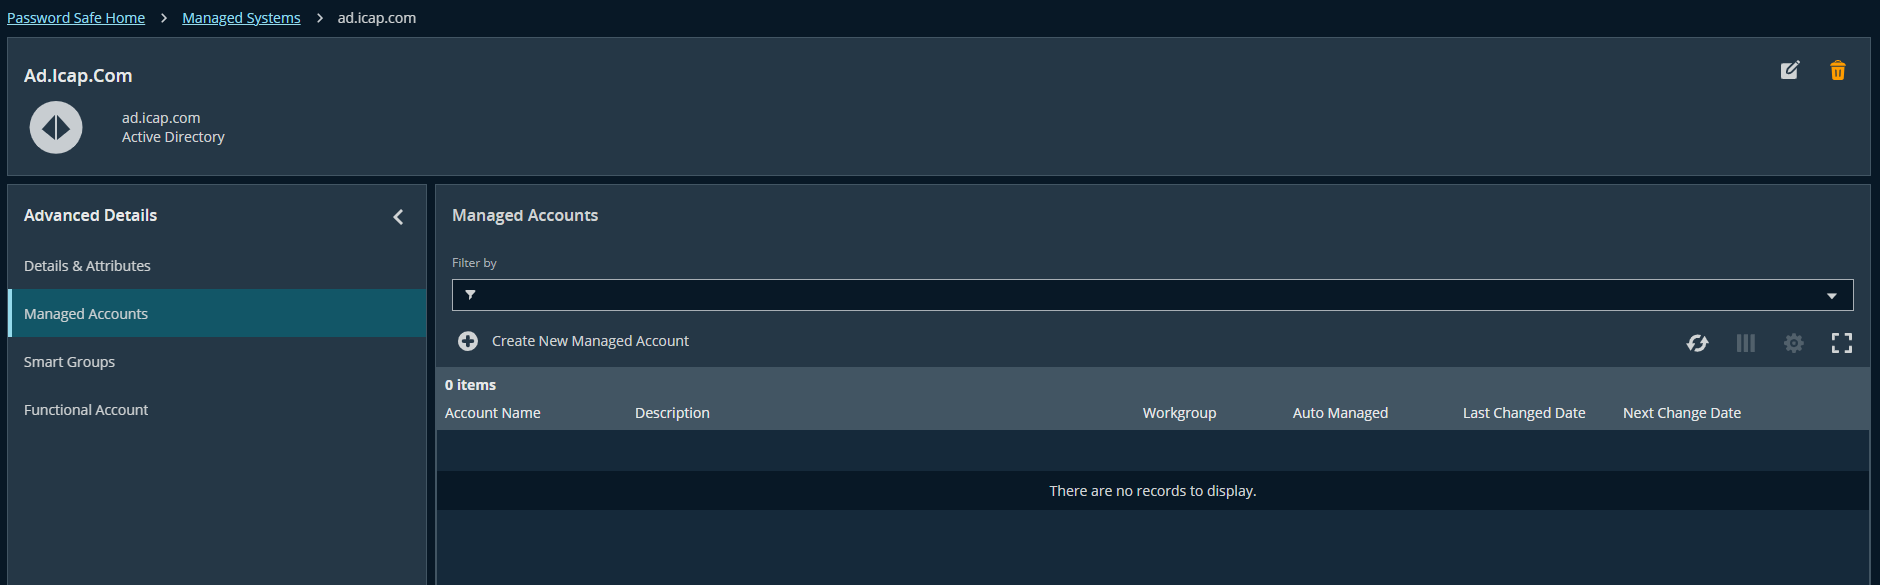
Click Create Managed Account
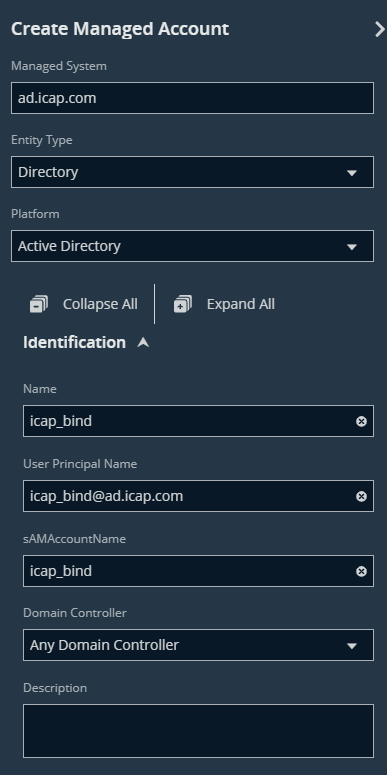
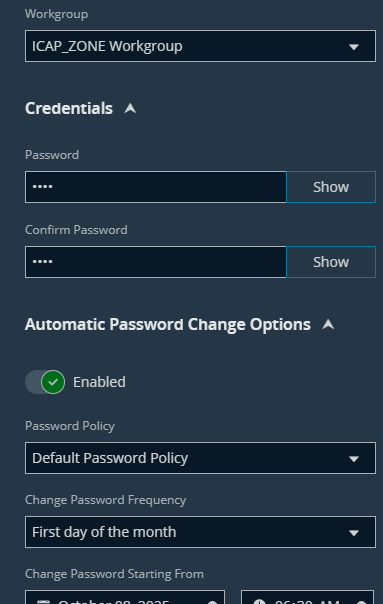
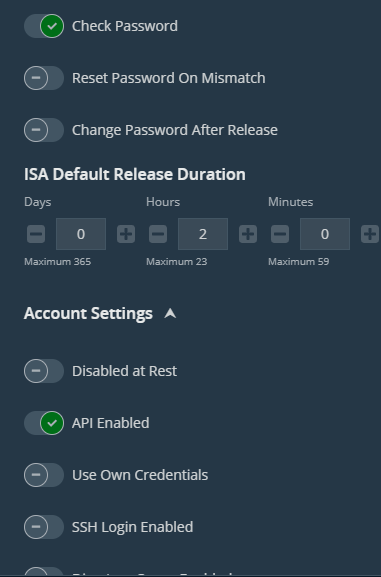
Click Change Password → Test Password
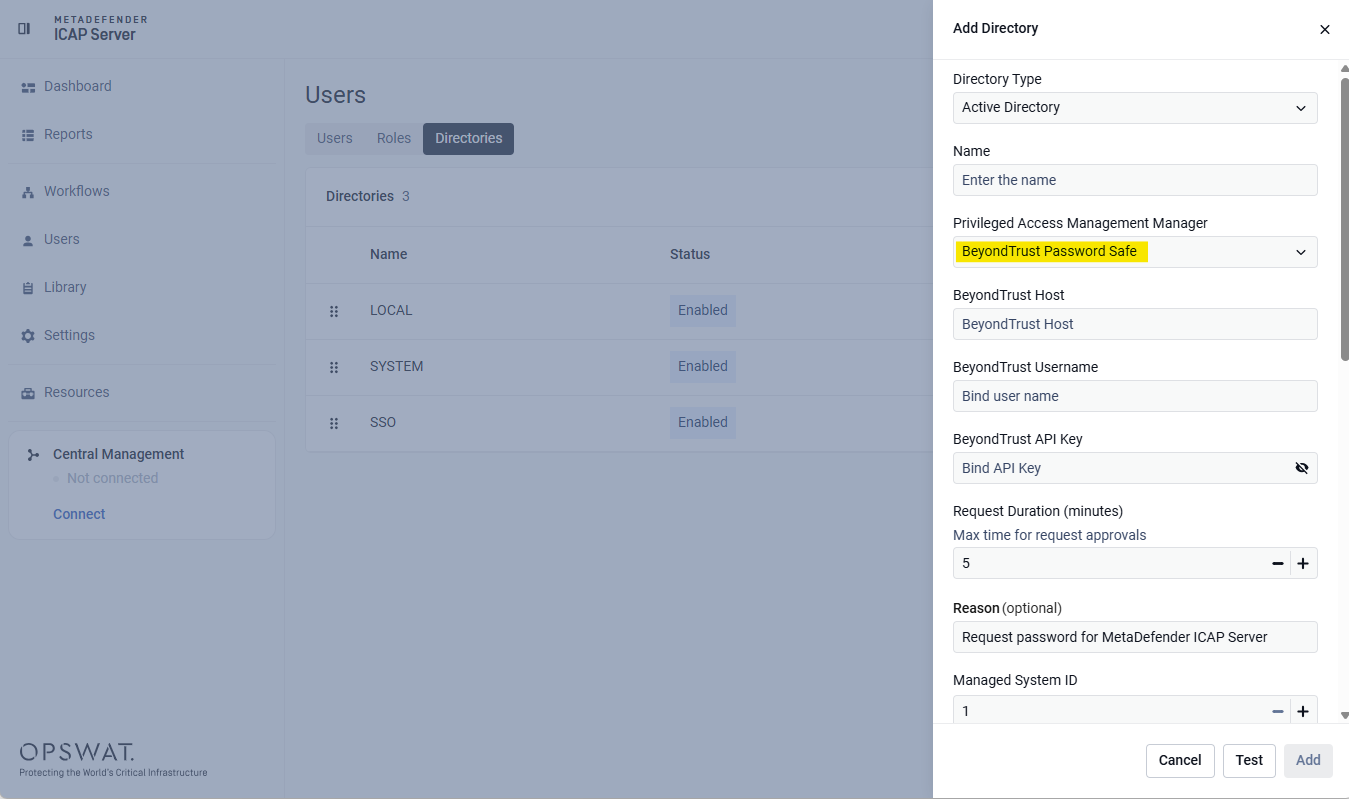
Step 2: Enable Beyond Trust Password Safe with MetaDefender ICAP's Active Directory
(Supported since ICAP v5.11.0)
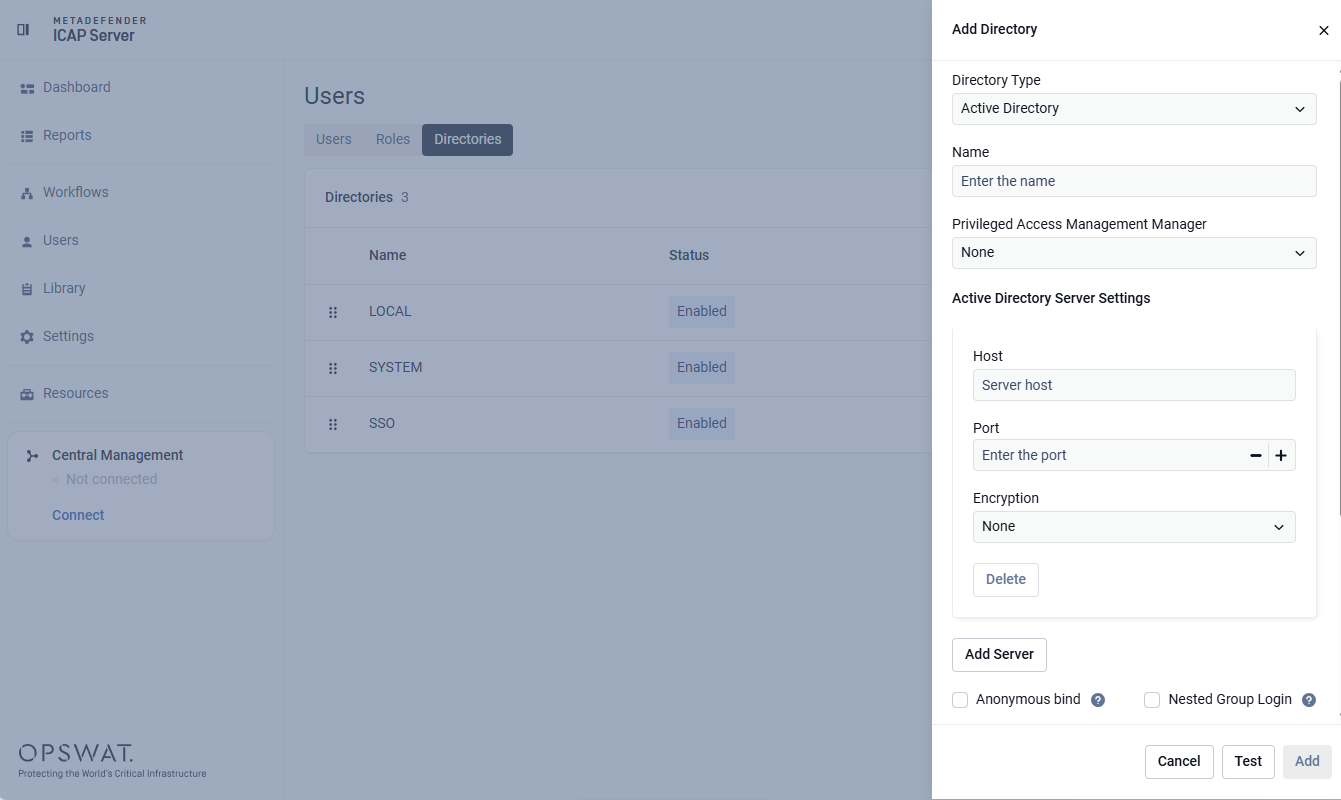
Under User → Directories, select the Directory as Active Directory type and enable BeyondTrust Password Safe for Privileged Access Management Manager
Field | Required | |
|---|---|---|
BeyondTrust Host | ✅Required | Obtain this value from the API Base EndPoint value at step 1.5 above. |
BeyondTrust Username | ✅Required | The email address of the Password Safe user |
BeyondTrust API Key | ✅Required | Use the API Key obtained in Step 1.5. |
Request duration | ✅Required | For request approval mode, the maximum waiting time for password approvals at PasswordSafe ranges from 3 to 15 minutes (default 5 minutes). |
Reason | Optional | Message sent to Password Safe describing the reason for the password request. Default: Request password for MetaDefender ICAP Server. |
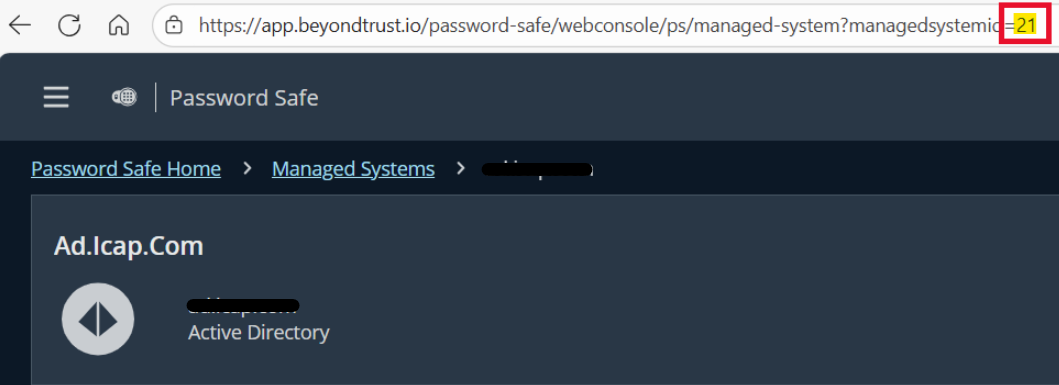
Managed System ID | ✅Required | Take the value at the URL of Password Safe under the Managed System details. |
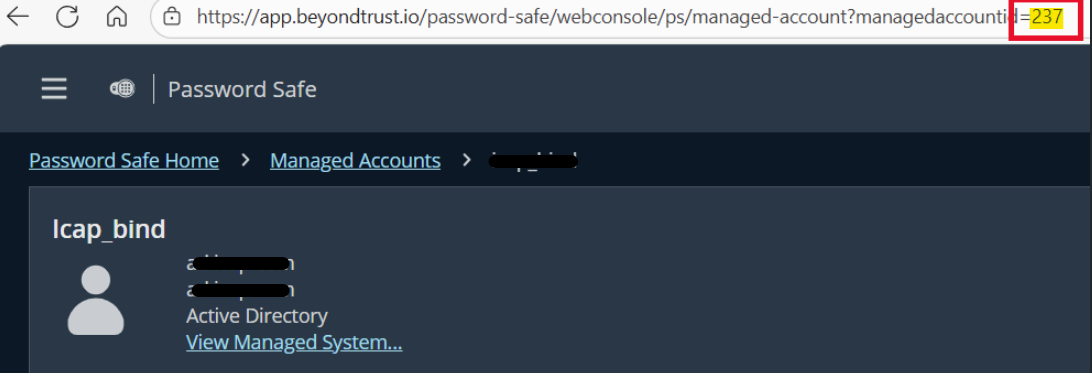
Managed Account ID | ✅Required | Take the value at the URL of Password Safe under the Managed Account details. |