ADFS requires MetaDefender Core to enable HTTPS for connections. Please follow these steps to first enable HTTPS on MetaDefender Core.
Set up OIDC in ADFS
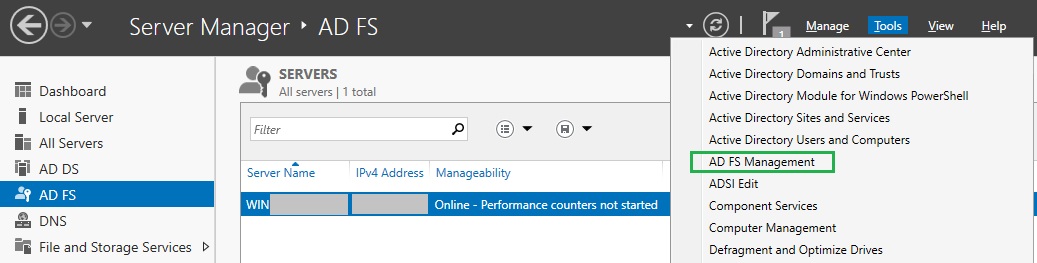
In the top right corner of
Server Manager, click onToolsand selectAD FS Managementfrom the drop-down menu.
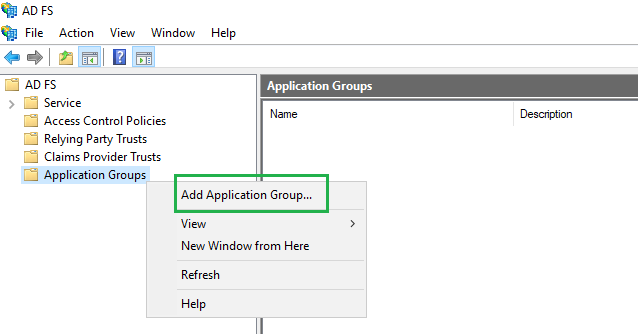
In
AD FSwindow, right click onApplication Groupsand selectAdd Application Groupfrom the drop-down menu.
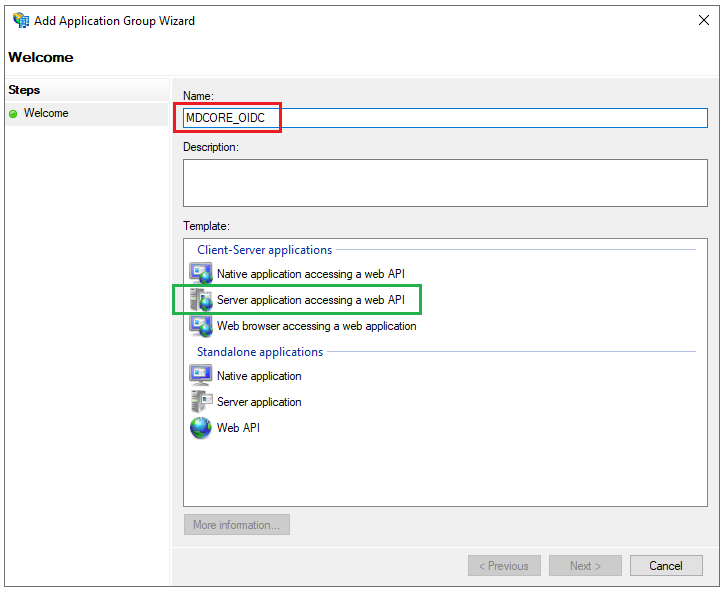
On
Welcomepage, provide a descriptive name for your application , e.g. MDCORE_OIDC, selectServer application accessing a web APIunderTemplate, and clickNext.
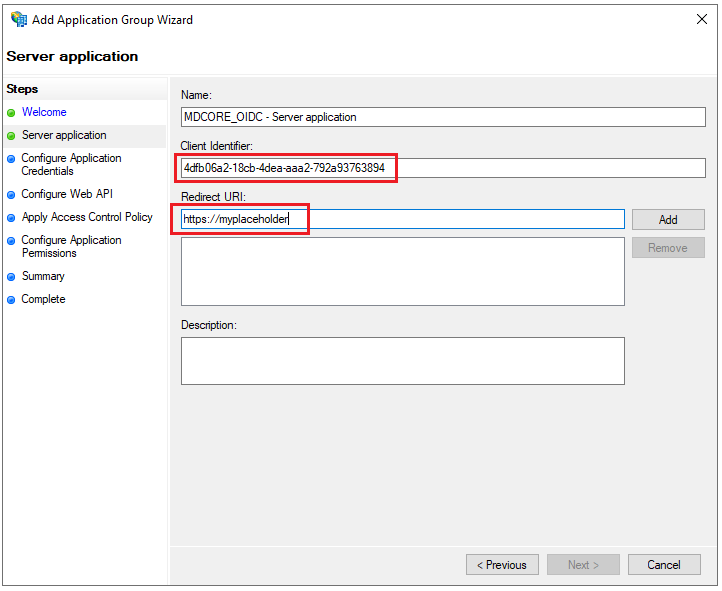
On
Server applicationpage, copy the string underClient Identifierfor later use, set a placeholder https://myplaceholder forRedirect URI, then clickAddandNext.
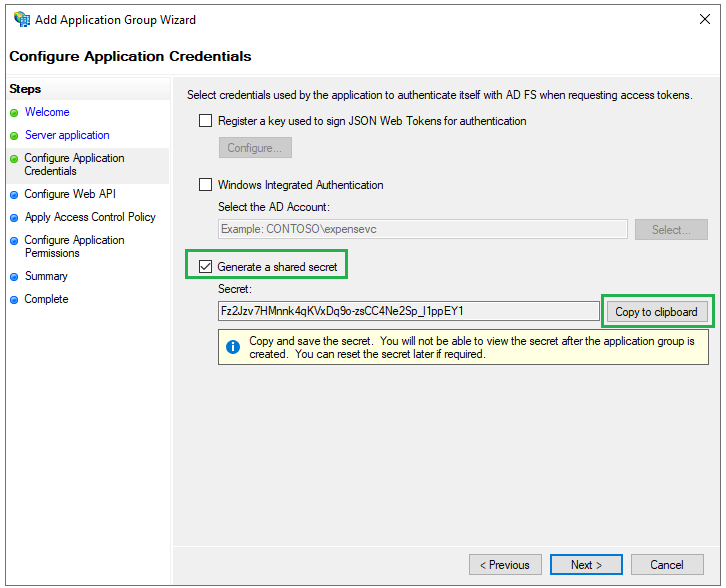
On
Configure Application Credentialspage, checkGenerate a shared secret, clickCopy to clipboard, then save the secret string for later use and clickNext.
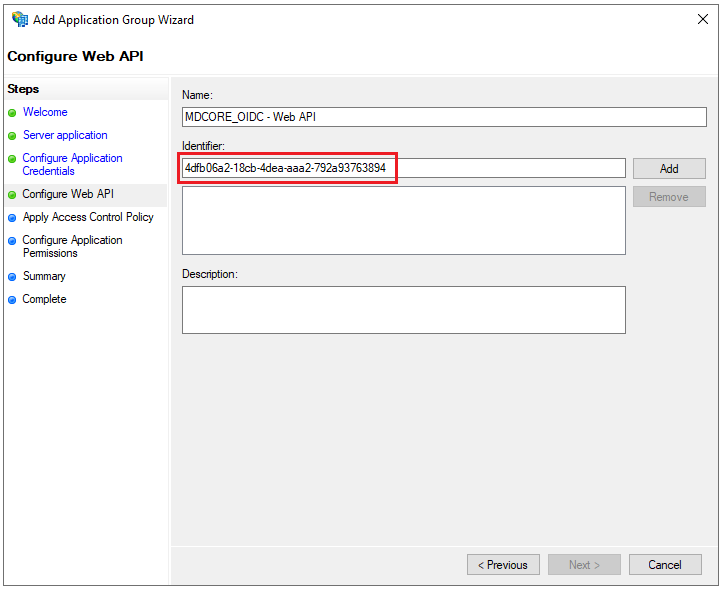
On
Configure Web APIpage, enter the string ofClient Identifierfrom step 4 into the box underIdentifier, clickAdd, andNext.
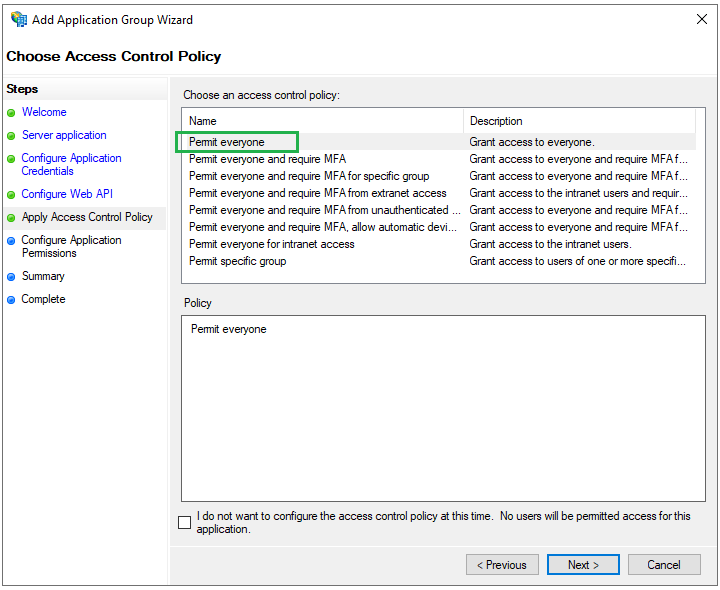
On
Choose Access Control Policypage, selectPermit everyoneand clickNext.
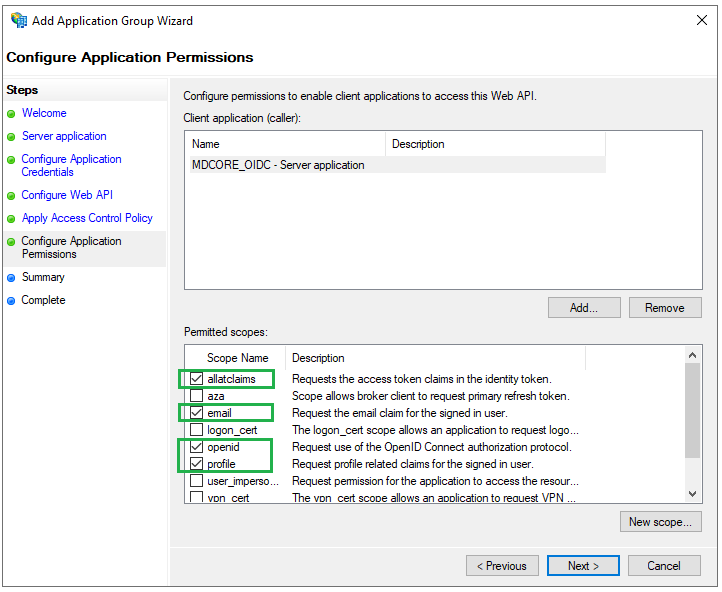
On
Configure Application Permissionspage, select the scopesallatclaims,email,openid, andprofileunderPermitted scopes, and then clickNext.
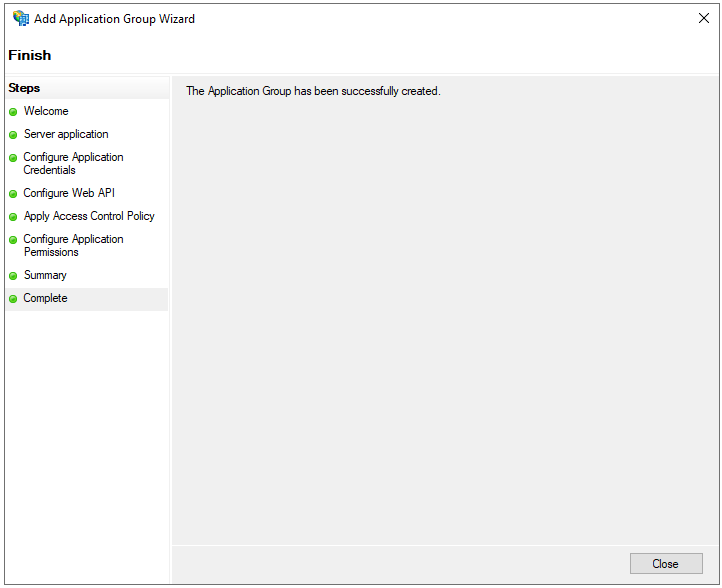
Click
Nexton the following page andCloseto finish.
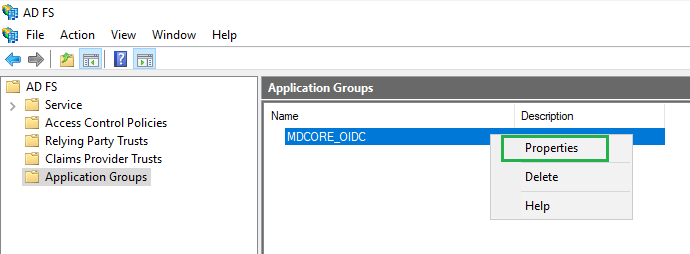
Back in
AD FSwindow, right click on the item MDCORE_OIDC and selectProperties.
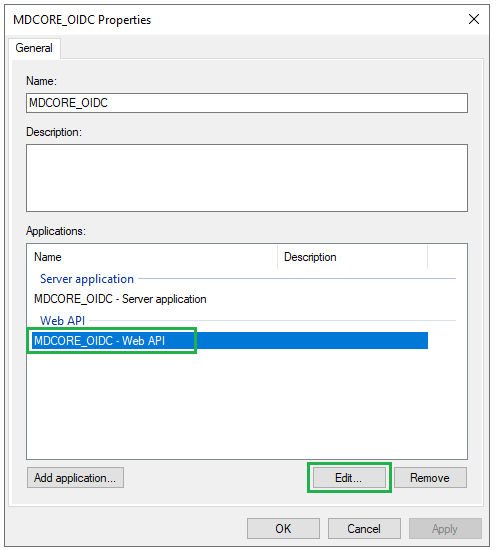
Select
MDCORE_OIDC - Web APIand clickEdit.
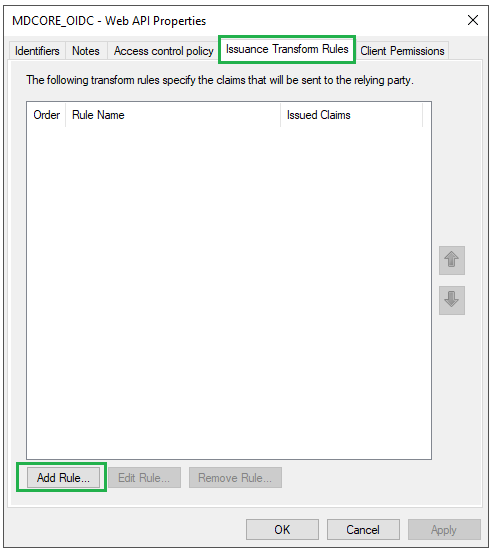
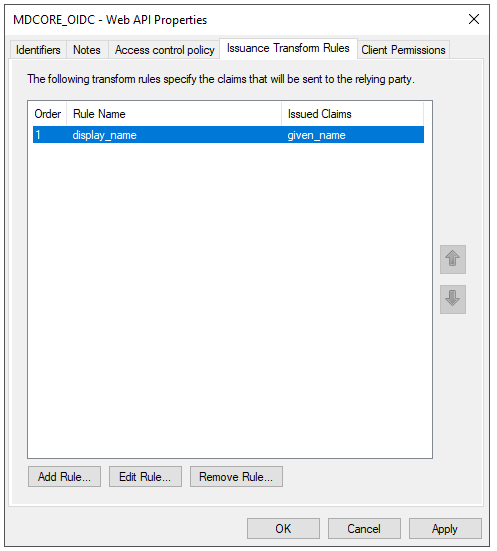
Go to
Issuance Transform Rulestab and clickAdd Rule.
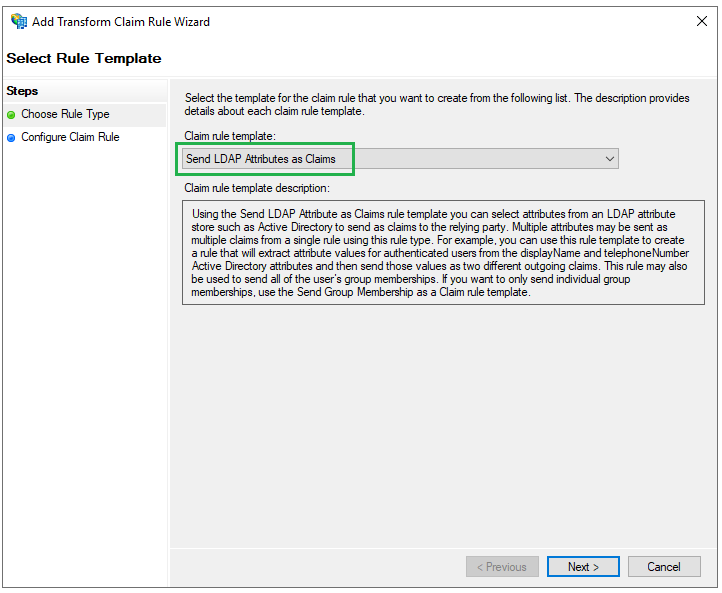
Select
Send LDAP Attributes as ClaimsforClaim rule templateand clickNext.
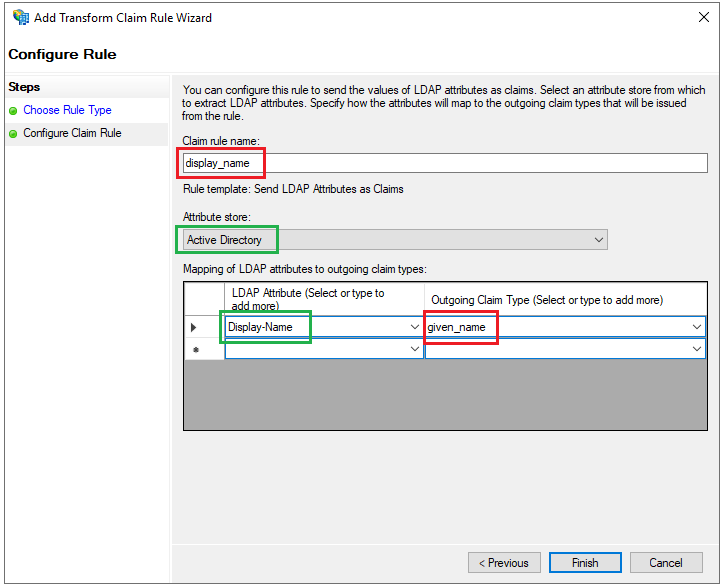
Enter a name for
Claim rule, e.g. display_name, selectActive DirectoryforAttribute Store. UnderLDAP Attributecolumn, selectDisplay-Namefrom the drop-down list, enter given_name for theOutgoing Claim Typecolumn, and clickFinish.
Click
Applyon the next page andOKto close the wizard.
Create OIDC directory in MetaDefender Core
Sign in to MetaDefender Core.
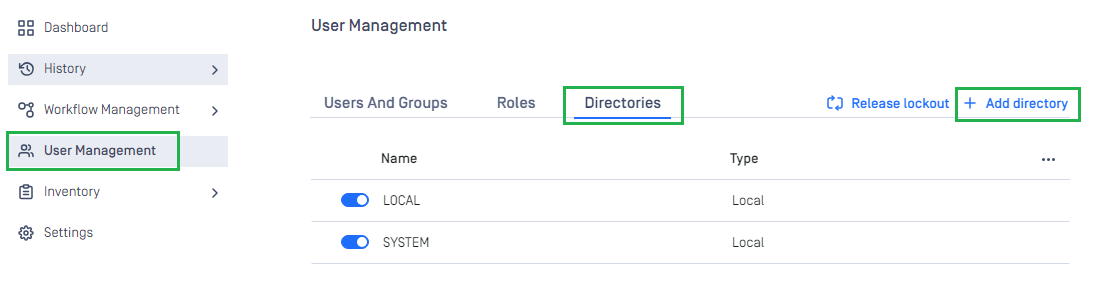
On the dashboard, click
User Managementin the sidebar.In
User Managementpage, selectDirectoriestab and clickAdd Directoryin the top right corner.
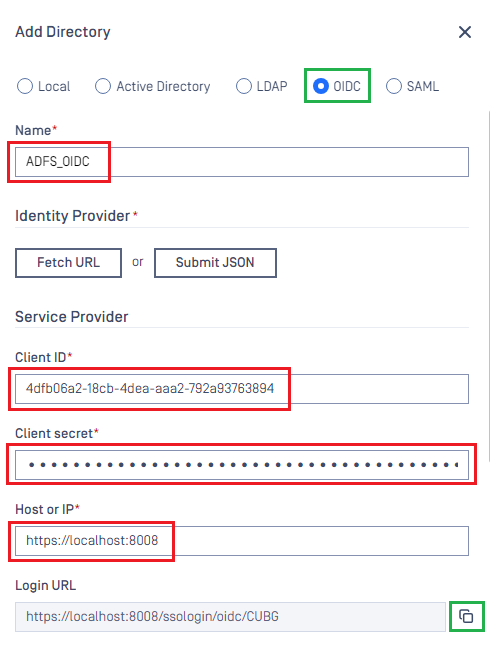
In
Add Directorypage, choose OIDC asDirectory type.Enter the name of the new directory, such as ADFS_OIDC.
In
Service Providersection, paste the values ofClient IDandClient Secretcopied from ADFS, respectively.In
Service Providersection, fill inHost or IPwith the host or IP address where MetaDefender Core is hosted; for this example, it is https://localhost:8008.Copy
Login URL.
Complete configuration in ADFS
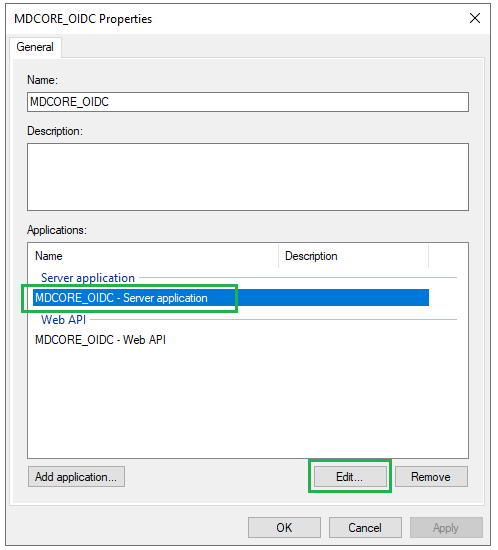
Back to
AD FS, right click on item MDCORE_OIDC and selectProperties, then chooseMDCORE OIDC - Server applicationand clickEdit.
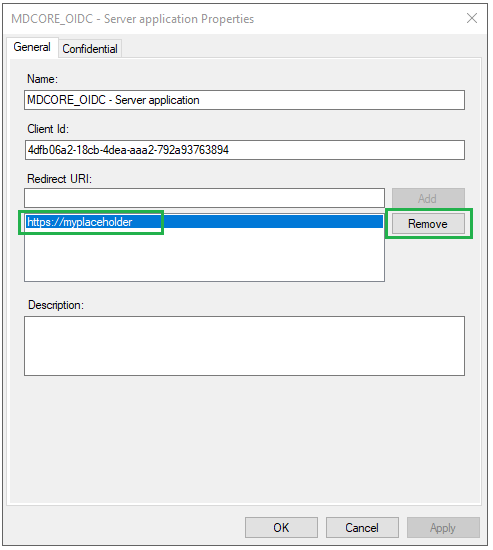
Remove the placeholder https://myplaceholder by selecting it and clicking
Remove.
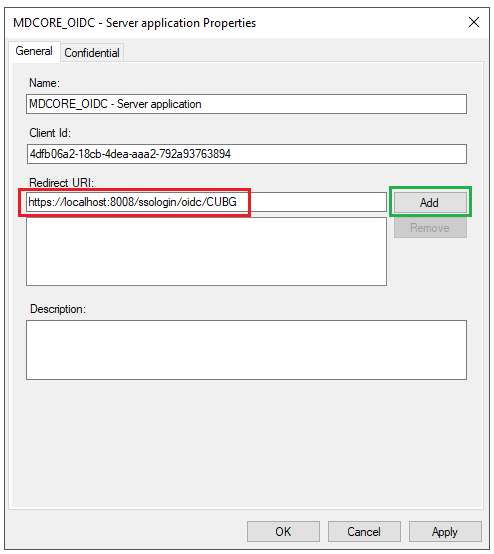
Paste the
Login URLfrom MetaDefender Core intoRedirect URI, clickAdd, thenApplyandOK.
Click
OKto complete the setup.
Complete configuration in MetaDefender Core
Access
AD FS Managementtool fromServer Manager, expandAD FS-->Service-->Endpointson the left panel. InEndpointspanel, navigate toOpenID Connectsection and copy the URL path of typeOpenID Connect Discovery.
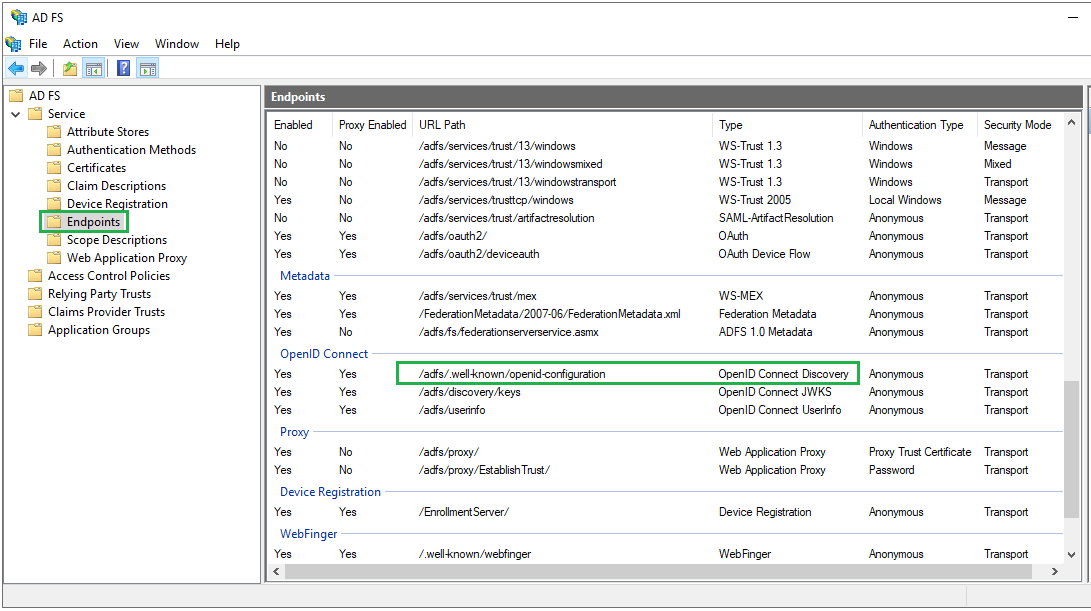
Build the full URL to the metadata endpoint by appending the path from step 1 to the qualified domain name of ADFS
For example:
Switch back to MetaDefender Core. Under
Identity Providersection, clickFetch URLand paste the link above into the box underFetch URL. ClickOKand wait a moment for MetaDefender Core to set ADFS as its IDP.In
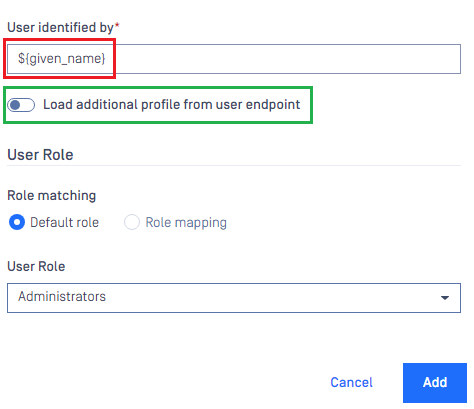
Service Providersection, fill in the user identity underUser identified bywith the configured values ofOutgoing Claim Type, e.g. ${given_name} in this instruction.Select the correct role for the user under
User Role.Disable
Load additional profiles from the user endpointoption since AD FS 2016 and newer have not yet supported the/userinfoendpoint.Click
Addto complete the settings.
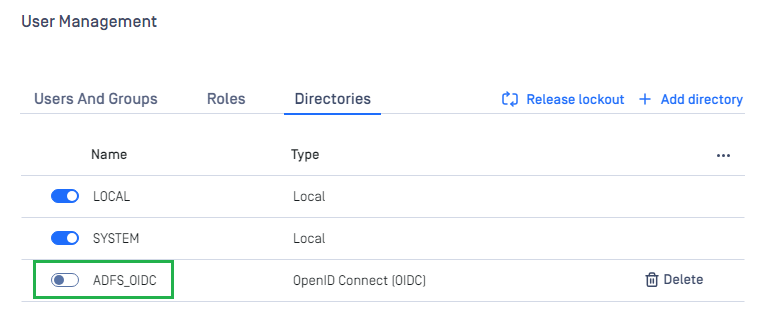
On
User Managementscreen, toggle ADFS_OIDC directory. A dialog box appears to confirm the action. OnceEnableis clicked, all sessions are expired immediately, and ADFS is used to authenticate the user.
Test the integration
Click
Loginfrom the home screen of MetaDefender Core; the user is redirected to the ADFS page.
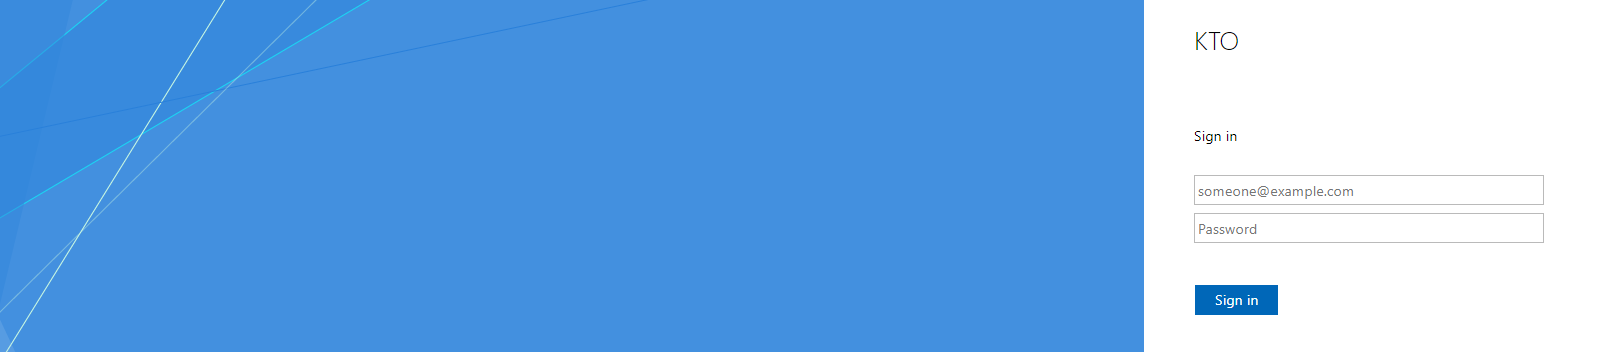
Sign in with the account created in the system domain.
If everything goes right, the MetaDefender Core dashboard is displayed with the user identity set in the top right corner.
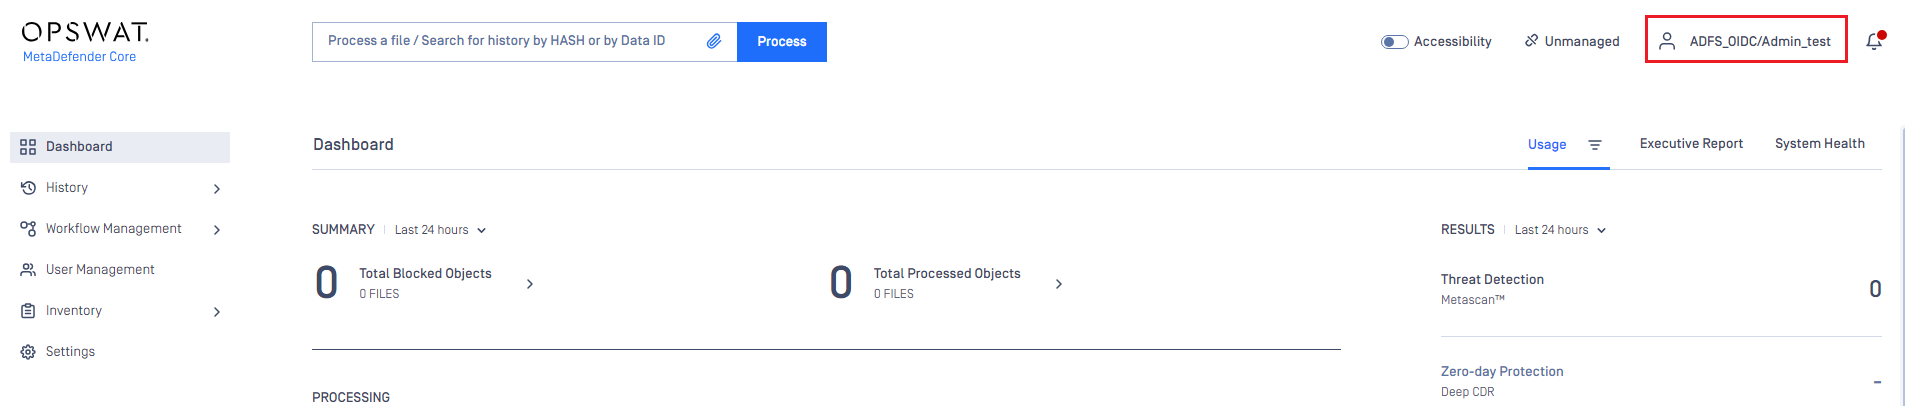
Otherwise, access backup login page at
<mdcore-host>#/public/backuploginfor trouble shooting.