Set View
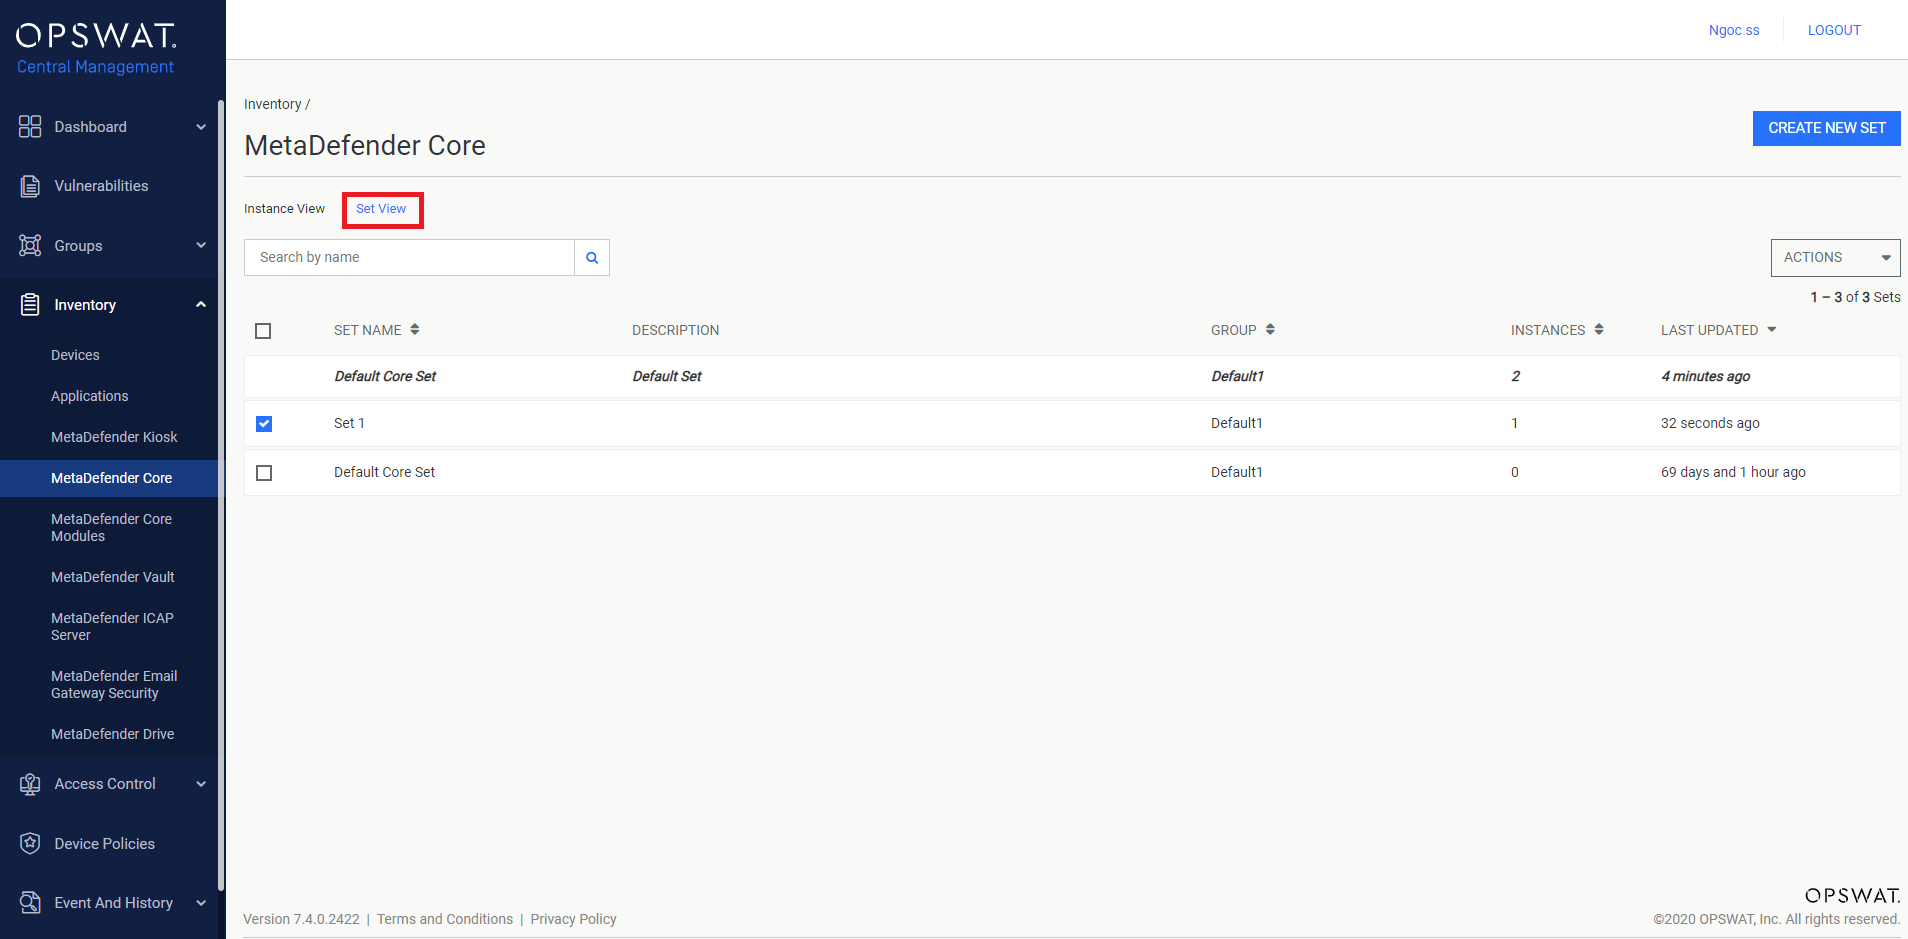
In order to access the Set Management feature for the OPSWAT Product type you wish to manage, navigate to its menu under Inventory and change the View Mode to *Set View. *
The Default Set is available by default, containing all unassigned instances of an OPSWAT Product type.
In Set View, users can delete one or multiple Sets by clicking their checkboxes, selecting Delete from the ACTIONS drop-down menu.
Members of the deleted Sets will be reassigned to the Default Set of their product type.
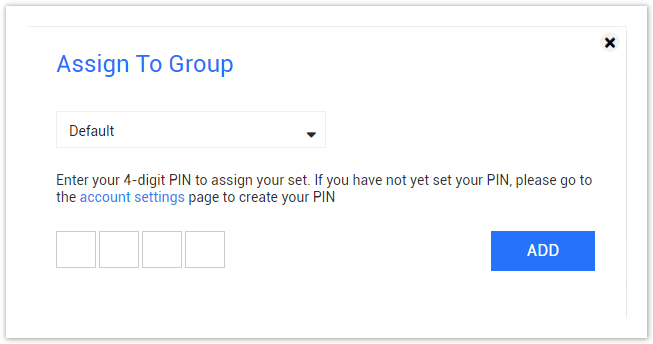
Users can also assign individual Set to Group by clicking on the Assign to Group in ACTIONS drop-down menu. In the pop-up dialog, select the Group where the Set should be added to and confirm the selection.
Edit individual Set and its member OPSWAT Product instances
Users can modify the individual Set by clicking on the Set's entry.
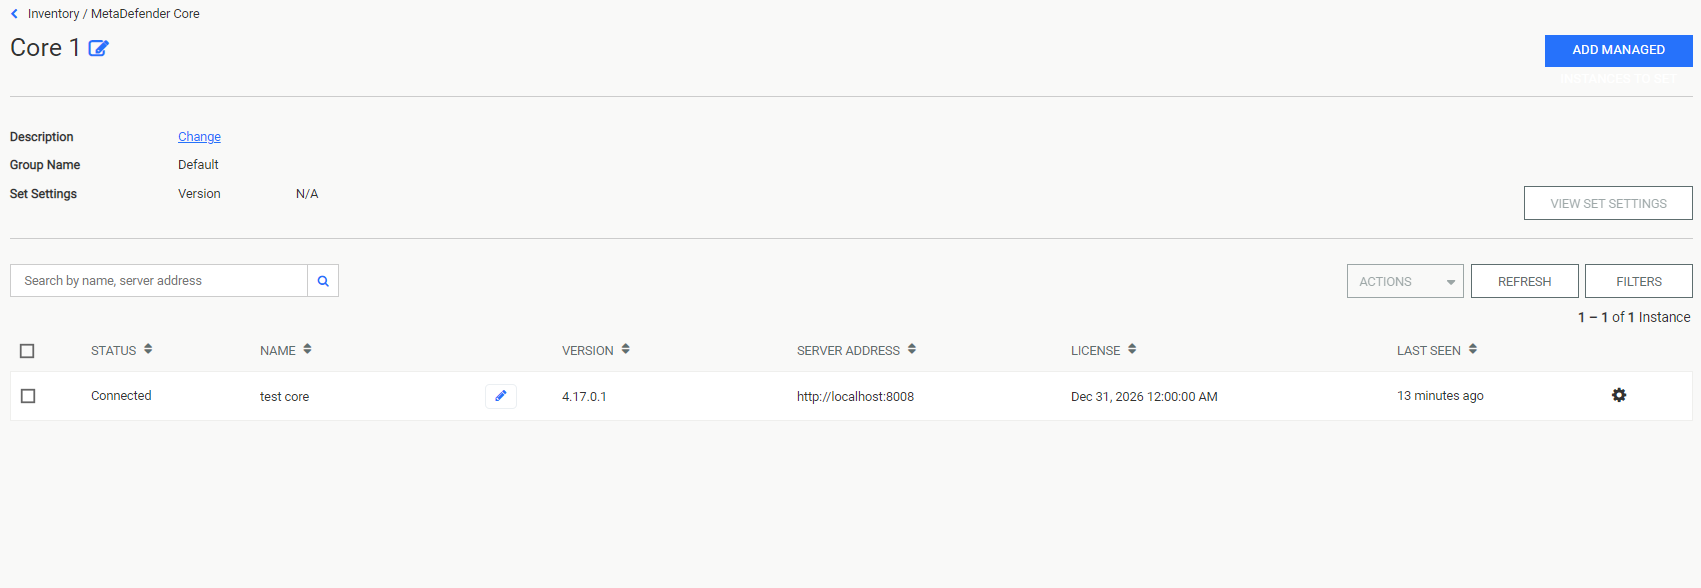
To modify the Set's name, select the edit icon next to the Set's name. Similarly, to modify the Set's description, click on Change next to the Set's description.
Users can also edit the member OPSWAT Product instances from the Set menu. To change an instance's name, click on the edit icon on its entry. To modify an instance's settings, select Settings from its entry's gear icon's drop-down menu.
To assign additional OPSWAT Product instances to the Set, select ADD MANAGED.
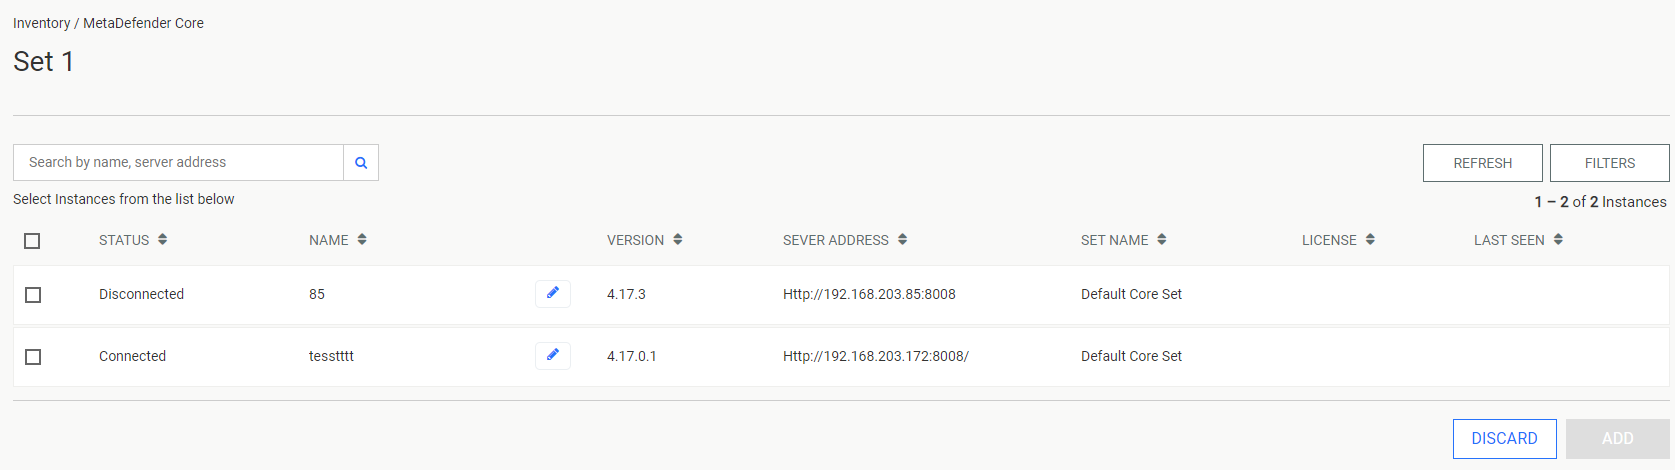
Select the additional instances by clicking their checkboxes. Finalize the selection by selecting ADD.