Normal Installation
Follow these steps to install MetaDefender Managed File Transfer™ using the install wizard:
Launch the setup: double-click on the "metadefender-managed-file-transfer.exe" file.
License agreement: read the License Agreement and select "I agree to the license terms and conditions" if you accept it.

Choose installation directory: click "Browse" to locate the desired directory and then click "OK." To install in the default directory, simply click "Install."
Dependencies will be installed at this stage.
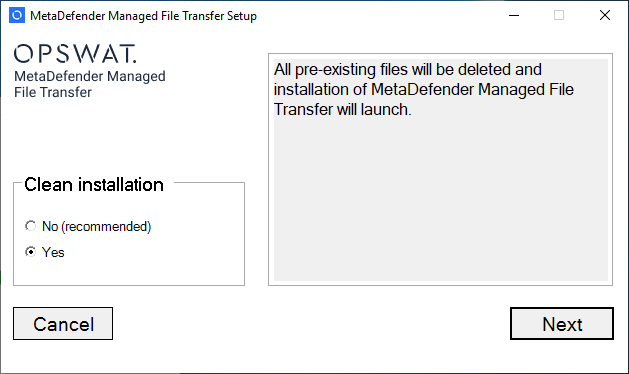
Select whether you want to do a clean installation, and click "Next"

Select database: on the database selection screen, choose your desired deployment model. If connecting to a Microsoft SQL Server database, enter the connection credentials in the window below.
If you are updating MetaDefender Managed File Transfer™, this dialog will be skipped, and the existing settings will be used.

If connecting to a Microsoft SQL Server database, enter the connection credentials in the window below.
If you are updating MetaDefender Managed File Transfer™, this dialog will be skipped.
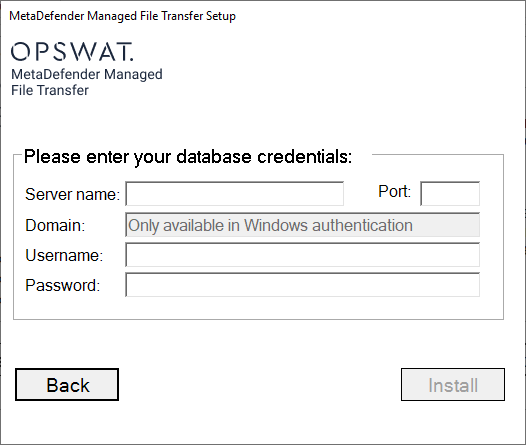
If the server runs on a non-default port (not 1433), enter the specific port number in the "Port" field. If left blank, the default port will be used. Alternatively, the port number can be appended to the Server name in the format <hostname>,<port>.
For Windows Authentication, provide the domain, username, and password during installation to impersonate the user, as the installer runs under the Local System account.
These credentials will not be stored in the connection string; however, the MetaDefender Managed File Transfer services will run under that user, requiring "Logon as a Service" rights.
The SQL Server account must have the "CREATE ANY DATABASE" SQL Server permission. This is required for the initial install (to create the database) and for a complete uninstall (to delete the database).
If you are upgrading MFT and Post-Installation Configuration setup is not completed, the installer will halt the process. In such cases, either finish the setup or perform a clean installation
Click "Install" to proceed with the installation.
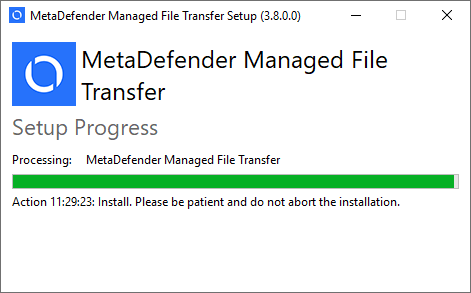
Wait for the installation to finish then click "Launch" to access the web user interface.

Finish Post-Installation Setup
Clean Installation
If you encounter issues with a normal installation, perform a clean installation by selecting "yes" at the dialog below.
Running a clean installation on the selected database may result in loss of data.