Quick Overview
Starting with v2.0.6, there is a new settings page that allows users to configure all security aspects of the product.
The old procedure is still supported and details can be found here.
Step by step guide for enabling HTTPS
Navigate to Settings → Security.
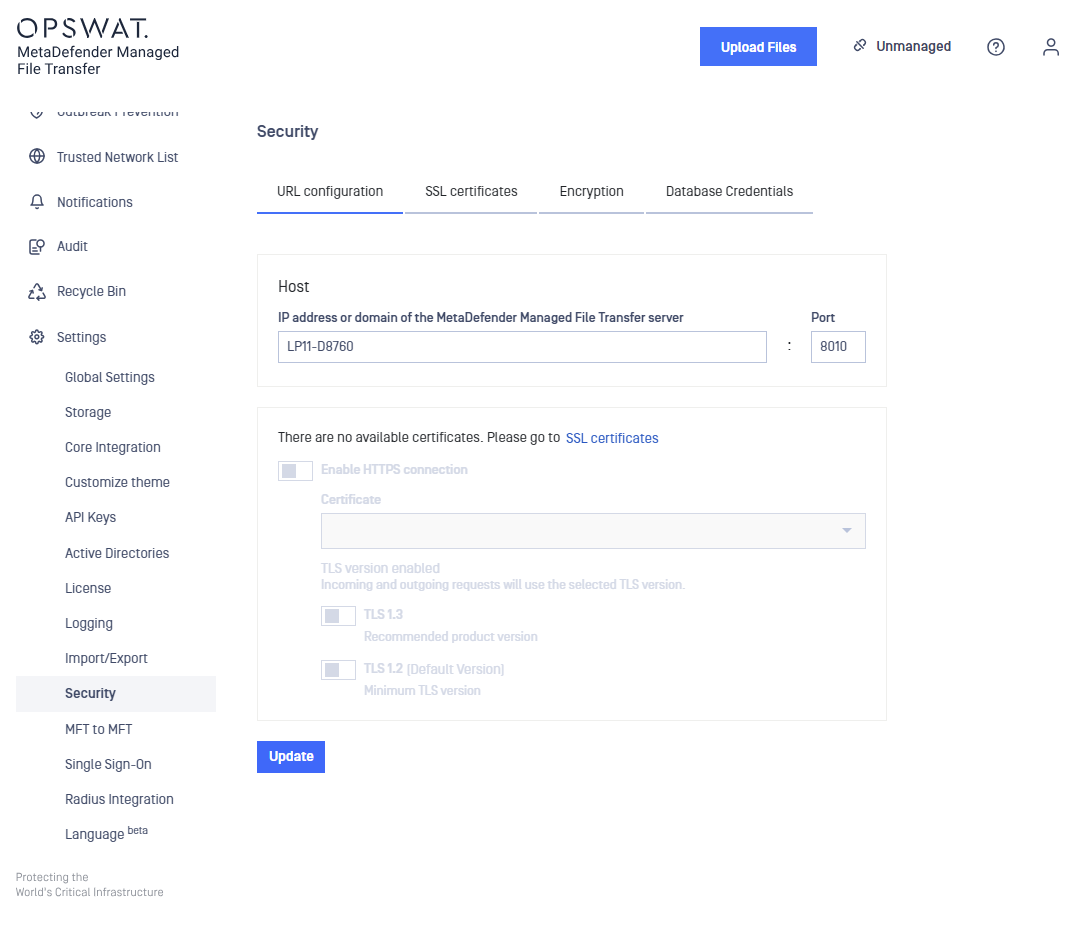
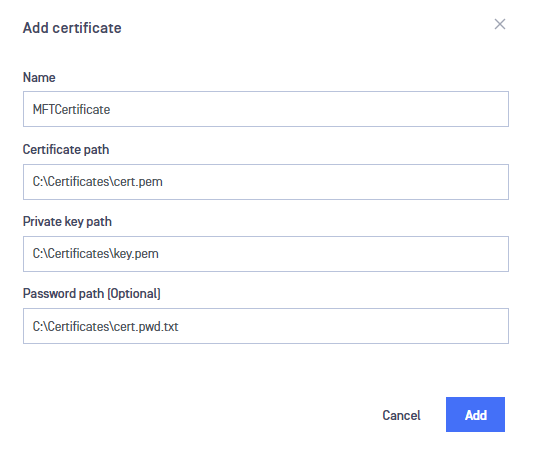
It is necessary to create an SSL/TLS certificate before activating HTTPS so please navigate to the Manage Certificates tab and click ADD CERTIFICATE. A panel will open to the side prompting for the required input. Fill out the required fields and click ADD. Note: Please refer to Information regarding certificates in order to obtain a certificate and certificate key.
Paths containing whitespaces are accepted by default, there is no need to quote the paths in any case.
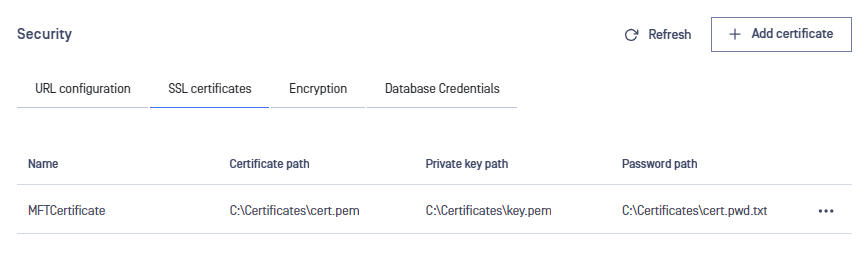
The newly created certificate should now appear in the available certificates list.
Navigate back to the Configure tab and observe that it is now possible to enable HTTPS.
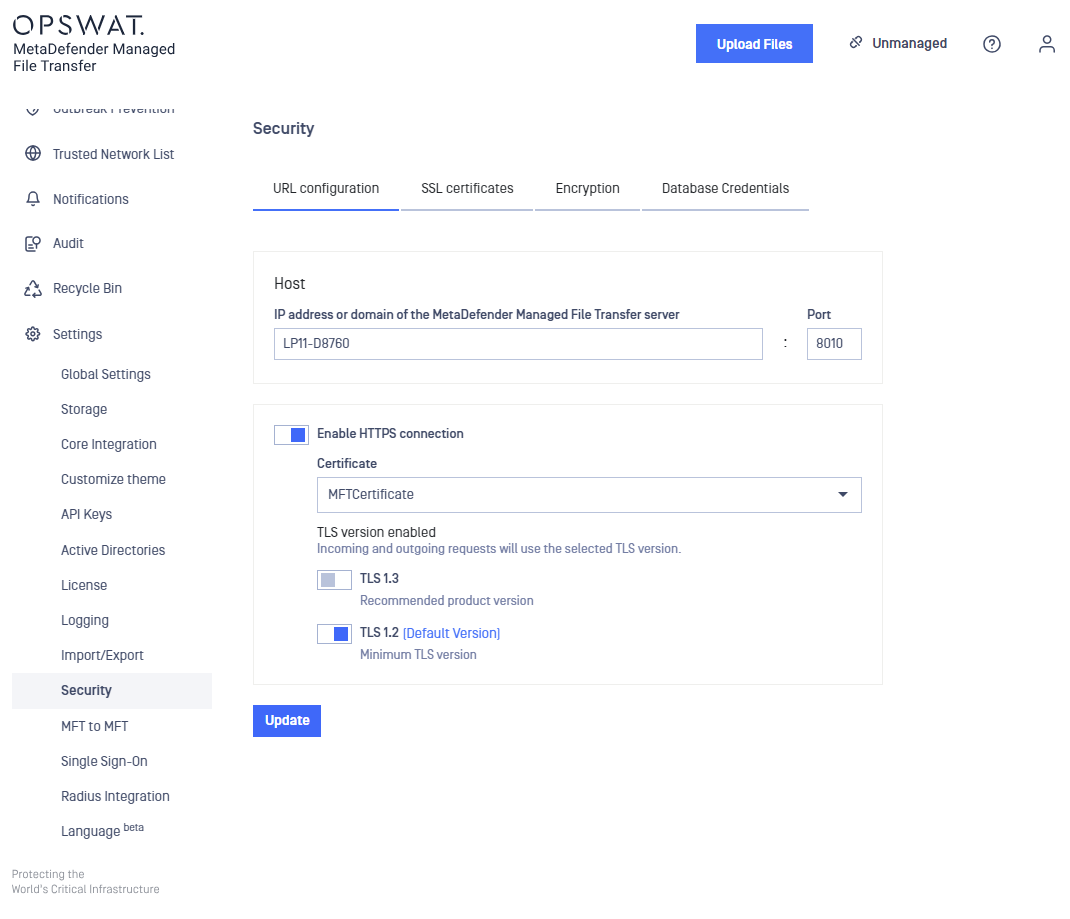
Fill in the desired settings in the configuration window. Note that you can find more information about each field below.
The table below describes in detail each setting:
Name | Description |
|---|---|
Host | DNS name or IP Address of the machine running the MetaDefender Managed File Transfer server. A DNS name will cause the server to listen on all network interfaces. An IP address will bind the server to that particular value. Note: this value is also used to generate links in email notifications. |
Port | The port used to listen for connections. |
Certificate | Name of the certificate created on step 2. |
TLS version | TLS protocol version to use. By default TLSv1.2 will be enabled if the operating system allows it. Connections with clients, that do not support at least one of the configured TLS versions, will fail |
Click UPDATE and wait to be redirected to the new URL.
Enforcing TLS version
If you're upgrading from a previous version or deliberately leave all TLS options unchecked that will instruct Managed File Transfer to default to the following:
for outbound connections (i.e requests made by Managed File Transfer) will use the operating system default TLS protocol
for inbound web requests Managed File Transfer's web server (NGINX) will default to TLS v1.2 or TLS v1.3
If you wish to enforce a particular TLS version please select only that option.
Key rotation
By default the product uses a randomly generated cryptographic key to encrypt uploaded files and other secrets.
In order to generate a new cryptographic key please follow these steps:
Navigate to Settings → Security → Encryption.
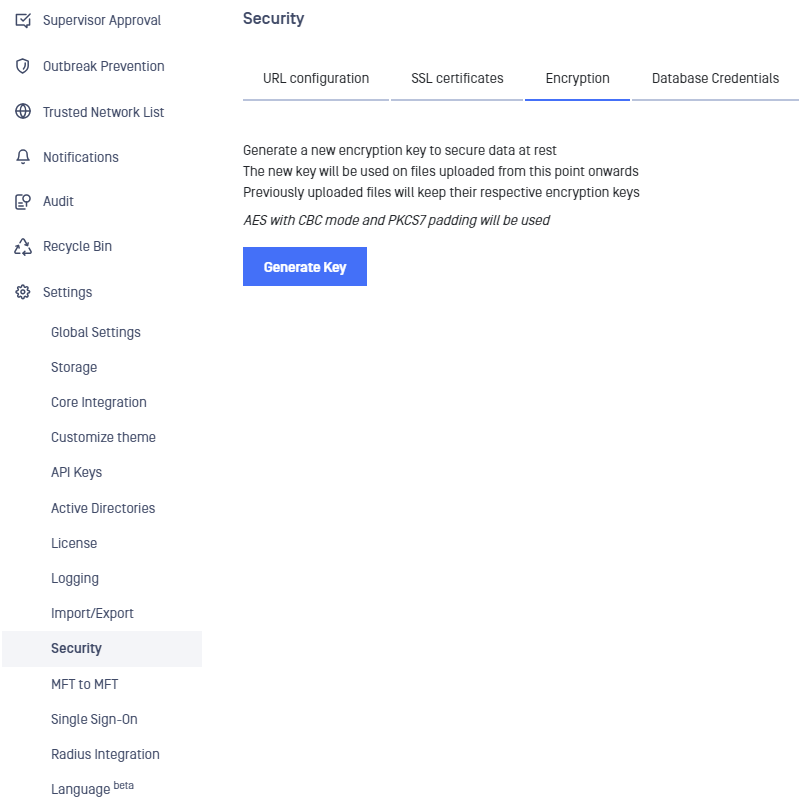
Click on the Generate Key button.
A window will appear asking the client to confirm the action.
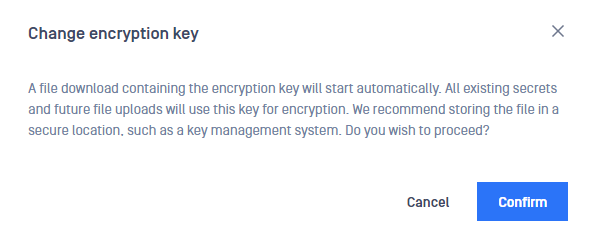
Selecting Cancel will abort the request and no new key will be generated. Selecting Confirm will lead to step 5.
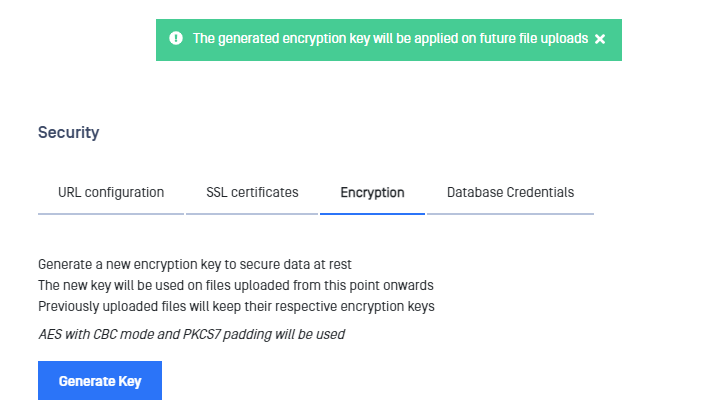
The new cryptographic key has been generated. The software will also provide a one time chance to download the generated encryption key in order to store it in a secure place in case it is needed in the future.
User agent will prompt the client to store the newly generated key in a file. If the client dismisses this step by mistake, he/she must generate a new encryption key. The previous key will be removed automatically by the system.
The system uses the AES algorithm with CBC mode and PKCS7 padding to generate cryptographic keys. Newly created cryptographic keys are stored in the database as UTF8-encoded hexadecimal characters.
Once a new encryption key is generated, all subsequent file uploads will use the newly created key for encryption. Files that were uploaded prior to the creation of the new key will remain encrypted with the old encryption keys.
Note: It is not possible to manually retire previous encryption keys. The system will automatically remove obsolete keys when all files encrypted with those keys are deleted.
Example
File1 and File2 are encrypted with key A.
User generates key B => key A becomes obsolete.
User uploads File3.
File3 is encrypted with key B.
System does a cleanup check and sees that key A is obsolete but it is still used to encrypt files File1 and File2 so the key is not removed.
User generates key C => key B becomes obsolete like key A.
User deletes files File1 and File3.
System does a cleanup check and erases key B (obsolete + no encrypted files). Key A still has one file (File2) encrypted with it so is left alone. Key C has no files encrypted with it but is the active key so it is left alone.
Database credentials update
Managed File Transfer systems that integrate with a remote Microsoft SQL Server are prompted at install time to provide the login credentials (username and password) used for the connection with the database server.
For security compliance, some Managed File Transfer administrators may want to periodically update the login credentials of the Microsoft SQL Server.
The feature to update database credentials is only available for Managed File Transfer installations that use the recommended Microsoft SQL Server integration option at install time.
This feature is not available for Microsoft SQL Server Express LocalDB or Microsoft SQL Server - Windows Authentication.
In order to update the current login credentials please follow these steps:
Make sure that the new Microsoft SQL Server account has the minimum required roles. The SQL Server login must be created with at least the dbcreator server role. The login must map to users for the master, sft_data and sft_conn databases. The users must have the db_owner role.
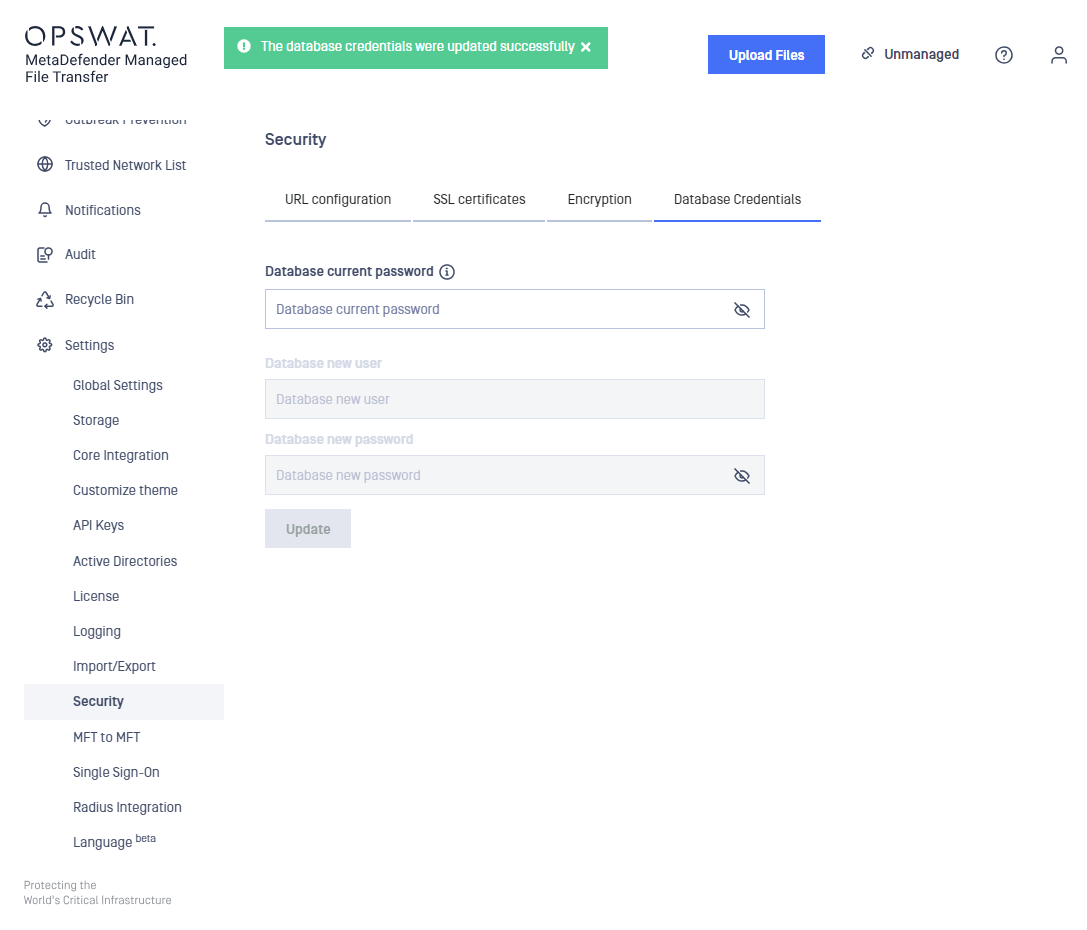
Navigate to Settings → Security → Database Credentials.
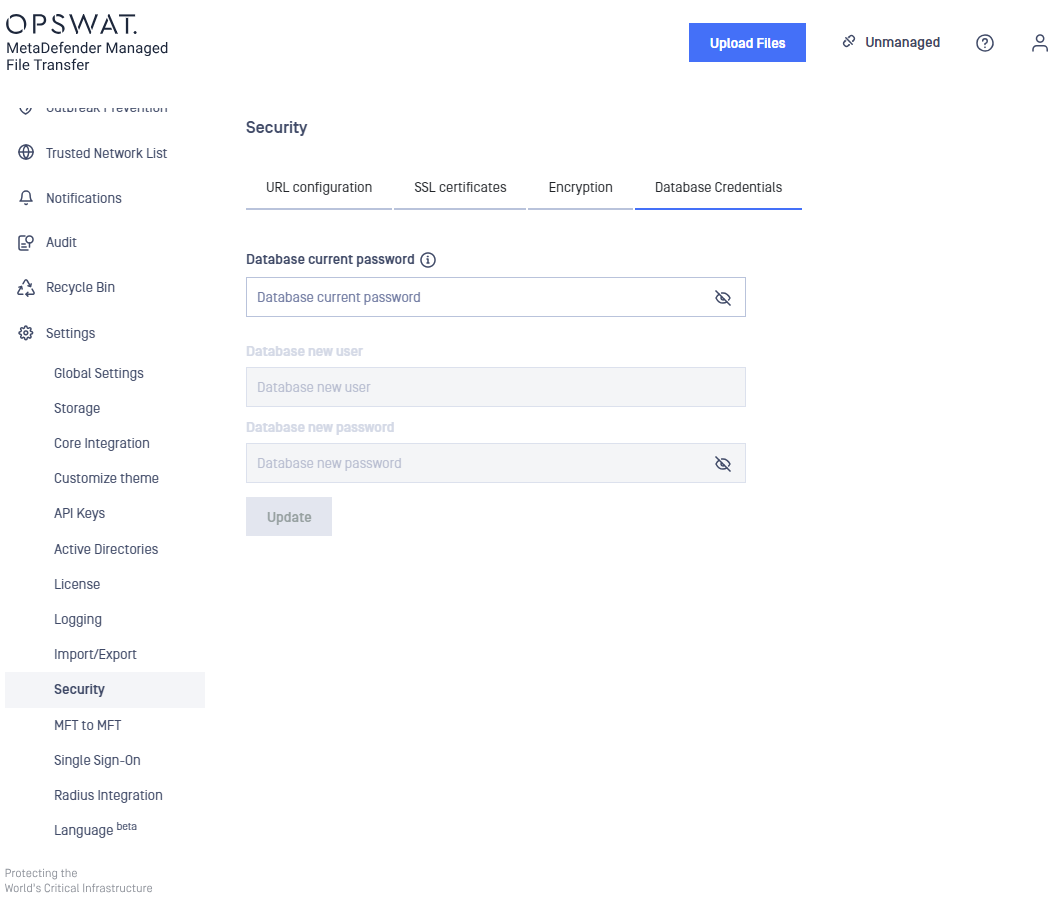
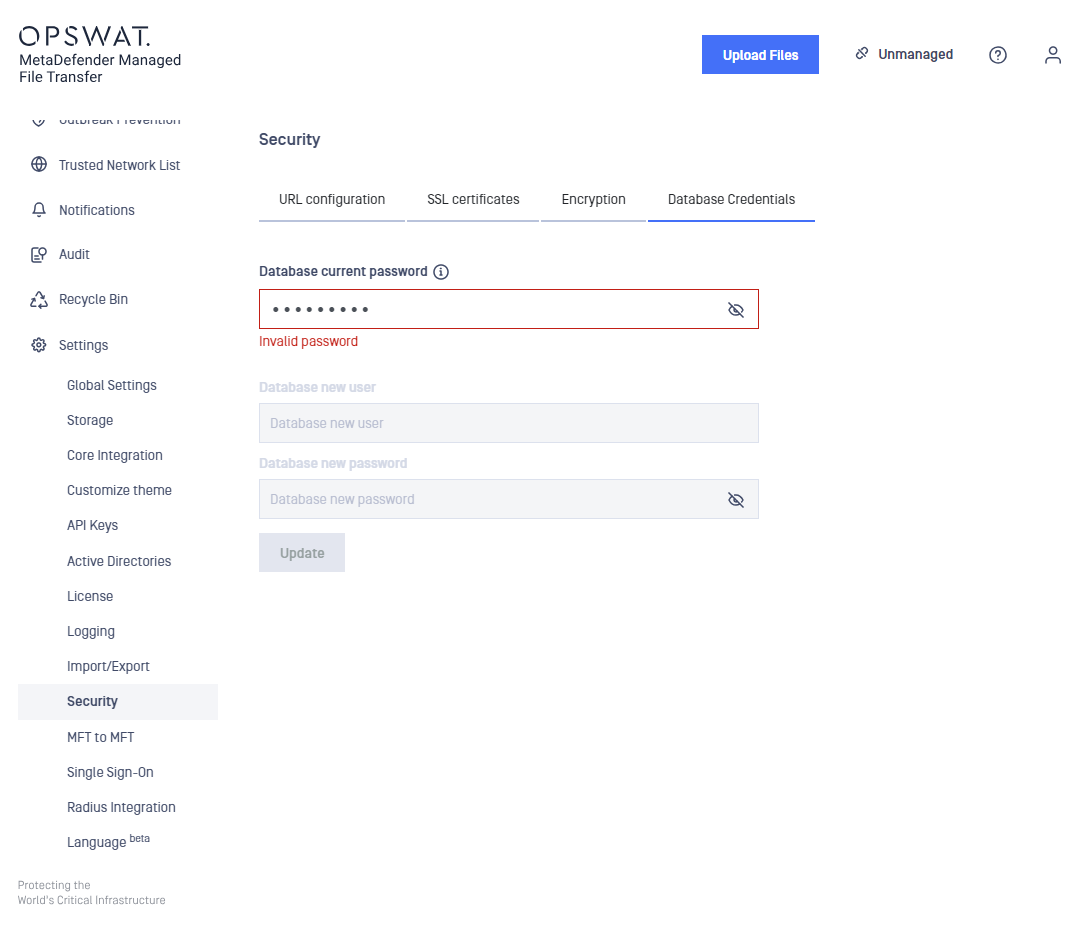
In the first input field please provide the password used for the existing Microsoft SQL Server connection (in case this is the first time upgrading, please provide the password used at install time).
After providing the correct password, the input fields for the new credentials will be enabled.
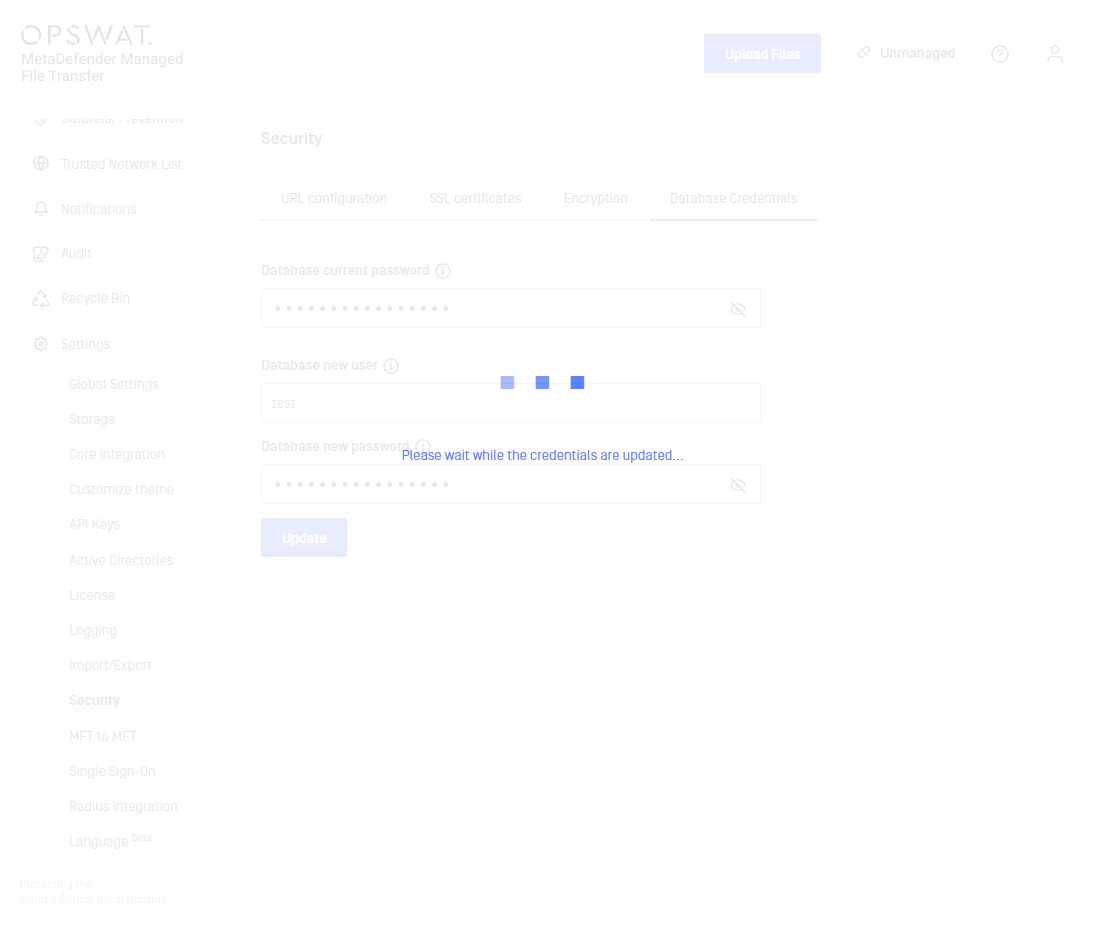
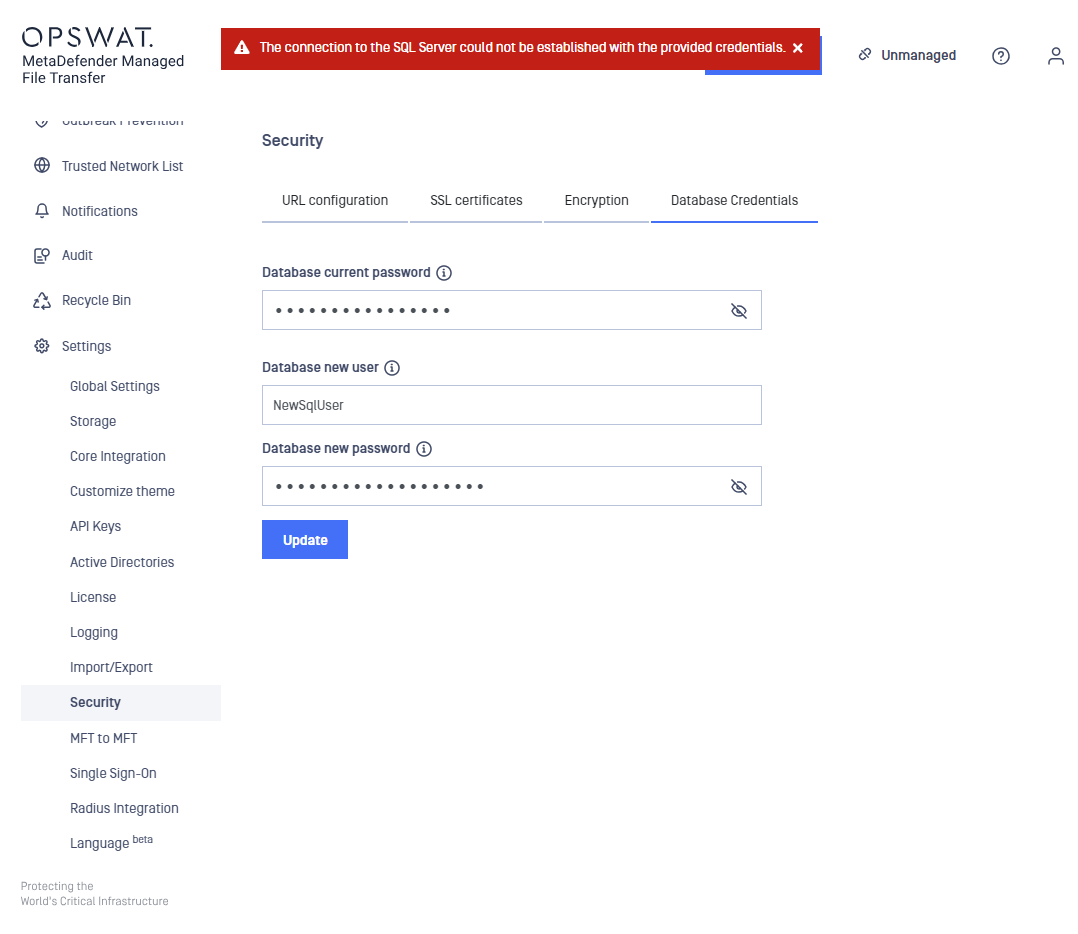
Fill the input fields with the new username and the new password required for the SQL Server connection and click on the Update button.
A loading screen will appear instructing you to wait while the credentials are being updated and the Managed File Transferservices are restarted. This action may last from 30 to 90 seconds. Please do not take any other actions in this meantime.
If the provided SQL Server login credentials are valid and the account has the required server roles, a success message will pop up stating that the credentials were updated. Otherwise, an error message will be presented indicating that the update was not possible.
When updating the database credentials, a new login account must be provided.
The new account must be different from the one currently in use.
This restriction is due to the fact that the current connection string will be rendered invalid if the current login's credentials are changed before initiating the update procedure in Managed File Transfer.
In order to only update the password of the existing login account, an intermediate login account must be created. This intermediate account is required in order to keep the connection with the database server up and running while the password is updated for the old login.
After the password of the first account is updated from SQL Server, the database credentials from Managed File Transfer can be updated again to the first login.
Possible errors overview
Current database password is invalid - the provided current password does not match the password that is used for the current SQL Server login.
Invalid SQL Server login credentials - the connection with the SQL Server could not be established by using the newly provided credentials. In order to fix this, make sure that the new credentials correspond to an already existing login. Make sure that the login has the required server roles: public and dbcreator.
For other possible errors that might appear during the database credentials update procedure please check the opswat.mft.database.configuration.log file located in the Managed File Transfer install folder under the path OPSWAT\MetaDefender Managed File Transfer\Services\Logs .