Settings can be configured for each Kiosk instance within the configured management server.
Refer to the specific product guide on how to access a Kiosk's settings from the inventory list:
Settings
The General tab contains the configuration settings for Kiosk.
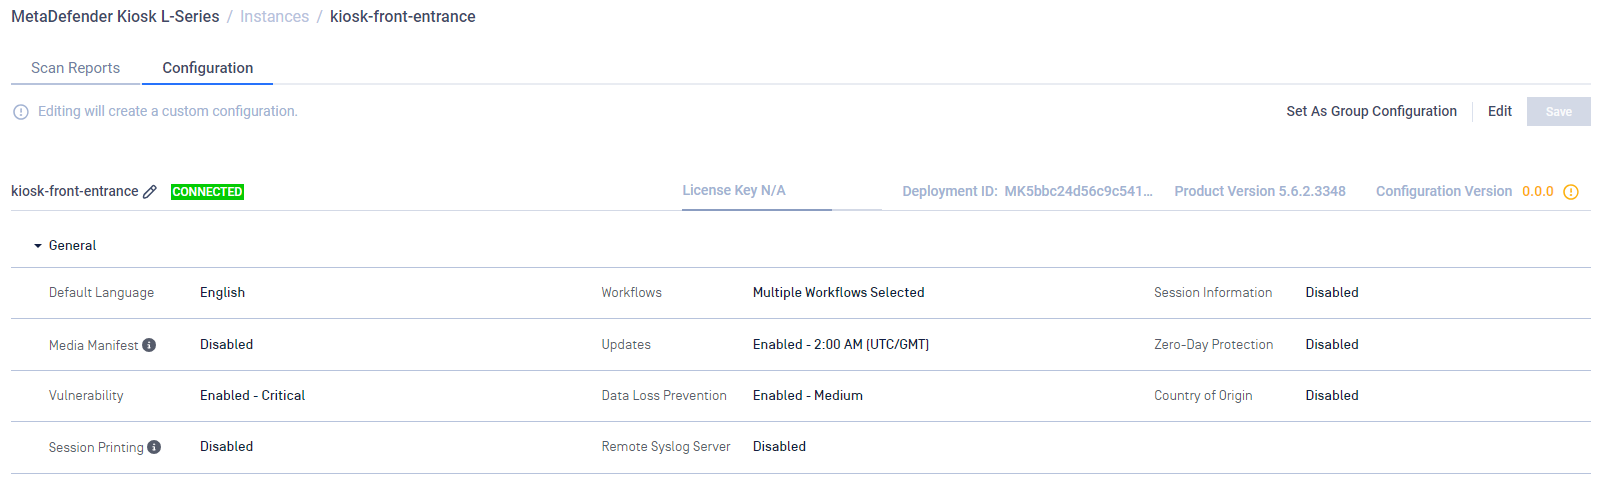
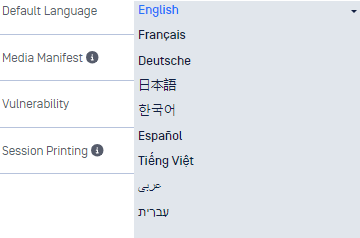
Default Language
Set the default display language for the Kiosk UI
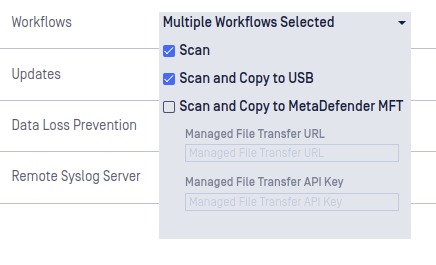
Workflows
Enable Scan, Scan and Copy to USB, and Scan and Copy to MetaDefender MFT workflows. Multiple Workflows can be enabled at the same time.
Workflow
Scan - scan the entire contents of the inserted media and obtain results of files that were Blocked & Allowed
Scan and Copy to USB - users select specific files to scan and copy only Allowed or sanitized\redacted files to another USB device
Scan and Copy to MetaDefender MFT - users select specific files to scan and copy only Allowed or sanitized\redacted files to the configured MetaDefender Managed File Transfer
Managed File Transfer URLDirect MetaDefender Managed File Transfer connection
Managed File Transfer server URL (note:
/vault_restdoes not need to be appended to the url)
Using OPSWAT NetWall in between Kiosk & Managed File Transfer
URL of the NetWall BLUE side
Refer to the NetWall user guide for further details on setup for connecting to Managed File Transfer
Managed File Transfer API KeyEnter a valid administrator API Key for the MetaDefender Managed File Transfer server
It cannot be determined if the Kiosk will have a valid connection to Managed File Transfer when the configuration is being set.
Please review the Managed File Transfer Connection guide to understand where to look and ensure a successful connection.
Session Information
Enables the Session Information page in the Kiosk UI.
Click the Session Information drop down to write in which prompts the user must respond to.

When any field is filled in, a user will be presented with a form at the start of a session. The user will be shown the fields as written and will require input. This information will be included in the session report available in Central Management or My OPSWAT.
Media Manifest
Media Manifest is a signed file that records all the file results of the content on the scanned media and can be validated by other OPSWAT products such as Client, OPSWAT Media Validation Agent, or MetaDefender Media Firewall without the need for re-scanning file content.
In Scan mode, the manifest will be copied to the scanned media after the scan completes.
In Scan and Copy to USB mode, the manifest will be copied to the secondary media.
In Scan and Copy to MetaDefender MFT mode, the manifest is not created.
Regardless of workflow used, the Media Manifest can only be copied to media that is writeable. If the USB device is read-only the Media Manifest feature will not work. Discs are not currently supported for this feature.
Enable Generate Media Manifest - select this option to generate a Media Manifest.
Certificate - upload the Public and Private key files to generate the Media Manifest

Certificate should be in a Base64-encoded X.509 certificate file (.crt, .cer) format
Private key should be a privacy-enhanced electronic mail file (.pem) format and not be locked by password
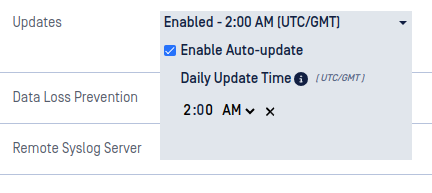
Updates
Configuration for setting an auto-update schedule.
Enable Auto-update - Check this box to allow automatic updates for Kiosk Linux.
Daily update time - Configure a convenient time for Kiosk Linux to update itself. Leave this empty or click the
xicon to allow Kiosk to update as soon as an update is ready to be applied.
Zero-Day Protection
Zero-Day Protection detects any active content embedded in a file such as macros, hyperlinks, etc... and attempts to reconstruct a file without such potential threat vectors.
In the Scan workflow, files with active content will be marked as Blocked and detected items will be listed.
In Scan and Copy to USB or Scan and Copy to MetaDefender MFT workflows, a copy of the original file without the active content will be created and copied over to the secondary media.
In all workflows, the original file on the original media will remain un-changed.
To enable Zero-Day Protection, check the Enable box in the drop down menu.
Vulnerability
The vulnerability engine determines if there are any known Common Vulnerabilities and Exposures (CVE) associated with a file. Any CVEs detected will cause the file to be marked as Blocked.
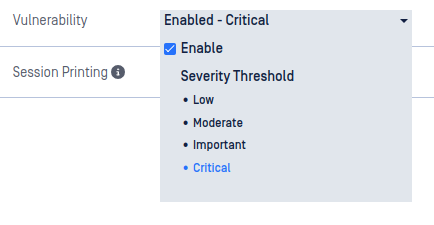
Enable - check this to enable vulnerability detection
Severity Threshold - configure the minimum severity that will be reported:
Low - reports Low, Moderate, Important, and Critical CVEs
Moderate - report Moderate, Important, and Critical CVEs
Important - report Important and Critical CVEs
Critical - only report Critical CVEs
Data Loss Prevention
The Data Loss Prevention (DLP) engine can detect Personally Identifiable Information (PII) such as Social Security or Credit Card numbers.
In the Scan workflow, files with PII will be marked as Blocked and detected items will be listed.
In Scan and Copy to USB or Scan and Copy to MetaDefender MFT workflows, a copy of the original file without the PII will be created and copied over to the secondary media.
In all workflows, the original file on the original media will remain un-changed.
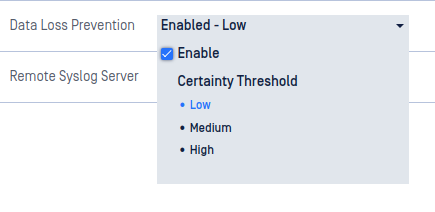
Enable - check this to enable PII detection
Certainty Threshold - configure the minimum certainty that will be reported:
Low - report Low, Medium, and High certainty of detection
Medium - report Medium and High certainty of detection
High - only report High certainty of detection
Country of Origin
The Country of Origin (COO) engine is utilized to detect Supply Chain Risk issues. The engine scans any executable files to determine the country the binary originated from. Any executable found to be originating from a country in the Forbidden list will be marked as Blocked.
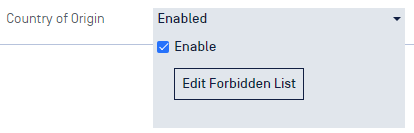
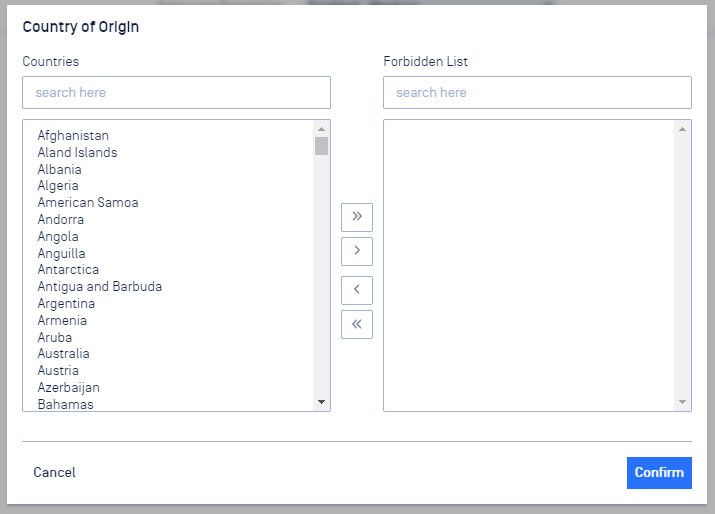
Click the checkbox to enable, then click Edit Forbidden List to select the Countries you wish to block files from. Use the arrow buttons in the middle to move selected countries between the two lists. Click Confirm to save the changes.
Session Printing
The Brother QL-1100 is the only supported printer.
If support for another printer is required, please contact OPSWAT Support.
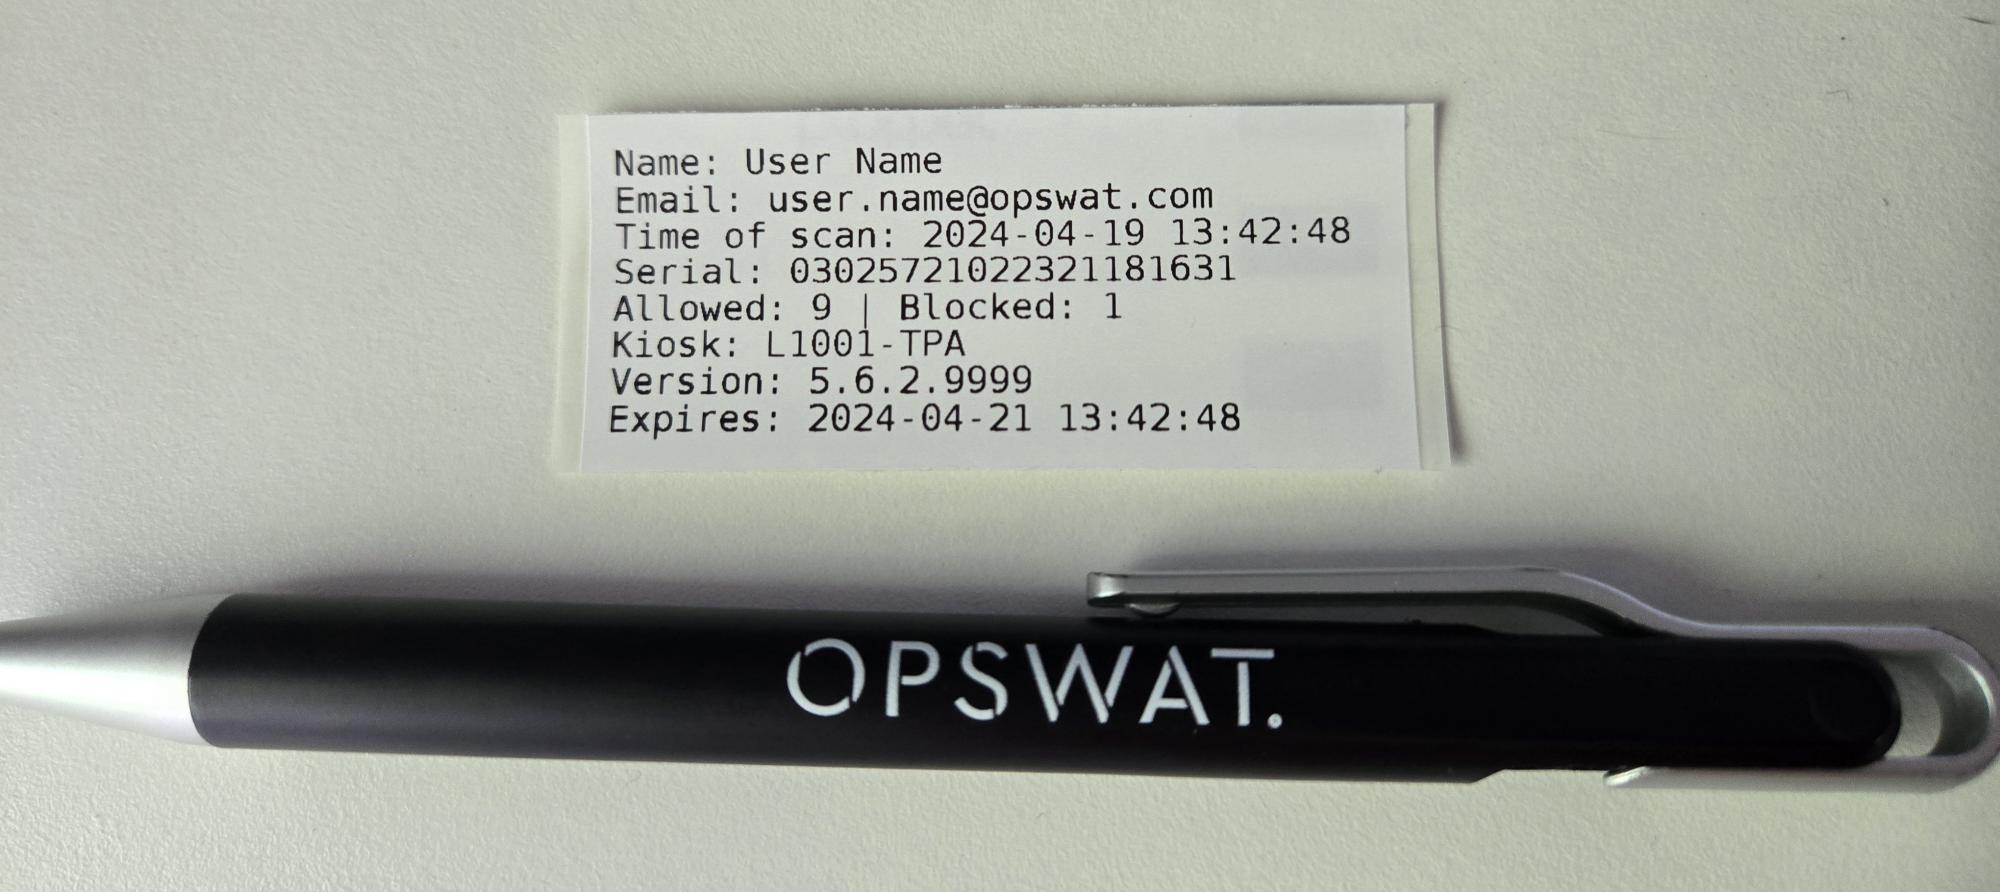
With a Brother QL-1100 label printer, a summary report can be printed after each scan. This will always include information about the time the scan was performed, the serial number of the device scanned, and the number of files allowed and blocked from the scan.
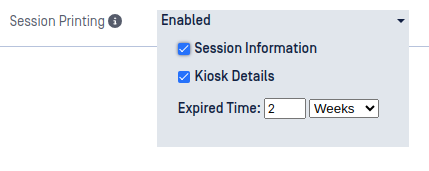
If the Kiosk Details option is enabled, this summary report will also include the Kiosk name and the Kiosk version.
The Expired Time may also be set, this will be printed in the summary report if any value greater than zero is provided. This can be set to a value in weeks or days and is meant to show the date and time at which a scan is no longer considered valid within your organization.
Session Information may also be enabled to print, only if there are prompts configured in the Session Information portion of the configuration. When enabled, this will print all user prompts each followed by their corresponding user response.
For instructions on printer setup, please refer to pages 2 to 4 of the Brother QL-1100 setup guide.
Printing will only work with 2.4" (62 mm) Brother DK paper tape.
Remote Syslog Server
Kiosk Linux can be configured to send Notice or higher-level log messages to a remote syslog server.

Enable - enable the connection to a remote syslog server
Server IP Address - the IP address of the remote syslog server
Server Port - the port that the remote syslog server is configured to listen for messages. This is usually port 514.
Server Protocol - select which protocol to use to communicate to the remote syslog server, TCP or UDP
Upon applying any changes to the syslog configuration, Kiosk will attempt to log: Logging to remote syslog configured.
If this message is seen, the syslog configuration can be confirmed valid and working.
If no message is seen, the Kiosk's connection may not have to ability to reach the server.
Reconfiguring Kiosk
In the event the Network settings or the management server connection needs to be reconfigured, the system reset process should be followed to reconfigure Kiosk.
Any queued reports that have not been sent to Central Management / My OPSWAT will be wiped by a system reset.