Evaluation Mode
Kiosk comes shipped in Evaluation Mode; a temporary trial period to allow the use of Kiosk.
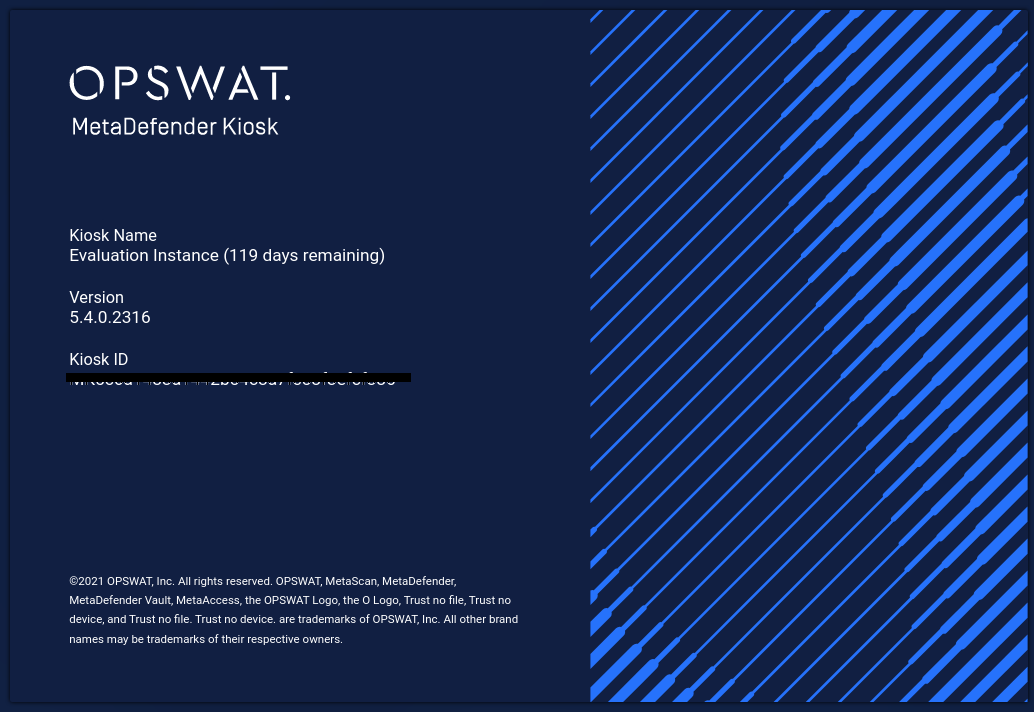
In Evaluation mode, the Kiosk version display will show it is an evaluation instance and the number of days remaining for the evaluation period:
Details of Evaluation Mode
No connection to Central Management
No reports are generated and cannot be viewed
No settings can be modified
No updates are downloaded by the Kiosk
Only AV engines are used for scanning
Only
Transfer - USBoperating mode can be usedTrial period is set for
120 days
To unlock the full feature set of Kiosk and transition out of Evaluation Mode, it must be connected a Central Management server with a valid Volume License.
The following sections outline how to prepare Central Management for Kiosk Linux connection.
Once Kiosk is out of Evaluation Mode, it cannot be reverted back to it
Setup Steps
Install OPSWAT Central Management (version 7.18 or greater)
Visit My OPSWAT to download the latest version of OPSWAT Central Management
Reach out to your OPSWAT sales representative to obtain a
MetaDefender Kiosk Linux v5 - volume licenseProvide the Central Management deployment ID
Connect Kiosk to Central Management by following the instructions below
Central Management Configuration
Managing Kiosk Linux instances requires connecting to an OPSWAT Central Management server version 7.18 or greater. Visit My OPSWAT to download the latest version of OPSWAT Central Management.
Central Management requires a Volume License in order to license MetaDefender Kiosk Linux. See Managing the MetaDefender Kiosk Linux volume license for more information on licensing.
After installing Central Management, log into the management console and go to Settings->Global Settings. On the Account tab ensure you have a value for Registration Code. Generate a code if that field is empty.
Connecting to Central Management
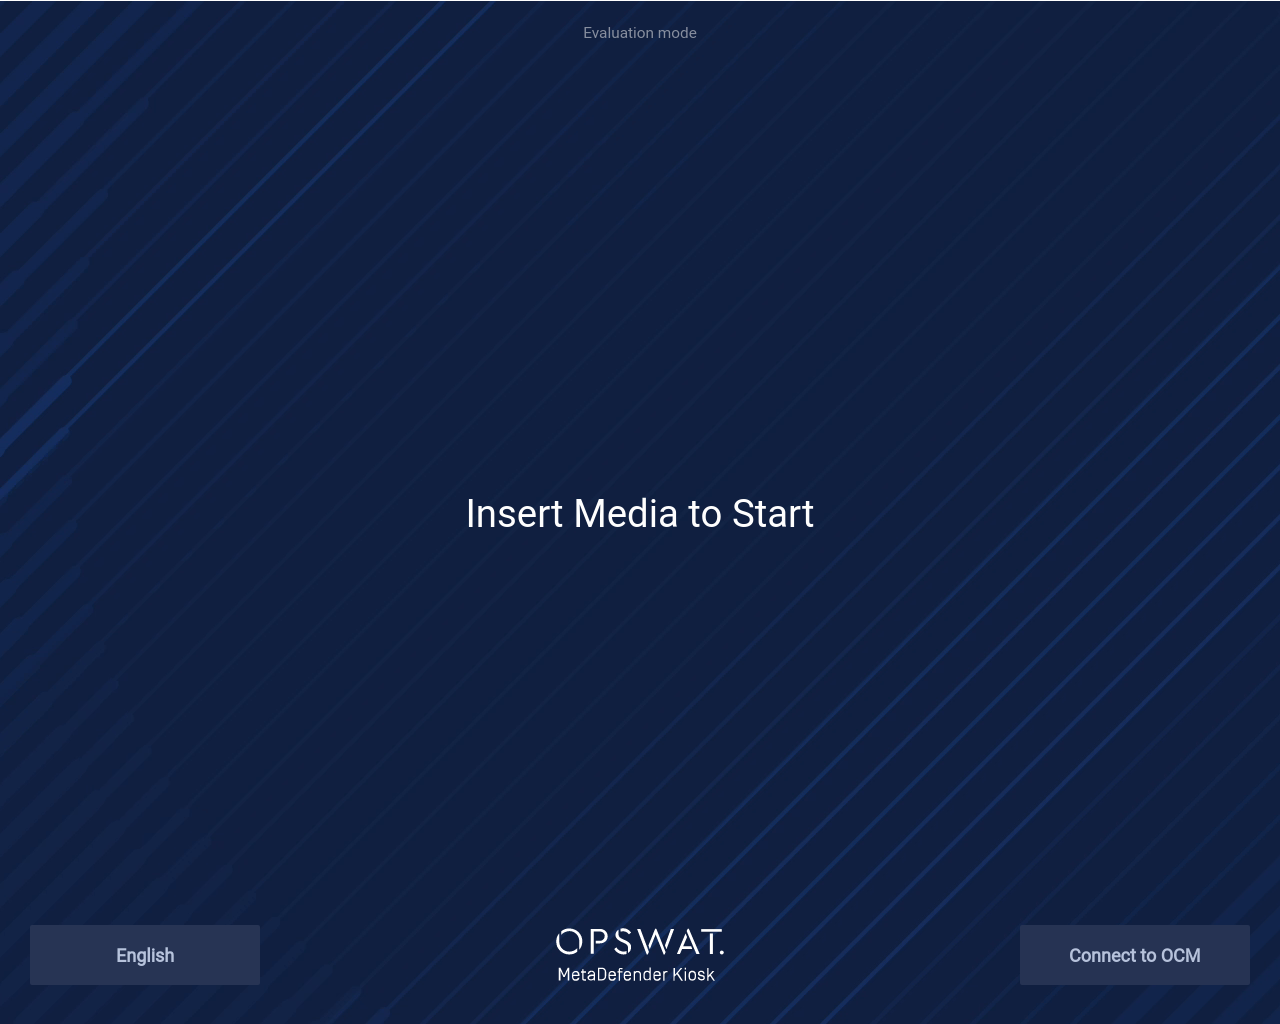
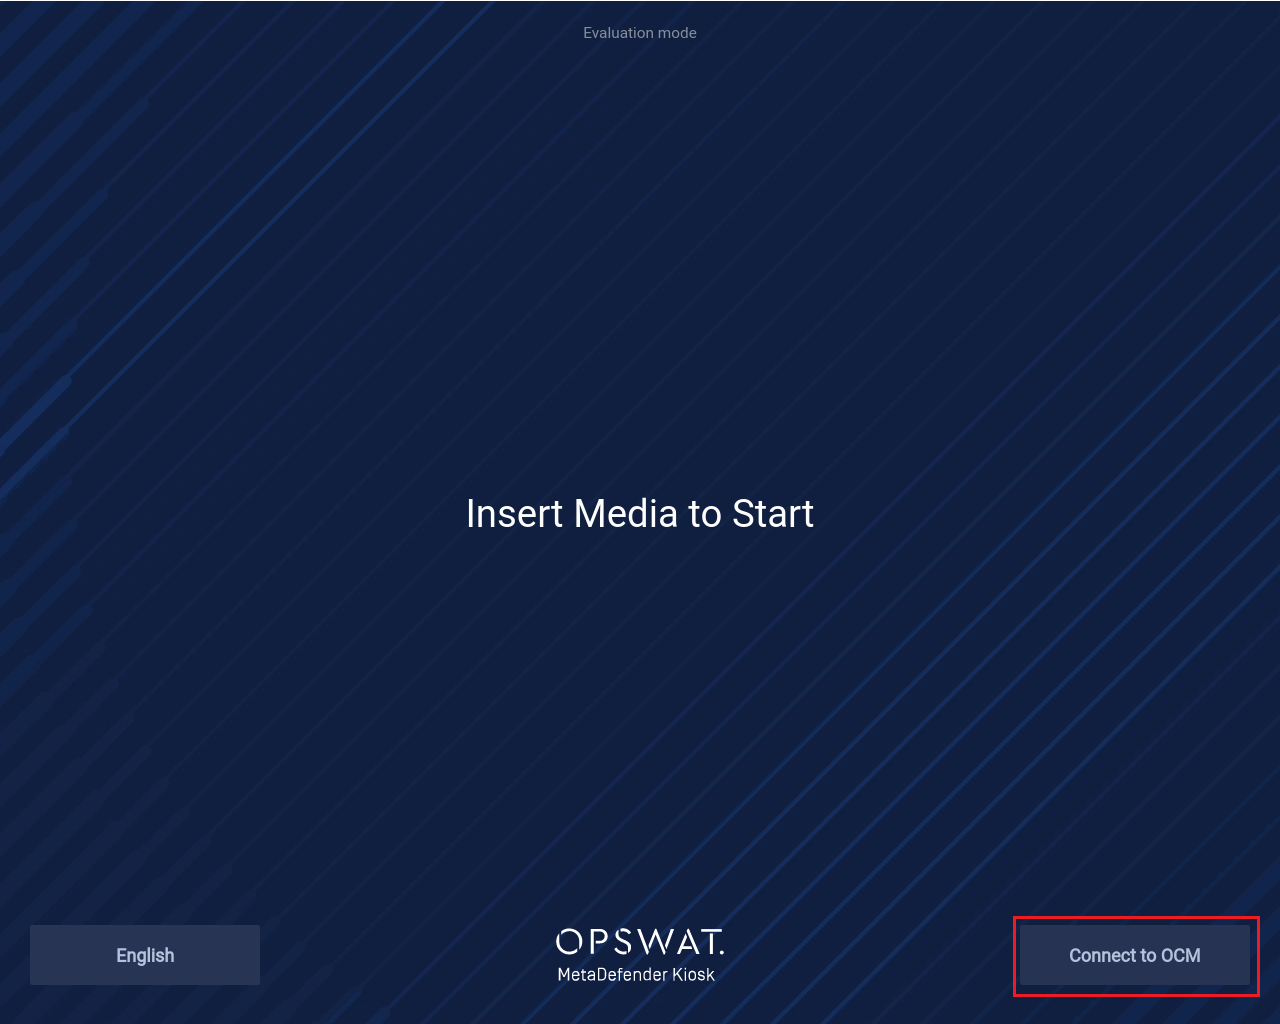
On the Insert Media prompt page in Evaluation mode, click the Connect to OCM button to begin the setup process to connect Kiosk to Central Management.
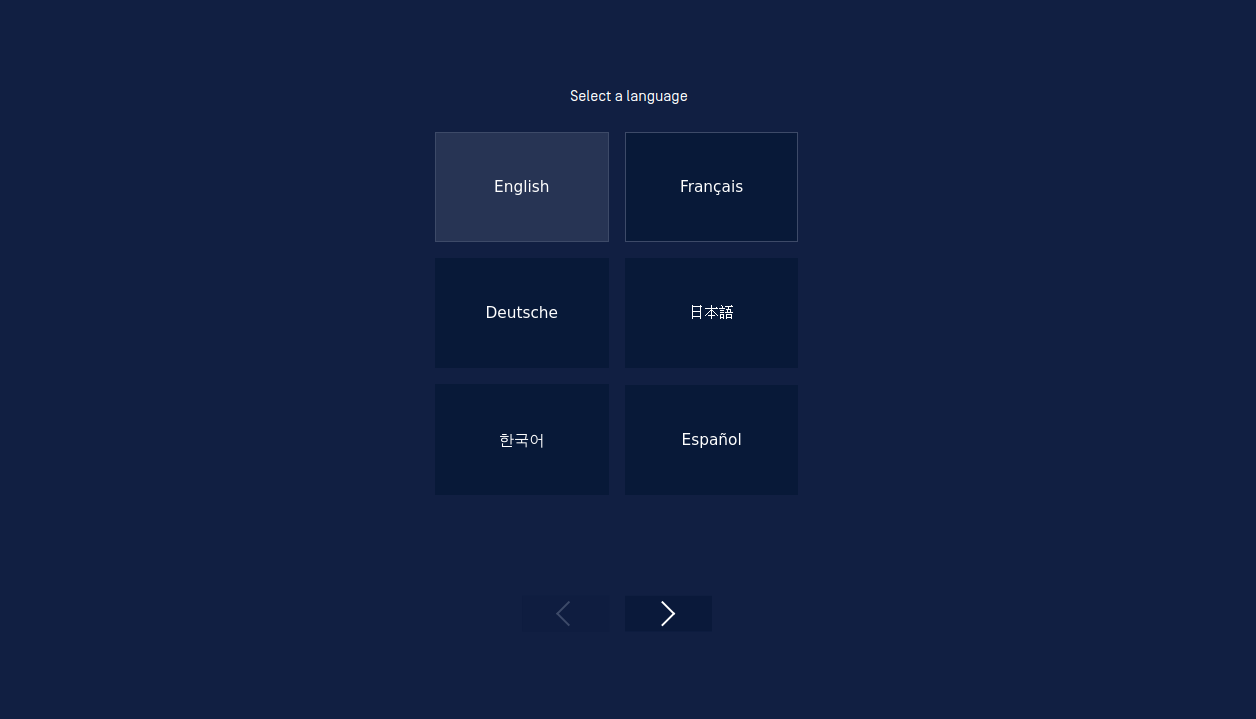
Setup begins with choosing the default on-screen language:
Configuring the Kiosk network setting is next.
The System IP address will automatically fill in if networking capabilities are working. If this value is empty, use the gear icon to configure the network connection.
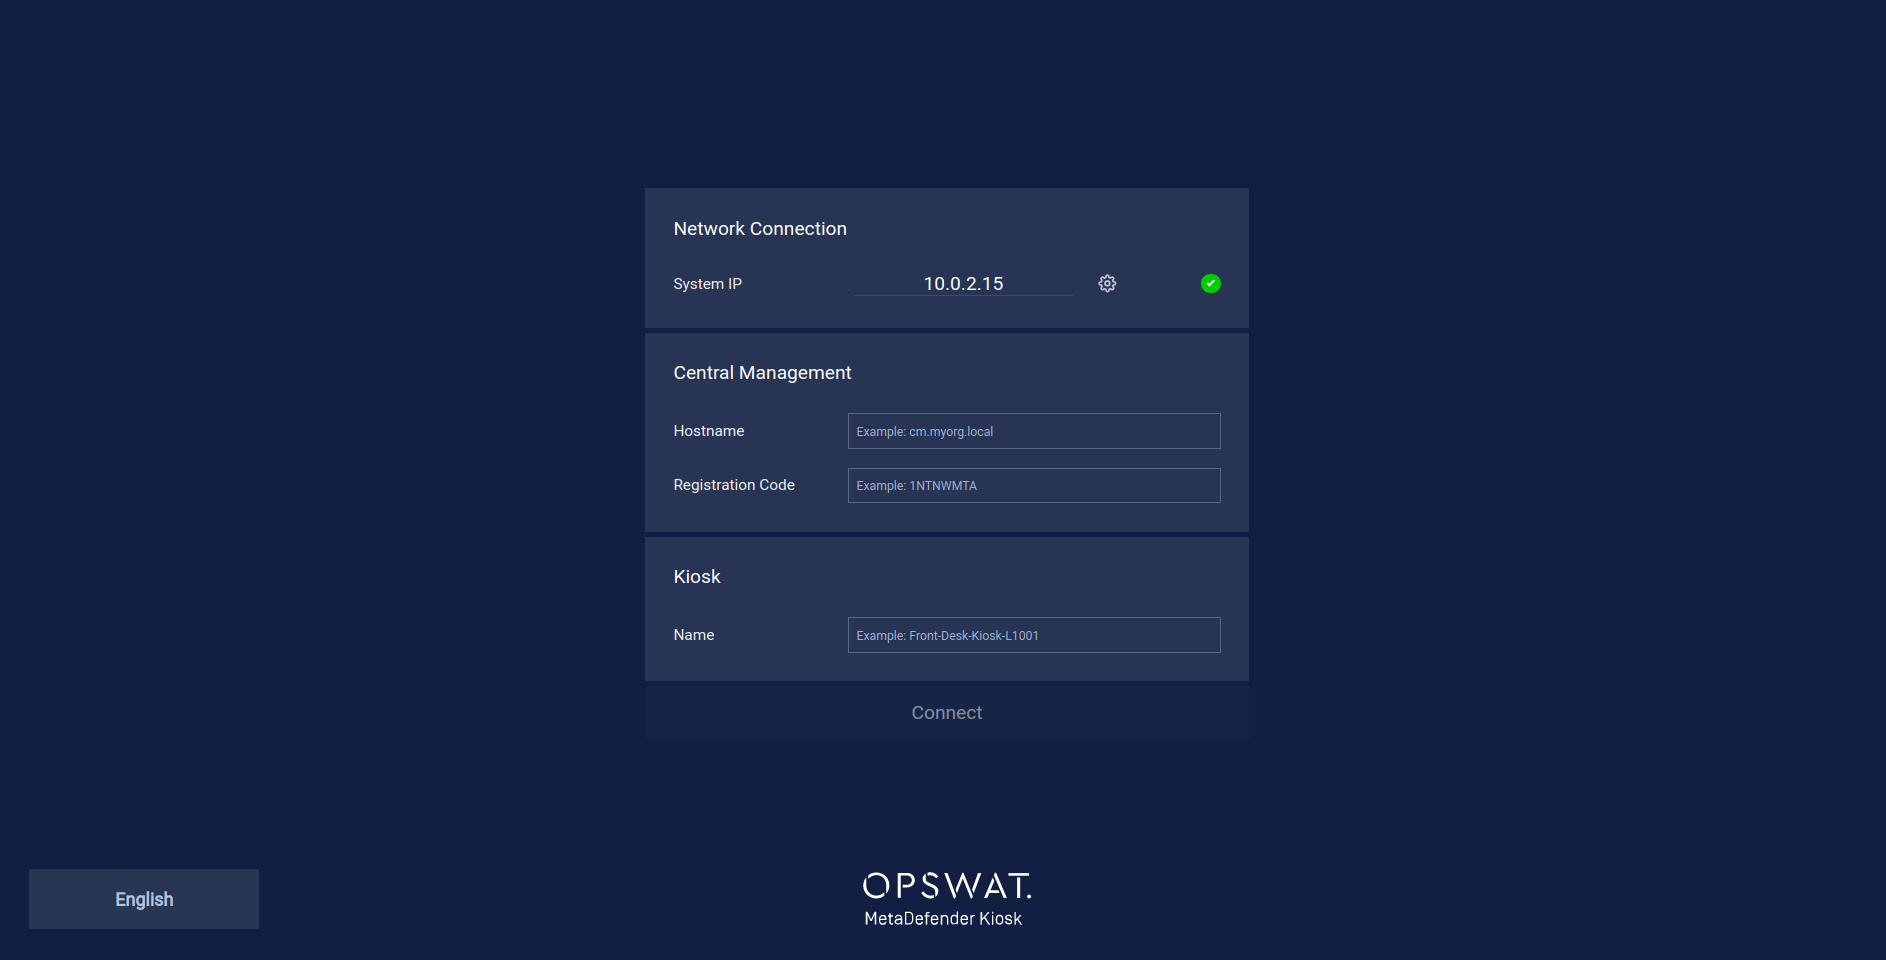
Connection to a Central Management server needs to be configured after configuring network settings.
The Hostname and Registration Code of the Central Management server are required to connect. Their values are found in the Settings section of Central Management.
Hostname: go to
Settings -> Server Configuration -> Server URLRegistration Code: go to
Settings -> Global Settings -> Registration Code
Name specifies the Kiosk instance name that is displayed in Central Management for easier identification.
Click the Connect button after filling in the required fields to register Kiosk with Central Management.
Once connection is made, Kiosk will begin to setup necessary components and send configuration details.
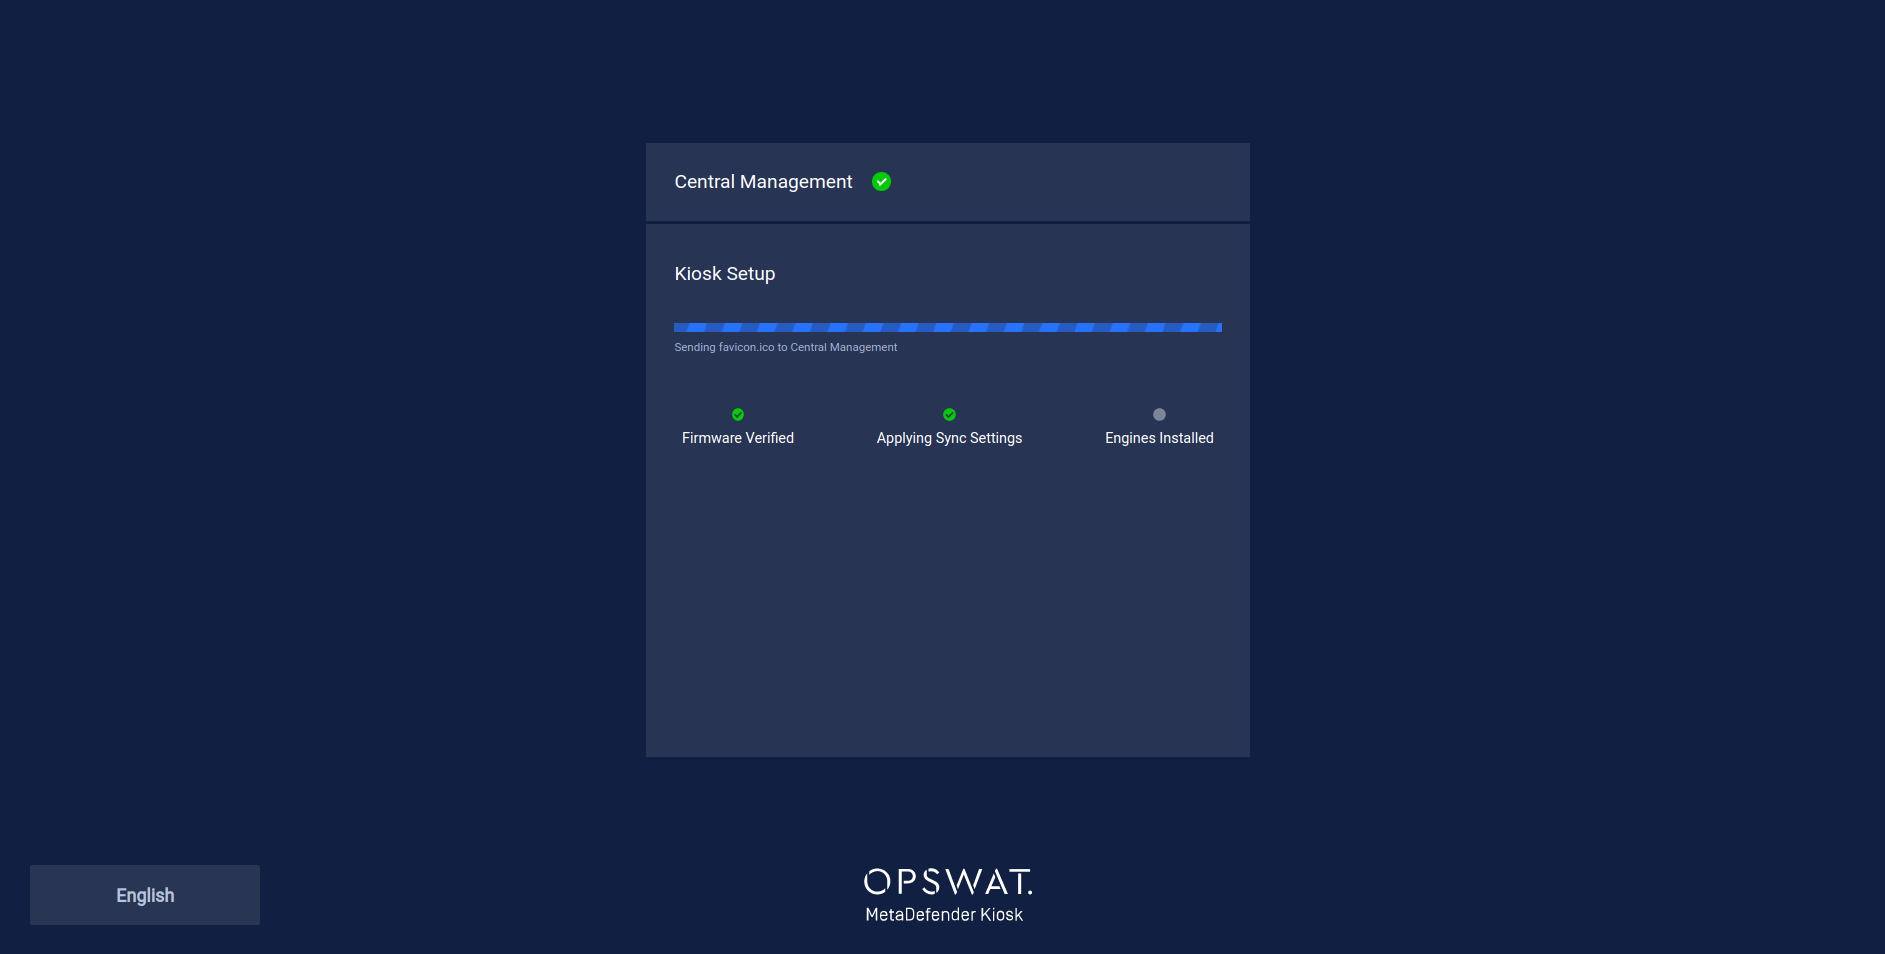
When setup is complete, Kiosk is ready to process media.
If setup fails at any point, the Kiosk will have to be restarted and re-onboarded to Central Management again.
Reconfiguring Kiosk
In the event the Network settings or the OPSWAT Central Management connection needs to be reconfigured, the system reset process should be followed to reconfigure Kiosk.
Any queued reports that have not been sent to Central Management will be wiped by a system reset.