How to Uninstall MetaDefender for Salesforce
Uninstallation
This section will assist you with uninstalling the Cloud Security for Salesforce application.
Step 1: Click the Gear icon in the upper right-hand corner of the Cloud Security for Salesforce interface and select Setup from the menu that appears.
Step 2: Click in the search text field and enter installed packages.
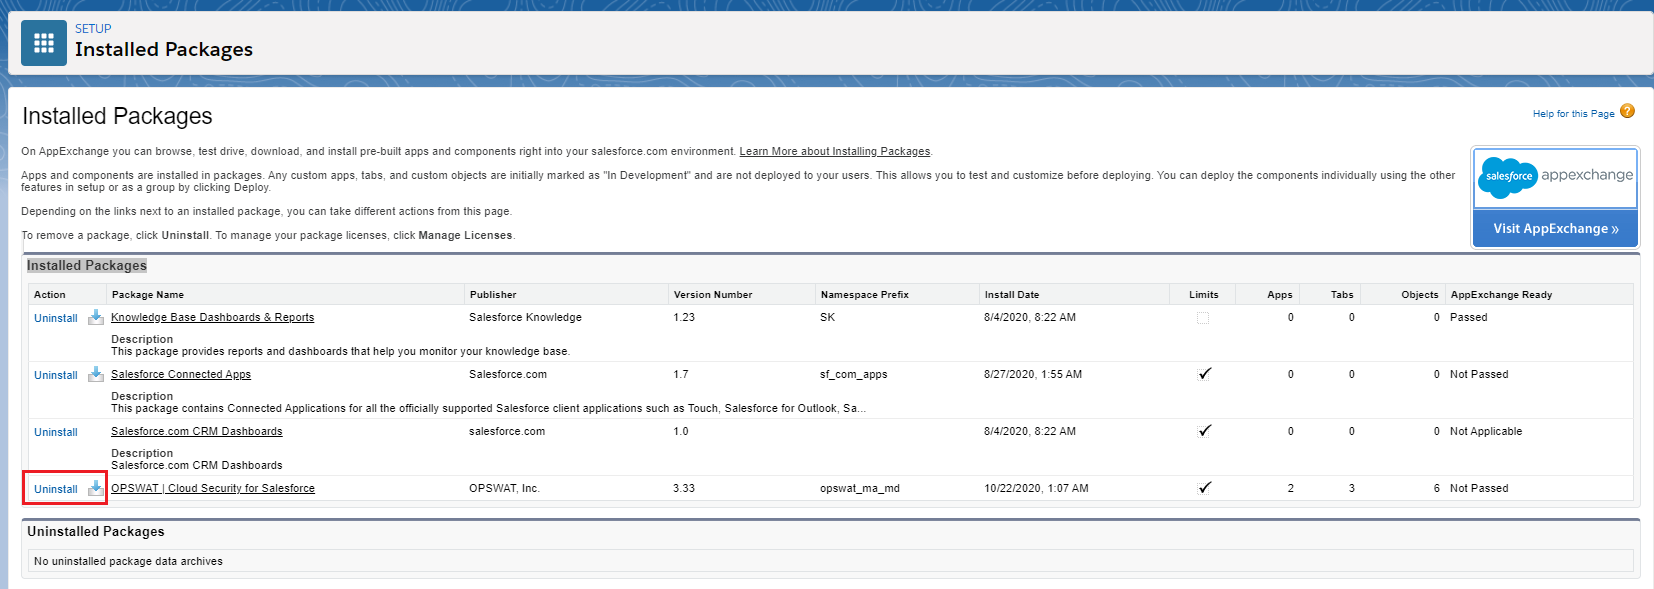
Step 3: Click Installed Packages.
Step 4: Click on the “Uninstall” link to the left of the package name.
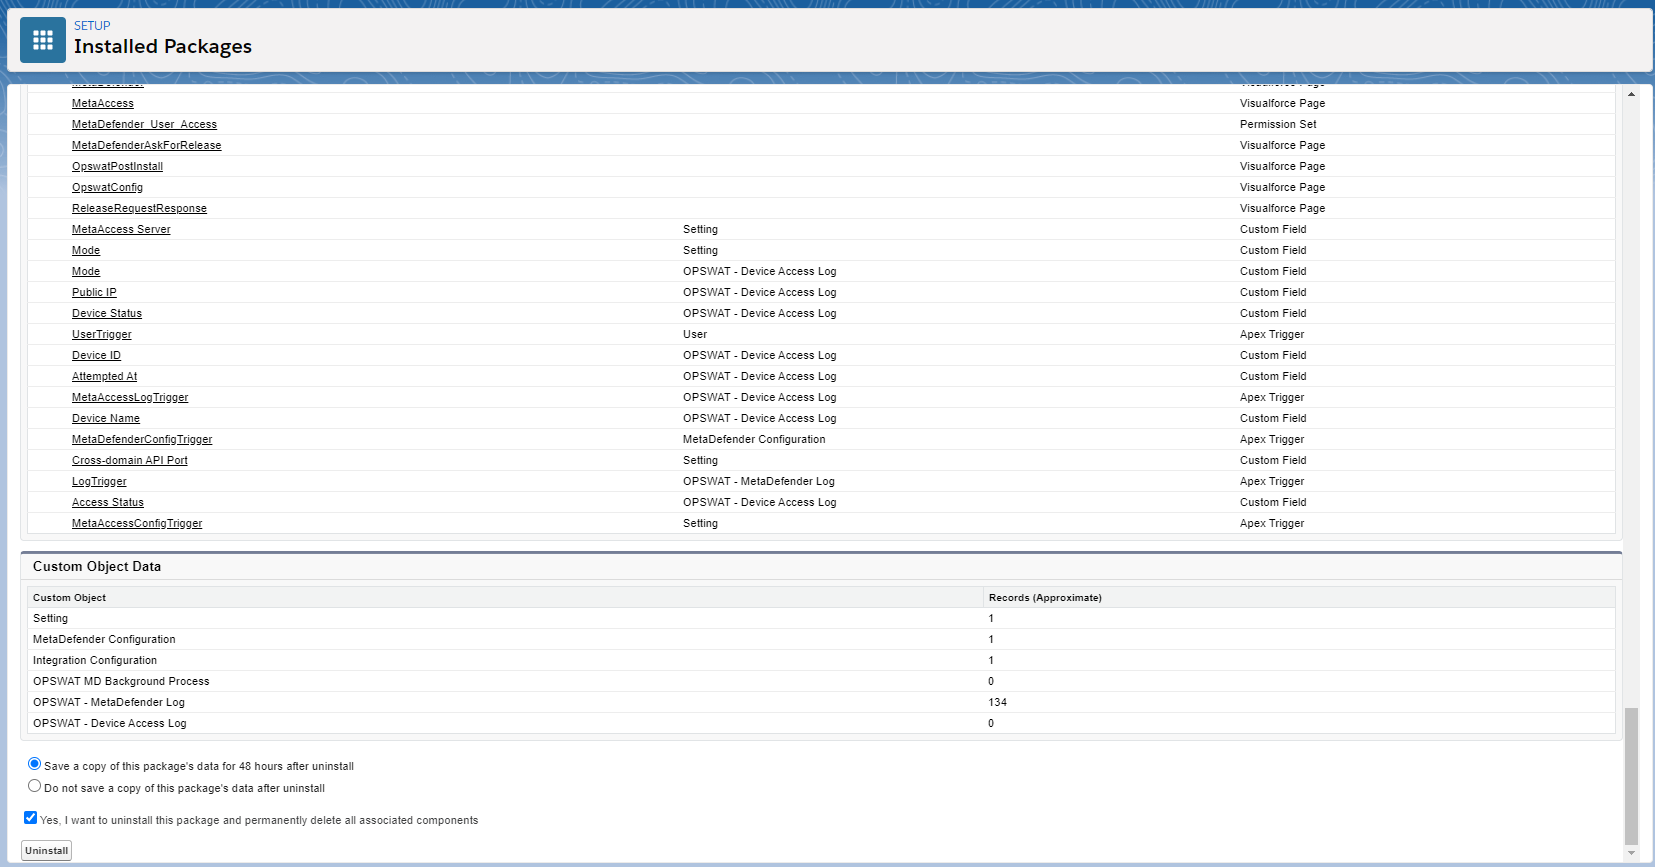
Step 5: Read the messages on the page and if everything is okay, click one the following radio buttons, as necessary:
- Save a copy of this package’s data for 48 hours after uninstall
- Do not save a copy of this package’s data after uninstall
Step 6: Check on the box “Yes, I want to uninstall this package and permanently delete all associated components”, then click uninstall.
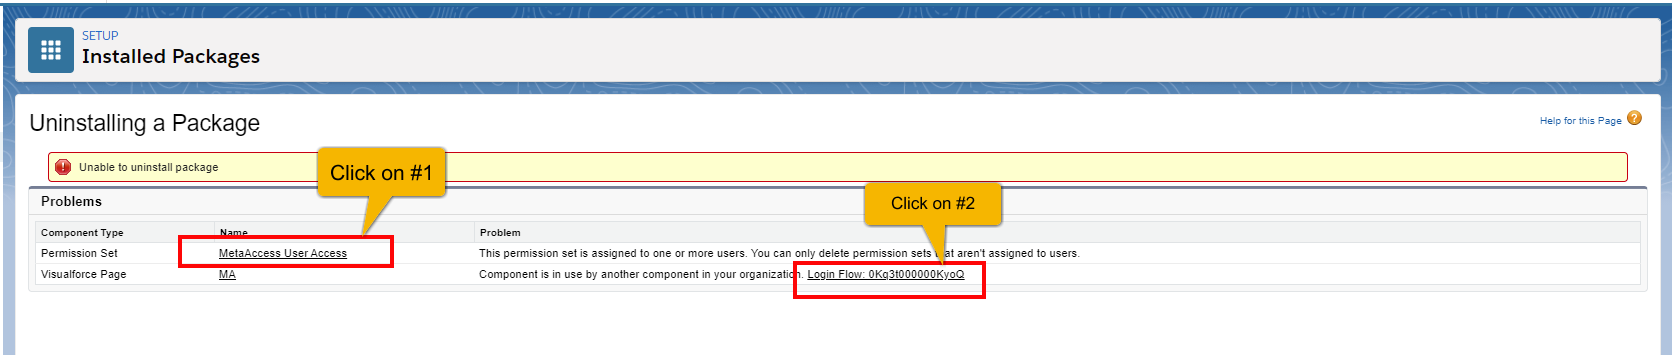
Unable to Uninstall?
Depending on how the app was configured during set up, you may run into the error "Unable to Uninstall". If you do run into that error, try the solutions we have below:
Permission Set Issue
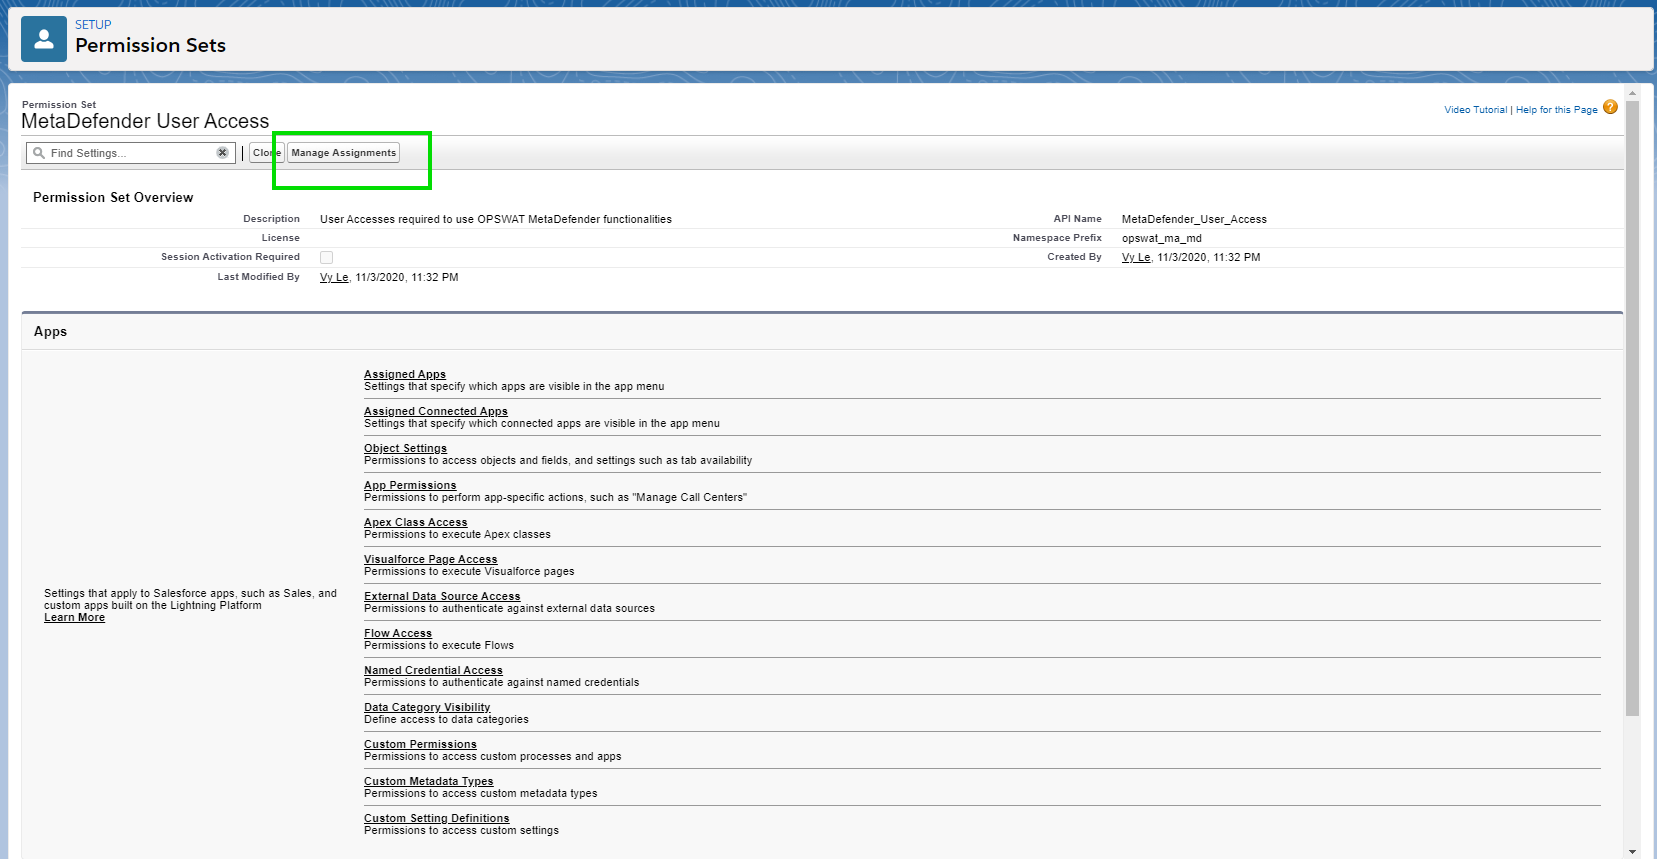
Step 1: Click on the Permission Set Name in the error message (#1)

Step 2: Click on Managed Assignments
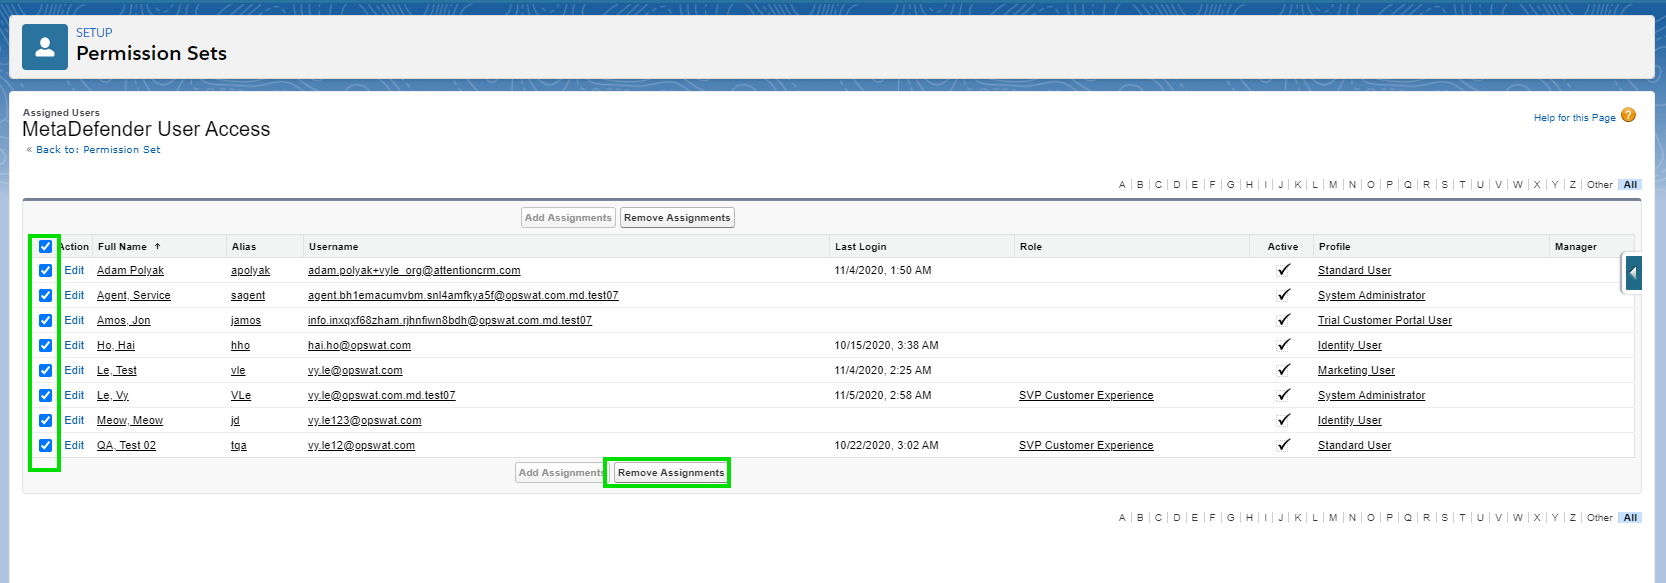
Step 3: Click on the top checkbox to select all users assigned to the permission set
Step 4: Click on Remove Assignments in order to remove these users from the permission set
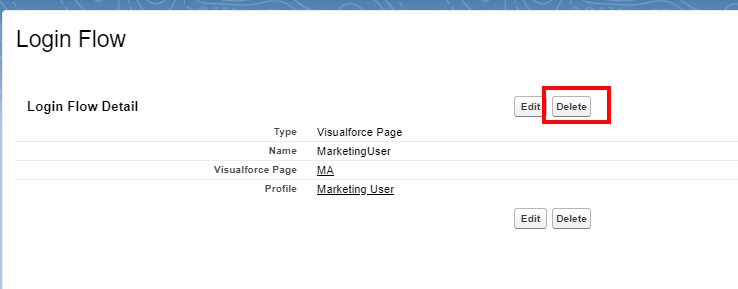
Login Flow Error
To resolve the login flow error, follow the steps below:
Step 1: Click on the Login Flow link (#2)
Step 2: Click on Delete to delete the login flow
After following those steps to remove the permissions sets and/or delete the login flow, retry the steps to uninstall the application.