Keycloak SAML 2.0
Create a realm on Keycloak
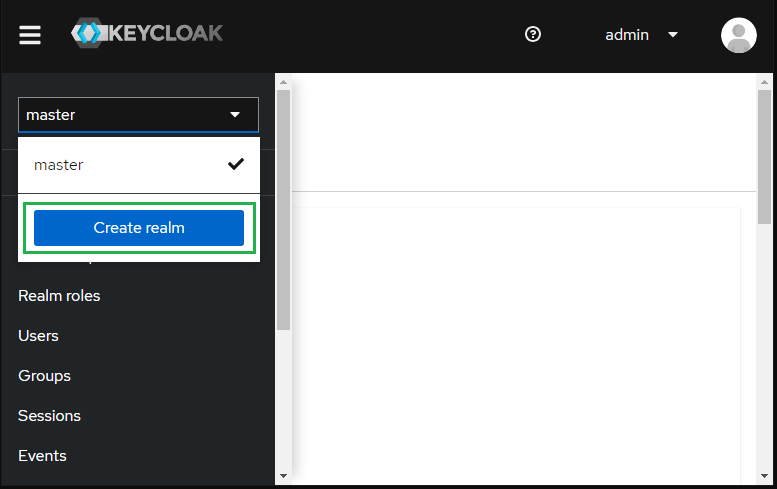
Login to Administrator Console, drop the list in top left corner and hit "Create realm".
Keycloak initially includes single realm master which is used for managing Keycloak only and not for any applications
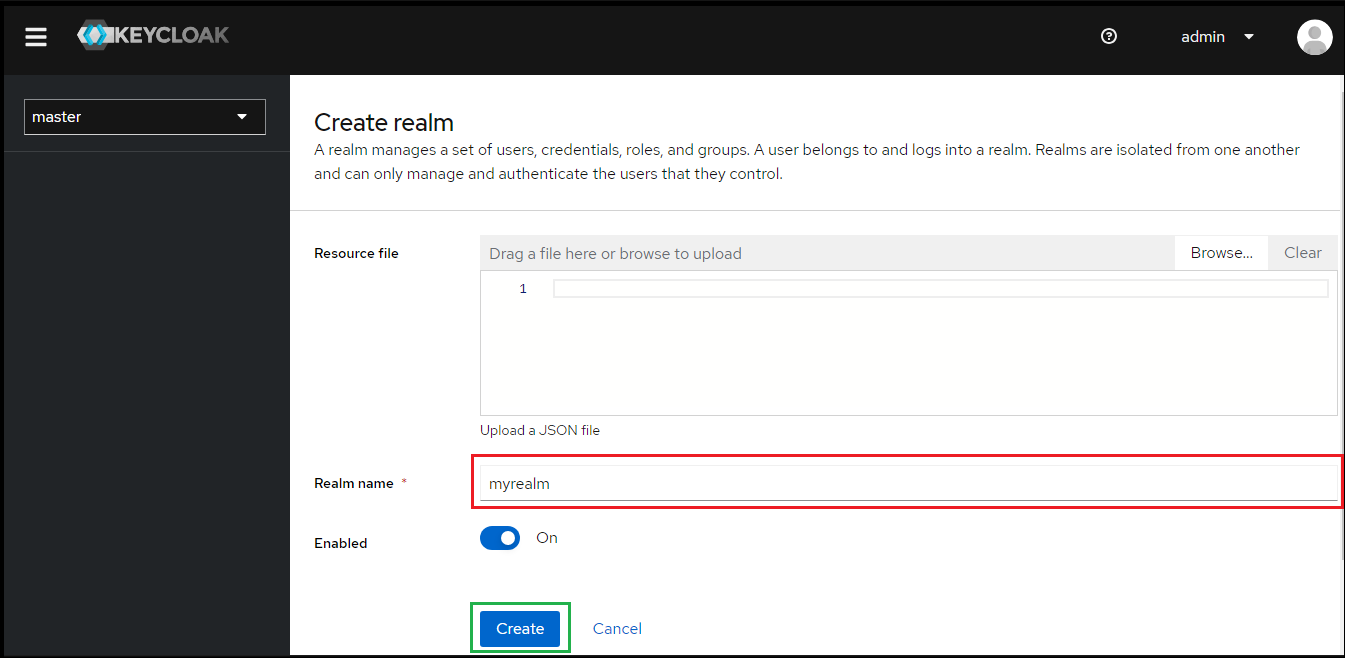
Enter Realm name e.g. myrealm and hit "Create".
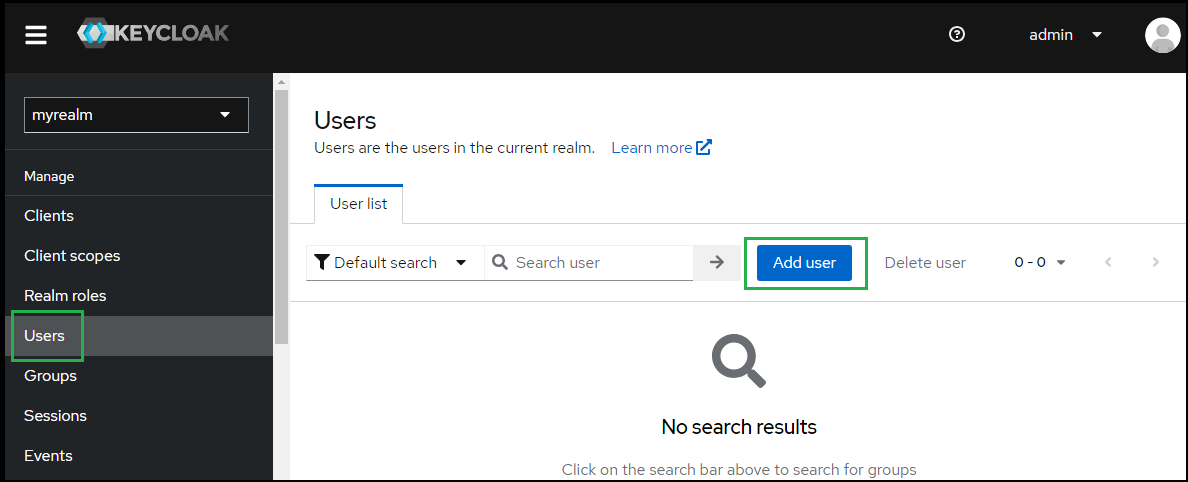
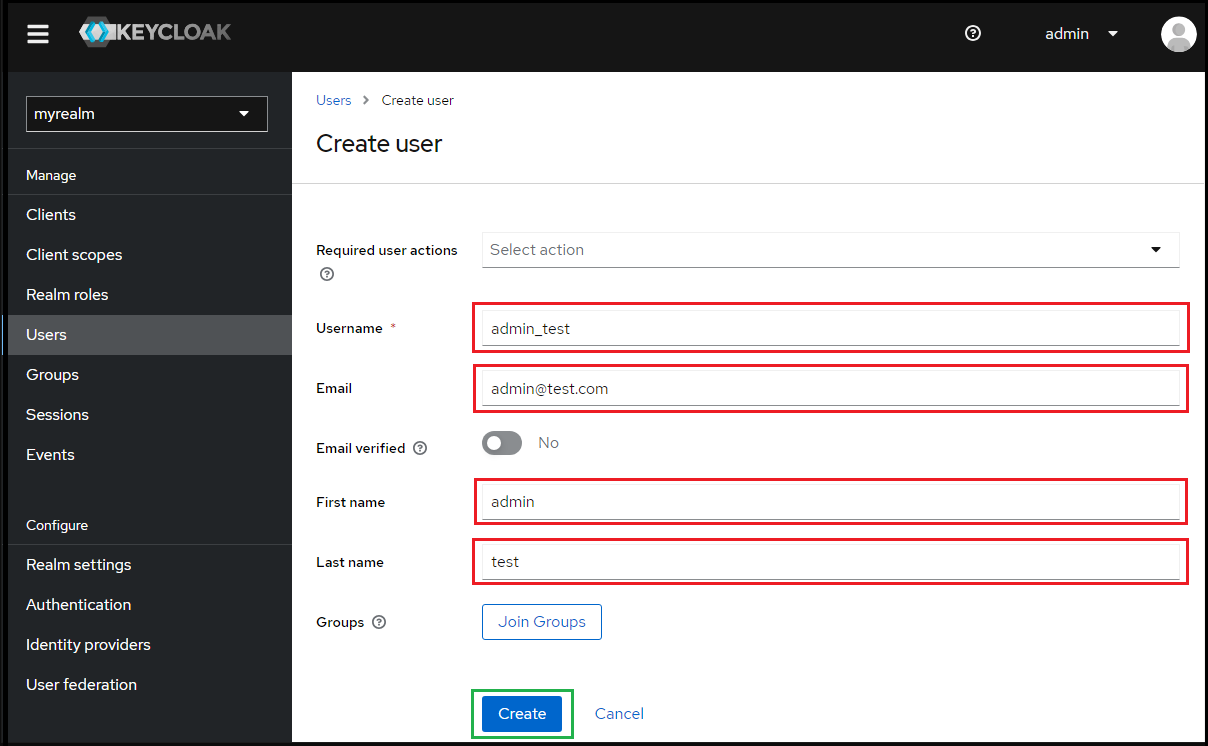
Select "Users" in the left sidebar and hit "Add user".
Enter Username, Email, First name and Last name; then hit "Create".
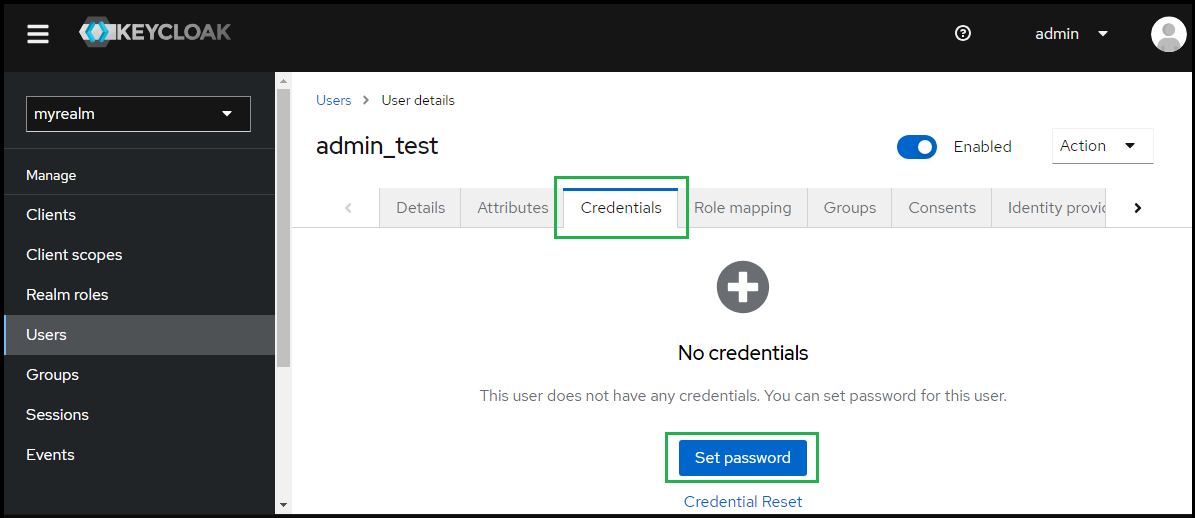
Under "User details", select tab "Credentials" and hit "Set password" to create password for the user created in previous step.
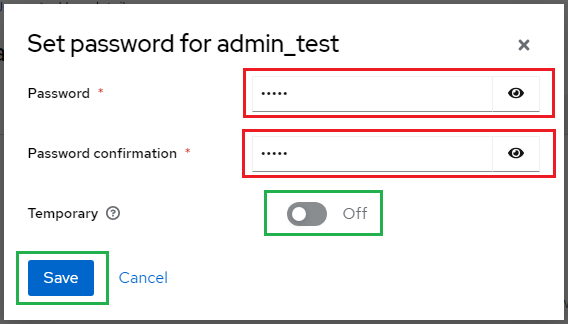
Enter the password and toggle "Temporary" to Off, then hit "Save".
Create SAML directory on MetaDefender Core
Login to MetaDefender Core management console.
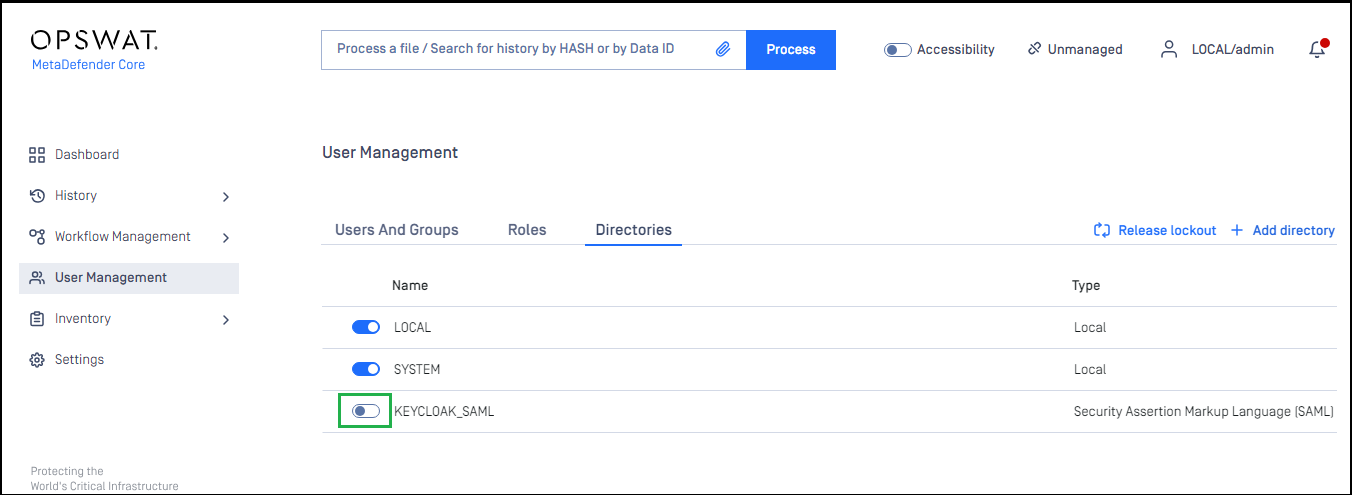
Under "Dashboard", hit "User Management" in sidebar.
Under "User Management", choose "Directories" tab and hit "Add directory" on the top right

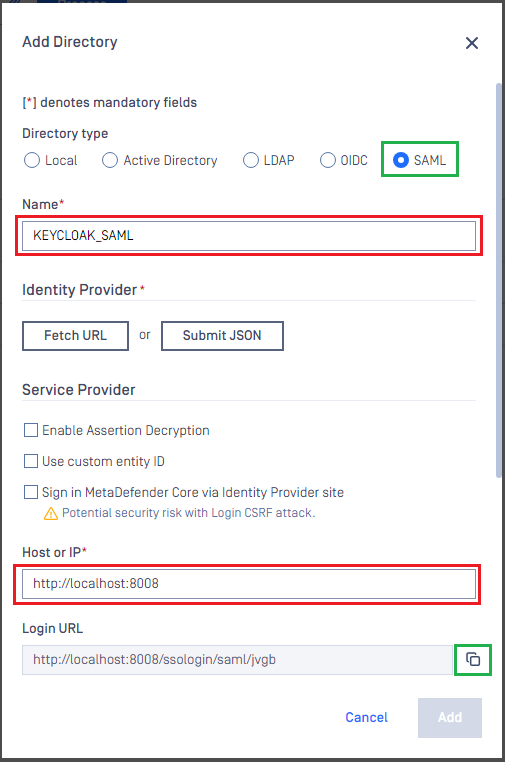
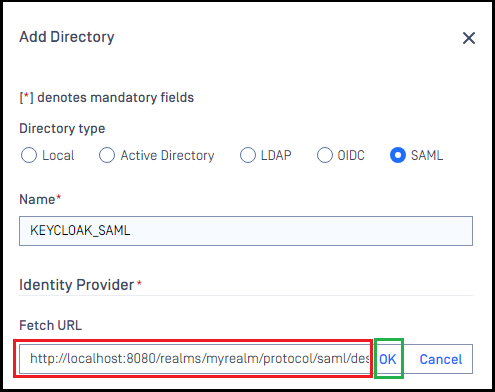
In "Add Directory" page, choose "SAML" in Directory Type.
Fill "Name" of the new directory, KEYCLOAK_SAML for example.
Under "Service Provider", fill in "Host or IP" where MetaDefender Core is being hosted, https://localhost:8008 for this example.
Copy the "Login URL".
Create Keycloak application
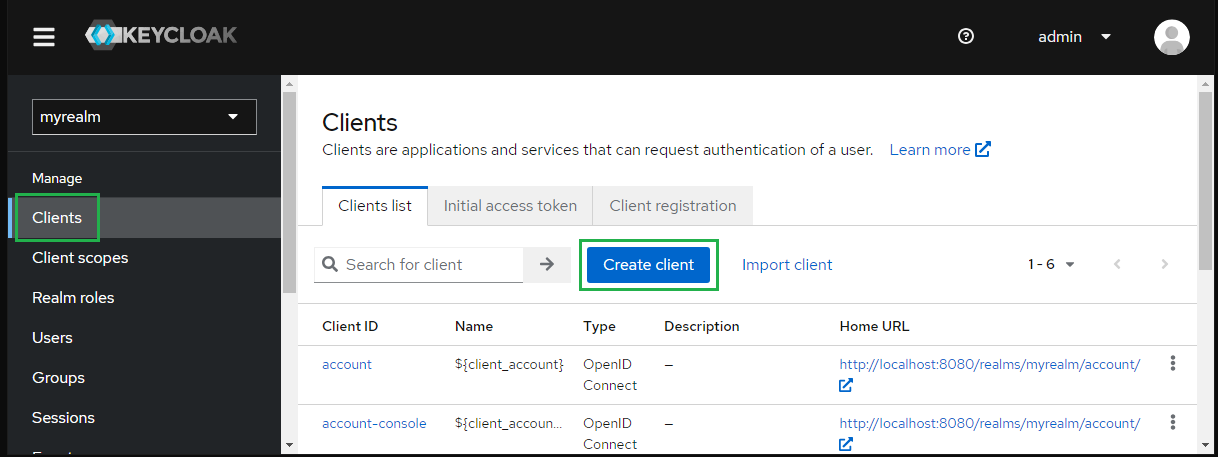
On screen myrealm, select "Clients" in sidebar and hit "Create client".
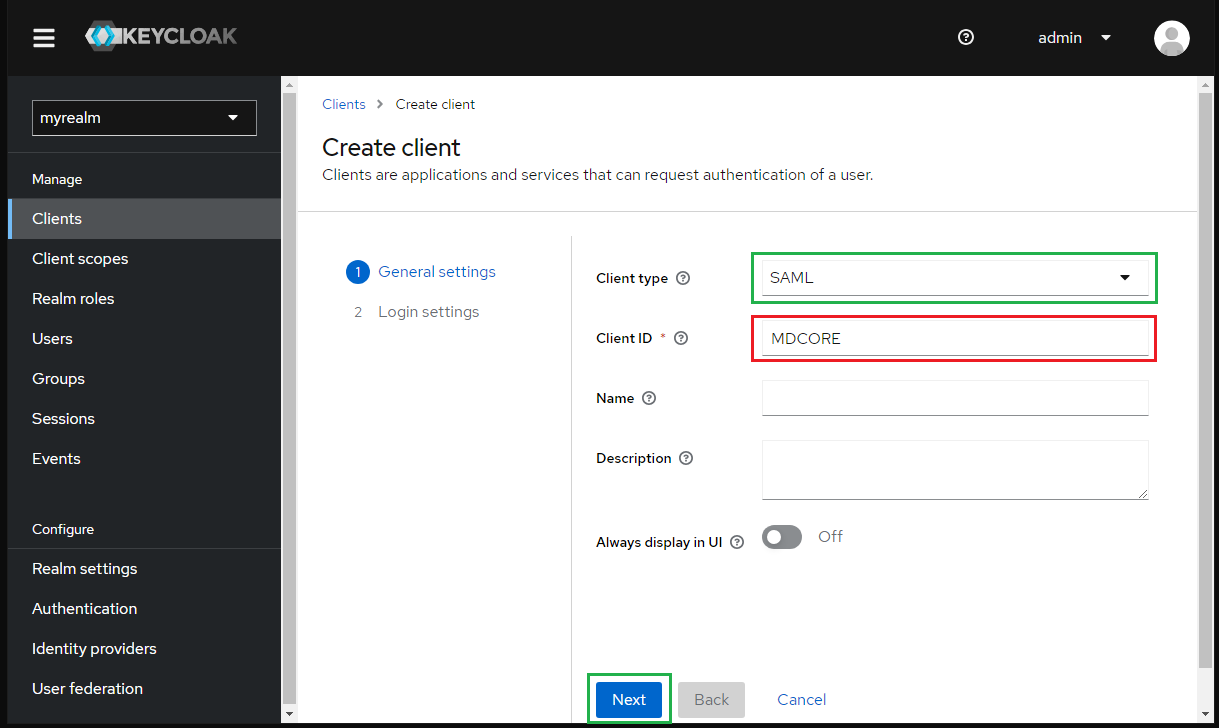
Choose "SAML" for "Client type" and enter MDCORE for "Client ID" then hit "Next".
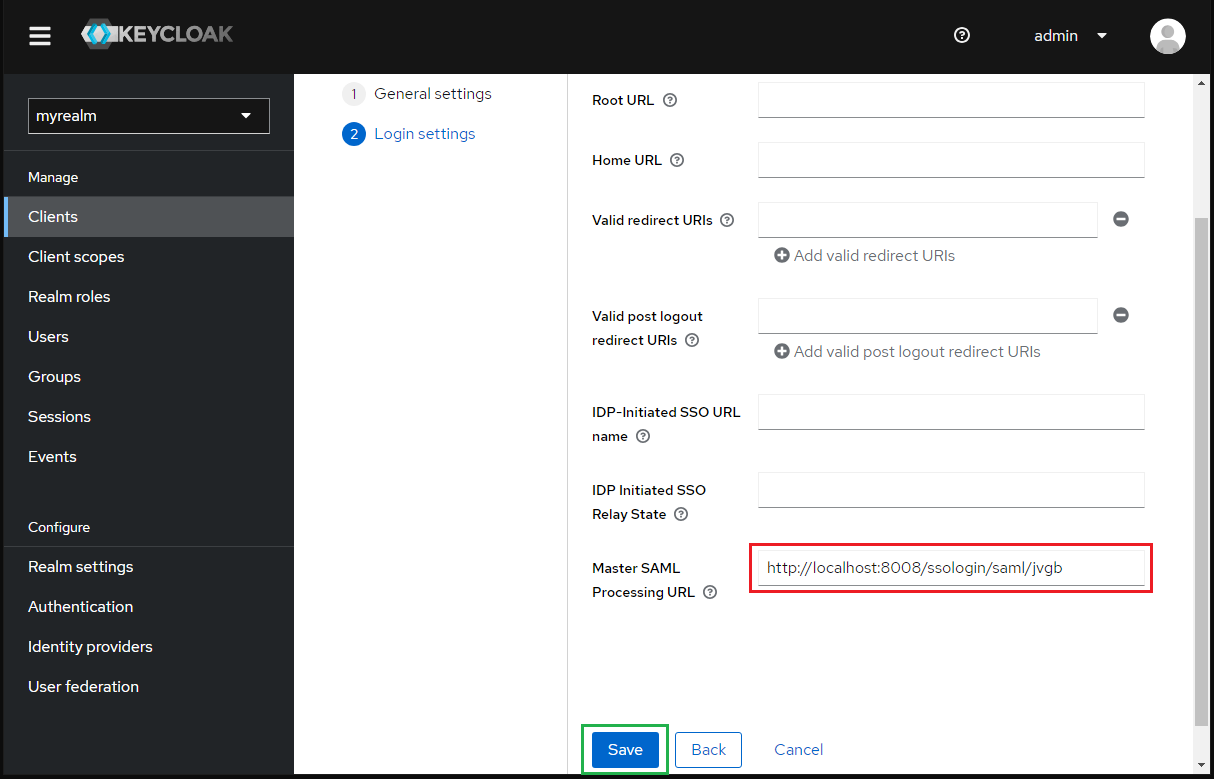
Paste the "Login URL" from MetaDefender Core into "Master SAML Processing URL" and hit "Save".
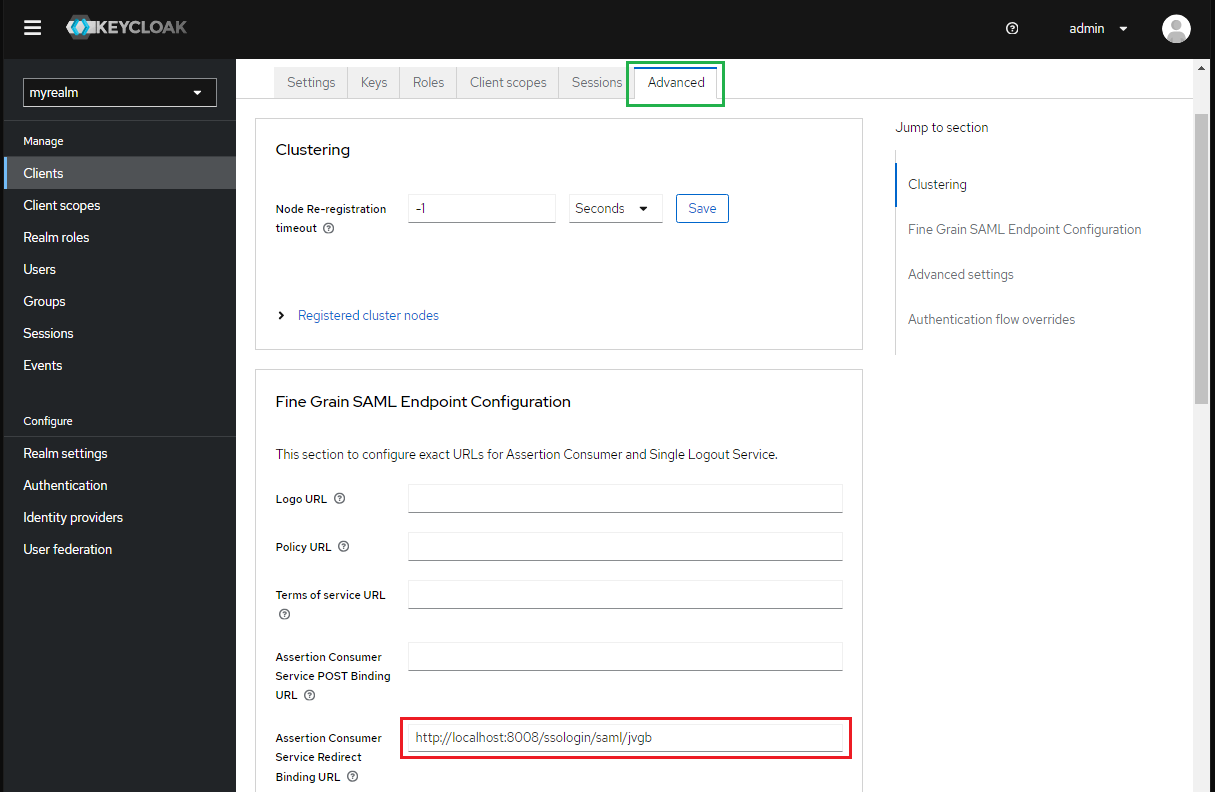
Go to tab "Advance" and paste the "Login URL" from MetaDefender Core to "Assertion Consumer Service Redirect Binding URL" and hit "Save".
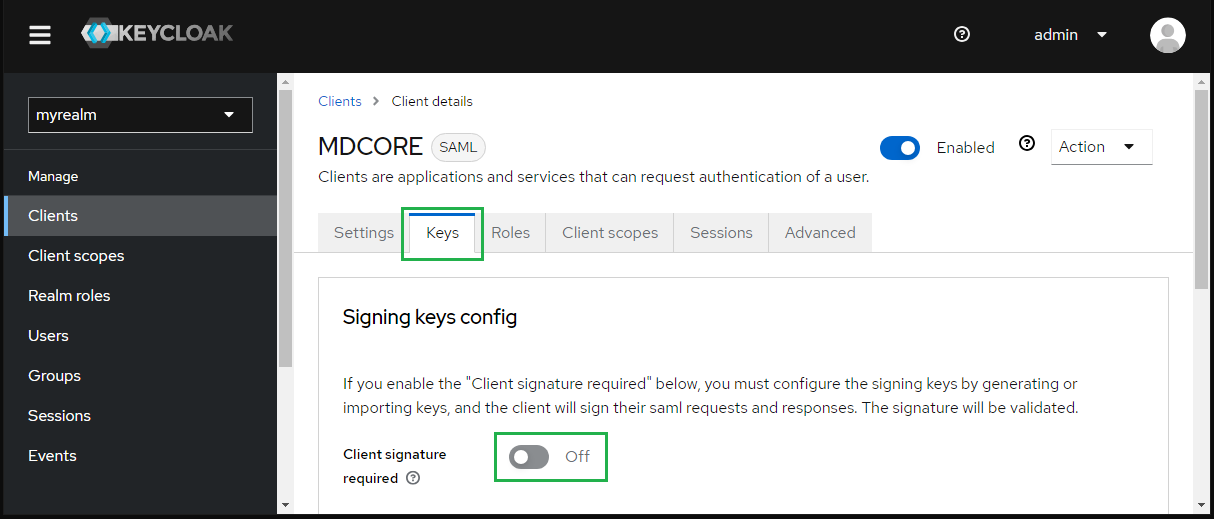
At tab "Keys", toggle "Client signature required" to Off.
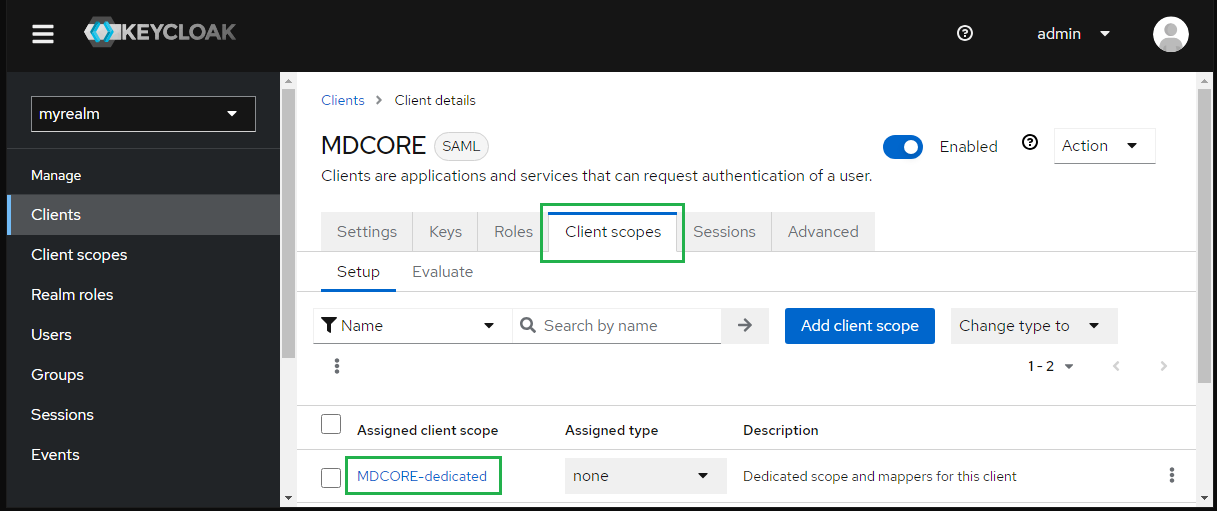
At tab "Client scopes", select "MDCore-dedicated".
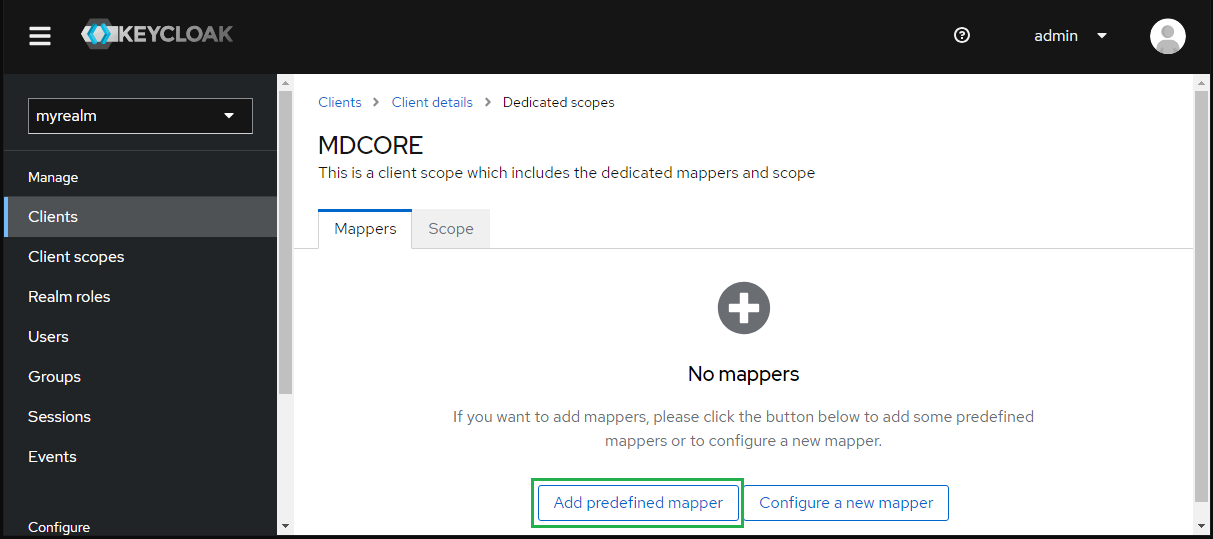
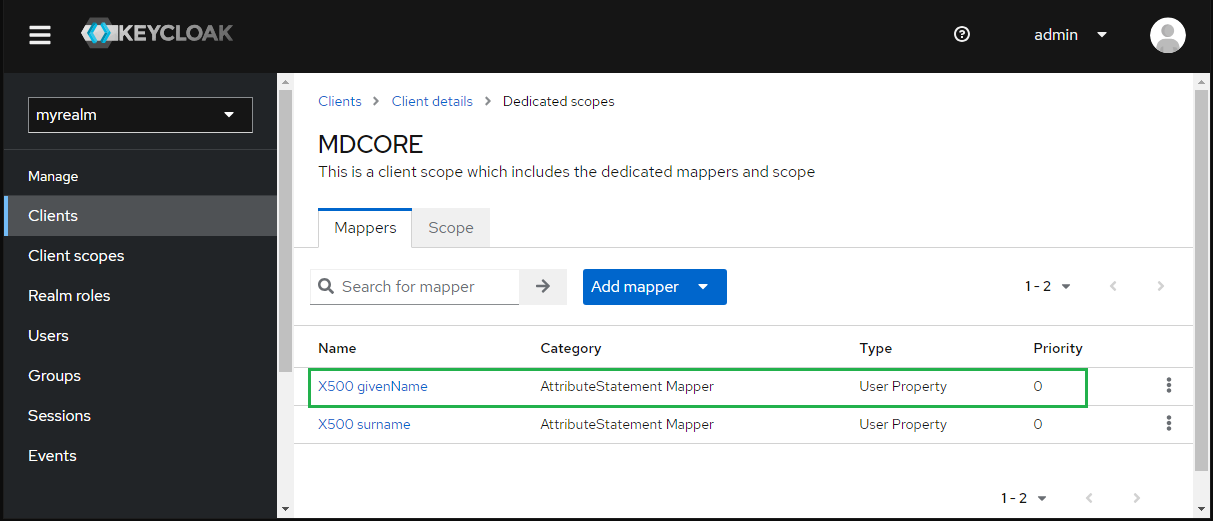
Under "Dedicated scopes", select tab "Mappers" and hit "Add predefines mapper".
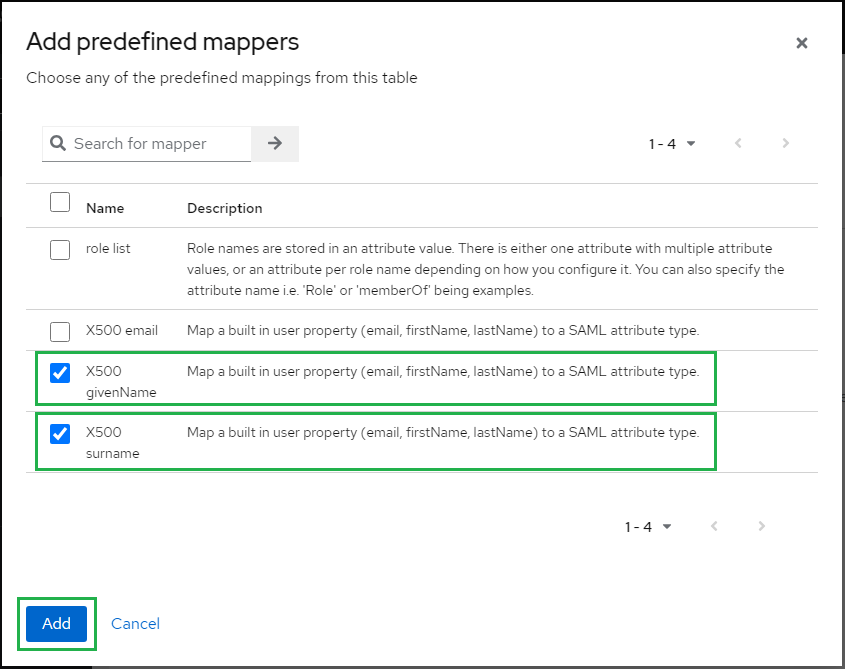
Check "X500 givenName" and "X500 surname", then hit "Add".
Back at tab "Mappers", hit on "X500 givenName".
Enter first_name for "SAML Attribute Name" and hit "Save".

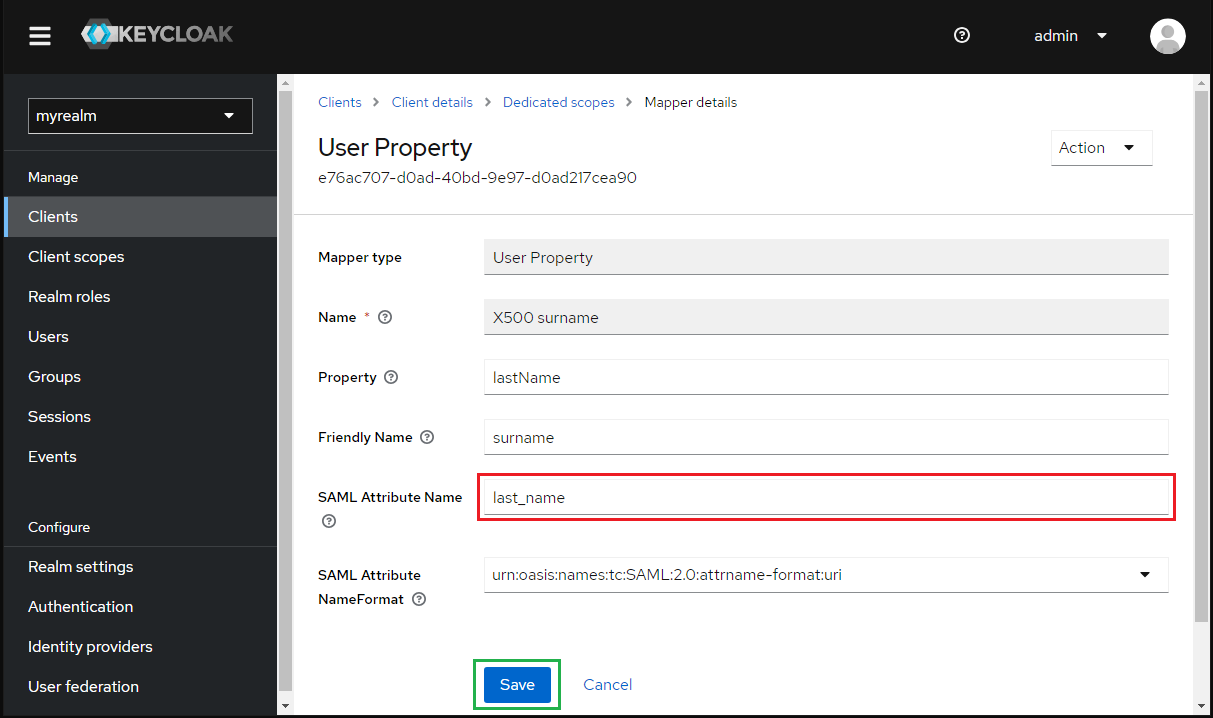
Hit on "X500 surname" at tab "Mappers"

Enter first_name for "SAML Attribute Name" and hit "Save".
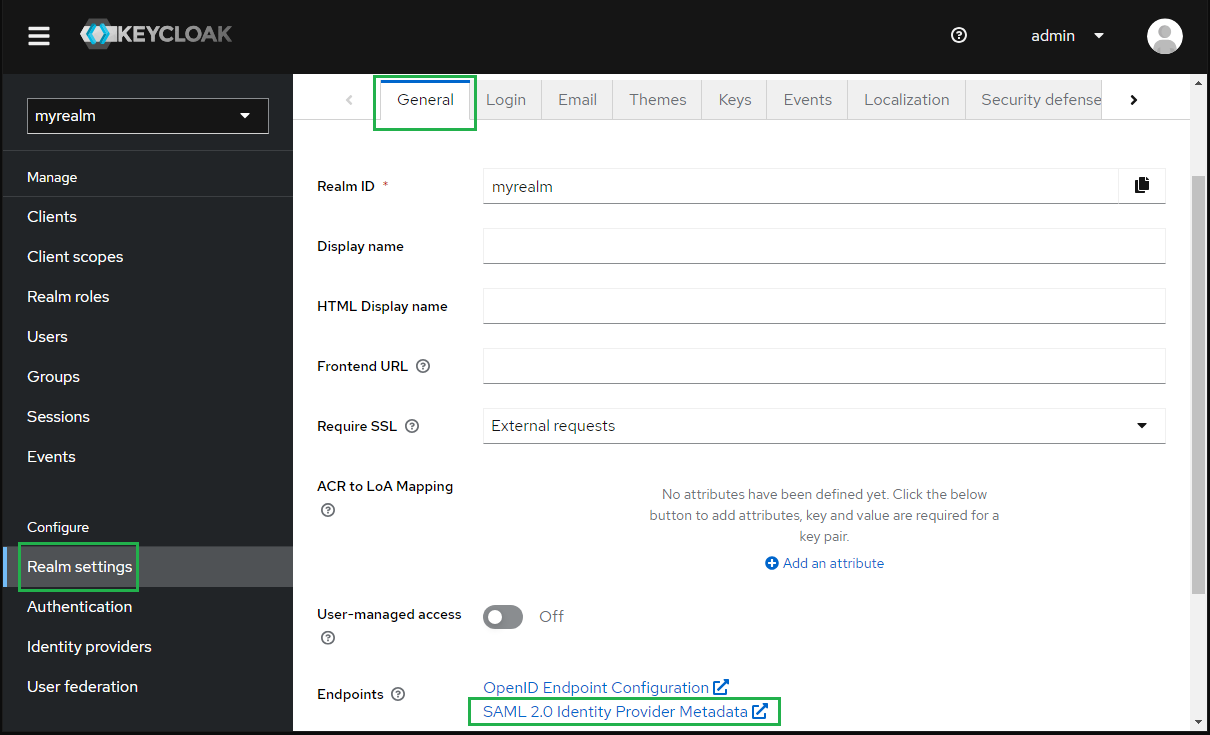
Select "Realm settings" in sidebar, navigate to tab "General", hit "SAML 2.0 Identity Provider Metadata" and copy SAML metadata link.
Complete configuration on MetaDefender Core
Switch to MetaDefender Core screen, under "Identity Provider", hit on "Fetch URL".
Paste "SAML Metadata link" from Keycloak to the box under "Fetch URL" and hit "OK" to ensure MetaDefender Core can set Okta as its IdP.
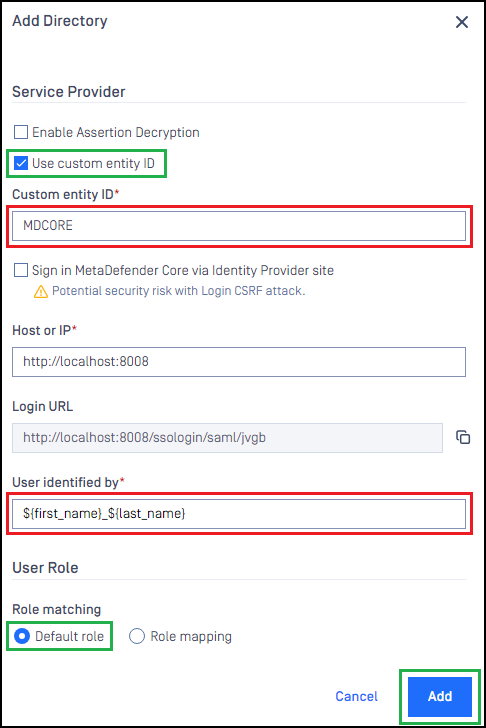
Under section "Service Provider", enable option "Use Custom Entity ID" and fill MDCORE to "Custom Entity ID".
The ID set for "Use Custom Entity ID" must be the same as Client ID created by Keycloak.
Fill user identity under "Use Identified by" with ${first_name}${last_name}_ for example.
Select correct role for the user under "User Role".
Hit "Add" to complete the settings.
On screen "User Management", toggle the new directory, KEYCLOAK-SAML in this example. A dialog box is shown to confirm the action. Once "Enable" is hit, all existing sessions will be expired immediately and Okta will be used to authenticate users going forward.
Test the integration
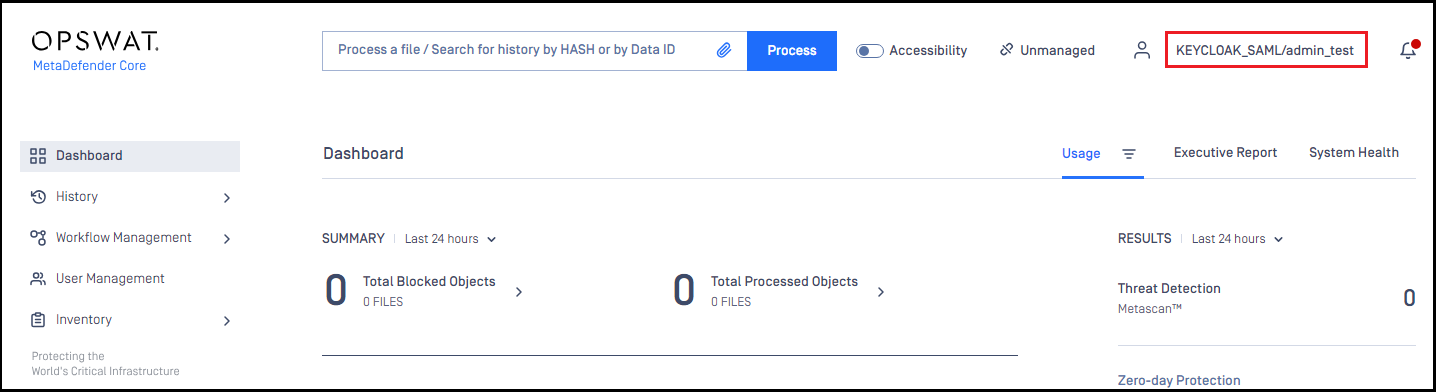
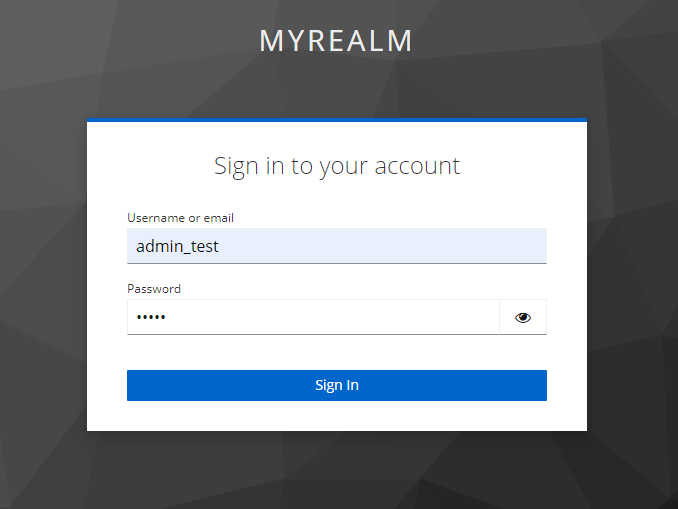
Browse MetaDefender Core, hit "Login", user is redirected to Keycloak's login page.
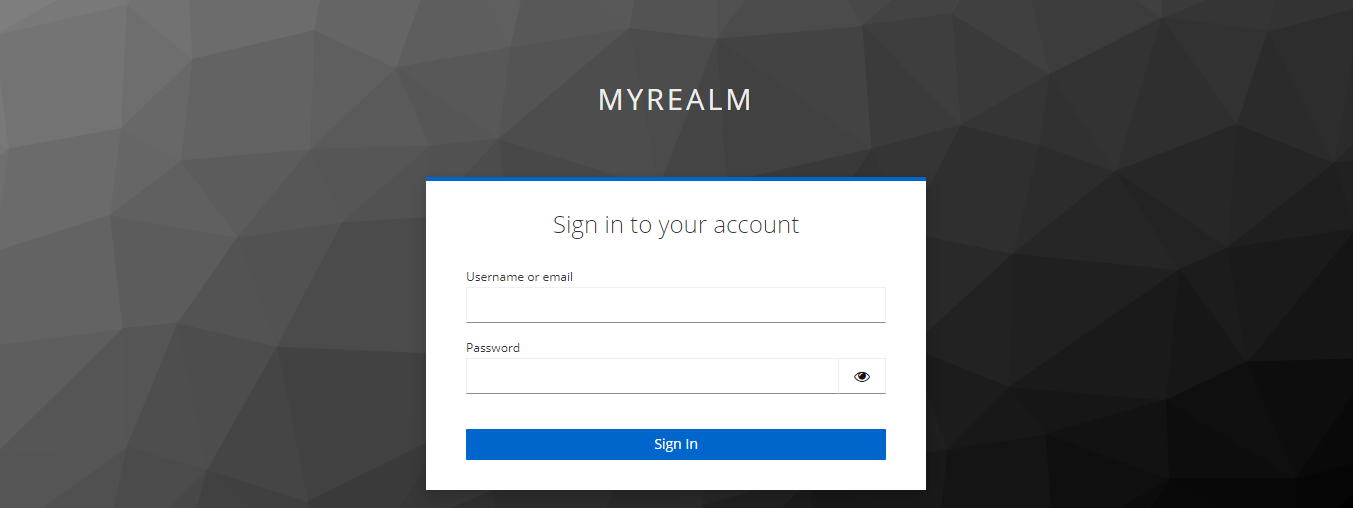
Login by the account registered in Keycloak (step 4 and 6 under section Create a realm).
If everything goes right, MetaDefender Core dashboard is shown with user identity set at the top right corner.
For troubleshooting, browse <mdcore-host>#/public/backuplogin.