
Requires Redis version 7.2 or later.
Prerequisites
Requirement | Description |
|---|---|
Operating System | Windows 11 23H2+, or Windows Server 2019+. |
Privileges | Administrator privileges. |
Hardware | 2 vCPU 32 GB RAM minimum. |
Disk space | At least 50 GB of available storage. |
Network access | Required port is open (default port: 6379). A minimum network bandwidth of 1 Gbps is required. A bandwidth of 5 Gbps or higher is strongly recommended for production deployments. |
Windows Subsystem for Linux (WSL)
Install Windows Subsystem
Open PowerShell as Administrator.
Run the following command:
After launching, Ubuntu will open automatically and ask you to create a Linux username and password.
Update the Linux packages.
Install Redis
Add the repository to the APT index, update it, and install Redis:
Access Redis configuration file
/etc/redis/redis.conffor editing.Comment out the
bindsetting and setprotected-modeoption to no.
Restart Redis
Run the command with Redis CLI
Confirm that the response returned is PONG
Memurai
Download and install
Go to the official website: https://www.memurai.com/get-memurai
Choose the appropriate version.
Download the Windows installer (.msi).
Double-click the downloaded .msi file.
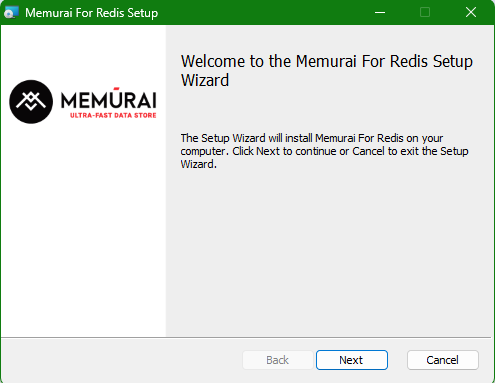
Click
Nextand follow the installation wizard.
Accept the license agreement.
Choose the installation directory.
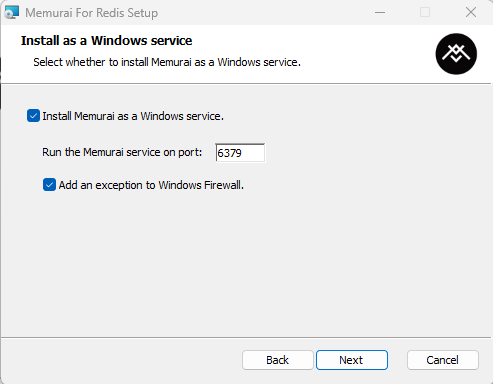
Select port (default is 6379).
Click
Installto start installation process.
Verify Memurai installation
Open Command Prompt or PowerShell.
Run the command with Memurai CLI:
Confirm that the response returned is PONG.
Configure Memurai
Access the Memurai configuration file in the installation directory, for example:
C:\Program Files\Memurai\memurai.conf.Comment out the
bindsetting and setprotected-modeoption to no.
Restart Memurai service.