About this task
After completing the network configuration for Enterprise on local management console application. The first time starting the MetaDefender OT Security Enterprise application, the user needs to do the Wizard setup. The MetaDefender OT Security Enterprise application will be available only after finishing this wizard.
Before you begin
Ensure that you completed the initial configuration for Enterprise on local management console application.
Procedure
Note: Ensure that Enterprise network configuration is completed on the local management console application and selected the NIC for management.
Open your web browser.
Type the URL in one of the following formats:
- https://<IP_Address>
- <IP_Address> is the IP address of NIC Used for management settings on the local management console application.
- The following are URL examples:
- IPv4 address example: https://10.40.163.150
Press Enter.
Input username/password have been set up on the local management console application.
Click Login
Enter the URL to start the wizard setup
After entering the URL successfully, click Get Started button to start
1. License Agreement
In the first step, you can find the License Agreement. You have to accept the terms before moving on. Please read through the License Agreement carefully and if you agree with it, check I accept the terms in the License Agreement.
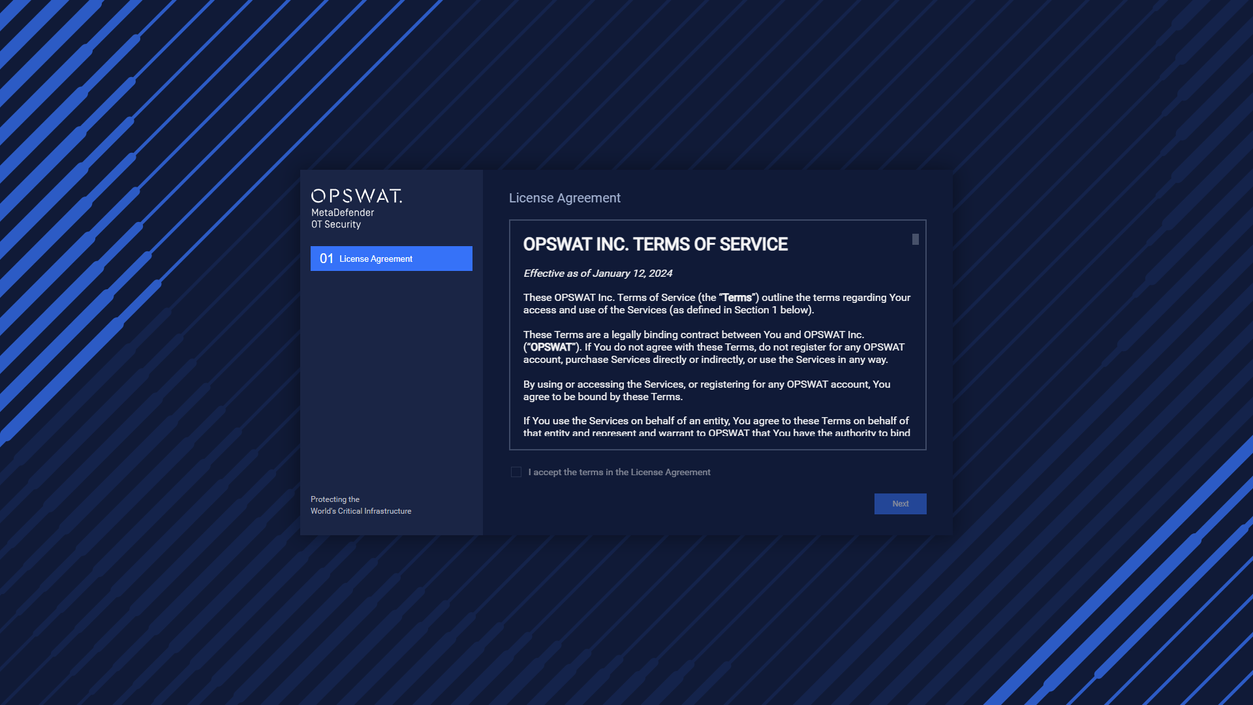
License Agreement
Click the Next button to continue
2. Network Settings
**This step is the same as the network configuration on the local management console application. If you want to keep the network setting as the local management console application setting, you can skip this step.**
2.1. Select Interface
During this step, our application will detect the Network Interface Cards (NICs) that are currently plugged into your computer. This allows our application to determine which NICs are available for use with our software.
If you have multiple NICs connected to your computer (such as a Built-in NIC, USB NIC 1, and USB NIC 2), our application will display all available NICs on the screen. To help you identify which port each NIC is connected to, you can unplug the cable and the status of the NIC will be changed to "Unavailable" in our application.
If our application fails to detect all of your available NICs, you can click the "Recheck" button in the top right corner of the screen to rescan for all NICs.
To use a NIC with our software, toggle the button next to its name. You can disable NICs you don't want to use.
Note: When you disable a NIC (Network Interface Controller), it disconnects from your computer and becomes unavailable until you re-enable it. Therefore, it is important to enable the NICs that you wish to use in MetaDefender OT Security before proceeding to the next steps.
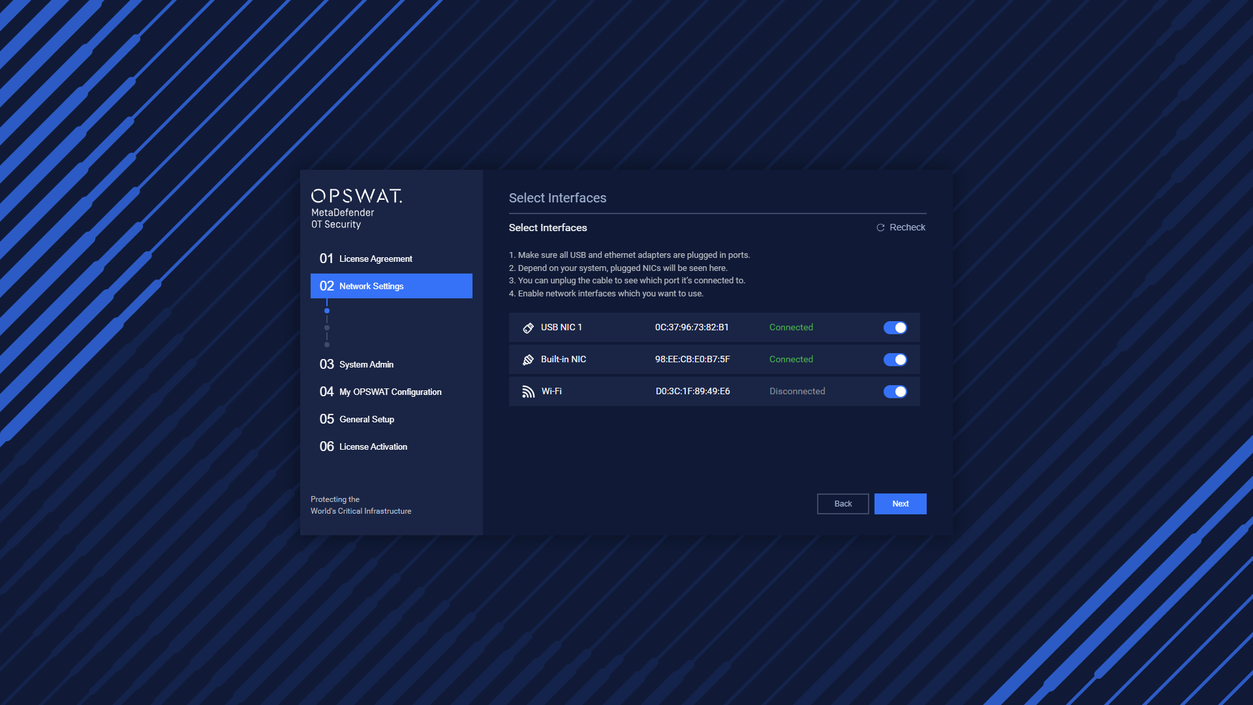
Enable/Disable NIC
This configuration was configured on the local management console application before.
If do not change, click the Next button to continue.
2.2. Configure Interfaces
In this step, you can access and configure a list of available network interfaces (NICs). To configure a NIC, click on it to access the configuration options.
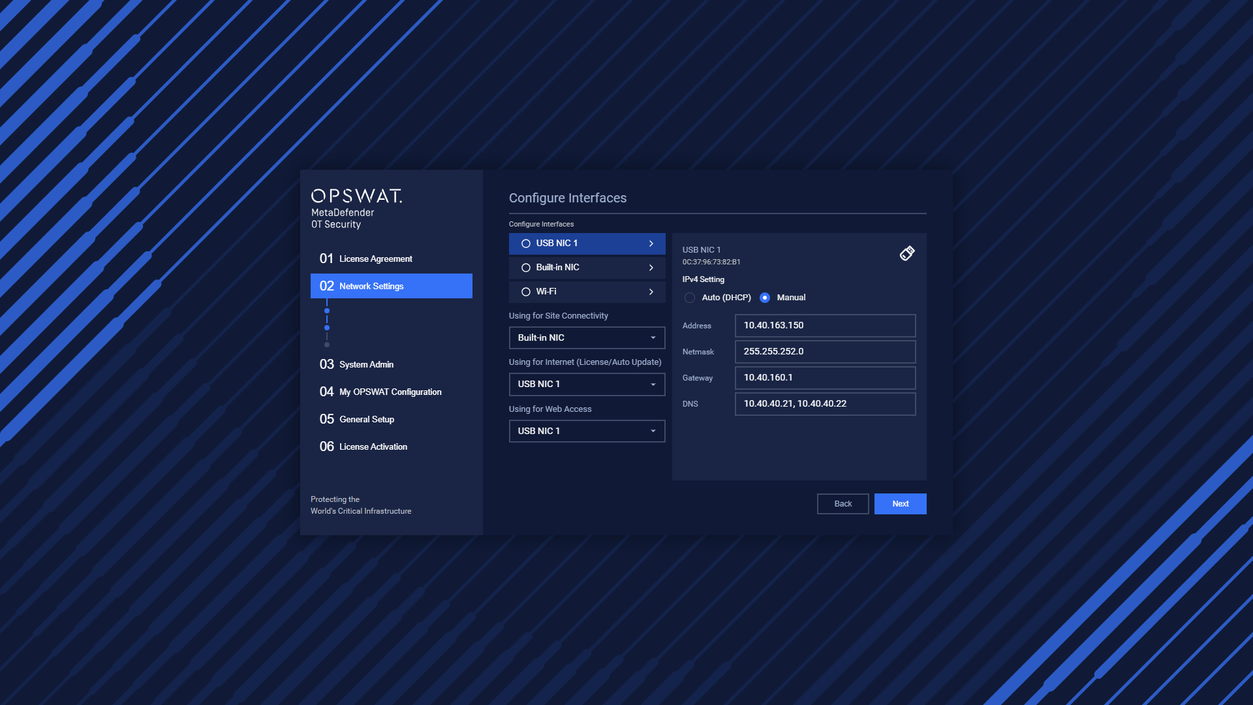
Configure interfaces and Select NIC for Site Connectivity
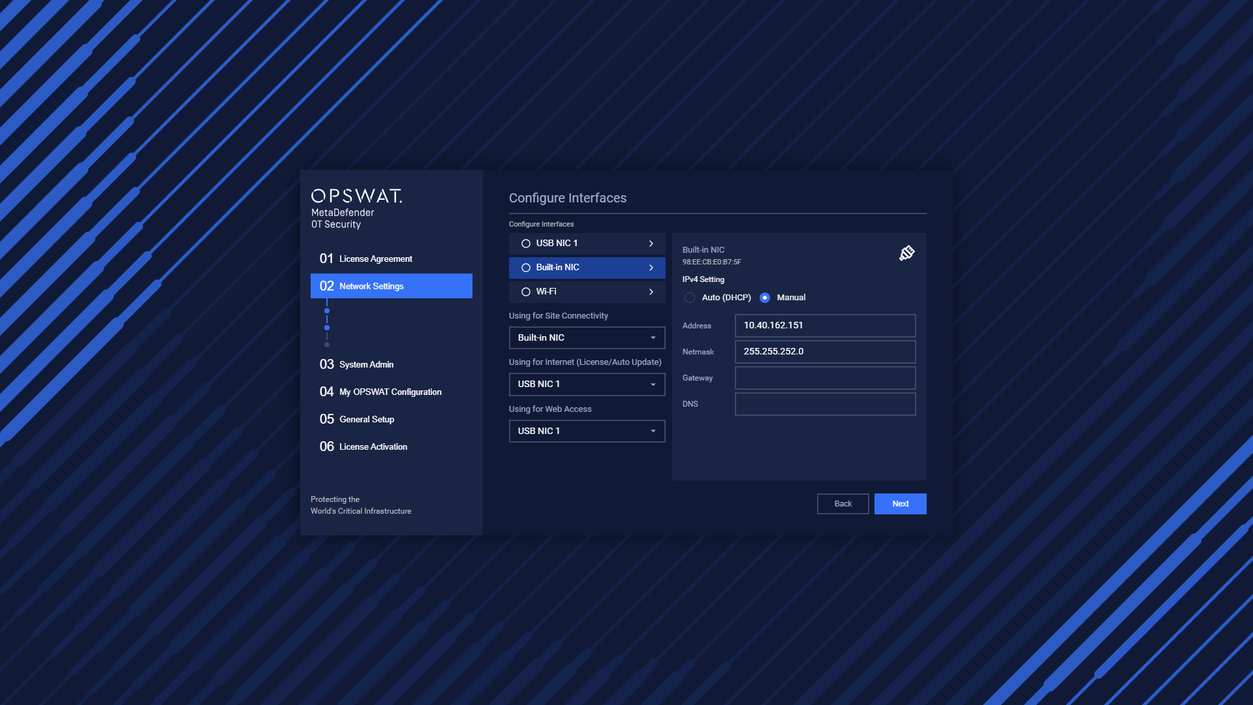
Configure interfaces and Select NIC for Internet & Web Access
This configuration was configured on the local management console application before.
If do not change, click the Next button to continue.
2.3. Test & Complete
In this step, you will see a summary of your previous NIC configurations. Make sure to review this summary carefully to ensure that your configuration is accurate.
If necessary, you can use the "Test Configuration" button to verify the basic functionality of each NIC based on your configuration settings. This feature is useful to check the connectivity of each NIC and confirm that they are functioning correctly.
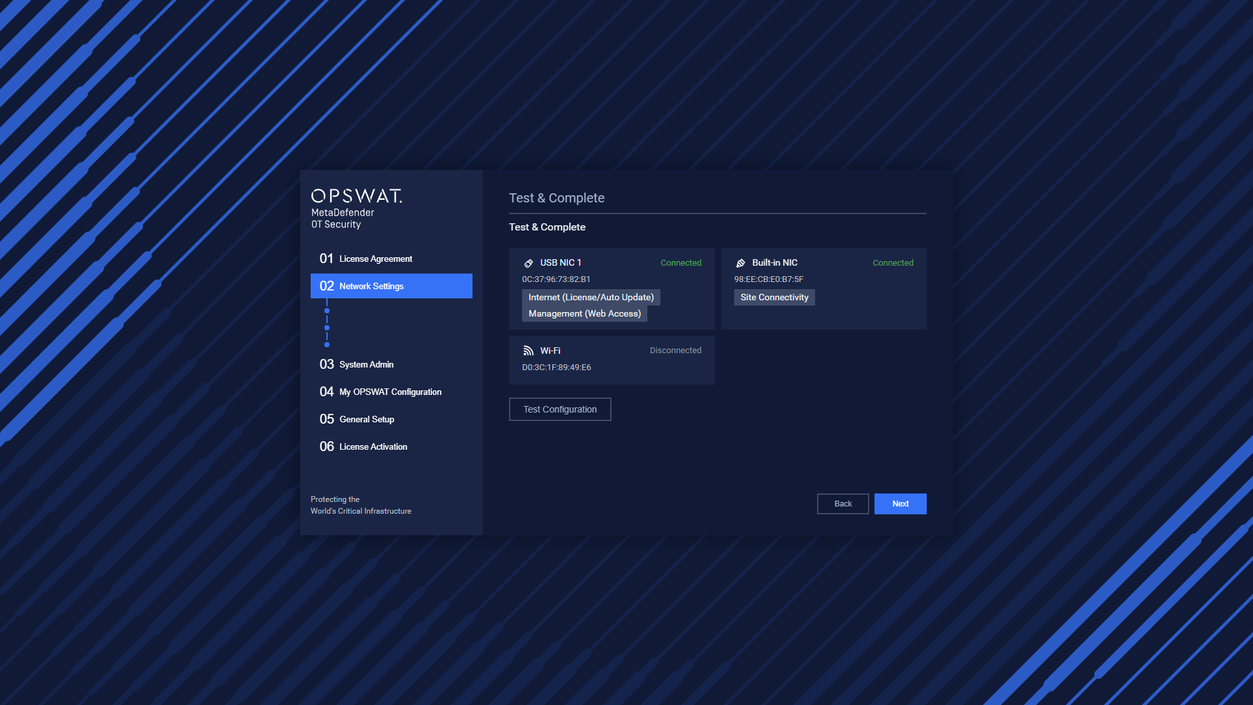
Test & Complete

Test Configuration Result
This configuration was configured on the local management console application before.
If do not change, click the Next button to continue.
3. System Admin
This step is to provide information for the system administrator such as display name and email address.
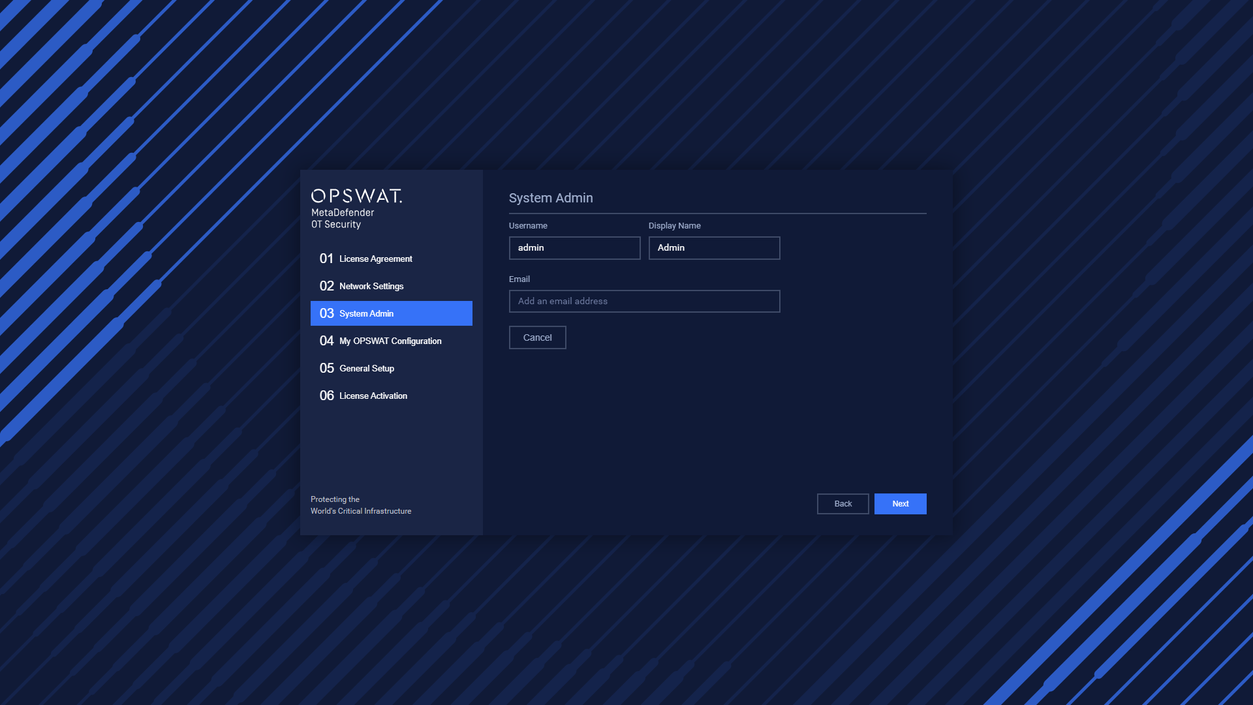
Provide information for the system administrator
Input Display Name and Email then Click the Next button to continue.
4. My OPSWAT Configuration
Enable/Disable the toggle to open My OPSWAT configurations
Default the toggle is disabled
Please navigate to Settings → Application → Integration to see more details about My OPSWAT configuration.
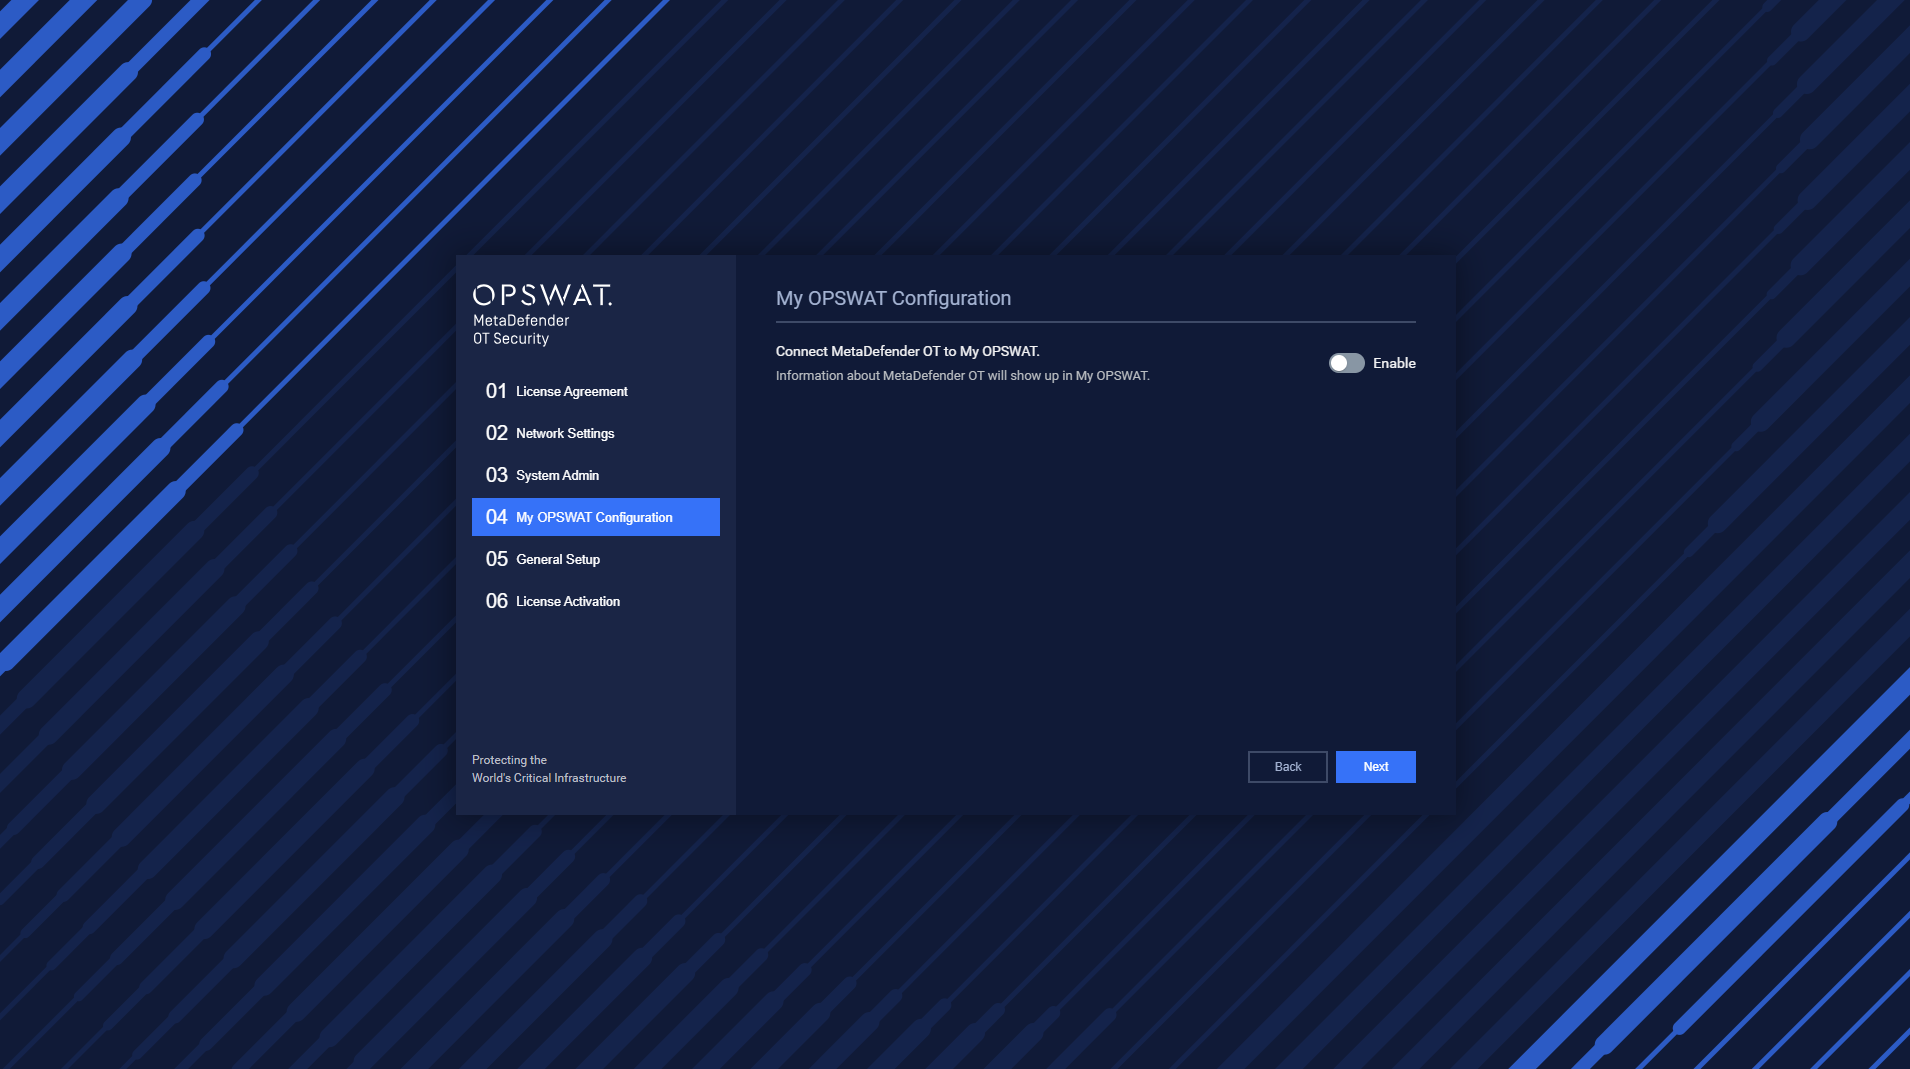
My OPSWAT Configuration
Click the Next button to continue.
5. General Setup
Time Setup
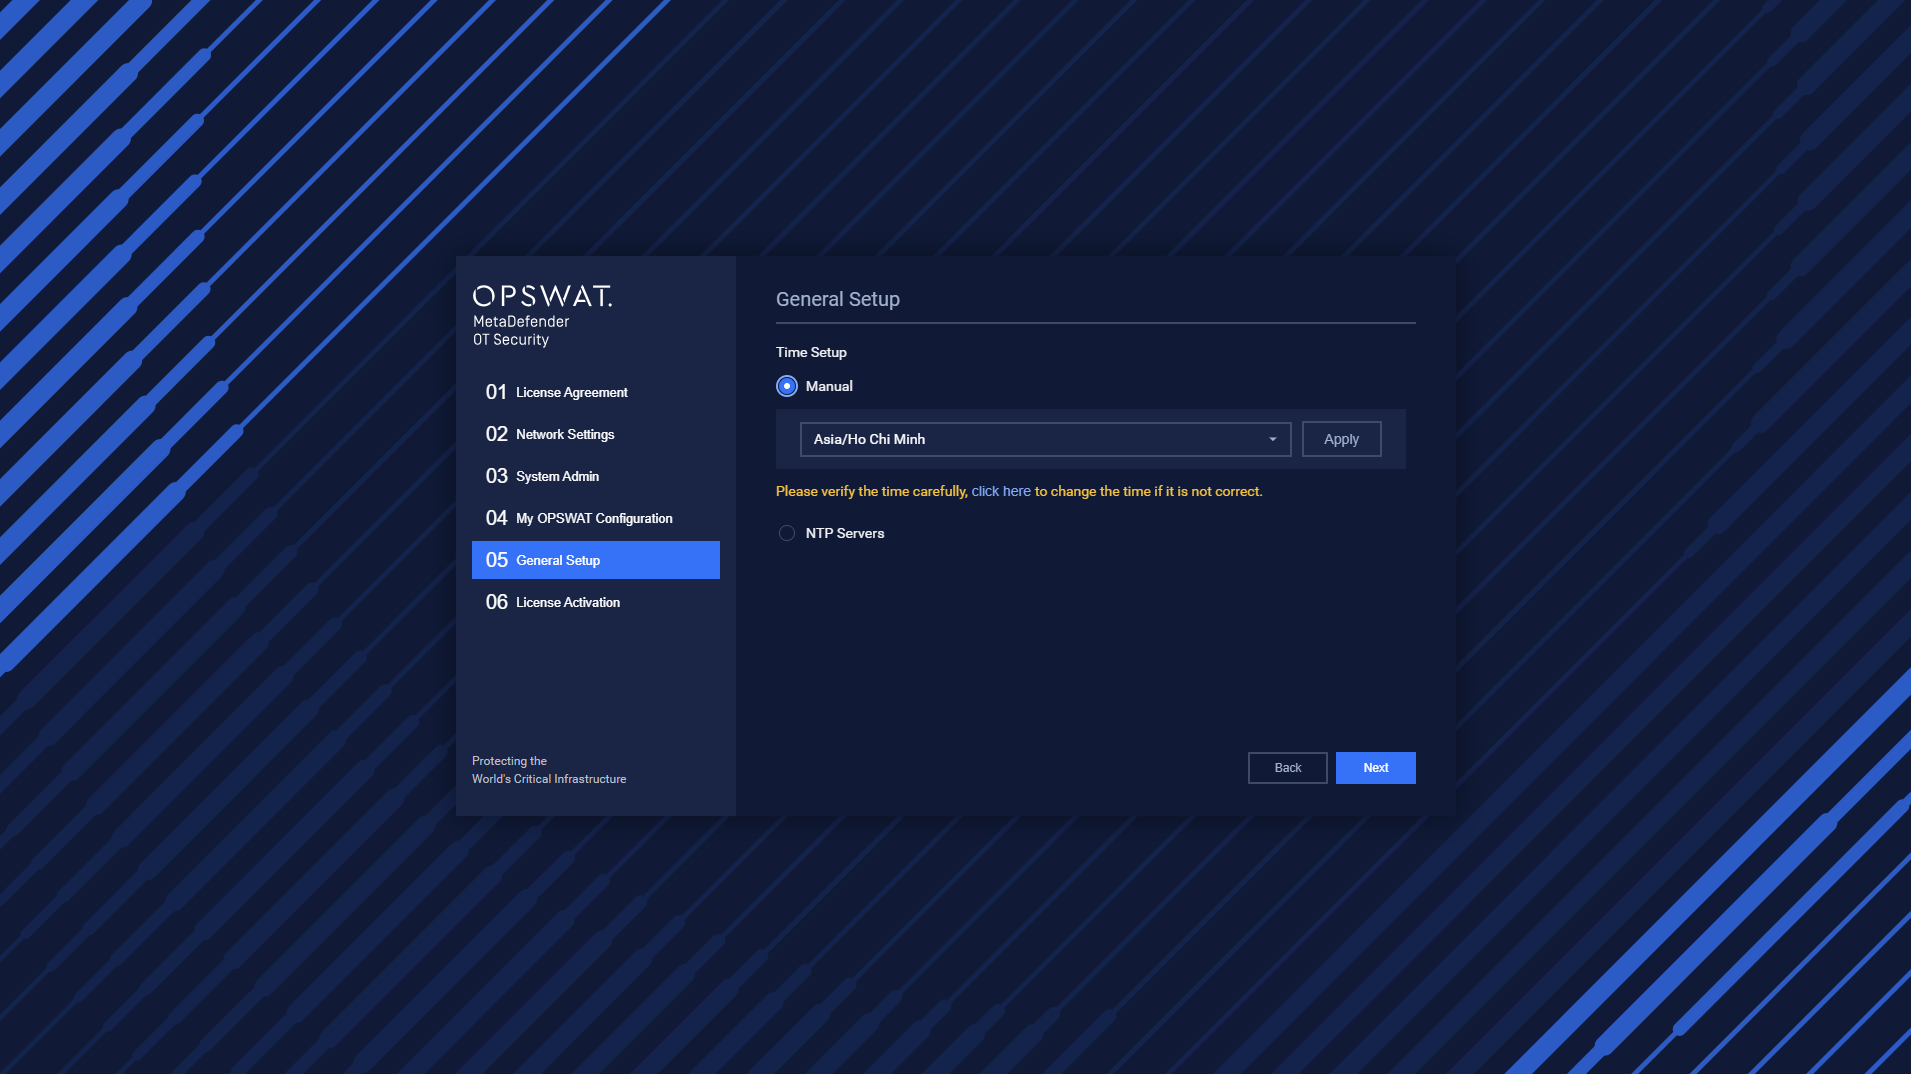
General Setup
Select the timezone for the system. Then click the Apply button
In case, after selecting a specific Time Zone the time displayed is wrong. The user can click here to change if it is not correct.
Click the Next button to continue.
6. License Activation

License Activation
There are two types of activation:
- Online: The user needs to input the activation key. Then click the Active button to Active License
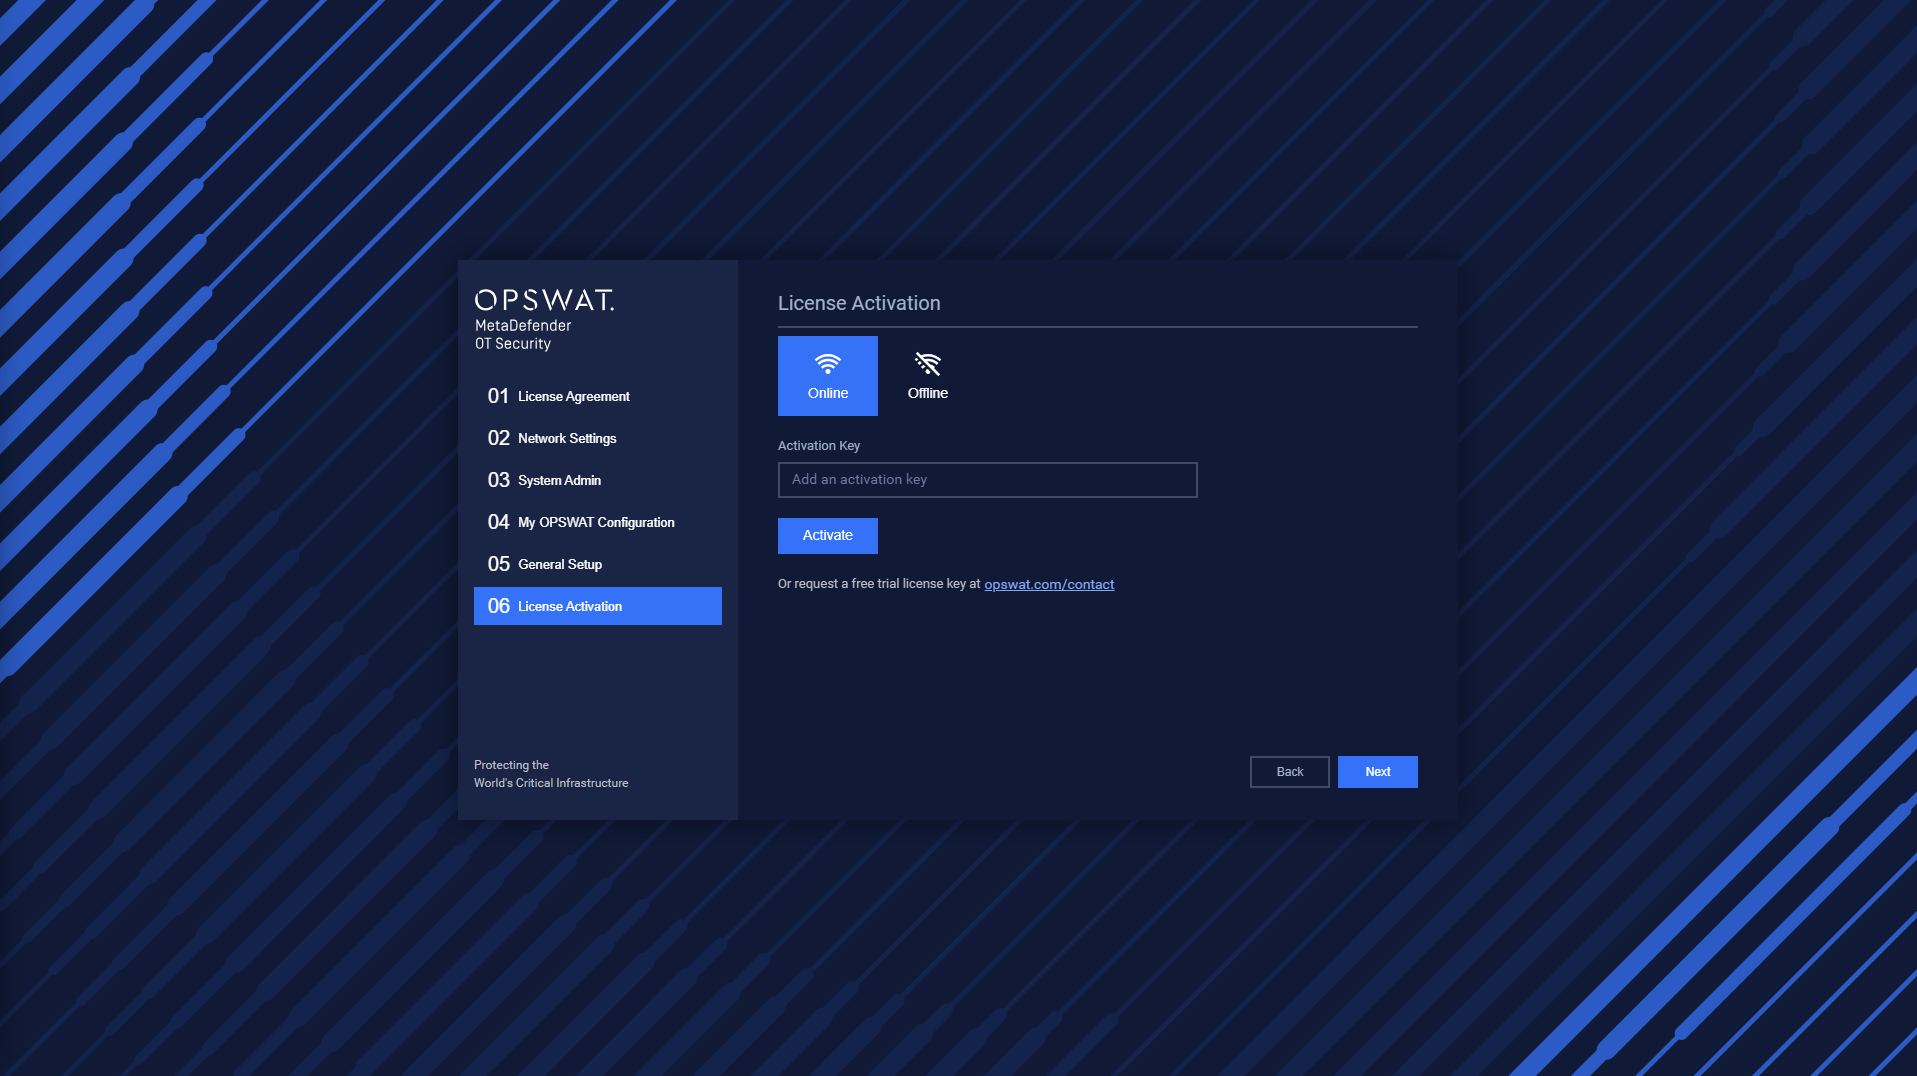
Active Online
- Offline:

Active Offline
- Get the Deployment ID
- Go to My OPSWAT - http://my.opswat.com. Using Activation Key and Deployment ID to obtain the license file. Then download this file
- Upload this file just downloaded to Active
- Click the Active button
Click the Next button to continue.
Configuration for MetaDefender OT Security Enterprise application is completed
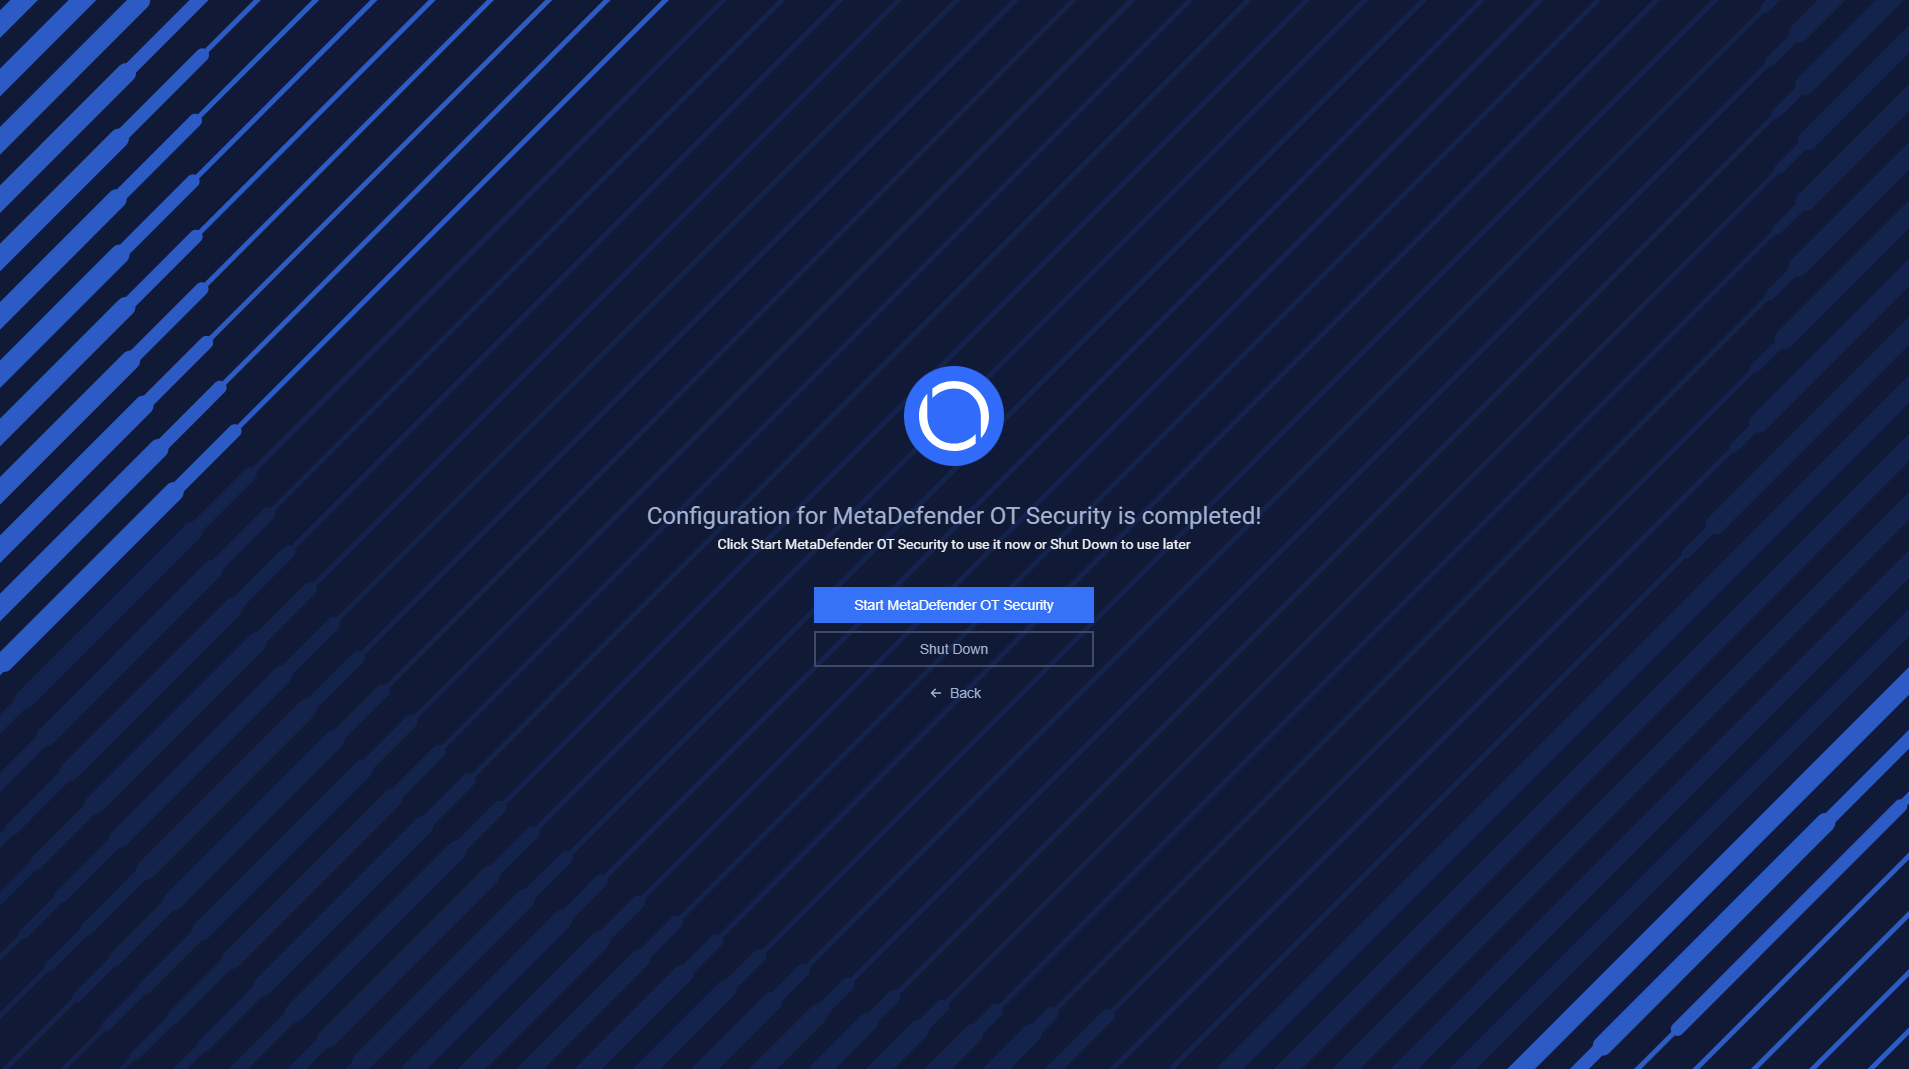
Then click Start MetaDefender OT Security and wait until MetaDefender OT Security is ready.