Title
Create new category
Edit page index title
Edit category
Edit link
Quickstart Guide
Currently, Neuralyzer need to run with at least 2 NICs, one for active scanning connected to normal port on switch and one for passive scanning that connect to mirror port.
Below is the example basic setup for the system with Neuralyzer.
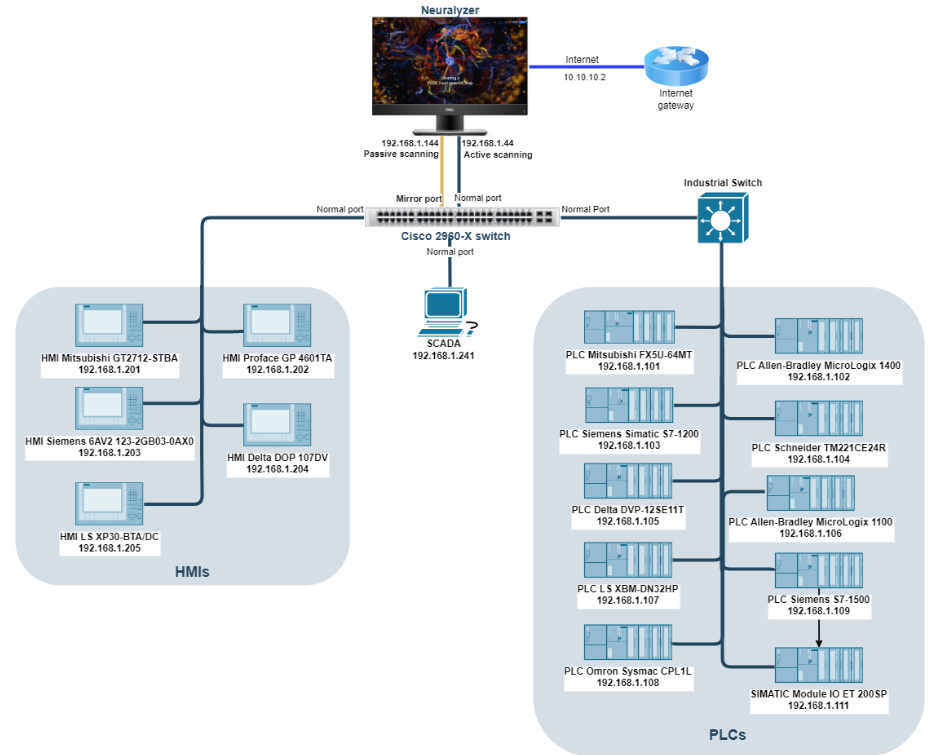
Switch Port Mirroring
On the switch, user have to configure mirror port to monitor all other ports. The mirror port will copy all traffics that go through other ports and sent back to Neuralyzer.

If user configure port Fa0/1 is mirror port, one of Neuralyzer network interface cards must be connected to this mirror port for passive scanning, the second interface card can be connected to others (normal/monitored port) for active scanning.
Note: Please make sure that the switch OS version supports LLDP. For Calalyst 2960, the OS version must be higher 12.2(350)
Example for configuring port mirroring on Cisco switch:
Switch#configureConfiguring from terminal, memory, or network [terminal]?Enter configuration commands, one per line. End with CNTL/Z.Switch(config)#Switch(config)#no monitor session 1Switch(config)#monitor session 1 source interface Fa0/2 - 48Switch(config)#monitor session 1 destination interface Fa0/1Switch(config)#endSwitch#copy running-config startup-configDestination filename [startup-config]?Building configuration...[OK]After completing port mirroring configuration and connect Neuralyzer to the switch, user can turn on All-in-one machine and Neuralyzer will start automatically.
At the first time starting Neuralyzer application, user need to do the Wizard setup so that Neuralyzer can know which network should be scanned. The Neuralyzer will be available only after you have successfully finished this wizard.
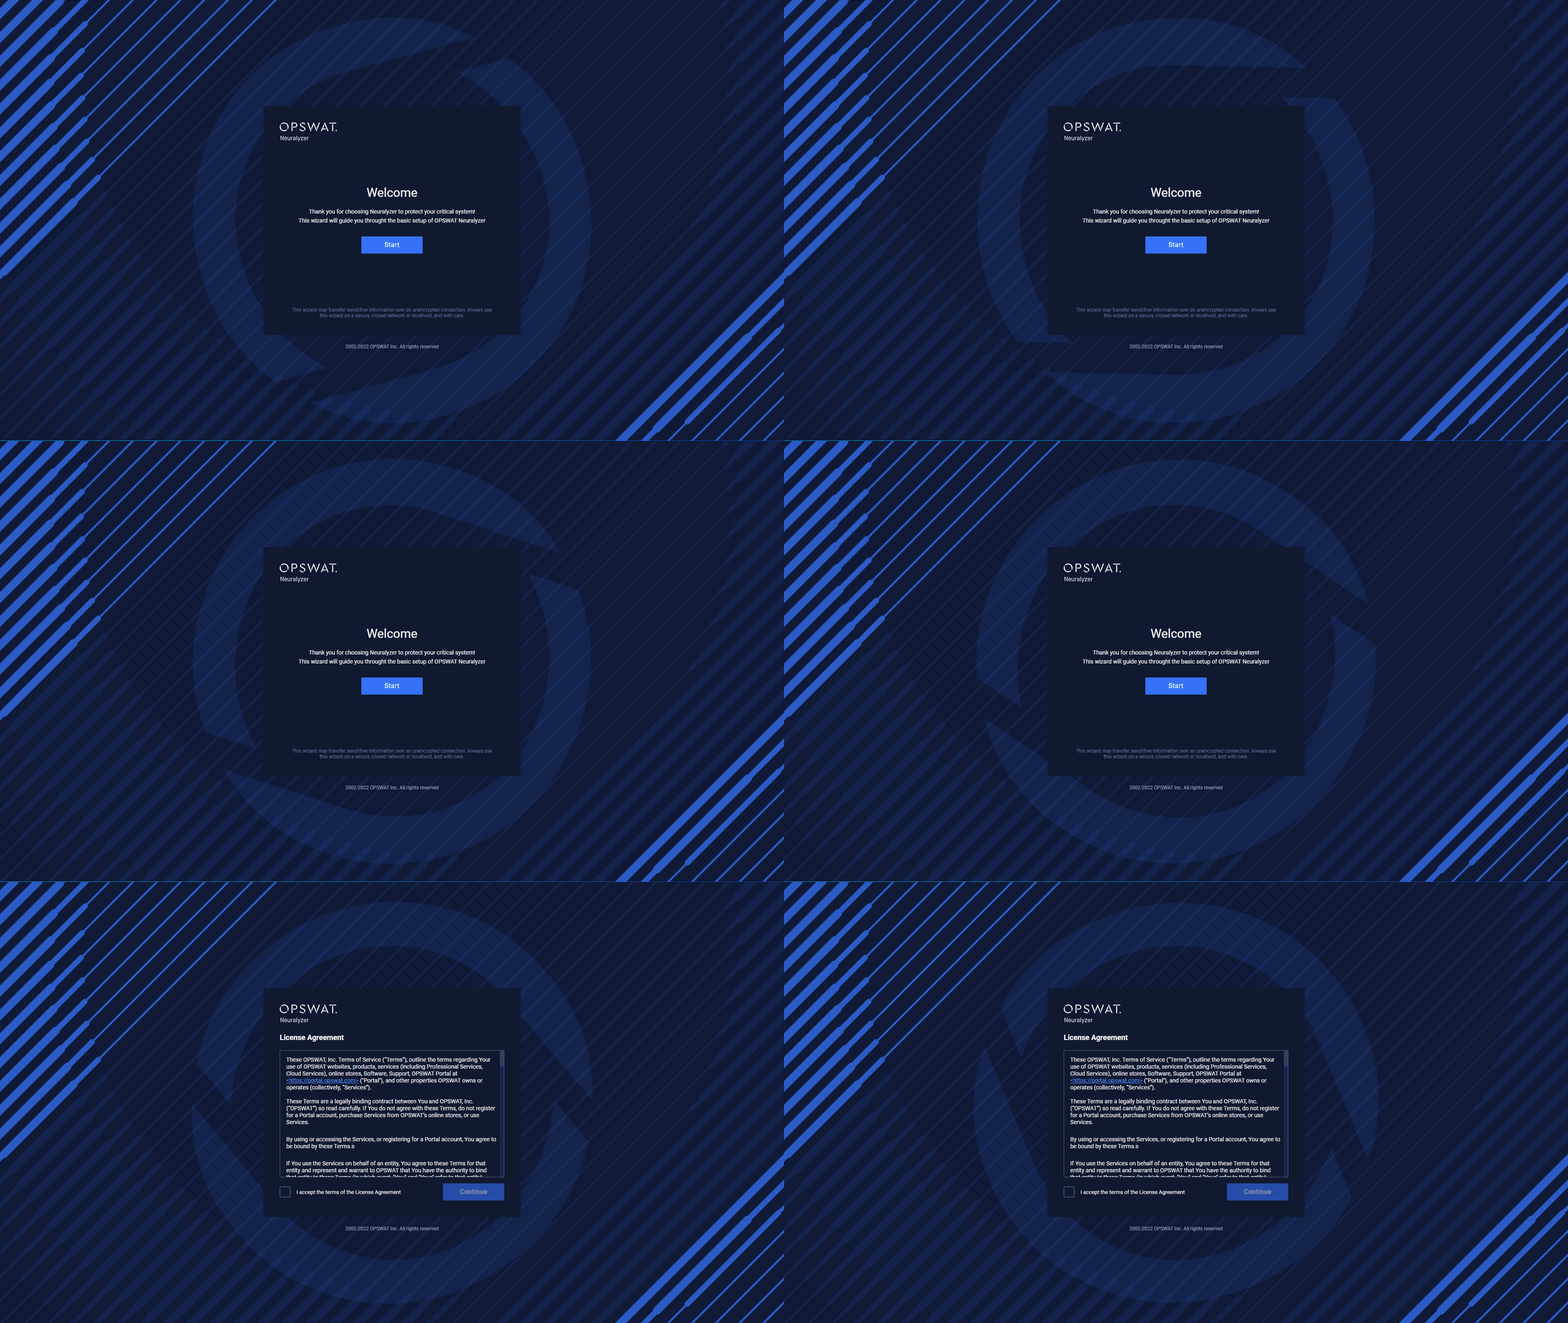
To start the Wizard, click on Start.
License Agreement
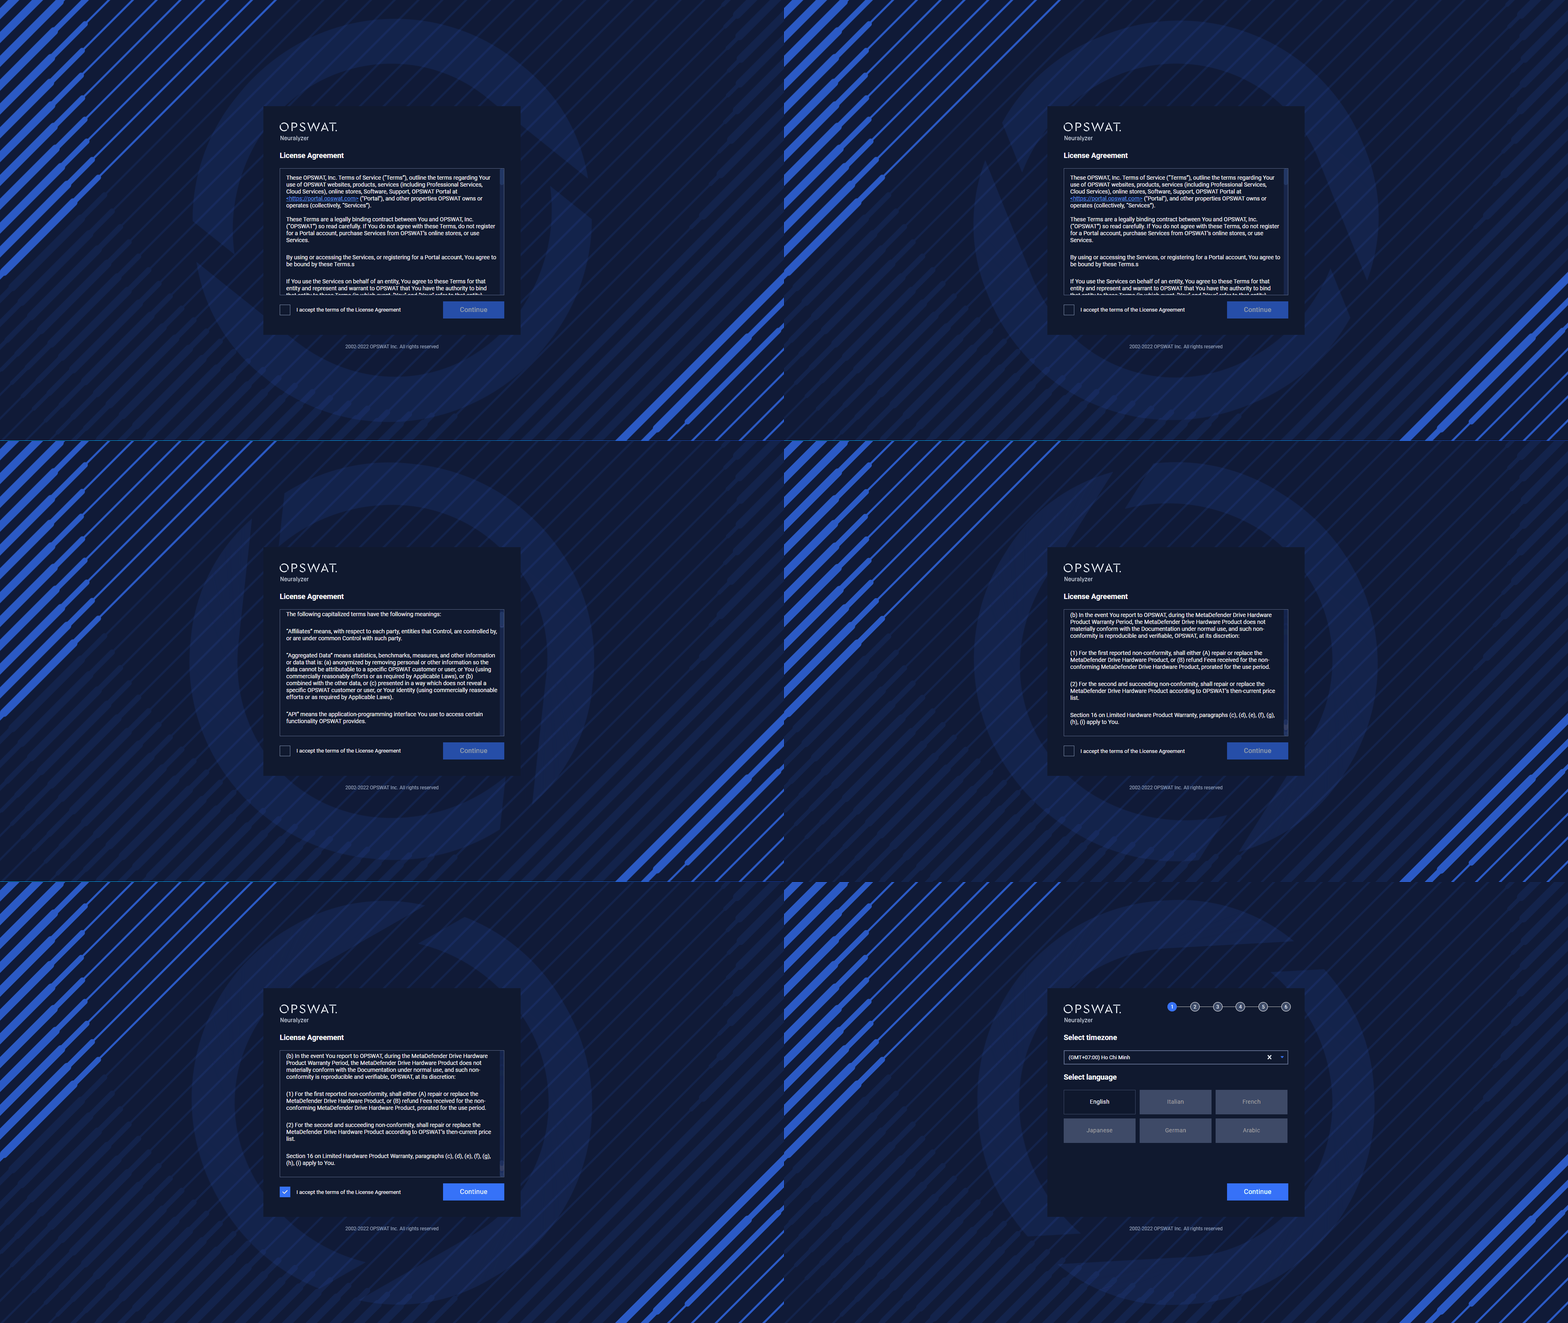
At the first page you can find License Agreement. You have to accept the terms before moving on. Please read through the License Agreement carefully and if you agree with it, check I accept the terms in the License Agreement and click Continue.
Select Timezone & Language
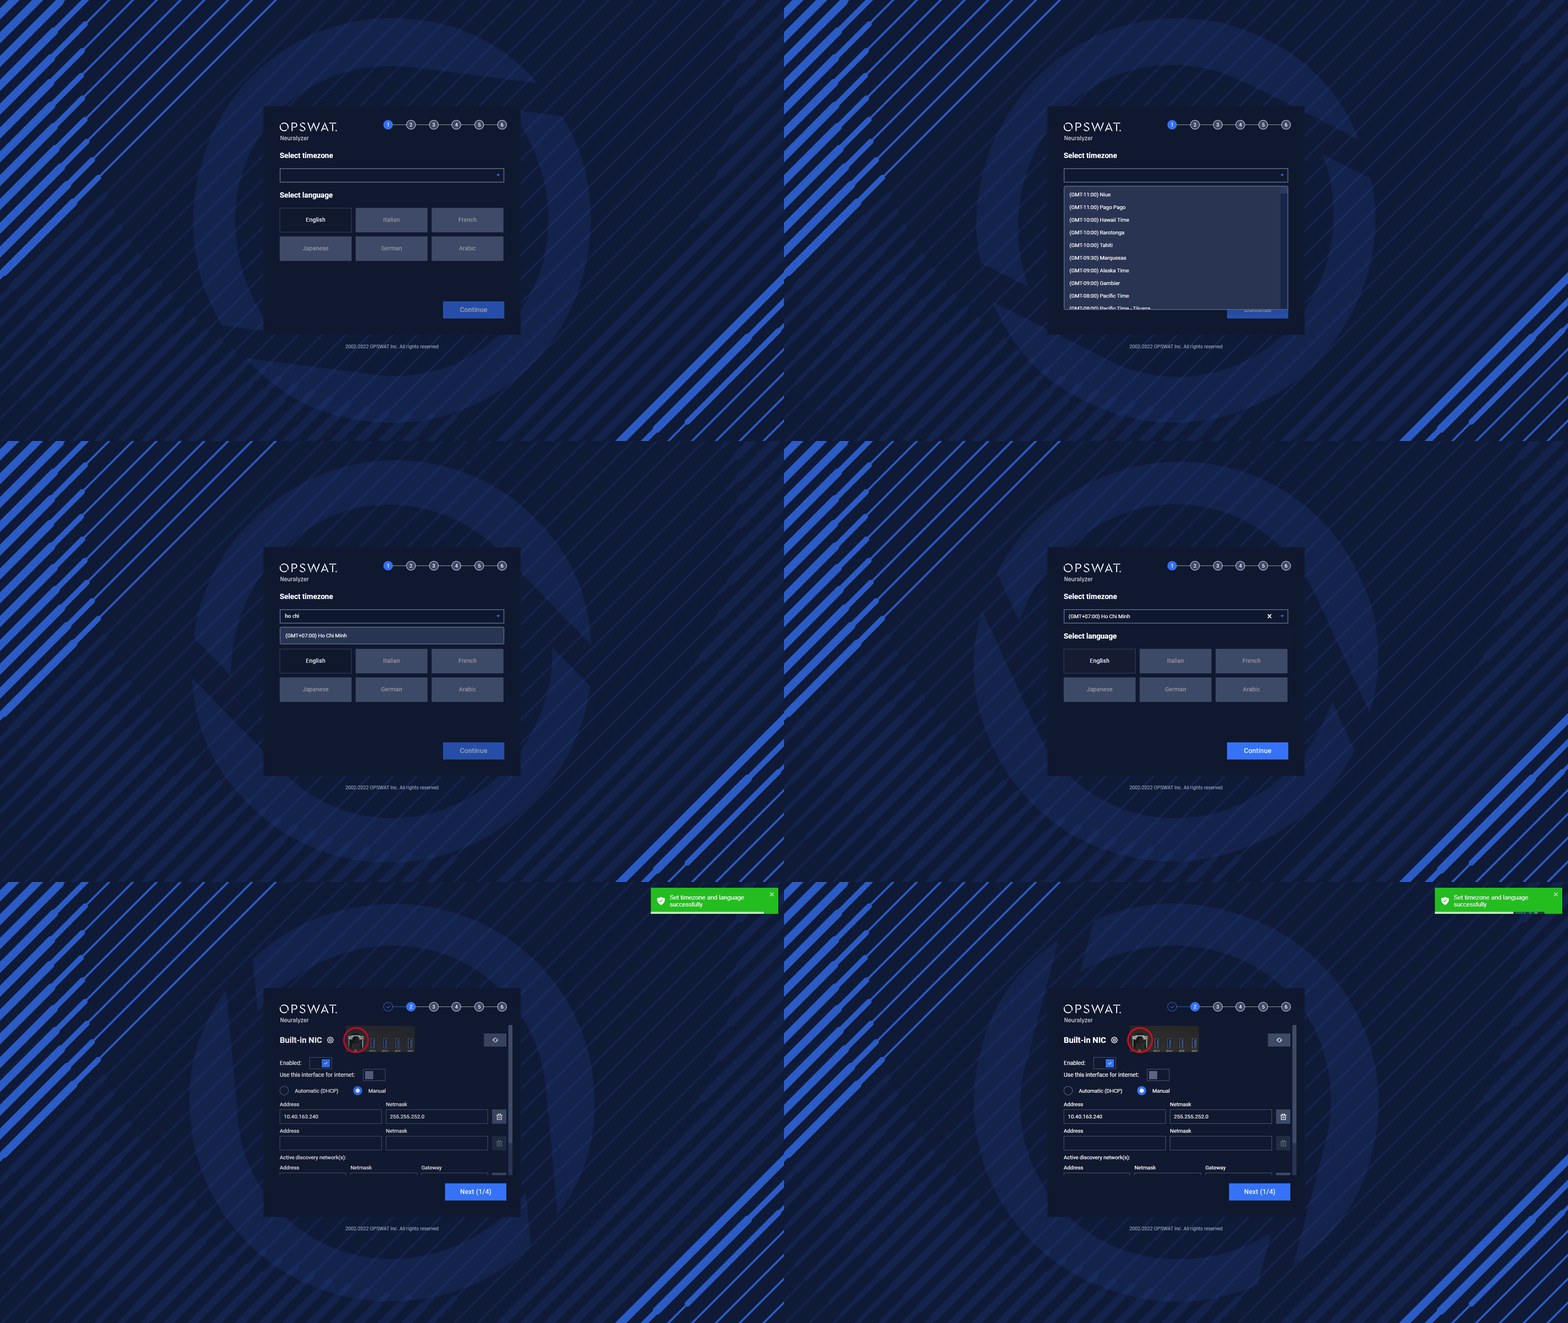
Neuralyzer supports multiple languages. The default language is English, however, you can also change to a another language.
Select timezone for the system and choose a specific language and then you can go to the next step.
Network Configuration
The system will do the scanning base on network configuration for NICs that you setup (for both active and passive scanning).
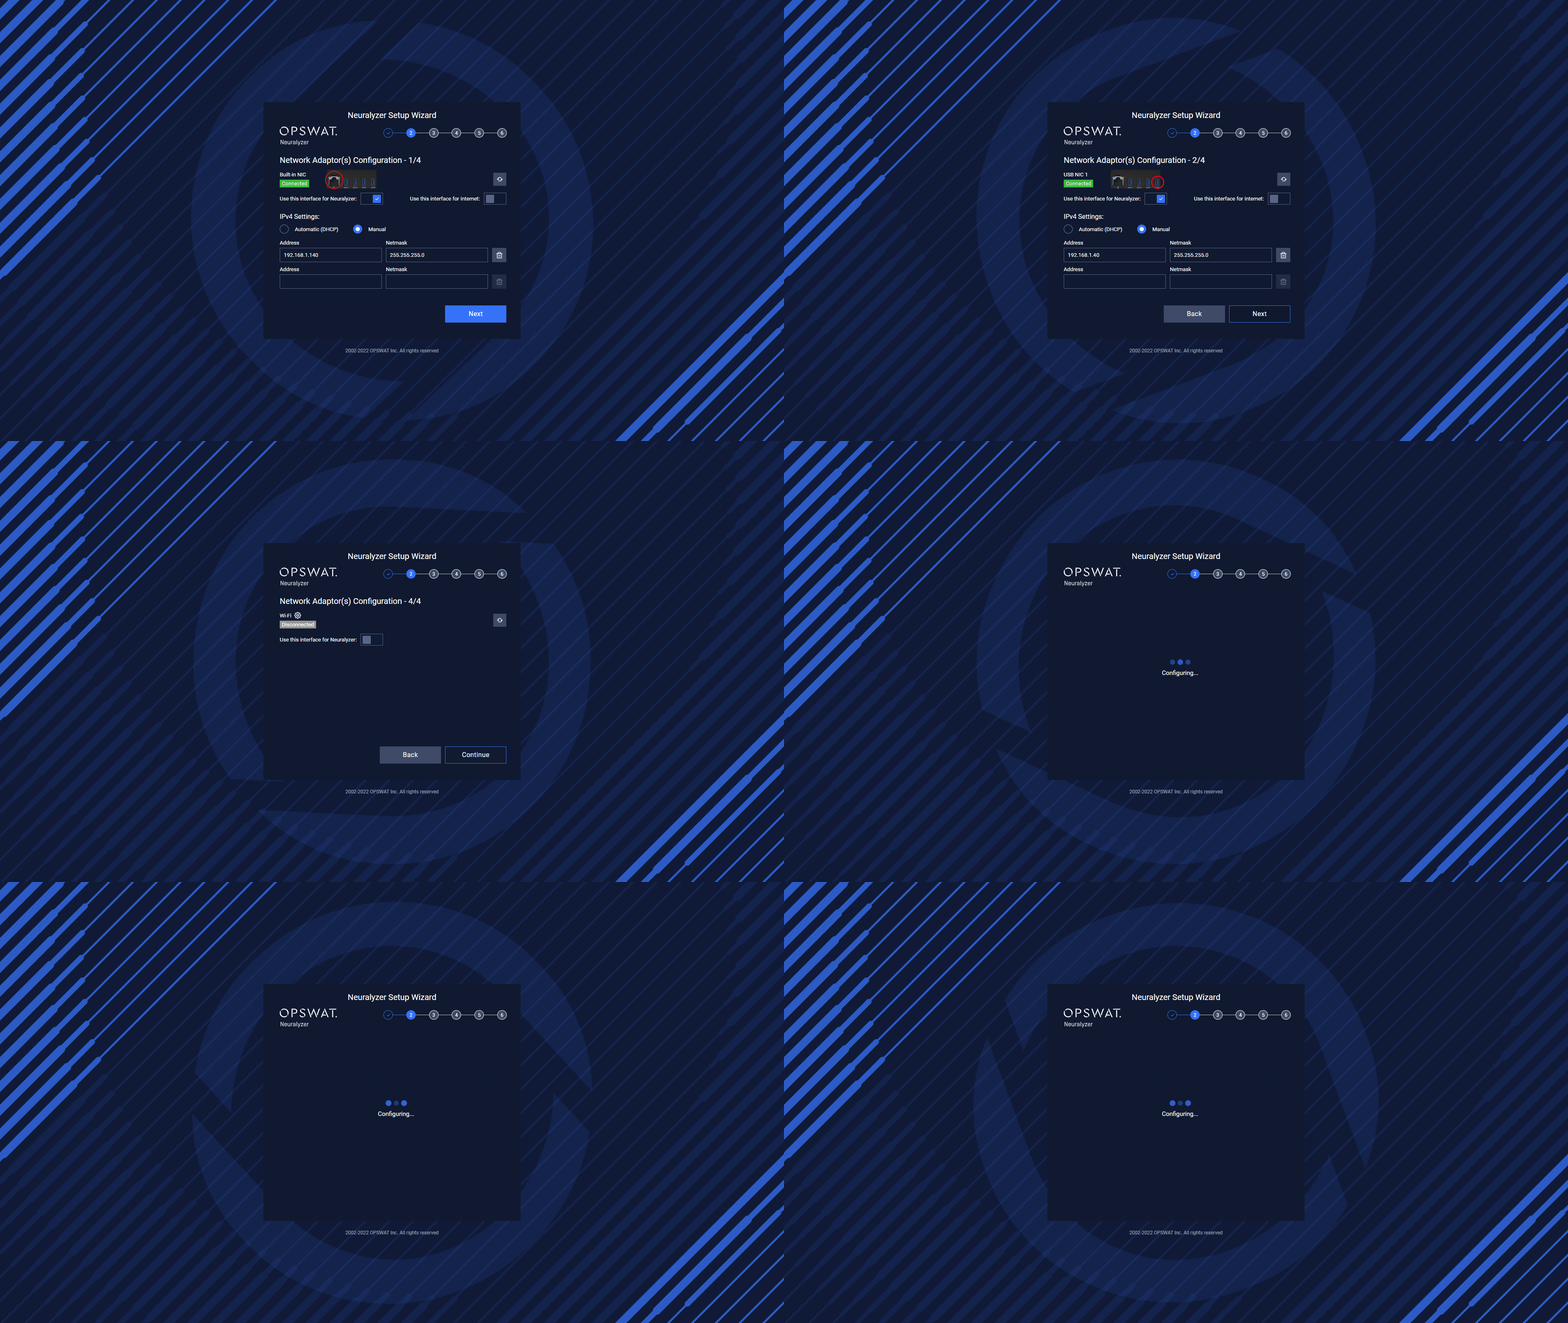
Setup process
We recommend user to use built-in NIC for passive scanning to have better performance.
NIC for passive scanning
NIC for active scanning
Please enable the NIC that you want to use for internet.
NIC for internet
Wi-fi
Note:
- We will not use Wi-Fi for the first Neuralyzer version.
- Neuralyzer will automatically set the route metric of NICs to make it suitable with the system.
- User need to Enable the NIC they want to use in Neuralyzer before going to Step 03 - Discovery Settings.
Click on Continue to go to the next step.
Discovery Settings
At the discovery settings, you can choose which NIC is responsible for active/passive scanning.
If you don’t have mirror port, select “No” option and SPAN port. This option may make Neuralyzer can’t completely learn the system status.
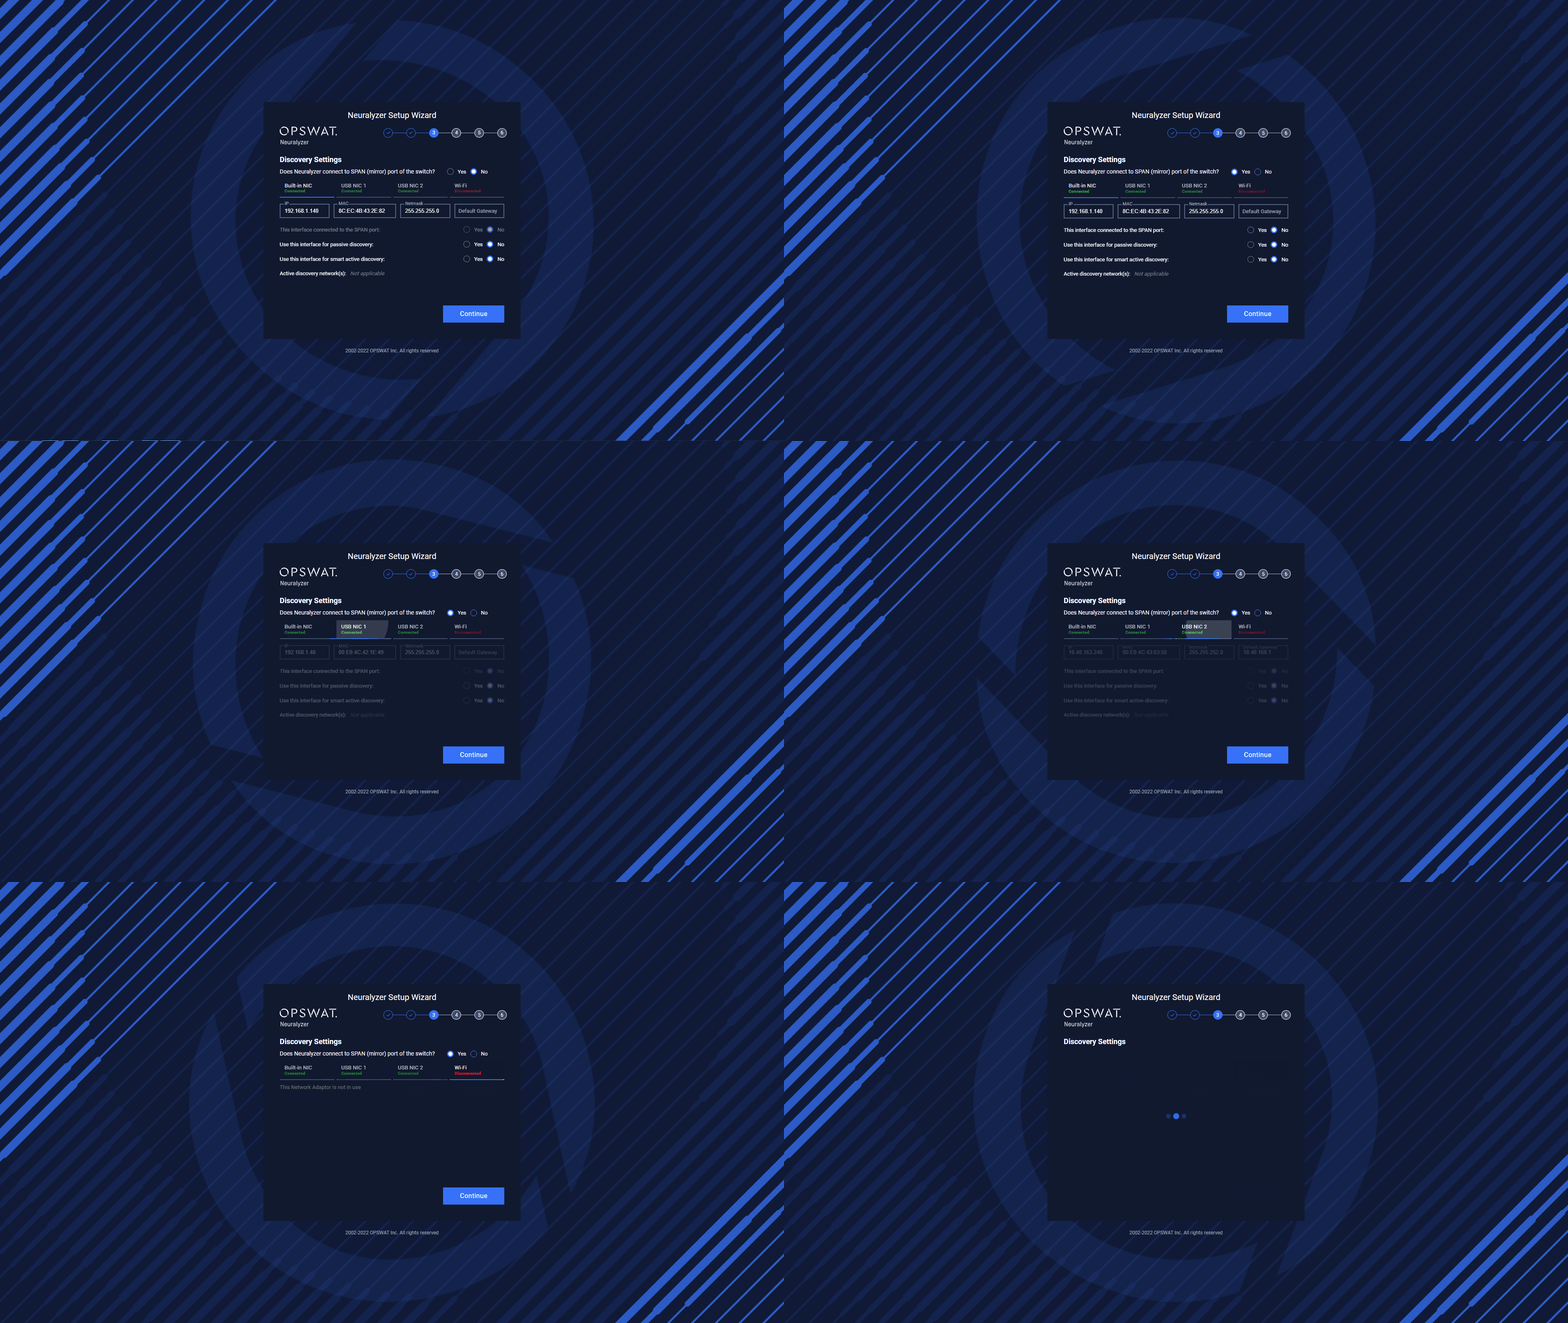
Setup process
Setting Built-in NIC for passive scanning.
Setting USB NIC 1 for active scanning.
We don’t need to scan the network NIC, so we disable all scanning options
Setting USB NIC 2 for internet
Wi-fi is not in used.
In case, user just need only one NIC for active and passive scanning. They can select No SPAN port option and turn on active & passive scanning for one NIC.
Setting Built-in NIC for active & passive scanning.
Click on Continue to go to the next step.
License Activation
Click on Activate License to open activation option.
There are two type of activation:
- Online: User need to input activation key.
- Offline: User need to have usb drive to get deployment ID from Neuralyzer, download activation key and copy to the usb drive. Then plug usb to Neuralyzer AIO machine to activate.
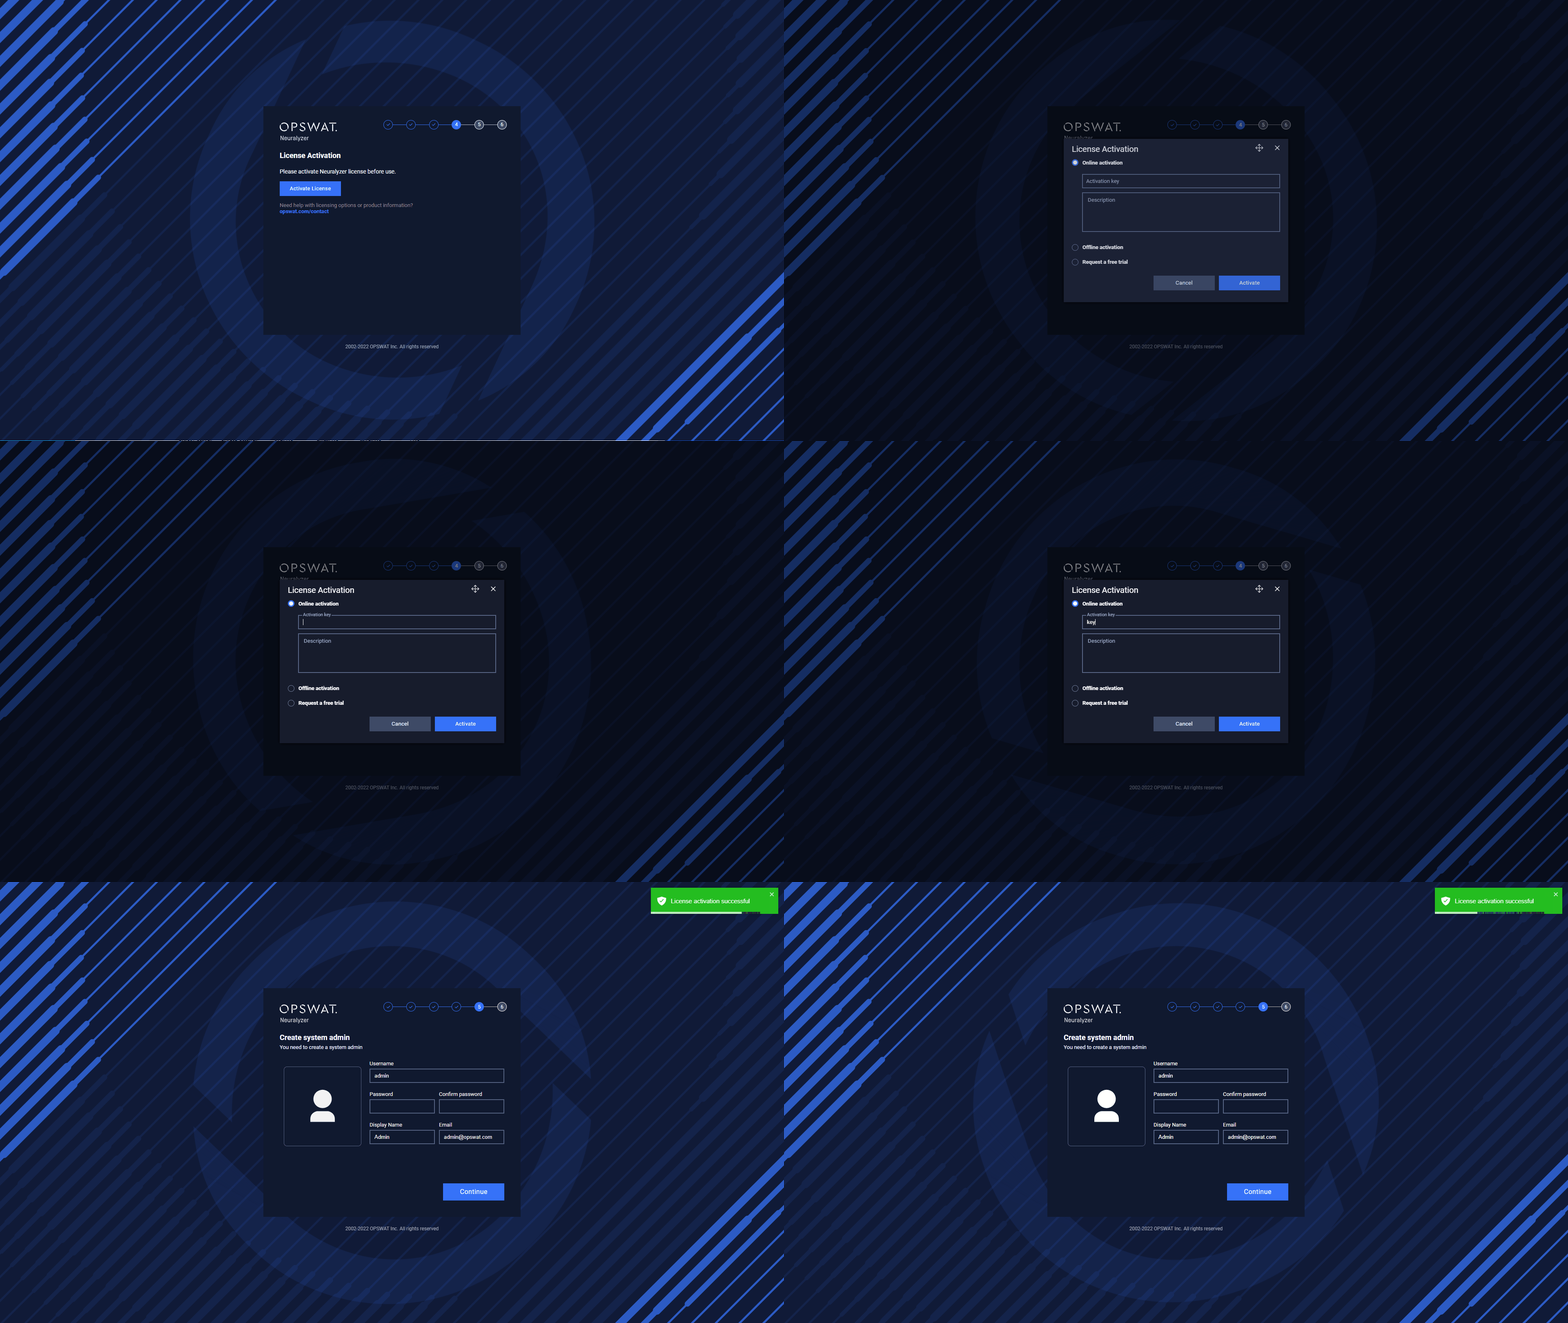
Click Activate to continue the next step
Create System Admin user
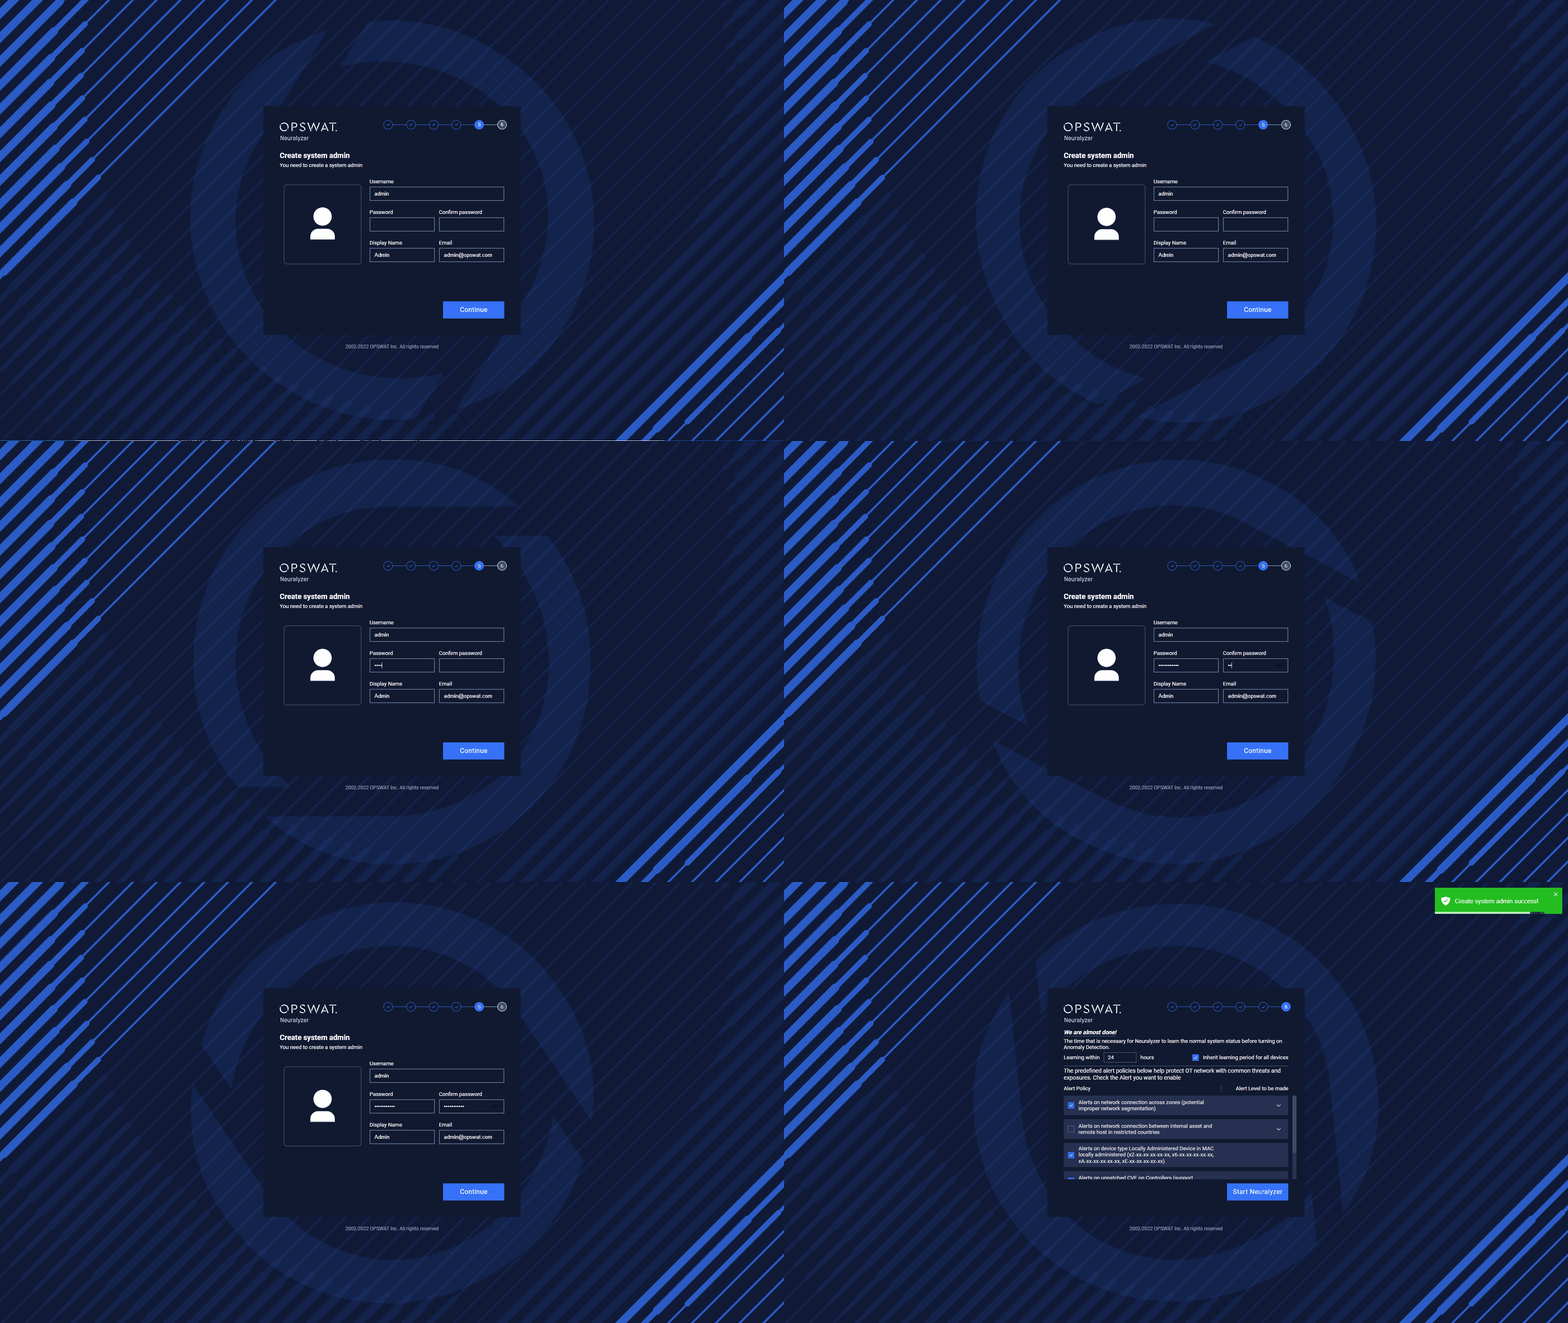
Enter the password to continue.
Select Learning Time and Predefined Alert Policies
You can input the time for Neuralyzer to learn the normal system status before turning on Anomaly Detection.
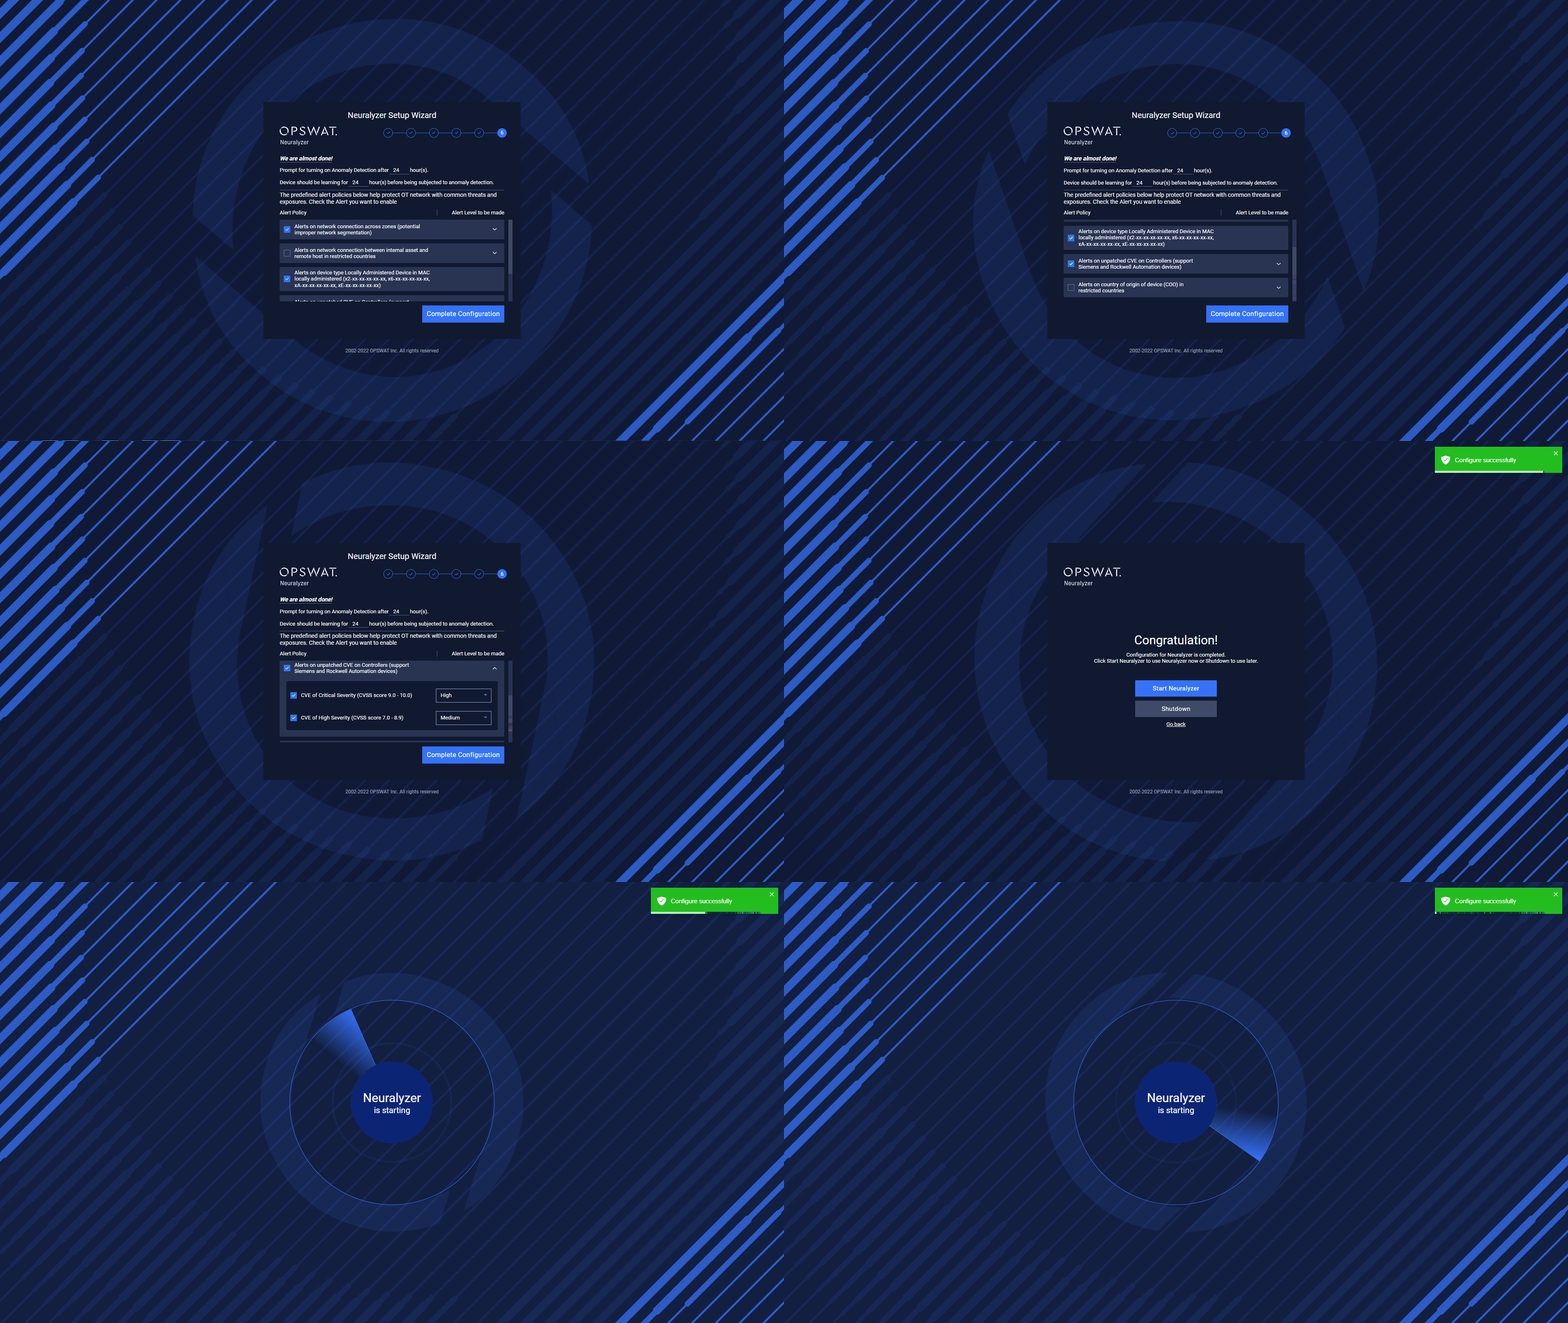
You can choose the common alert policies by check on them. Or click on them to expand more detail about that policies.
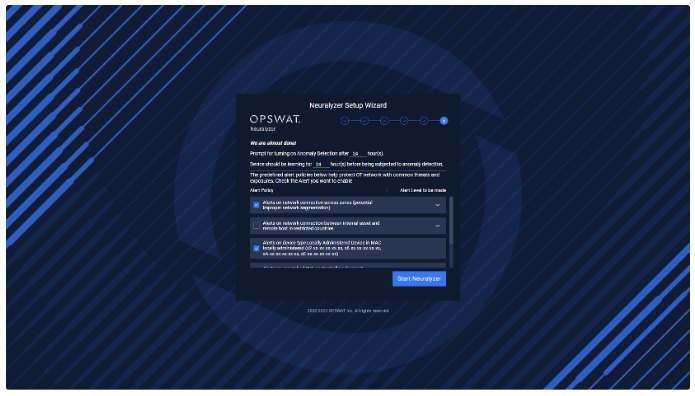
Then click Start Neuralyzer and wait for Neuralyzer is ready.
Note: Please wait for 30s after the Neuralyzer application started for the best experience.

