
Overview
The Out-of-box Experience (OOBE) initial setup is available on the latest MetaDefender Kiosk Hardened Image (25.02.0) to streamline the configuration process. This step-by-step setup wizard guides users through essential settings, enabling quick and effortless setup without requiring advanced technical expertise.
Scope of support
Kiosk Hardened Image (25.02.0 or later)
Local MetaDefeder Core with bundled license
Activation online or via My OPSWAT
Activation offline (Kiosk 4.8.0 or later)
Kiosk Device Setup with OOBE
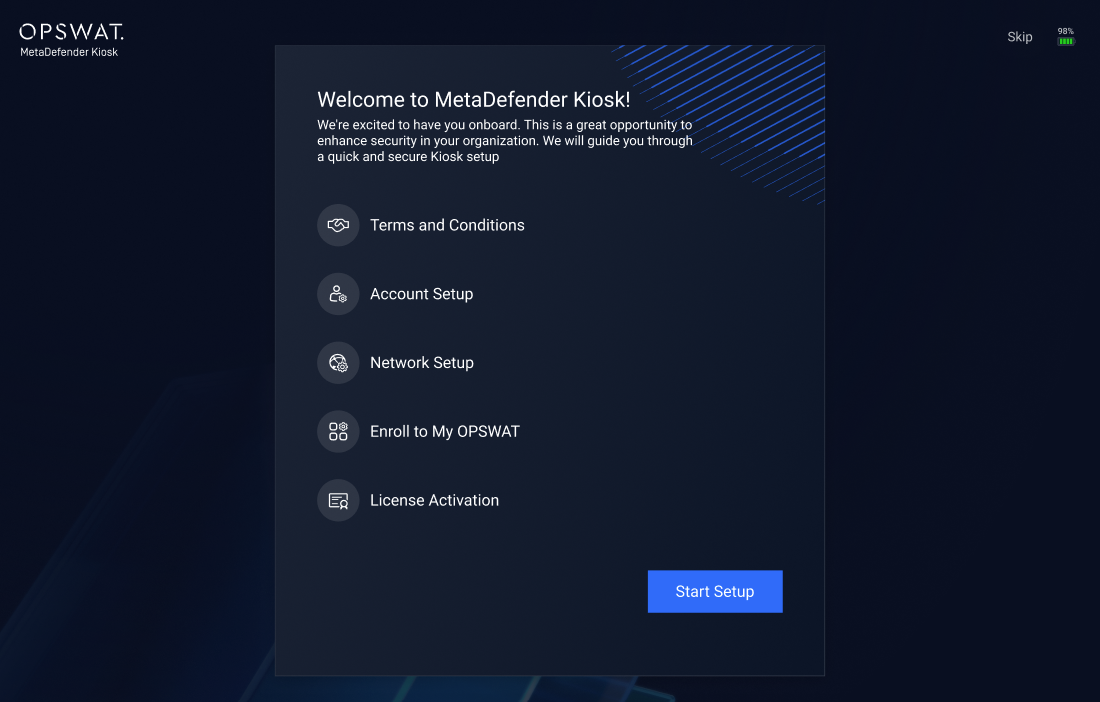
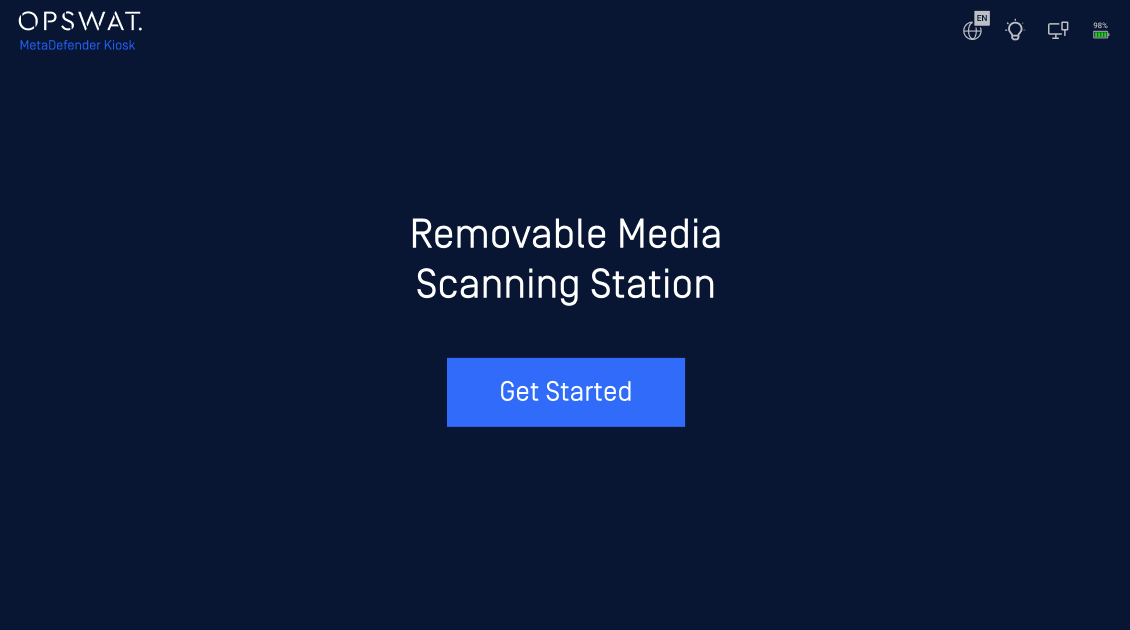
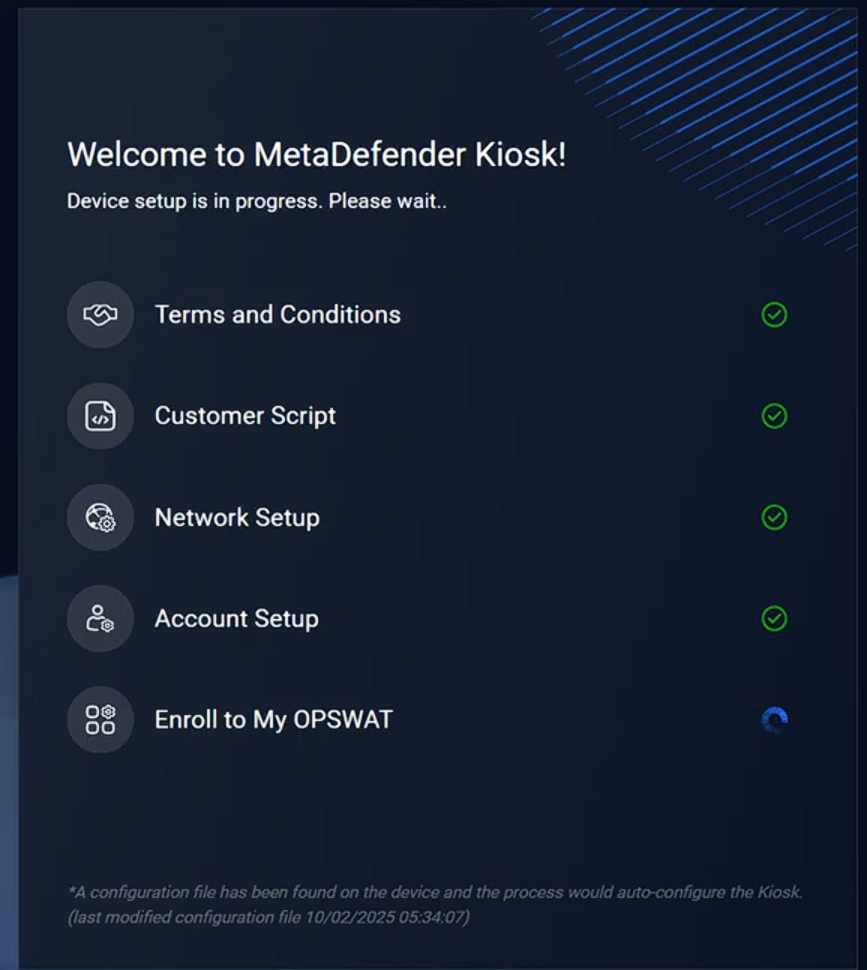
Step 1. Power on the Kiosk devices. Kiosk should automatically login and launch the OOBE wizard. From the Welcome screen, you can also select Advanced Options to restore a previously saved configuration instead of continuing with the standard setup steps below.
Alt+S can be used to exit the OOBE Wizard to setup and configure Kiosk and Core manually. If you exit the Kiosk OOBE before an administrator account was created (step 2), Kiosk will automatically reopen the OOBE at the next Windows startup.
If for some reason, Kiosk device stopped at the Windows login screen, you can manually login with default credentials
Username: KioskUser
Password: Contact the Customer Support to get the default password
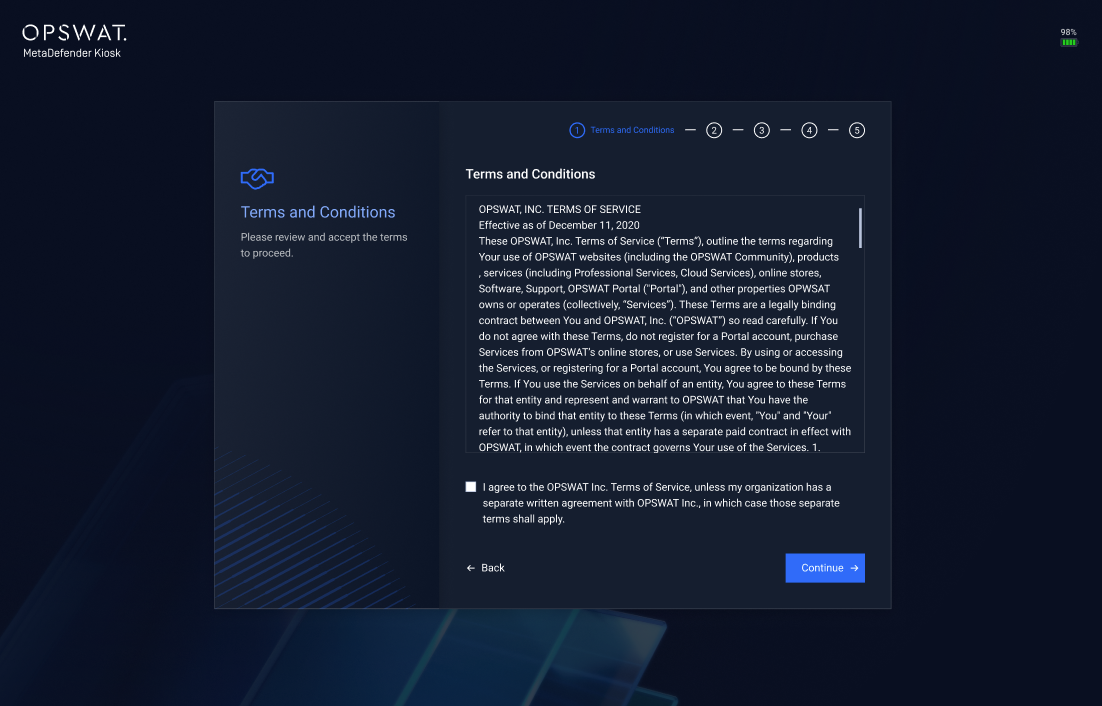
Step 2. Review and accept the End-User License Agreement by ticking the checkbox, then Continue
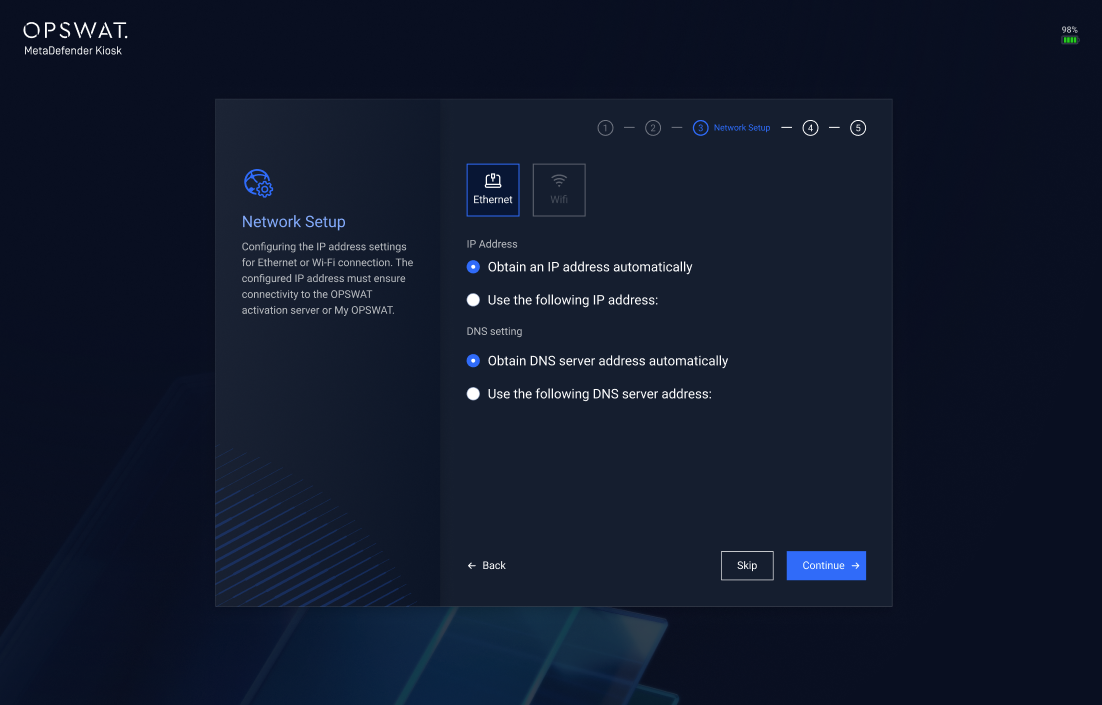
Step 3. Configure the network settings to connect to the internet
Out-of-box Experience (OOBE) requires an active network connection for online action. Verify that your network is operating correctly before proceeding
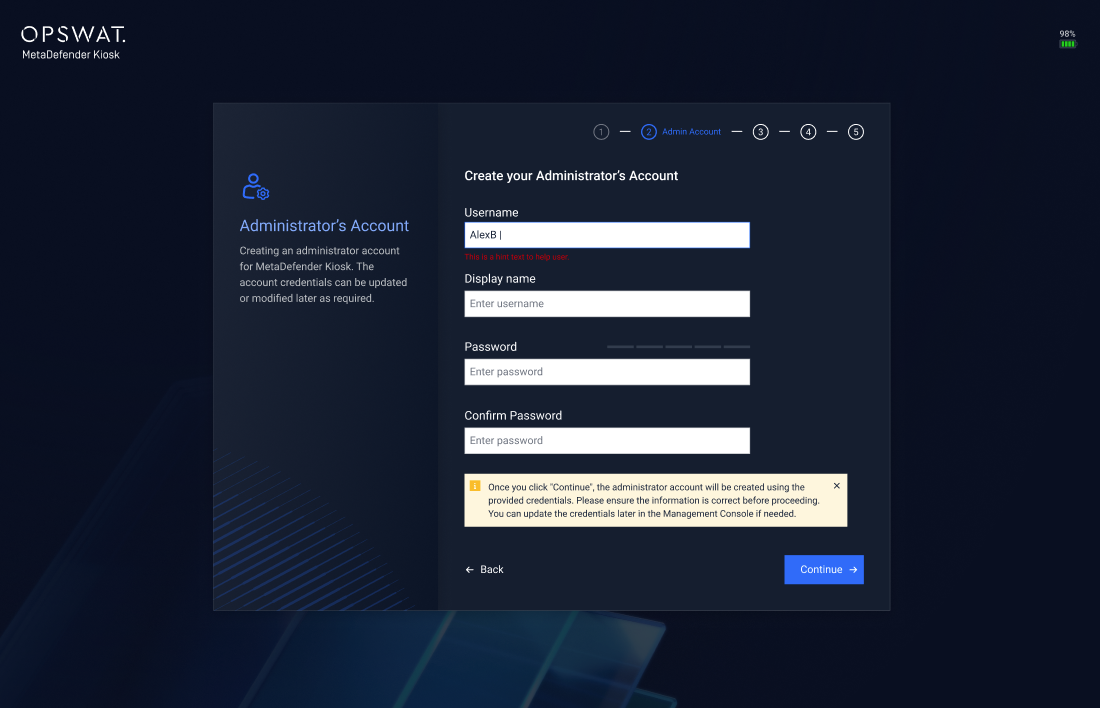
Step 4. Provide details to create an administrator account for MetaDefender Kiosk and Core applications
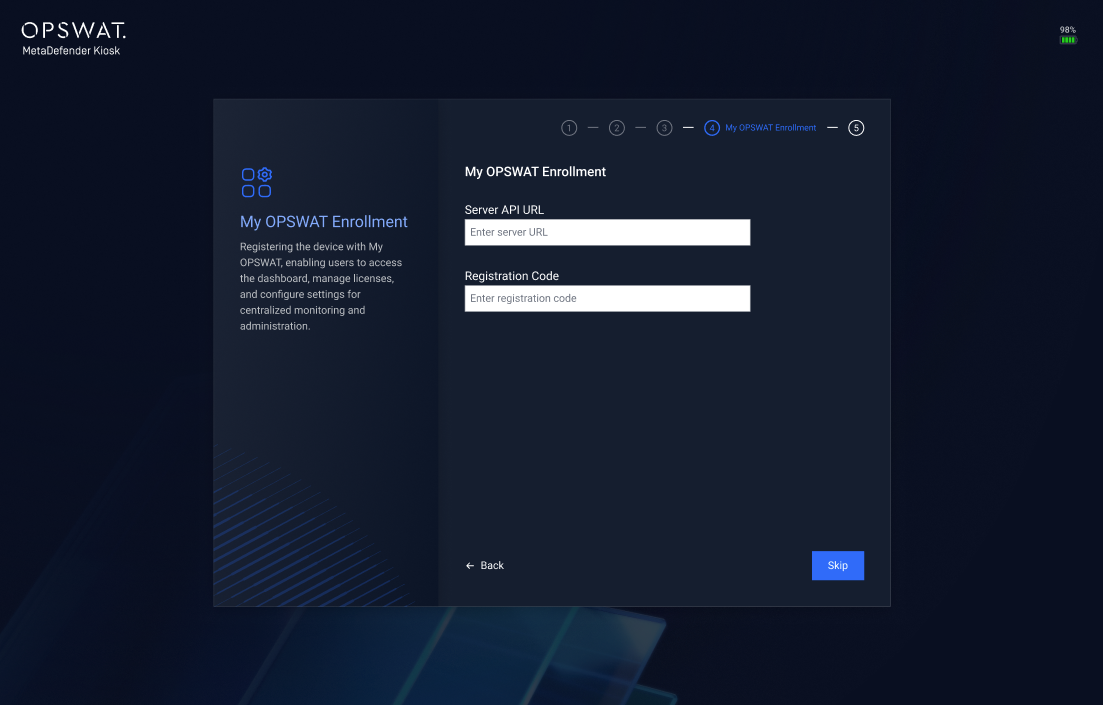
**Step 5. (**Optional) If you already have a My OPSWAT account, you can enroll the Kiosk device for streamlined license activation and management process.
If you do not have My OPSWAT account or do not want to enroll Kiosk to My OPSWAT, you can skip by clicking on Skip button.
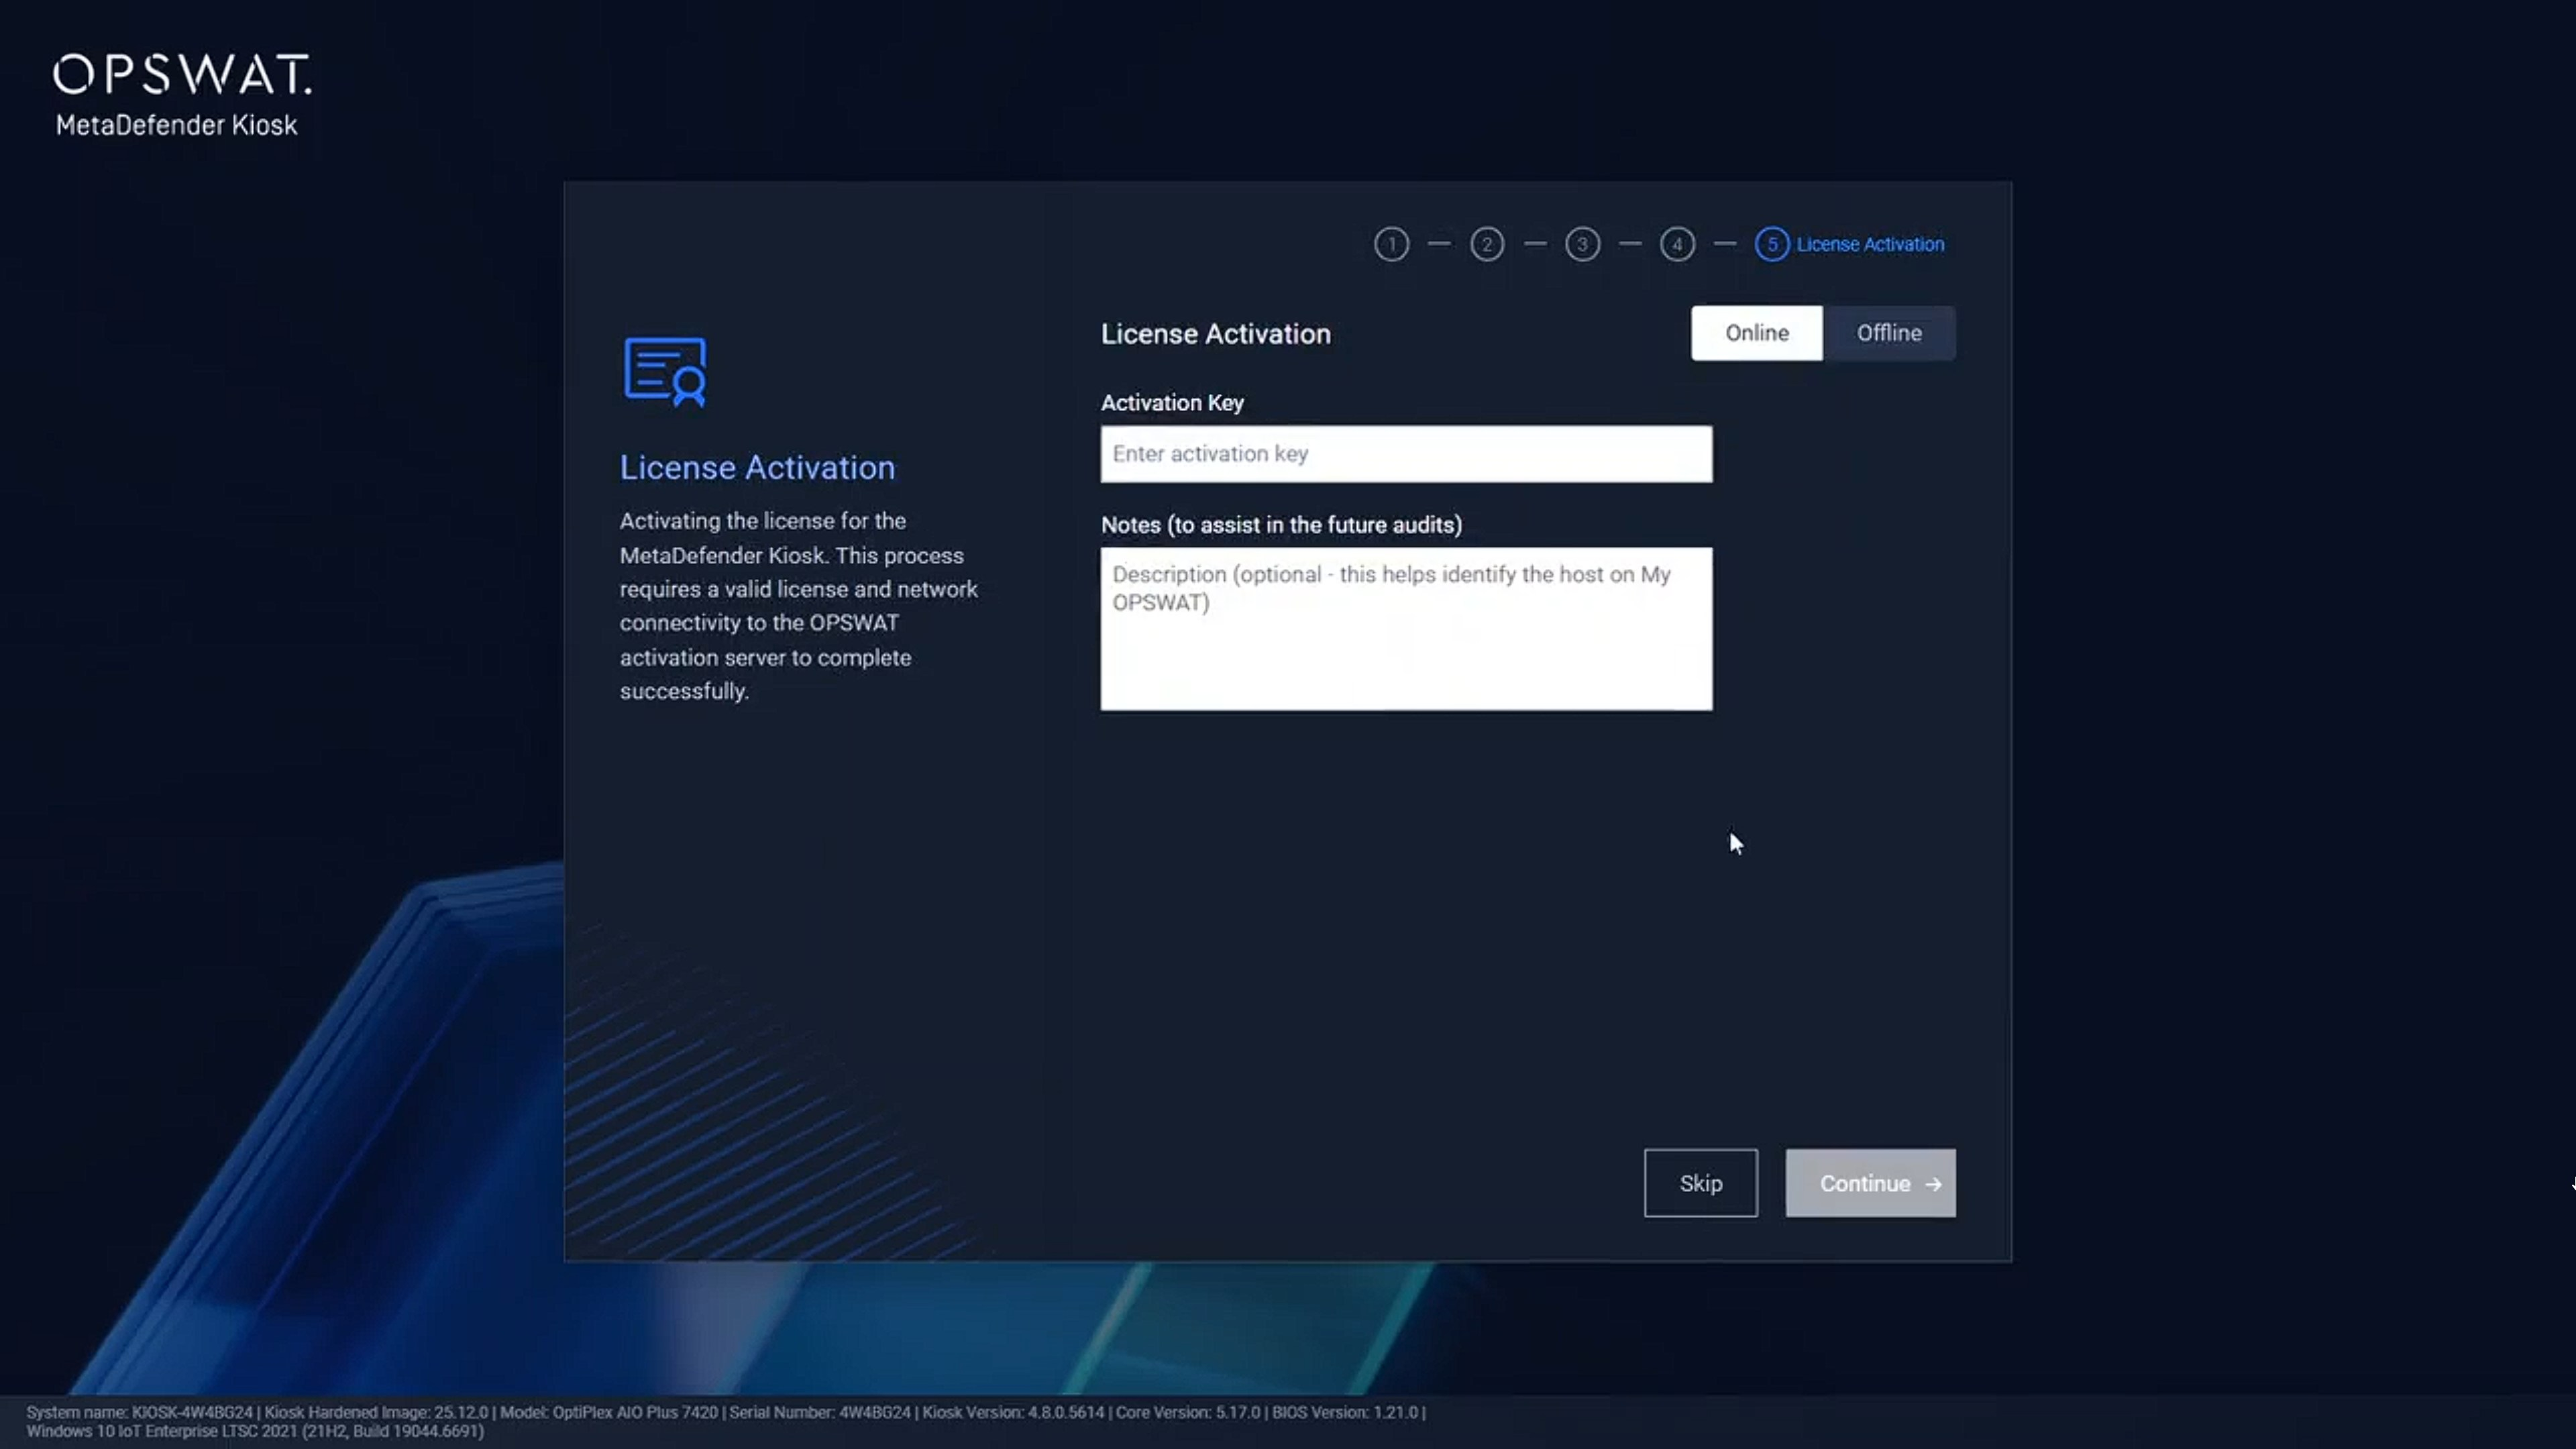
Step 6. Enter the bundled Kiosk bundled license to activate the device
Starting with version 4.8.0, Kiosk supports offline activation. Refer to section Offline Activation and Offline Engine Deployment for more details
Step 7. The Kiosk will automatically download the required scanning engines based on the provided license.
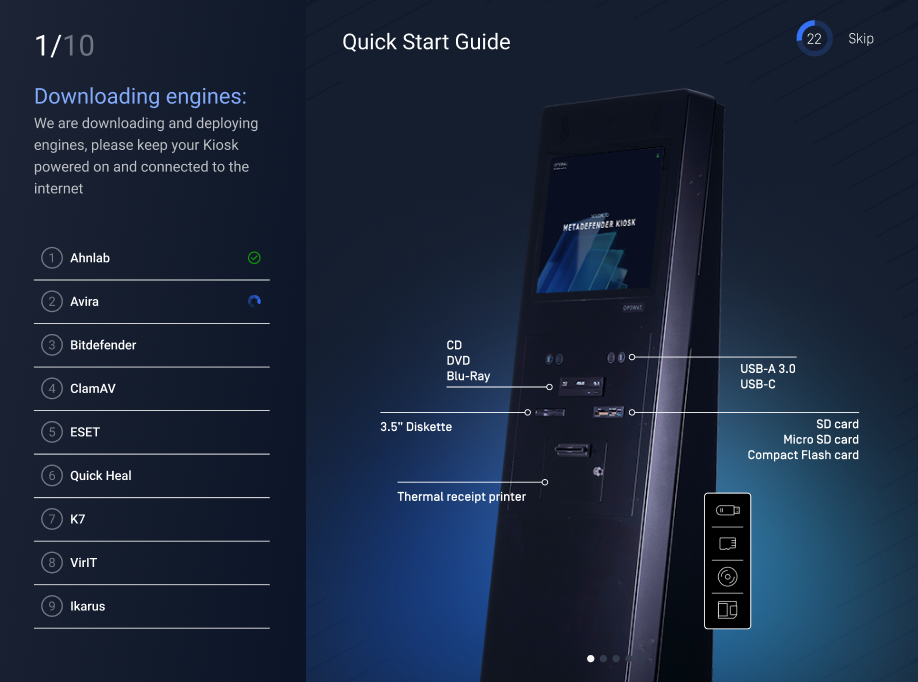
Step 8. Once the scanning engines are successfully deployed, click Finish to complete the setup
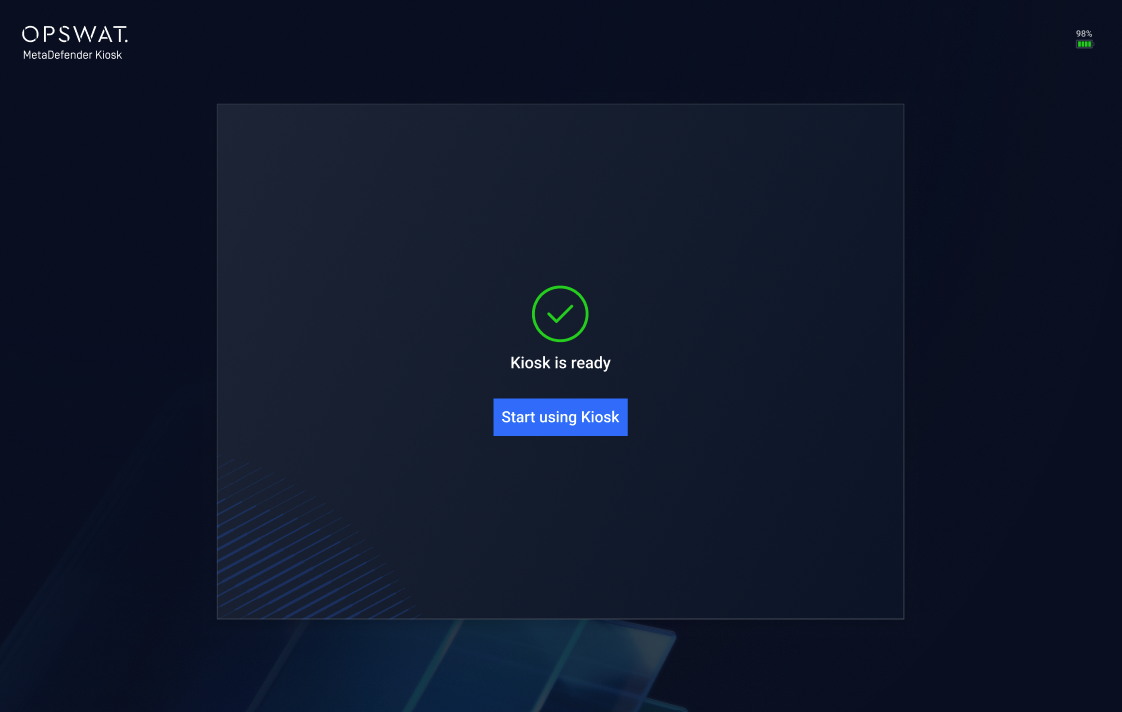
Step 9. Kiosk will automatically launch the Kiosk UI and be ready to scan your media
Auto Deployment with an INI file
Starting from Kiosk version 4.7.7, administrators can automate the Out-of-Box Experience (OOBE) setup by providing predefined values in an INI file.
Step 1. Create a file named kiosk-oobe.ini in the Kiosk installation directory (by default: C:\Program Files (x86)\OPSWAT\Metadefender Kiosk\Client) — or, starting in Kiosk 4.8.4, place it on a USB drive instead, at <drive>:\OPSWAT\kiosk-oobe.ini.
If you use a USB drive, insert it before starting Auto-Setup on the OOBE Welcome screen. Kiosk automatically detects and copies the file into place — no extra step is needed on screen, and the USB can be removed once setup begins. If a kiosk-oobe.ini already exists on the device and a valid one is found on USB, the USB version is used. If the USB file is missing or not formatted correctly, Kiosk simply falls back to whatever ini (if any) already exists on the device, with no interruption to setup.
Step 2. Specify the following parameters in the INI file to automate the OOBE process.
Parameter | Description |
|---|---|
ssid password | To automatically configure Wi-FI connection. For example
|
ipdhcp dnsdhcp | To automatically configure automatically obtain IP address, For example
|
ipaddress ipnetmask ipgateway dns1 dns2 | To automatically configure static IP address and DNS. For example
|
[SCRIPT] path | In Kiosk 4.7.8 or higher, administrators can provide the path to a custom script that runs automatically at the very start of the automated OOBE setup — before network configuration begins. This is useful for provisioning steps that need to happen first, such as joining the device to a network or installing other required software. If
|
displayname username password | To automatically create admin account for Kiosk and Core. For example,
|
usingremotecore coreurl coreapikey corecertpaths | In Kiosk 4.7.10 or higher, administrator can configure the Kisok to use a remote Core, for example
|
[MO] url regcode | To automatically enroll to My OPSWAT with the provided URL and Regcode. For example,
|
coreparallelcount volumelevel | To configure Core parallel count and System's volume level. For example,
|
If the Custom Script Fails
If the script specified in [SCRIPT] path exits with an error, OOBE automation stops and displays a failure message with two options:
Retry — runs the script again.
Exit Setup — leaves the automated OOBE flow so you can investigate the script on the device directly.
If automated setup is configured to be strictly enforced, you won't be offered the option to switch to manual setup from this failure screen — only Retry or Exit Setup are available, so a required provisioning step (like a network join) can't be silently skipped.
Any script output or error is written to the Kiosk logs, which you can review if the script continues to fail.
Step 3. Once the kiosk-oobe.ini file is saved and present in the installation directory, Kiosk will automatically complete the OOBE setup using the provided values.
Restore Configuration from a Backup File
If you've already configured a Kiosk device the way you want it — network settings, MetaDefender Core connection, licensing, and Central Management enrollment — you can export that configuration as a backup file from the Kiosk Web Management Console and apply it to another device during OOBE. This is useful when setting up multiple devices with the same configuration, replacing a device, or restoring a device that doesn't have a way to reach Central Management yet.
Step 1. From the OOBE Welcome screen, select Advanced Options, then select Restore from Backup.
Step 2. Browse to and select the backup file.
Step 3. If the backup file is password-protected, enter its password when prompted. If you don't have a physical keyboard connected, the on-screen keyboard opens automatically. If you enter the wrong password, you can correct it immediately on the same screen — you don't need to start over.
Step 4. Once the backup is loaded, review the list of items it contains, grouped by Kiosk settings, MetaDefender Core settings, and network settings. Choose which items to apply.
Step 5. Confirm to apply the selected items. Setup continues with the restored configuration in place, including license activation and any Central Management enrollment that was part of the backup.
If you restore a backup that was exported from a significantly older Kiosk version, double-check your network settings and Central Management enrollment status after setup finishes, since some values from very old backups may need to be re-confirmed.
Offline Activation and Offline Engine Deployment
Kiosk version 4.8.0 and later support offline license activation and engine package deployment on devices in isolated networks without internet access.
Offline Activation
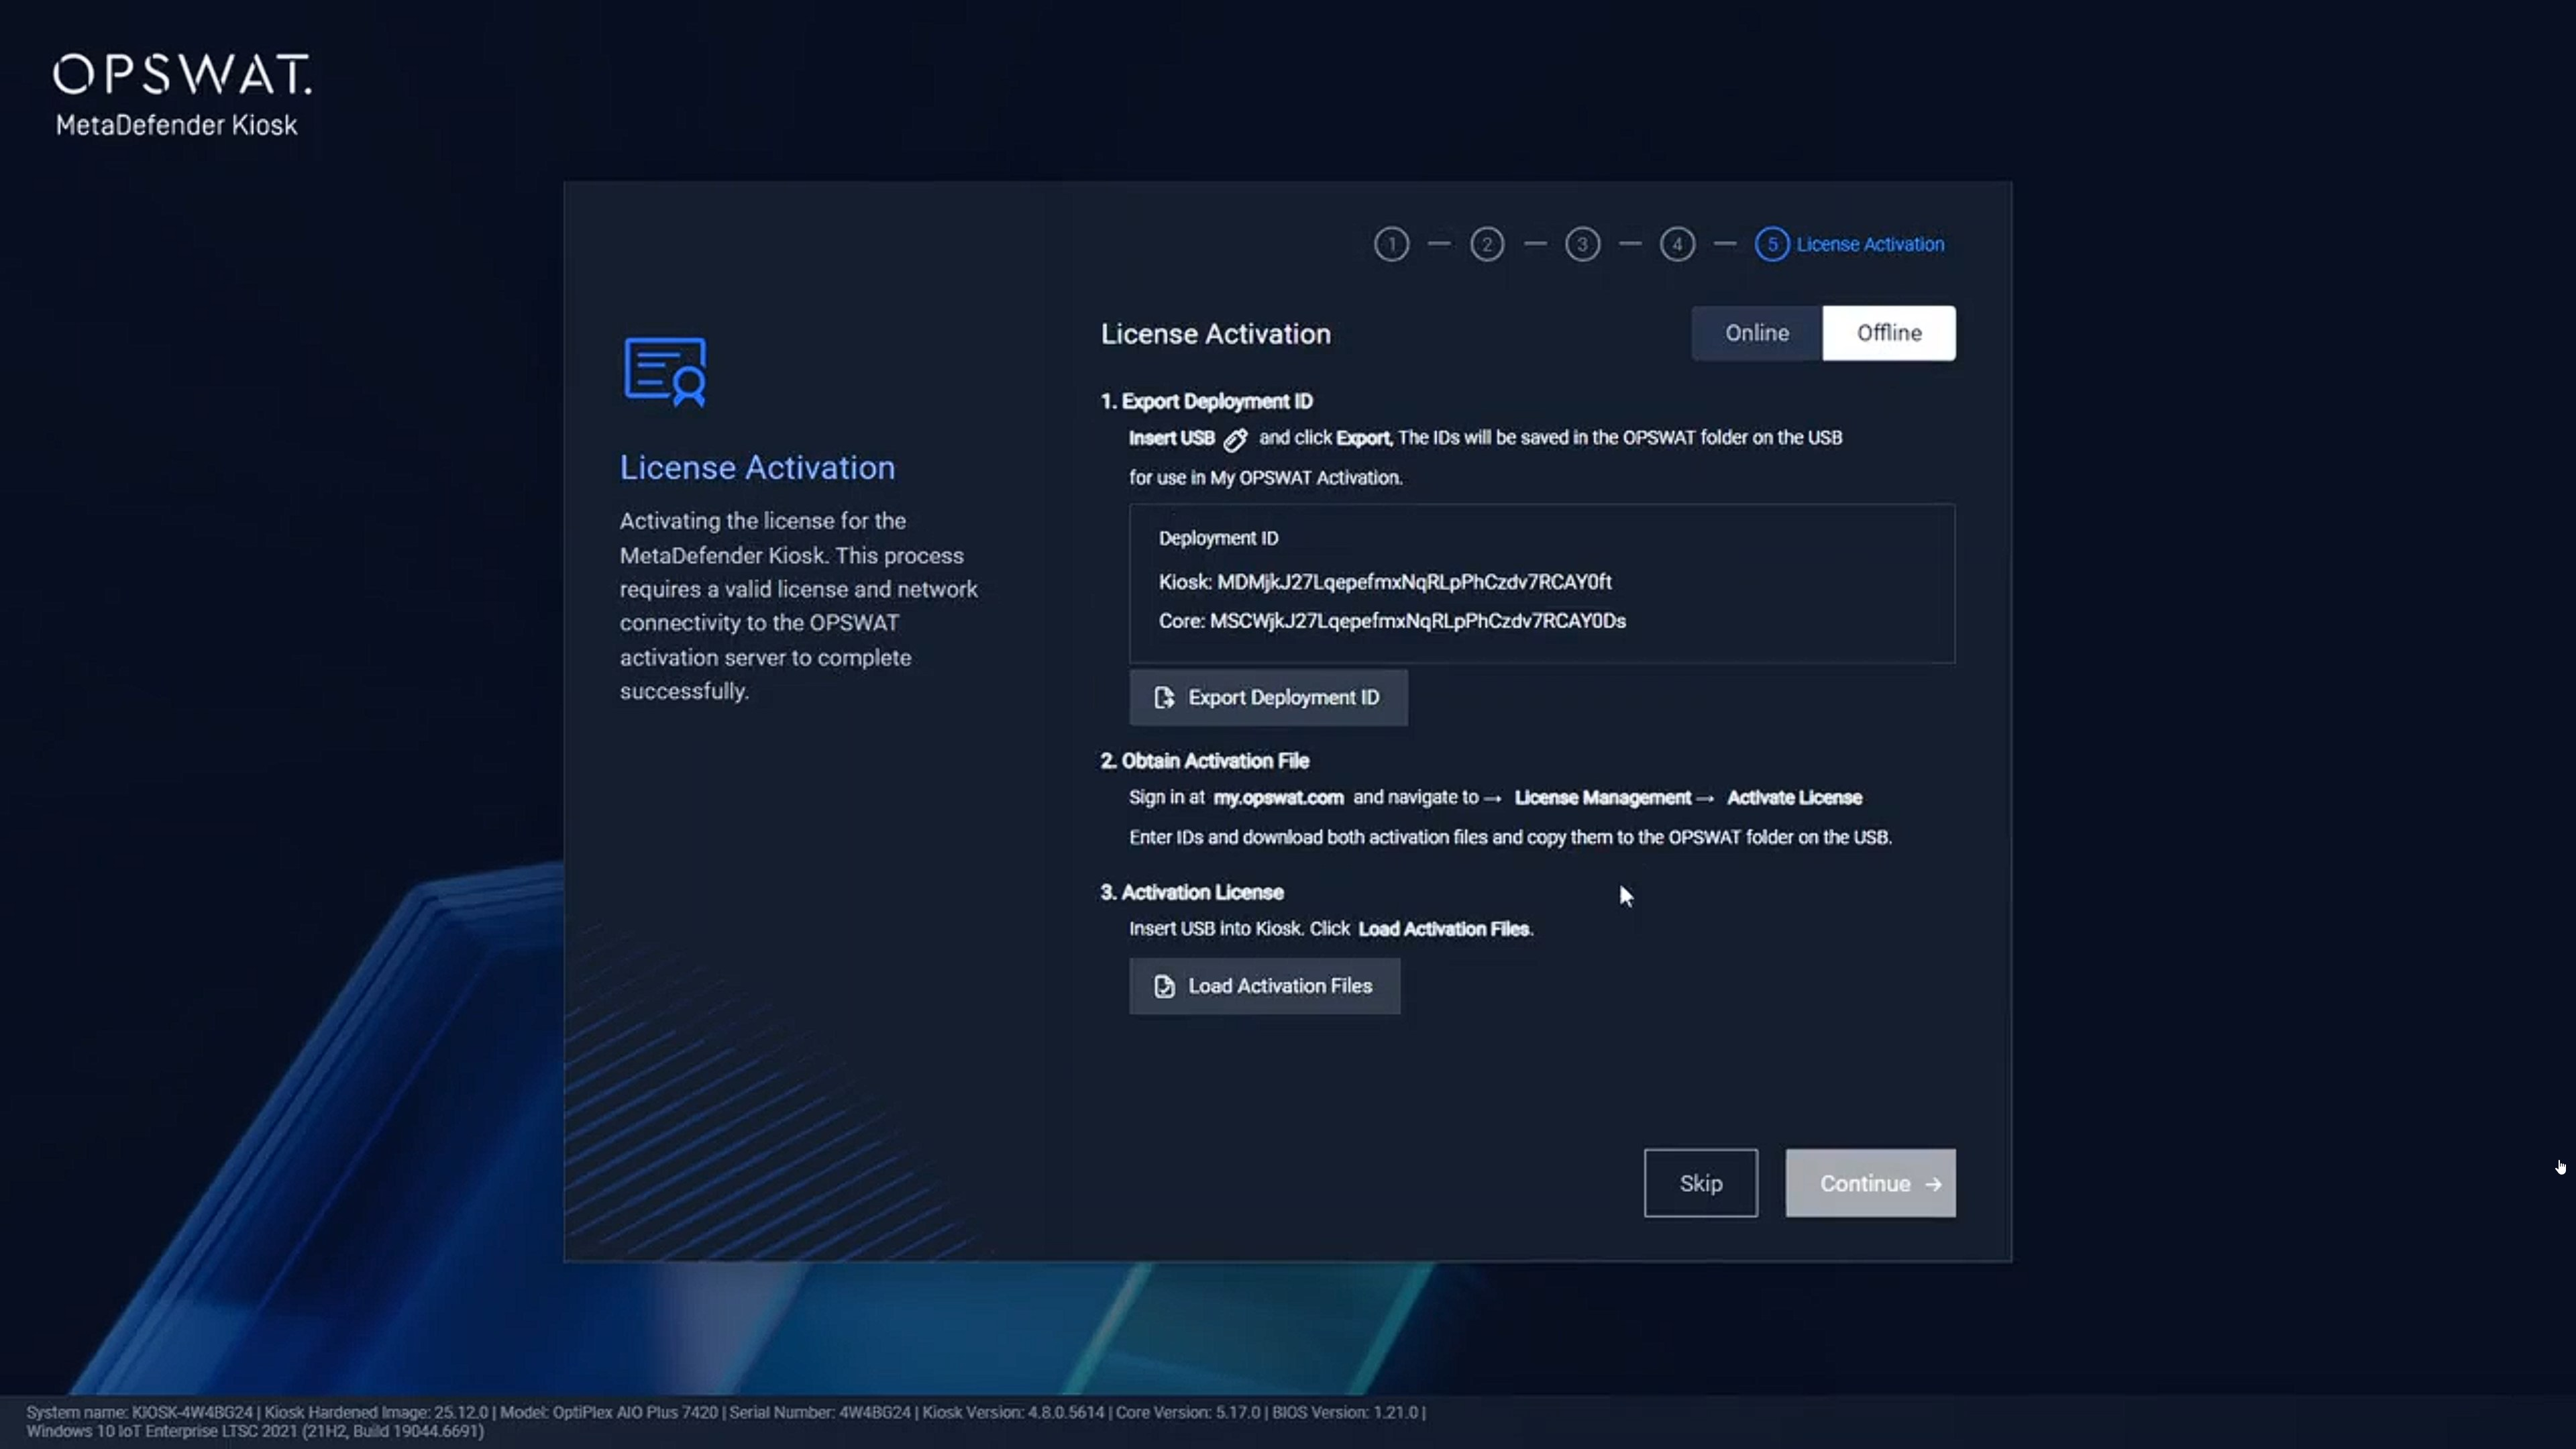
Step 1. Export Deployment ID: On the License Activation screen, insert a USB drive, click "Export Deployment ID". An activation guide which includes Kiosk and Core Deployment IDs into OPSWAT on the USB. (USB:\OPSWAT).
Step 2. Obtain Offline Activation file. On an internet‑connected computer, log in to My OPSWAT Portal (https://my.opswat.com/) to generate offline activation files for Kiosk and Core using the exported Deployment IDs and your activation keys. Download and copy the activation file (.yml) into the OPSWAT folder (USB:\OPSWAT). Make sure you get the activation files for both Kiosk and Core.
Step 3. Activate the license offline. Return to OOBE, insert the prepared USB, then select Load activation files. OOBE scans and loads the activation files from the OPSWAT folder (USB:\OPSWAT). If valid, OOBE shows activation successful.
Offline Deploy Engine
To enable automatic offline engine deployment after successful activation, ensure that the offline engine packages are available in the OPSWAT folder on the USB drive (USB:\OPSWAT).
Refer to MetaDefender Update Downloader to obtain offline engine packages.
Ensure the engine packages (.zip and .yml) are copied to the USB:\OPSWAT folder. For example, to update 7z engine, the OPSWAT folder must include the following files:
USB:\OPSWAT\engine_7z_17_windows-engine-1709656599-1709656648.zip
USB:\OPSWAT\engine_7z_17_windows-engine-1709656599-1709656648.yml